PIETRA DI SAPONE – A Rural Italian Recipe – Traditional Farmhouse Soap

Before supermarkets, detergents, and plastic bottles, farm households had to make do with what was on hand. Cleanliness was still important, but it was achieved with simple materials, practical knowledge, and a lot of experience.

In rural Italy, farmers and shepherds relied on a basic homemade soap often referred to as pietra di sapone — literally “soap stone”. It was a hard, plain soap made from animal fat and alkali, produced in large batches and used for everything from washing clothes to scrubbing floors and tools.

This was working soap, not luxury soap.

Soap Making on the Farm

Soap making was usually done once or twice a year, often after pig slaughtering, when large quantities of lard were available. Nothing was wasted. Fat that was unsuitable for eating became soap, and the end product was stored and used until the next batch was made.

There were many local variations, most passed on orally. The recipe recorded below, of which I made a 5 Kg batch today, was already in use by around 1870, and likely much earlier. It is one of the simplest and most economical versions.

The Traditional Base Recipe (Historical Record)

Ingredients

  • Pork lard – 5 litres
  • Water – 10 litres
  • Flour – 1 kg – (Use Whole Wheaa Flour for some texture and scrubbing effect – optional)
  • Caustic soda (sodium hydroxide) – 1 kg

Basic Equipment

  • Large plastic or wooden tub
  • Wooden or plastic stirring utensil
  • Protective gloves

Traditional Method (As Practised Historically)

The lard was first rendered until fully melted and clear. Water was placed in a large tub and the flour mixed in to form a smooth liquid with no lumps. The melted fat was then added and stirred until evenly combined.

Only at this stage was the caustic soda introduced. The mixture was stirred continuously until it thickened noticeably — what old soap makers recognised by eye and feel rather than measurement.

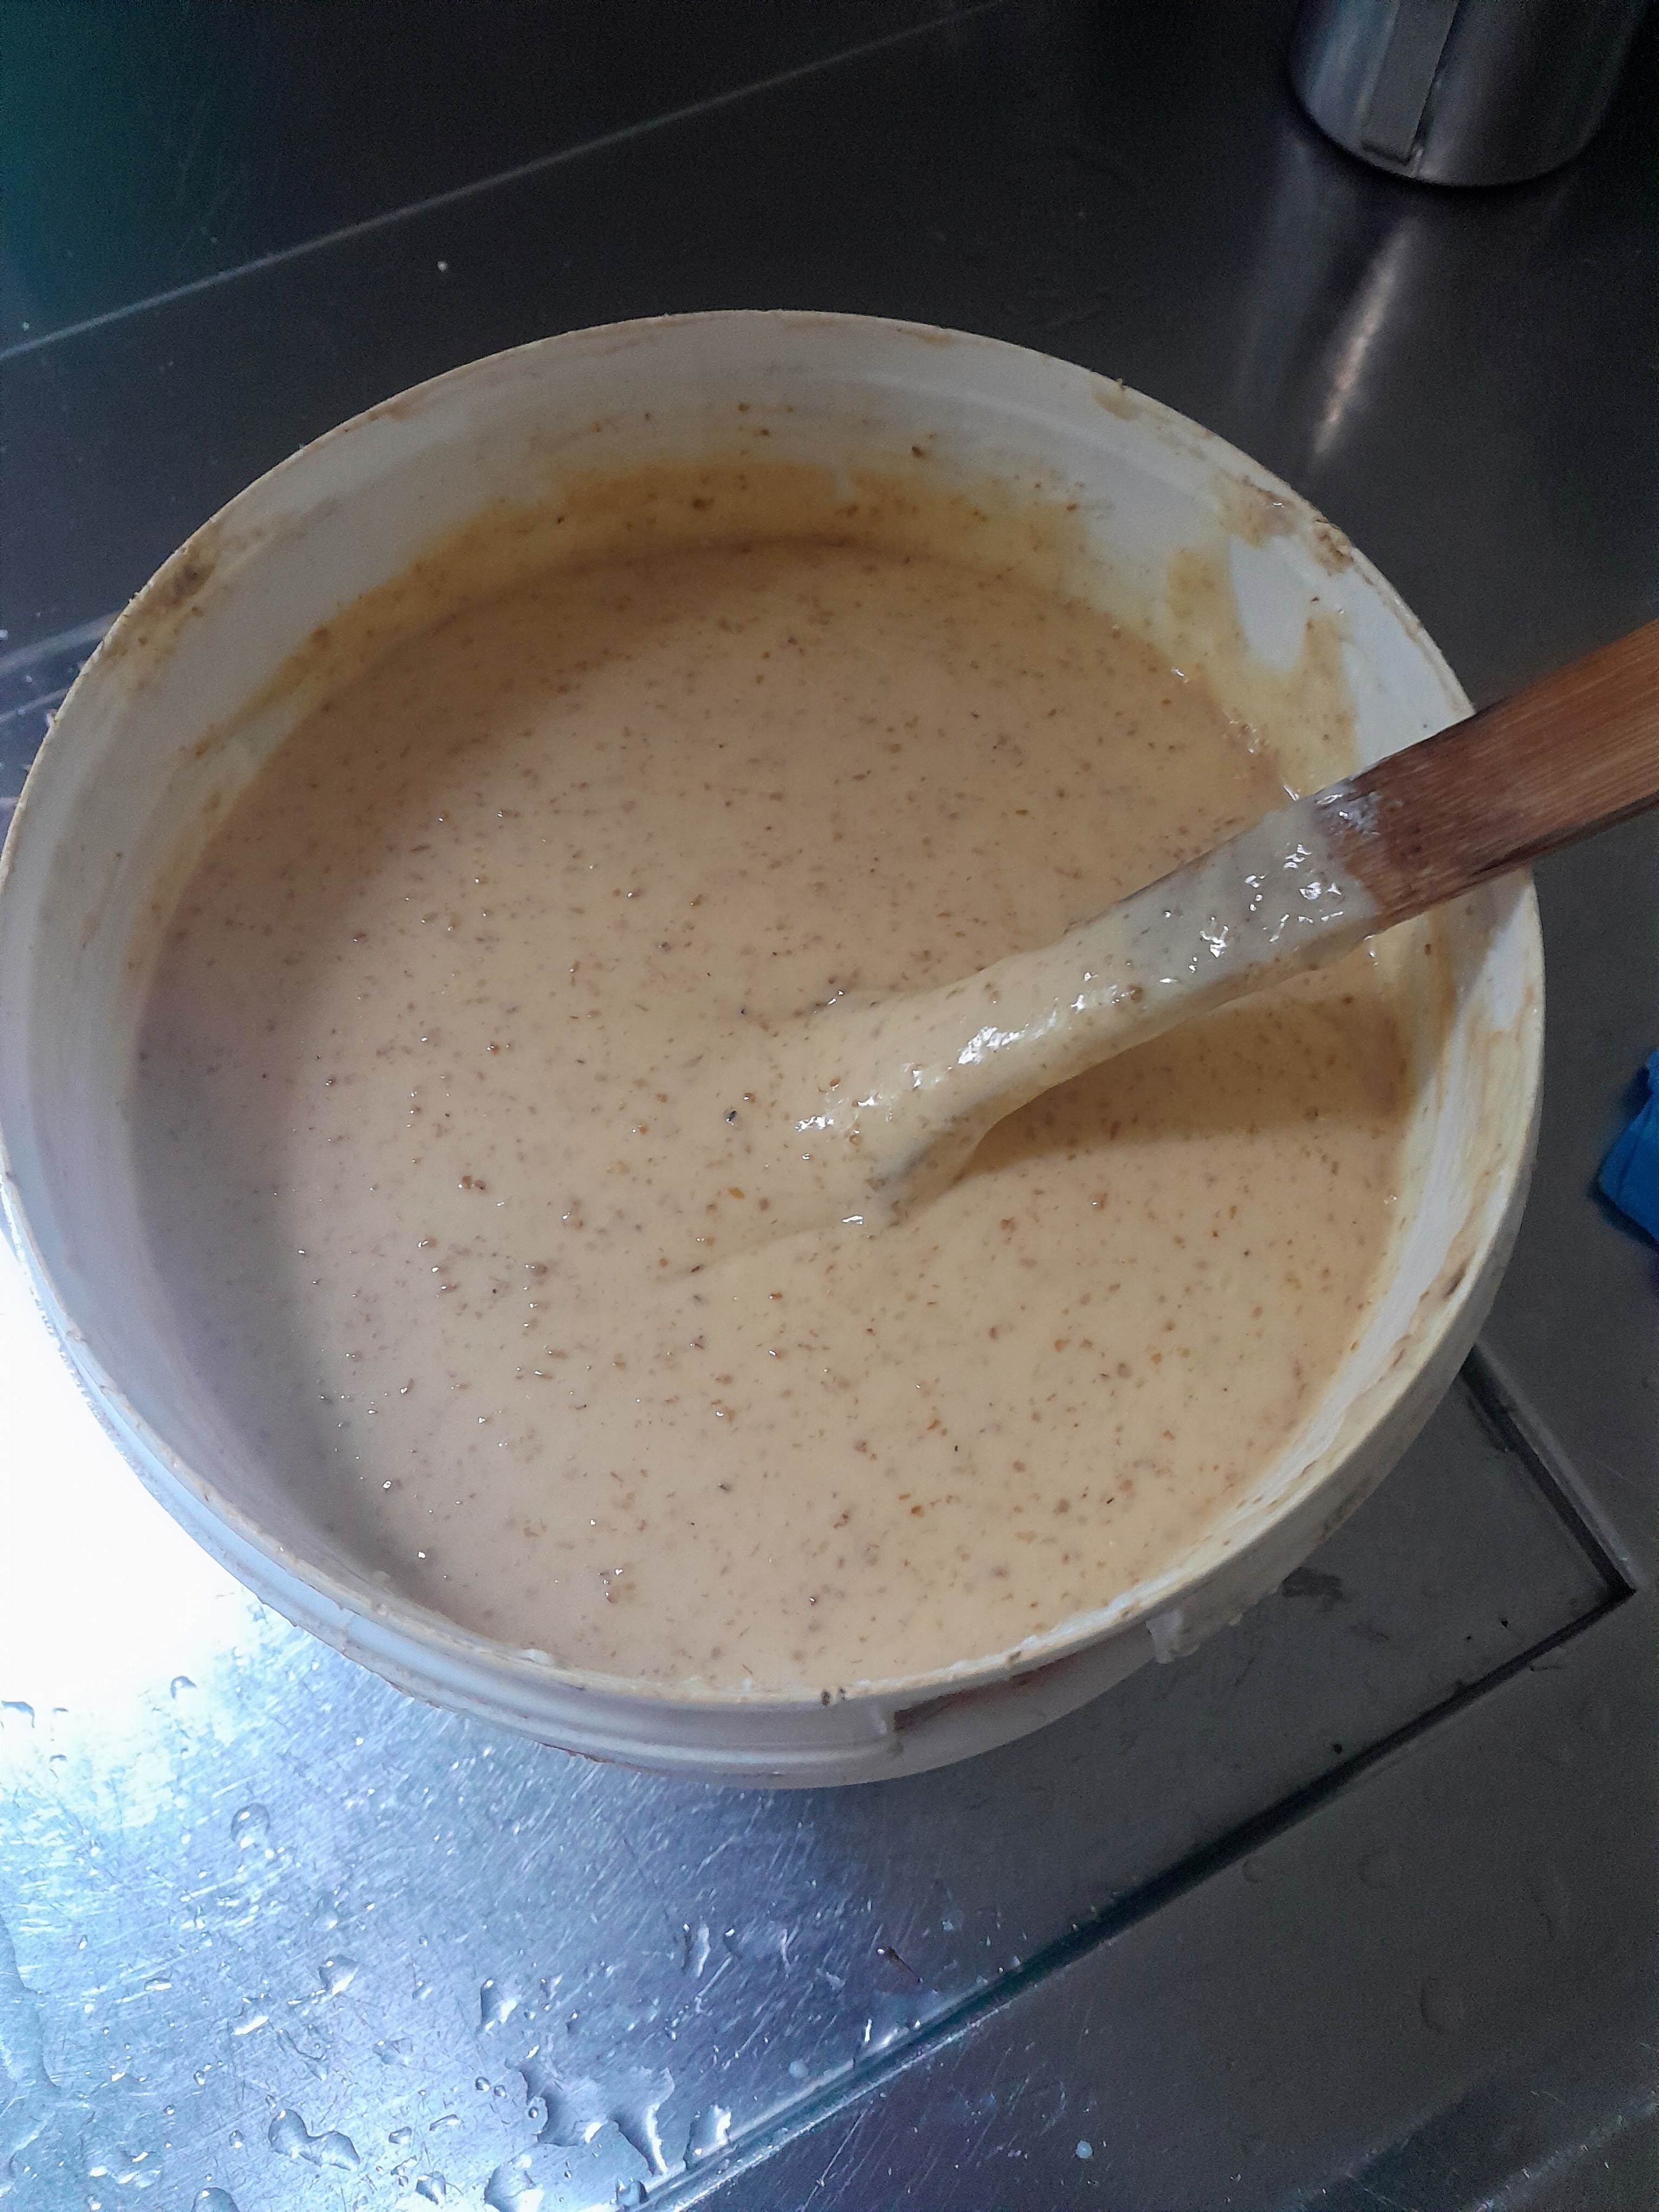
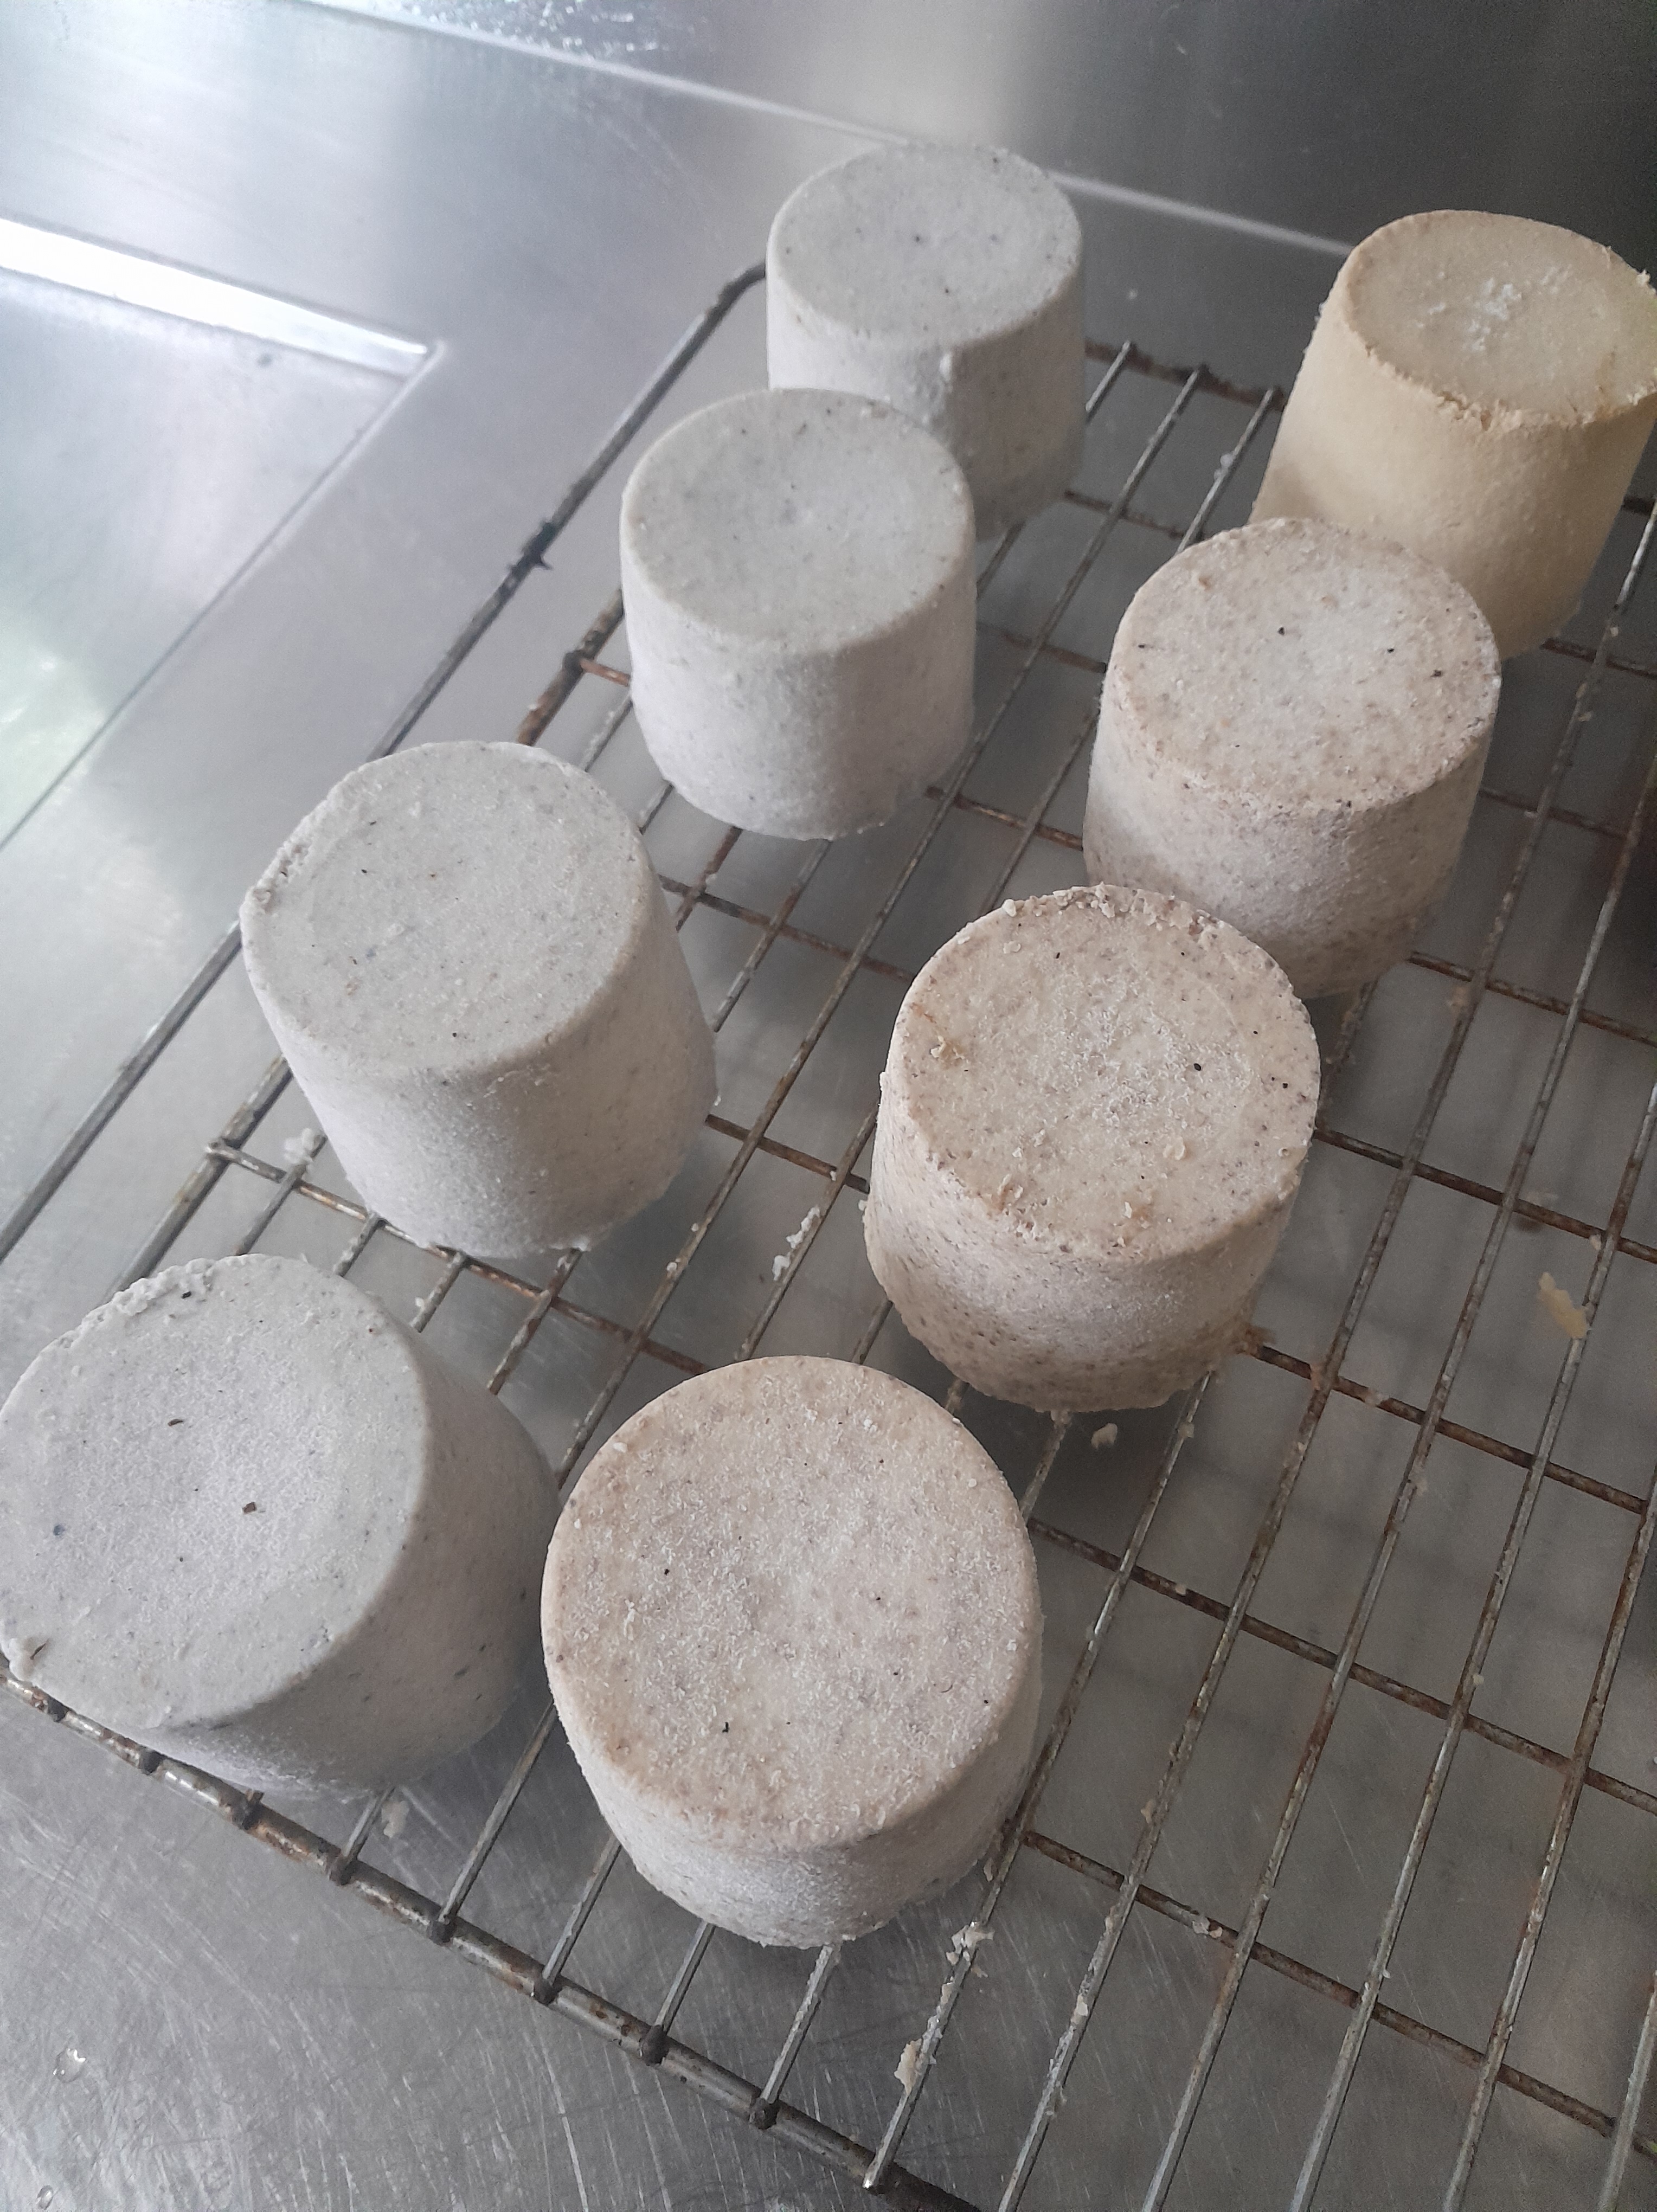
When ready, the soap was left undisturbed for several days to set.

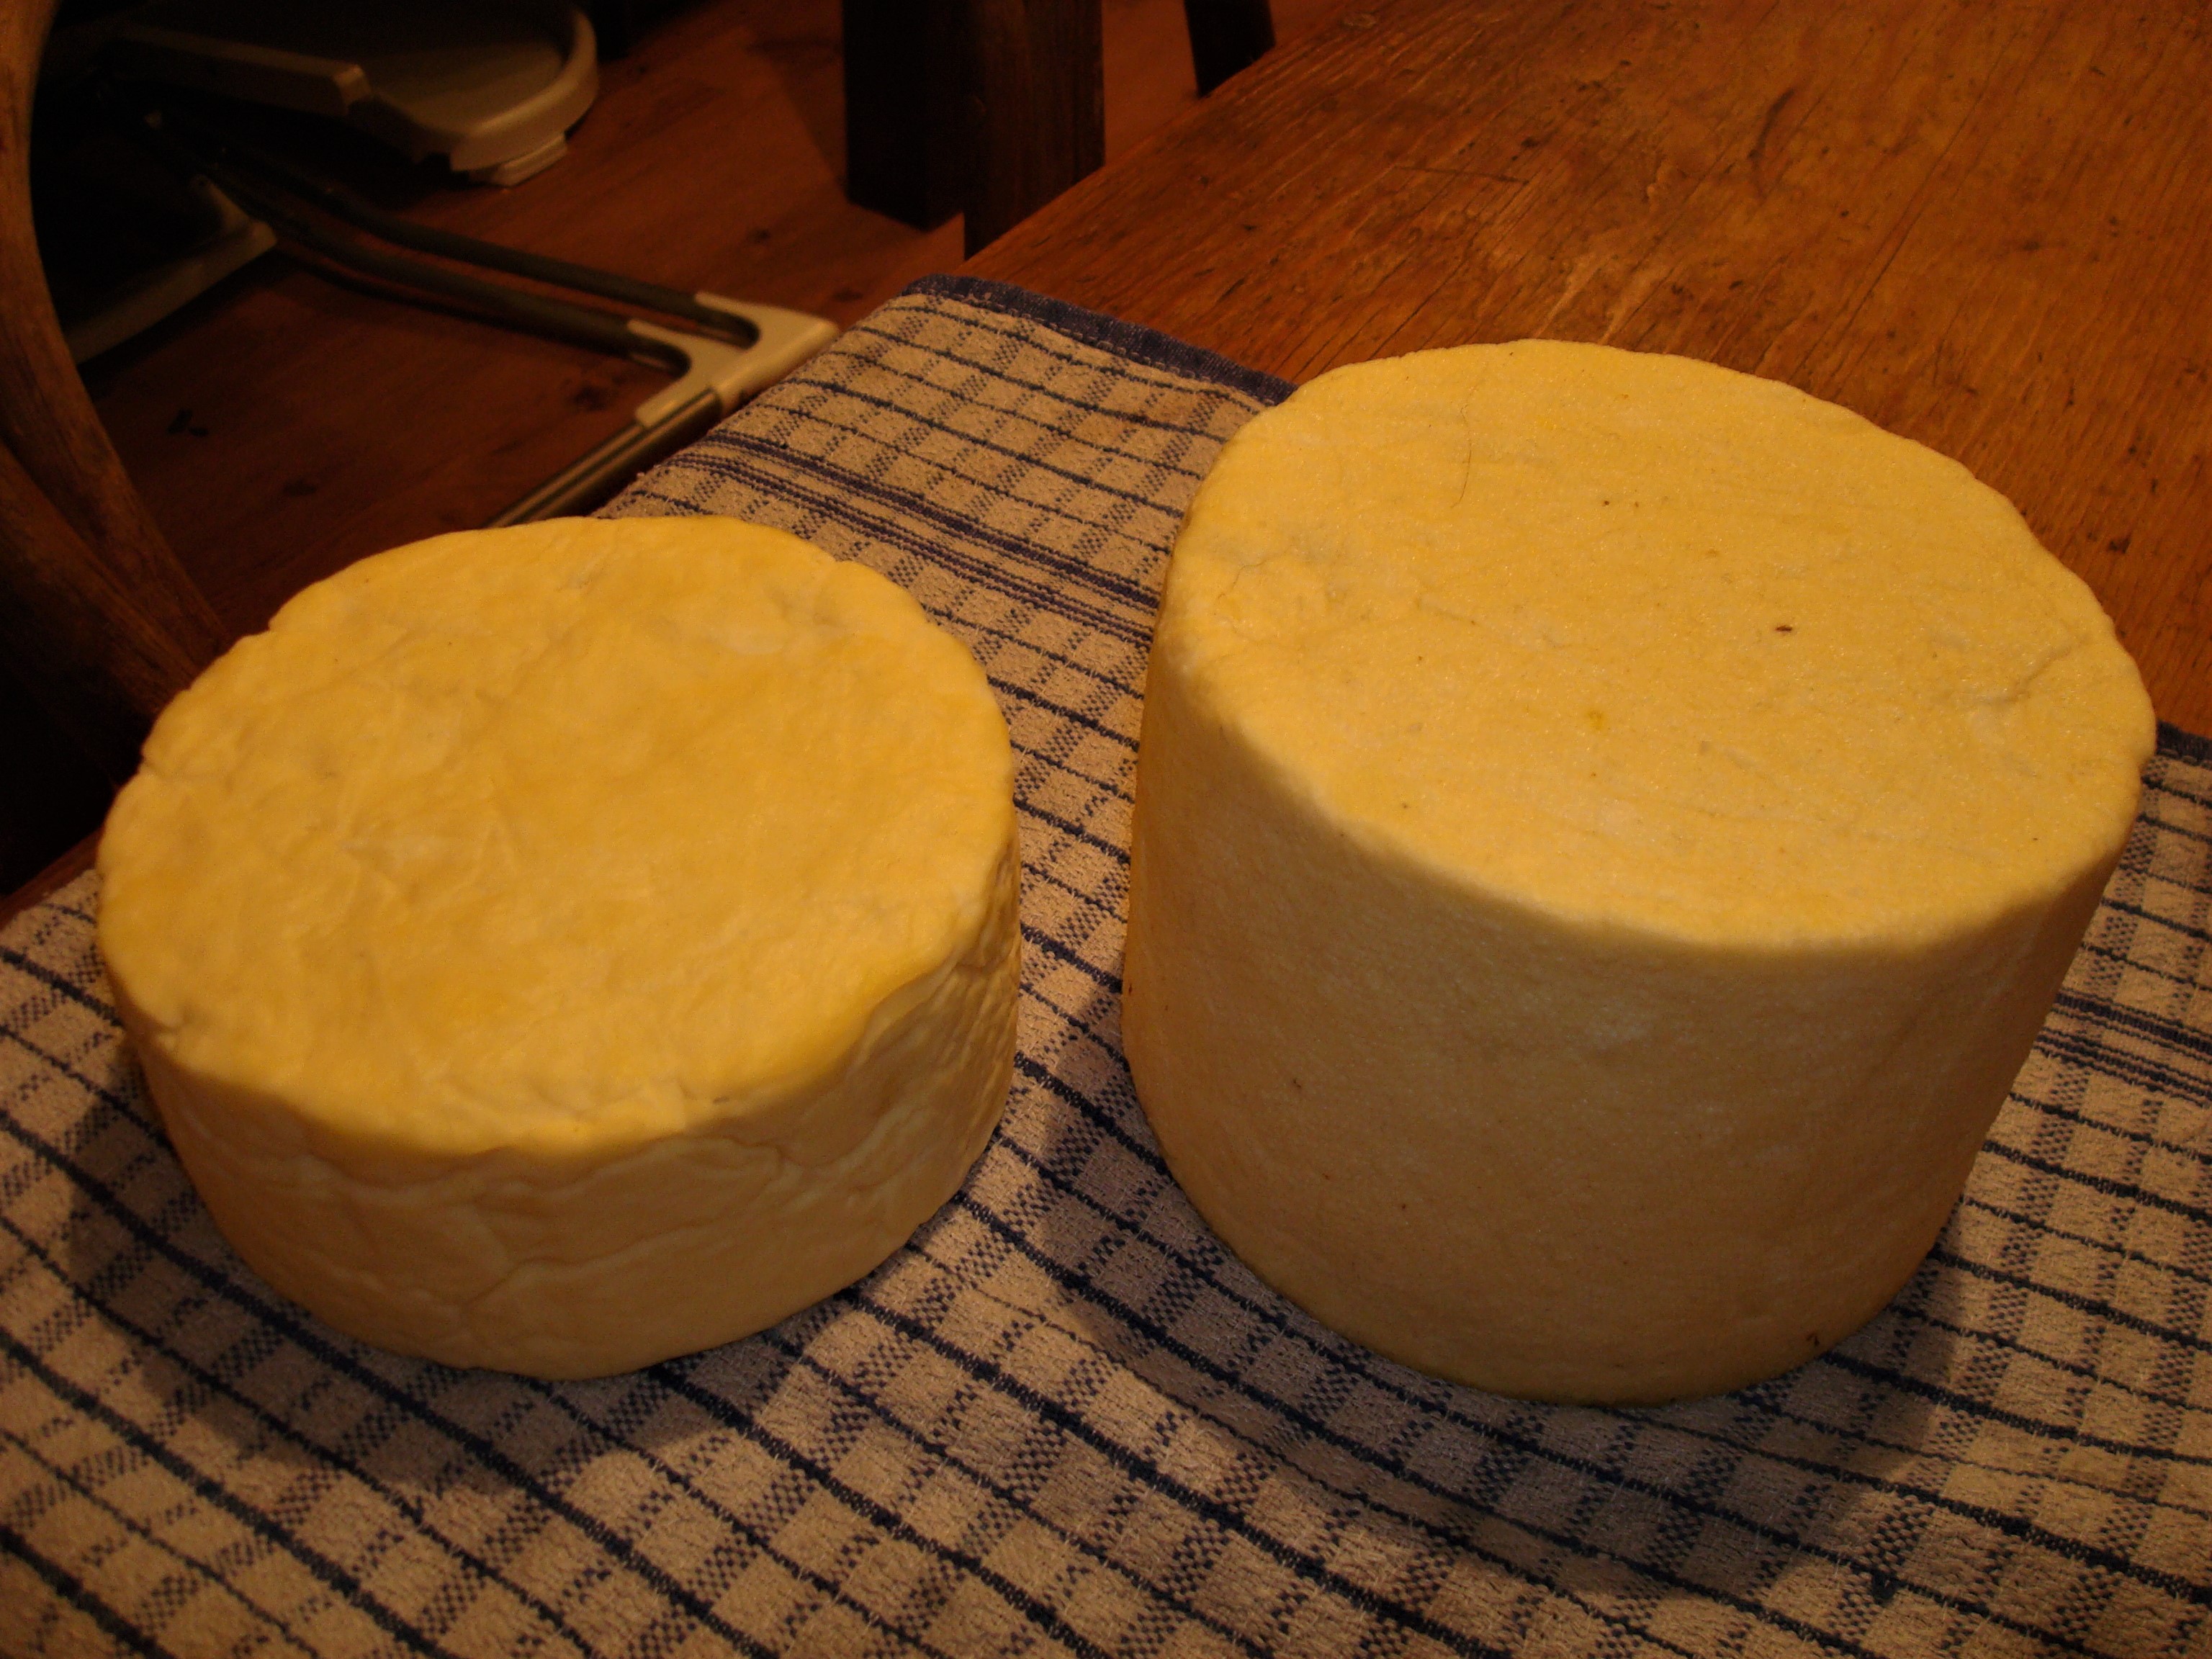
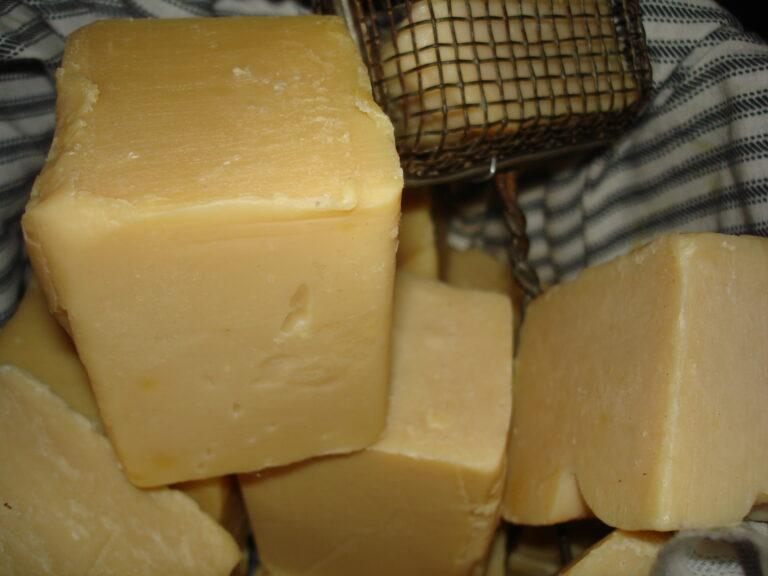
Once firm enough, the large block was turned out, cut into smaller pieces, and left to dry and harden in a well-ventilated place. Fresh soap was soft, almost butter-like, and became harder and more durable with time. Only useable after about 40 days.

What This Soap Was Used For

This was a strong, alkaline soap, intended mainly for :

  • Washing heavy work clothes
  • Cleaning floors and walls
  • Scrubbing tools, containers, and equipment

It was not designed for comfort or fragrance. Effectiveness mattered more than gentleness. Some families later added herbs or scents, but the basic soap remained plain and functional.

I also made some Extra Virgin Olive Oil Soaps today, adding coffee grind and mint leaves for a scrubbing effect and flavour

Why Flour Was Used

The addition of flour may seem odd today, but it made sense at the time. Flour helped thicken and stabilise the mixture in the absence of scales, thermometers, or chemical calculations. Soap making relied on observation, experience, and repetition rather than precision.

A Lesson in Self-Sufficiency

Recipes like this are a reminder of how farm households once operated. Everyday necessities were made at home, using local resources and practical knowledge built up over generations.

This old farmhouse soap is more than a cleaning product — it is a small example of rural independence, thrift, and ingenuity. Understanding how it was made helps us appreciate how closely farming life was tied to basic chemistry and hands-on skill.

FORMAGGIO di CONTADINI – Italian Farmhouse Cheese

Traditional Peasant Cheese

Formaggio di Contadini is a rustic farmhouse cheese inspired by traditional Italian country dairies. Made with rich Jersey milk, it develops a smooth, supple texture and a gently savoury flavour that improves with natural ageing.


Ingredients

  • Fresh Full-cream Jersey cow’s milk (Not pasteurised) – 6 Liters
  • Thermophilic starter culture – ¼ teaspoon
  • Goat lipase – 2 g
  • Liquid rennet (RENCO) – 7 ml
  • Non-iodised salt

Method

1. Warm and Culture the Milk

Gently heat the milk to 32 °C.
Sprinkle the starter culture over the surface, allow it to rehydrate for 2 minutes, then stir well

Cover and keep at 32 °C for 60 – 90 minutes to allow the milk to ripen and develop flavour


2. Add Lipase

Dissolve 2g goat lipase in a small amount of milk and let it stand for 10 – 15 minutes
Stir thoroughly into the milk


3. Add Rennet

Add 7 ml liquid rennet, stirring gently in an up-and-down motion for 1 minute.
Cover and hold at 32 °C for 45 – 60 minutes, or until a clean break is achieved


4. Cut the Curd

Cut the curd into 6 mm cubes

When cutting to 6mm, use a long knife or harp for uniform cubes. Stir very gently during cooking to avoid matting too early — this preserves moisture for a more supple final texture.


Allow the curds to rest for 5 minutes to release whey


5. Cook the Curds

Slowly heat the curds and whey in a double boiler from 32 °C to 38 °C over about 30 minutes, stirring gently to prevent the curds from sticking together

Once the target temperature is reached, cover and hold at 38 °C for a further 10 – 15 minutes


6. Drain the Curds

Pour the curds into a cheesecloth-lined colander.
Gather the cloth and hang to drain for 1 – 2 hours, keeping the curds warm and out of drafts.


7. Mould and Press

Pack the drained curds firmly into a cheesecloth-lined mould

Press in stages :

  • 5 kg pressure for 10 minutes
  • Remove, turn, rewrap, then press at 10 kg for 10 hours
  • Remove, turn again, rewrap, then press at 20 kg for 4 – 6 hours

8. Brining

Prepare an 18% brine (180 g salt per litre of water)

Submerge the cheese in the brine for 40 – 60 minutes per kilogram of cheese, turning halfway through. Ensure brine is chilled (10°C) and cheese is fully submerged

Remove and allow the surface to dry


9. Natural Rind Drying

Place the cheese on a wooden board at room temperature
Air-dry for 2–3 days, turning several times daily, until the rind feels dry and firm to the touch


10. Natural Ageing

Move the cheese to an ageing space at 10–12 °C with 85–90% humidity

  • Turn the cheese daily for the first week, then 2 – 3x weekly
  • If surface mould develops, wipe lightly with brine. Ensure brine is chilled (10°C) and cheese is fully submerged

Age for at least 4 weeks. Longer ageing will produce a deeper, more complex flavour. Try 8–12 weeks for noticeably deeper, nuttier, more “gently savory” flavor as proteins/lipids break down.

For a smoother rind, rub with olive oil after drying and once the rind is fully set (5–7 days), or brush with lard / herbs for traditional rustic look. If waxing, do so after 2–3 weeks when rind is set

QUAGLIE AL FORNO (Oven Roasted Quails)

Oven-roasted quail is one of our favourite ways to prepare quail. It is simple, quick, and exceptionally delicious.

Use as many deboned quails as required. Season them generously all over with salt and freshly ground black pepper. Place a sage leaf, some coarsely chopped rosemary, and a few thin slices of pancetta inside the cavity of each quail. Secure the birds by stitching the sides together with skewers or tying them neatly with kitchen string.

Arrange the quails in a well-oiled roasting pan and place them in a hot oven. Start by browning them on both sides under a high grill setting. Once nicely coloured, reduce the oven temperature to 140 °C and allow the meat to cook gently and evenly.

The entire cooking process should take 5–6 minutes. If in doubt, check the internal temperature: when it reaches 80 °C, the quail is perfectly cooked.

To finish, sprinkle with freshly chopped parsley and a little more ground black pepper. Drizzle generously with high-quality extra virgin olive oil and serve immediately on creamy polenta.

Enjoy — and remember to finish it off with a glass of good homemade red wine.

Ragù di Quaglia (Quail Pasta Sauce)

Every so often the freezer fills up with mature, processed quails, and the best solution is to turn them into something truly special : a slow-cooked ragù. On this occasion, I pulled 40 frozen quails from the freezer and spent most of Sunday afternoon transforming them into a rich, deeply flavoured sauce that can be enjoyed for months to come.

This is a labour of love, but one that rewards you generously. This is not just a sauce – it’s a celebration of North Italian tradition, where time, patience, and respect for every ingredient create something unforgettable. Cooked slowly, bottled carefully, and served with fresh pasta, it brings the warmth of our kitchen straight to your table.

Ingredients

  • 40 deboned quails
  • 2 kg finely chopped onions (50% brown, 50% red)
  • 250 g extra virgin olive oil
  • 250 g butter
  • 200 g finely chopped celery
  • 200 g finely chopped carrot
  • 50 g salt (adjust to taste)
  • 50 g freshly ground black pepper (adjust to taste)
  • 250 ml full-cream milk
  • 500 ml white wine
  • 500 ml stock (quail stock preferred)
  • 500 g tomato purée
  • 1 kg tinned tomato passata
  • 100 g finely chopped garlic
  • 50 g finely chopped fresh hot chilli (optional)
  • 5 g freshly grated nutmeg
  • A handful of hand-shredded fresh basil
  • 2 Cups Grated Parmigiano Reggiano Cheese

Method

In a very large, heavy-based pot (large enough to hold all the ingredients), add the olive oil, butter, and chopped onions. Sauté gently over medium heat until the onions are soft and translucent, but not browned.

Add the celery and carrot and cook gently for a further 5 minutes.

Add the quail meat, season with salt and pepper, and cook until lightly browned. Stir in the tomato purée and cook for a few minutes to deepen the flavour.

Pour in the white wine and cook until it has completely evaporated. Add a portion of the stock and stir frequently.

Reduce the heat to medium, then add the garlic, chilli (if using), milk, and nutmeg. Cook until the milk has fully evaporated, stirring regularly.

Stir in all the tomato passata. Once the ragù begins to bubble, reduce the heat to low and cook uncovered for 4–5 hours. Stir often and do not let it burn. As the ragù thickens, add more stock, as needed to maintain a rich, slow-simmering consistency.

Once cooked, bottle the ragù, seal, and pasteurise.

Storage & Yield

The great advantage of this method is longevity : the bottled ragù can be stored in the pantry for a very long time and provides an exceptional, ready-to-use meal at any time.

This batch yielded approximately 50–60 meal portions. For a family-sized version, simply divide all quantities by ten.

If quail is not available, a combination of beef and pork makes an excellent alternative.


Pasta al Ragù di Quaglia

While the pasta cooks in ample salted water – fresh pappardelle is my preference – open a bottle of ragù and transfer it to a pan large enough to accommodate both the pasta and sauce.

Gently heat the ragù. Drain the pasta while it is just shy of al dente and add it directly to the pan. Toss the pasta and ragù together over low heat until fully cooked, stirring and lifting constantly (Mantecare).

If the sauce becomes too thick, add a little stock, or some of the salted boiling pasta water. Finish with fresh basil, give it one final toss, and serve immediately topped with ample grated Parmigiano Reggiano Cheese.

Pasta al Ragù di Quaglia should be served piping hot – and enjoyed without haste.

Do not forget the bottle of home made red wine to finish it all !

SPRING IS IN THE AIR

Walking towards my car this morning, it was joyful to see that it is going to be a good plum year again and I can make more plum wine, preserved plums, plum jam, plum leathers and plums under grappa, etc