Back Yard Farmer – Hatching Quail Egg Instructions

To achieve the best possible hatch rate, please follow these guidelines carefully


1. Resting the Eggs

  • Upon arrival, allow eggs to rest at room temperature for 12–24 hours before incubation.
  • Place them pointed end down during this time.
  • Do not wash or clean the eggs, as this removes the natural protective coating.

2. Egg Positioning (Important)

  • For incubation, place eggs pointed end down, blunt end up.
  • This ensures the developing chick can access the air cell correctly before hatching.

Alternative method (manual turning):

  • Eggs may be laid on their sides if turning by hand.
  • Turn gently and consistently at least twice daily.

3. Hand-Turning Tip

  • When turning by hand, alternate the direction each time (back and forth).
  • Avoid rotating eggs continuously in one direction only.
  • Simple method: mark one side “X” and the other “O”, then flip X → O → X → O each turn.
  • This keeps the embryo properly centred and developing evenly.

4. Incubation (Days 1–14)

  • Preheat your incubator before setting the eggs.
  • Temperature: 37.7°C
  • Humidity: 45–60%
  • Turn eggs at least twice daily (or use an automatic turner).

5. Lockdown & Hatching (Days 15–17)

  • At the end of Day 14, stop turning the eggs (“lockdown”).
  • Adjust incubator settings:
    • Temperature: 37.5°C
    • Humidity: 80–90%
  • Do not open the incubator during this period.
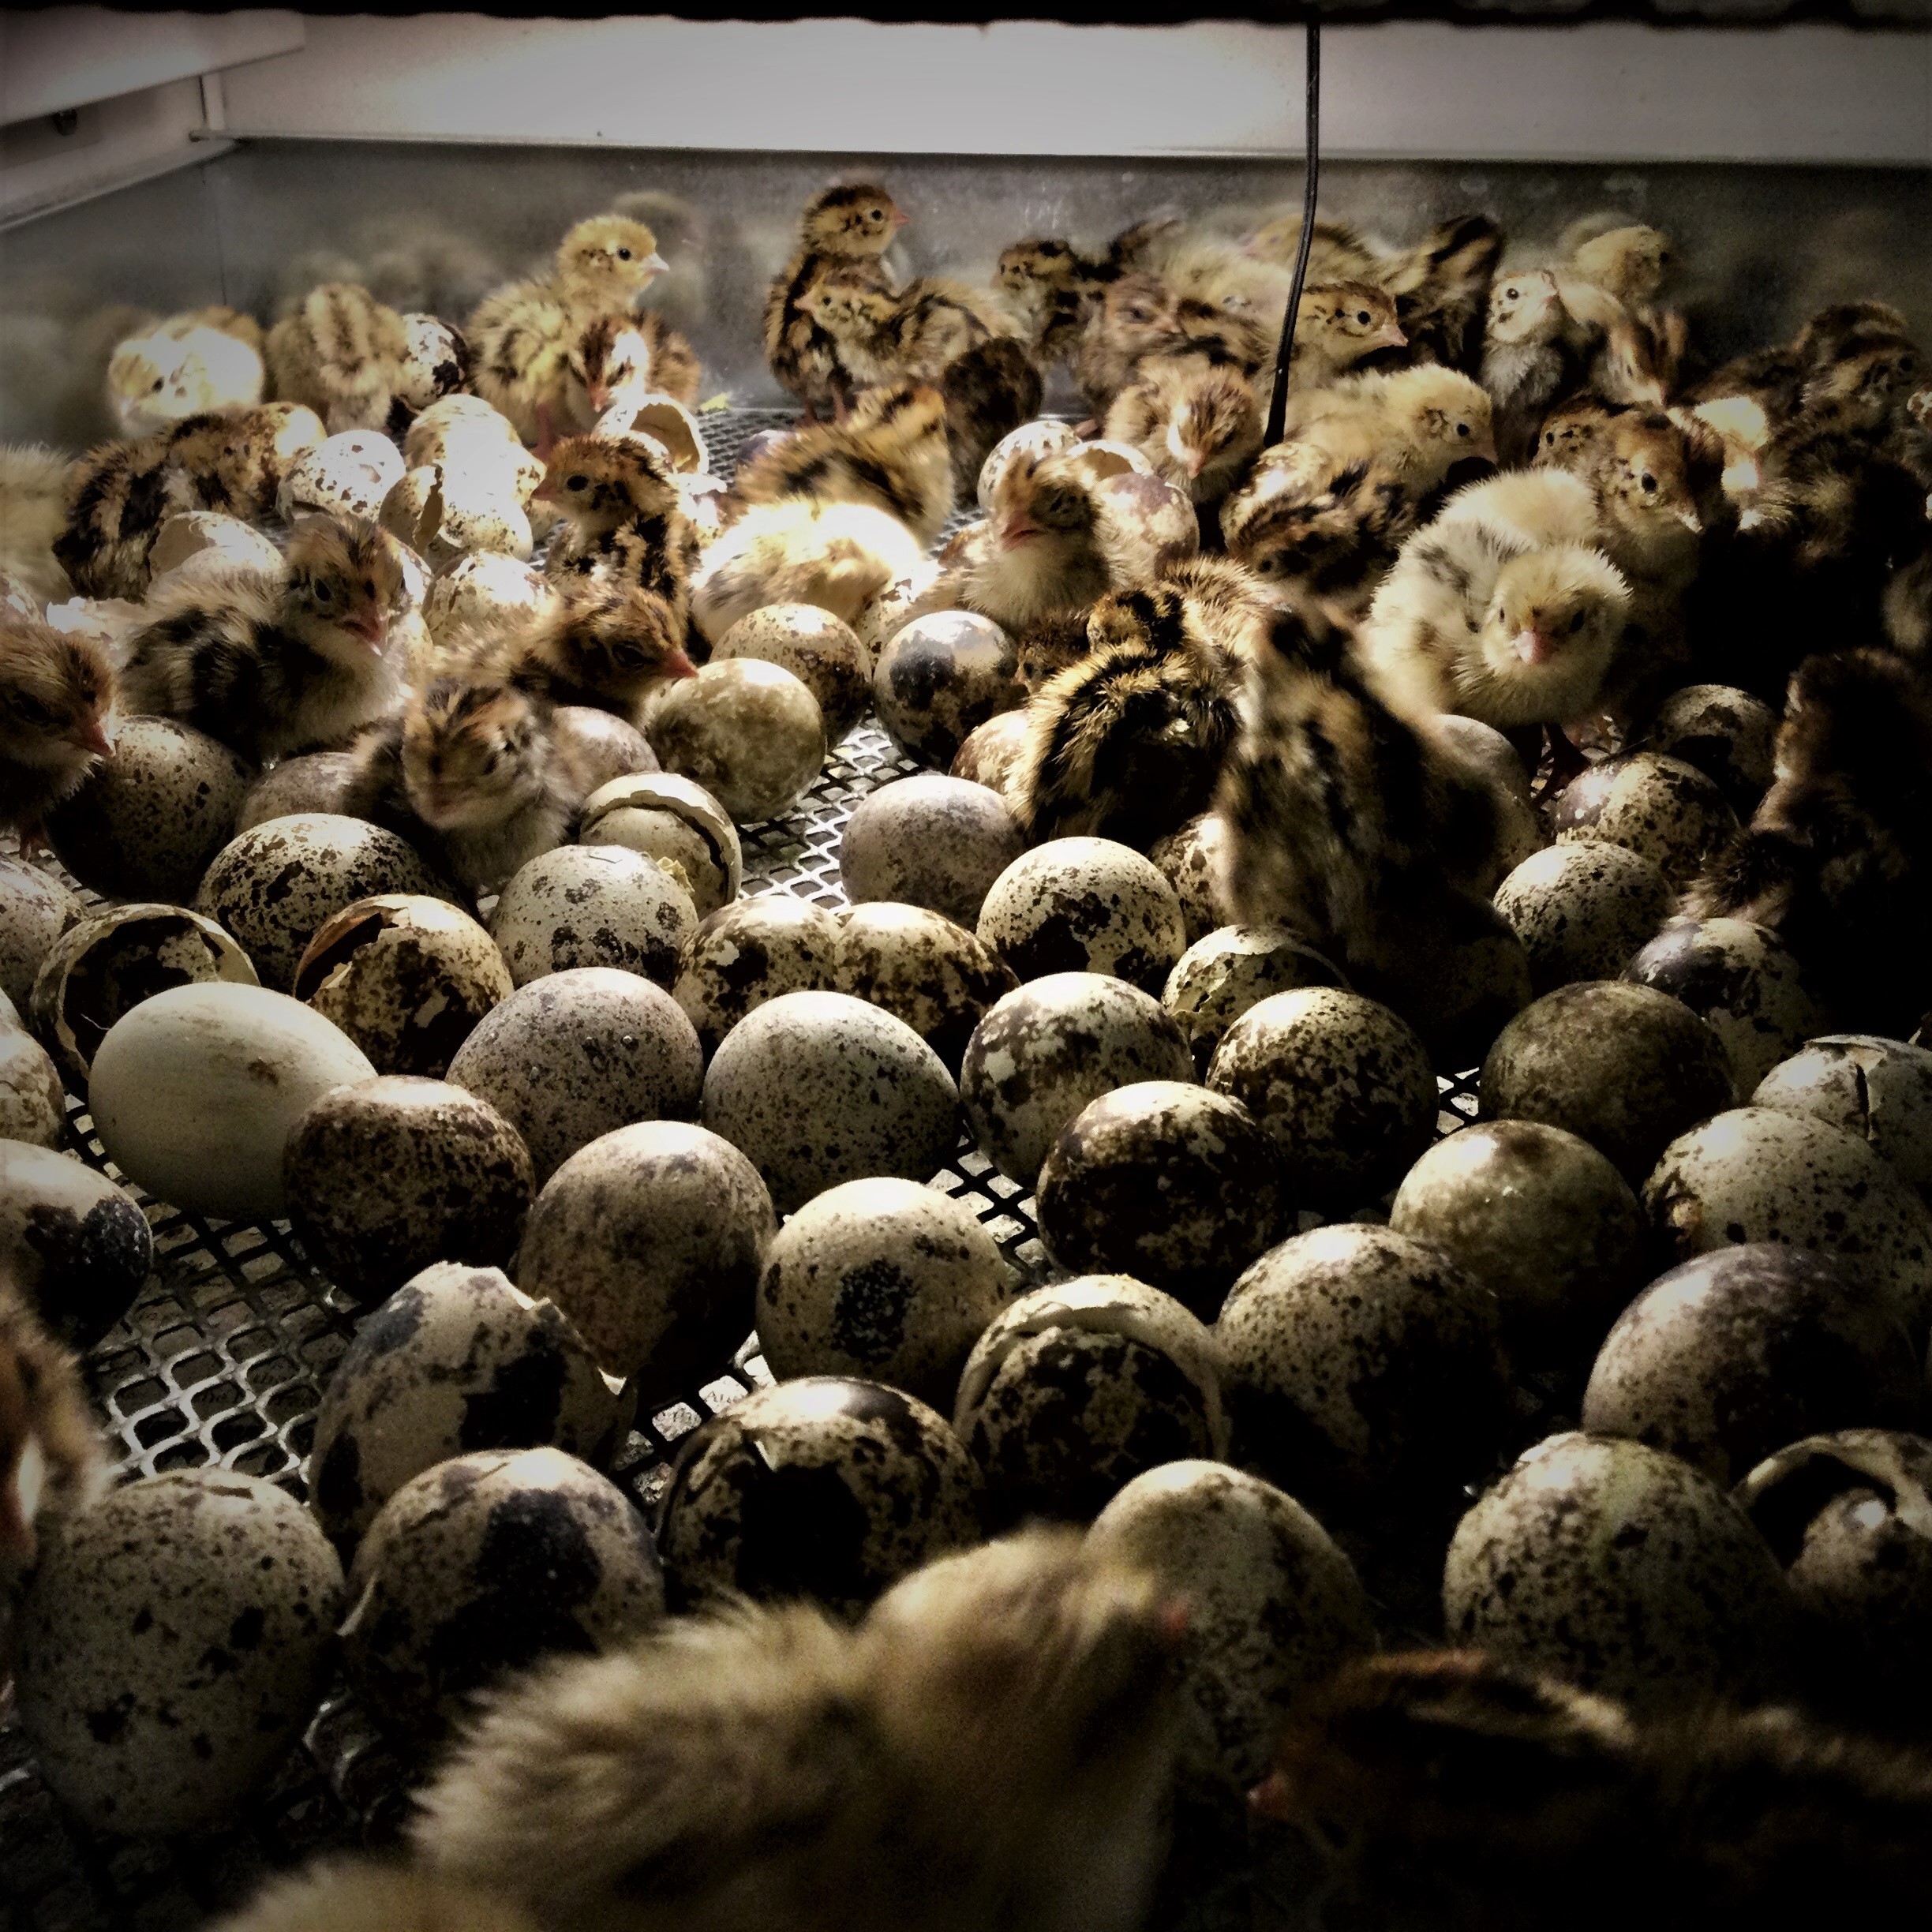
  • Chicks should begin hatching around Day 17

6. During Hatch

  • Avoid opening the incubator while chicks are actively hatching.
  • After the first chicks hatch, wait approximately 24 hours, then:
    • Remove only fully dry chicks
    • Close the incubator promptly to maintain humidity
  • Allow remaining eggs to complete hatching undisturbed
7. Brooder Setup

  • Preheat brooder to 36°C before introducing chicks.
  • Ensure chicks can move freely between warm and cooler areas.
  • Reduce temperature by approximately 1°C every 2 days.
  • Observe chick behaviour:
    • Too cold: chicks huddle tightly
    • Too hot: chicks spread out and pant

8. Feeding

  • Feed 28% protein BYF Quail Starter Feed from day one.
  • Provide feed ad lib (always available) for the first 3 weeks.
  • Ensure constant access to clean, fresh water (use shallow drinkers to prevent drowning)


Additional Notes

  • Consistency is key — avoid fluctuations in temperature and humidity.
  • Avoid unnecessary handling or opening of the incubator.
  • Hatch rates may vary due to transport and incubation conditions.

Revolutionising Quail Nutrition—The Natural Way

At Back Yard Farmer, we believe that the best solutions often come from the garden, not a laboratory. We are thrilled to announce our new 5-Herb Botanical Blend, a premium upgrade to our quail feed that brings “clean-green” bio-security directly to your coop.

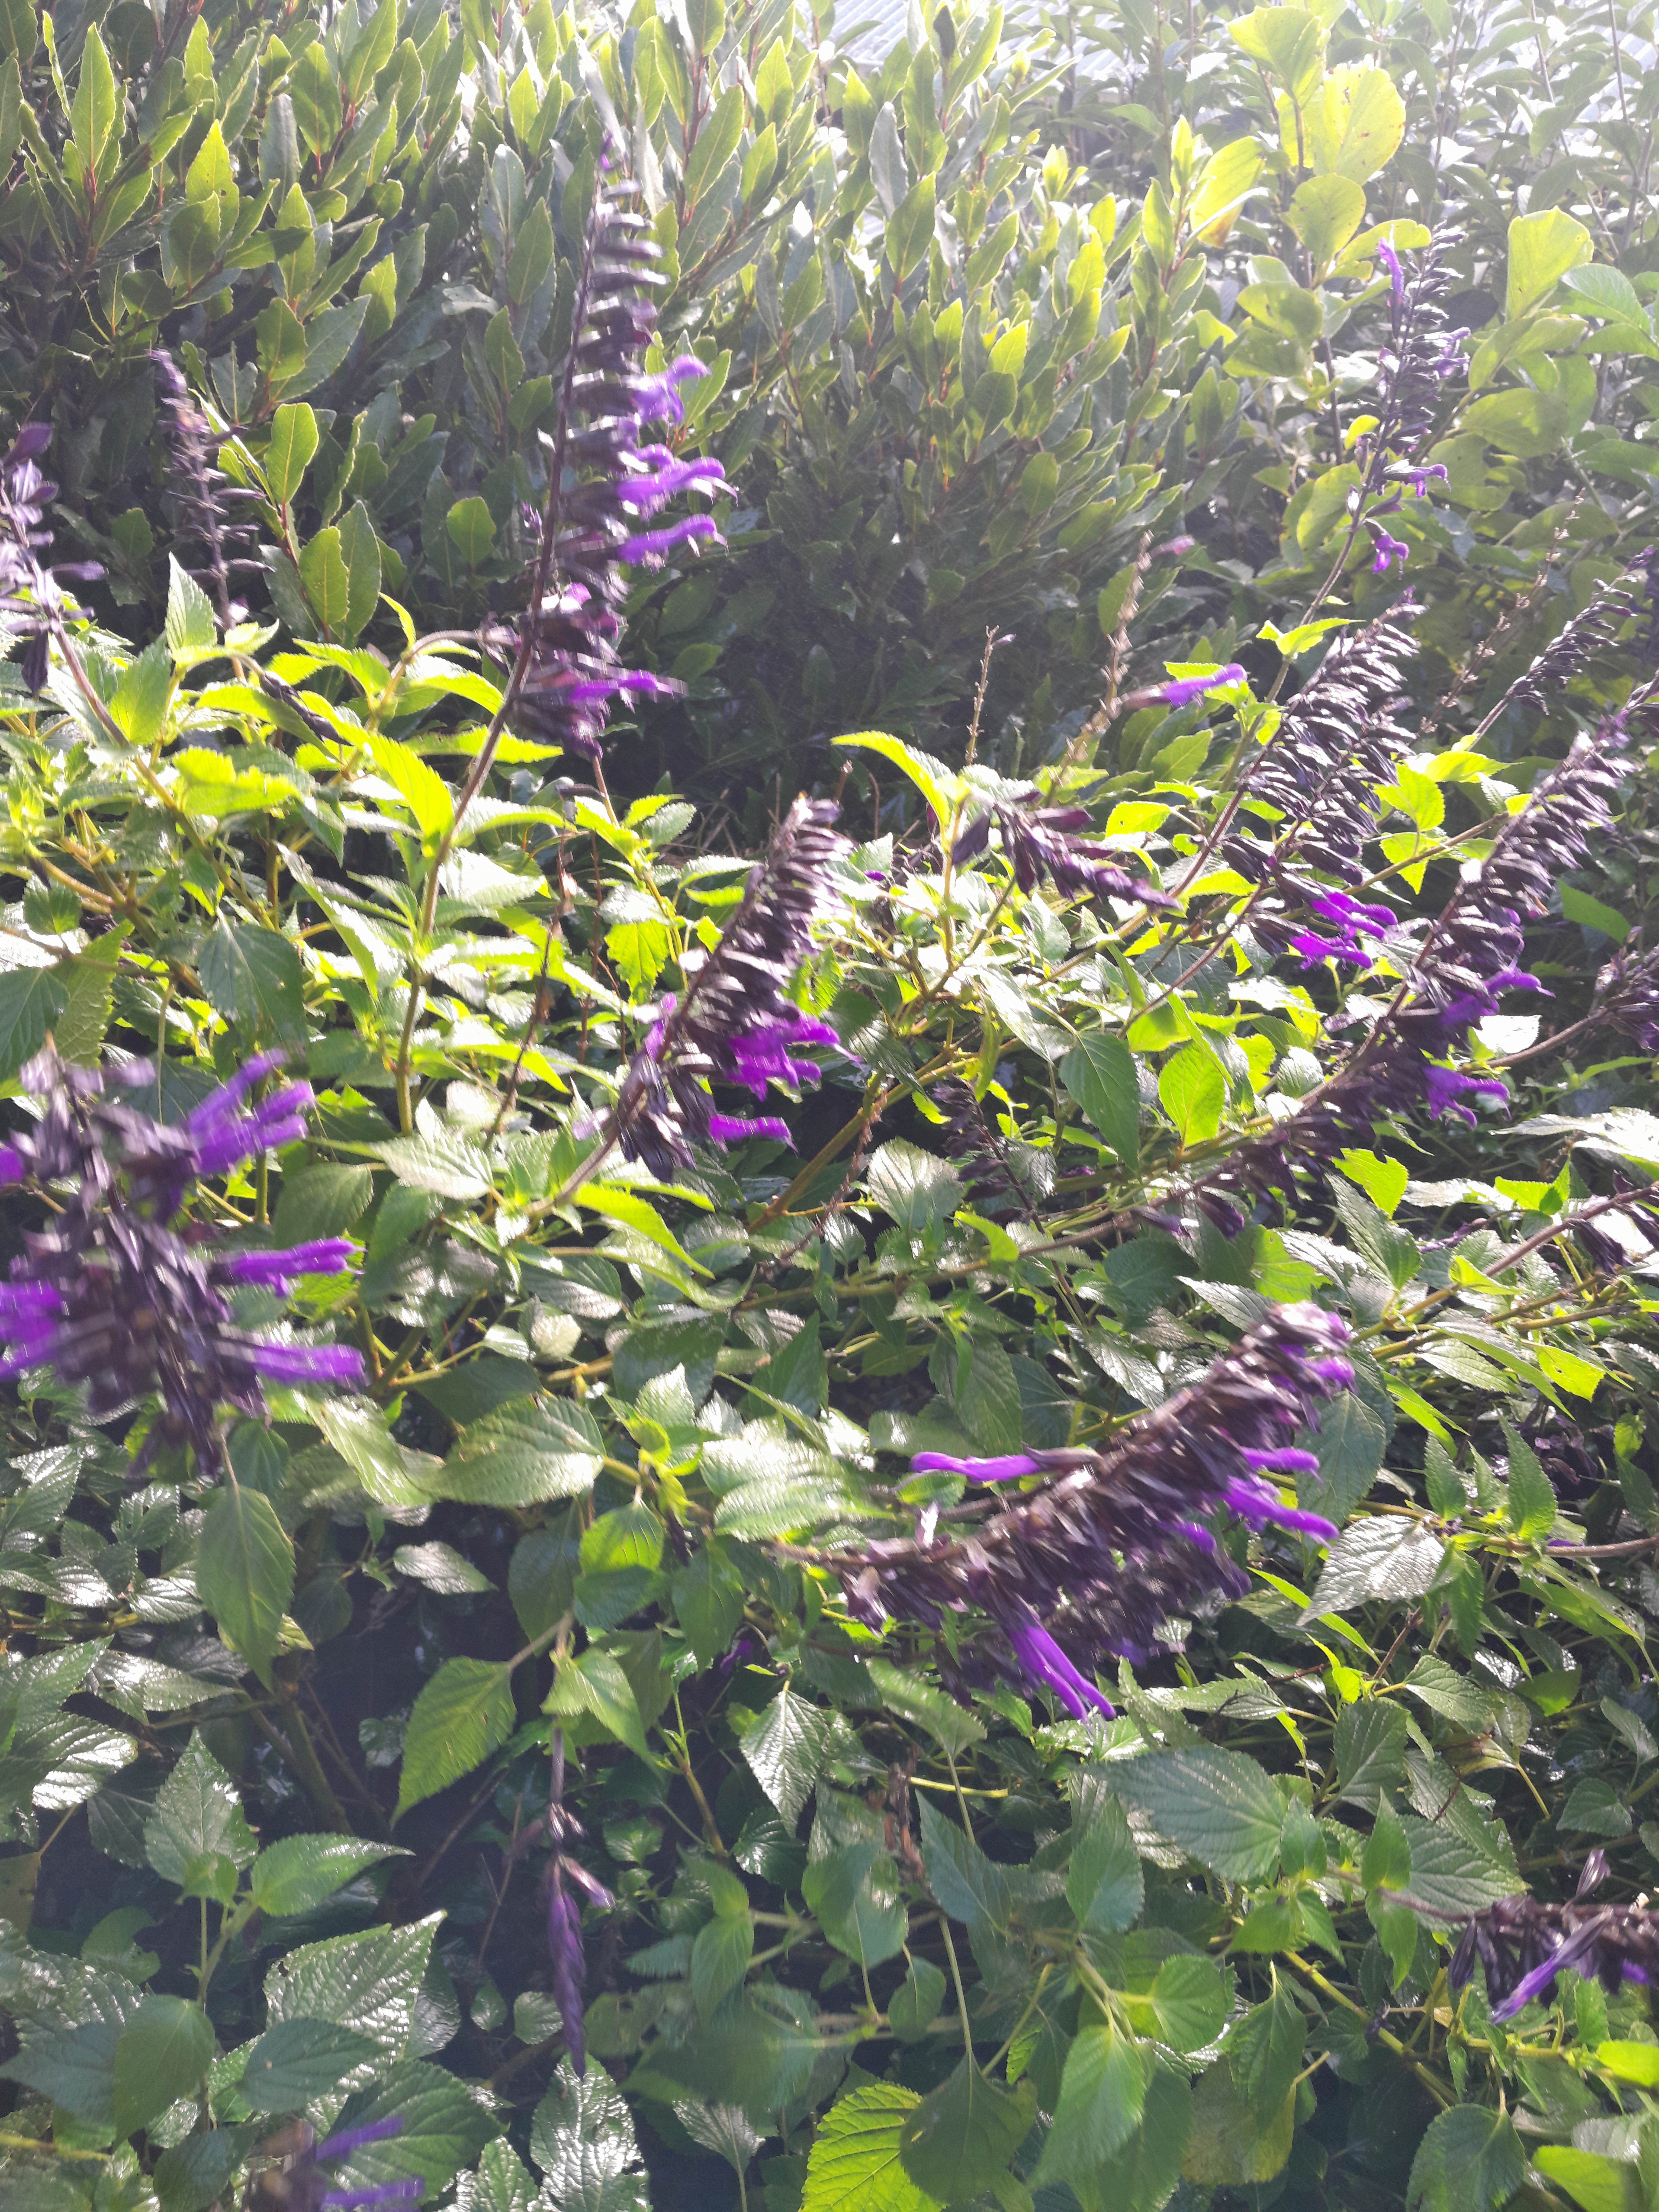
By blending Organic New Zealand grown Salvia ‘Amistad’, Rosemary, Mint, Lemon Verbena, and Bay Leaves, we’ve created a powerhouse formula that acts as a natural shield against pests while boosting bird vitality.

Why Now?

We’ve spent the last several seasons observing the challenges our New Zealand keepers face—from high humidity causing grain pests to the relentless pressure of mites and flies in our summer months. We didn’t want to just offer another chemical fix. We waited until we could perfect a ratio that is safe, highly effective, and stabilized with Salmon Oil and Lypoforte for maximum absorption. It’s the result of months of testing to ensure your quail get the very best of nature’s pharmacy.

A Functional Shield, Not a Filler

Our organic botanical blend fits right into the growing body of research on phytogenic feed additives. These plant-based supports improve digestion, immunity, and antioxidant levels without the need for antibiotics. By including these five specific organic herbs, we help your birds fight off mites, lice, and internal stress naturally.

Featured Herb of the Week: Salvia ‘Amistad’

We are kicking off our series with the exotic Salvia ‘Amistad’. While a favorite in NZ gardens, for quail, it is a hidden gem. We use the dried leaves and flowers to provide:

  • Natural Bio-Security: The resinous compounds act as a bitter deterrent for external pests and rodents.
  • Immune Vitality: Rich in anthocyanins, these purple blooms provide powerful antioxidants that help birds cope with environmental stress and high egg production.

Potential Benefits You’ll Notice:

  • Antioxidant & Immune Support: Helping birds through molt and peak laying.
  • Enhanced Palatability: Aromatic herbs encourage natural foraging and steady intake.
  • Superior Absorption: Our 1% Salmon Oil cuts the dust and ensures these herbal oils are fully digested.

Stay tuned! Over the next four weeks, we will continue diving deep into each of these “Super-Herbs.” Next week, we put the spotlight on Rosemary and how it acts as the ultimate “Liver Specialist” for your flock.

INCUBATION AND HATCHING RATES with Coturnix coturnix Eggs

I hatch between 30 and 40 eggs every week and keep meticulous records (ex scientist) and hatching percentage at present is about 78% (chicks alive at 3 days of age of eggs placed). This is for all eggs placed over at least a 12 month period. It also includes some batches from much older birds as well as batches of very young birds, as I may sometimes collect eggs from these before they are either sold or slaughtered. Very young and very old birds obviously have lower egg viability and hence affect the records. It is not uncommon to get 90%+ hatchings from the commercial flocks. My records also include hatchings from Male lines and Female lines, Breeding Parent Stock, where I have lower Male to Female ratios and different ages in the same cages, where hatching percentages are not always that good

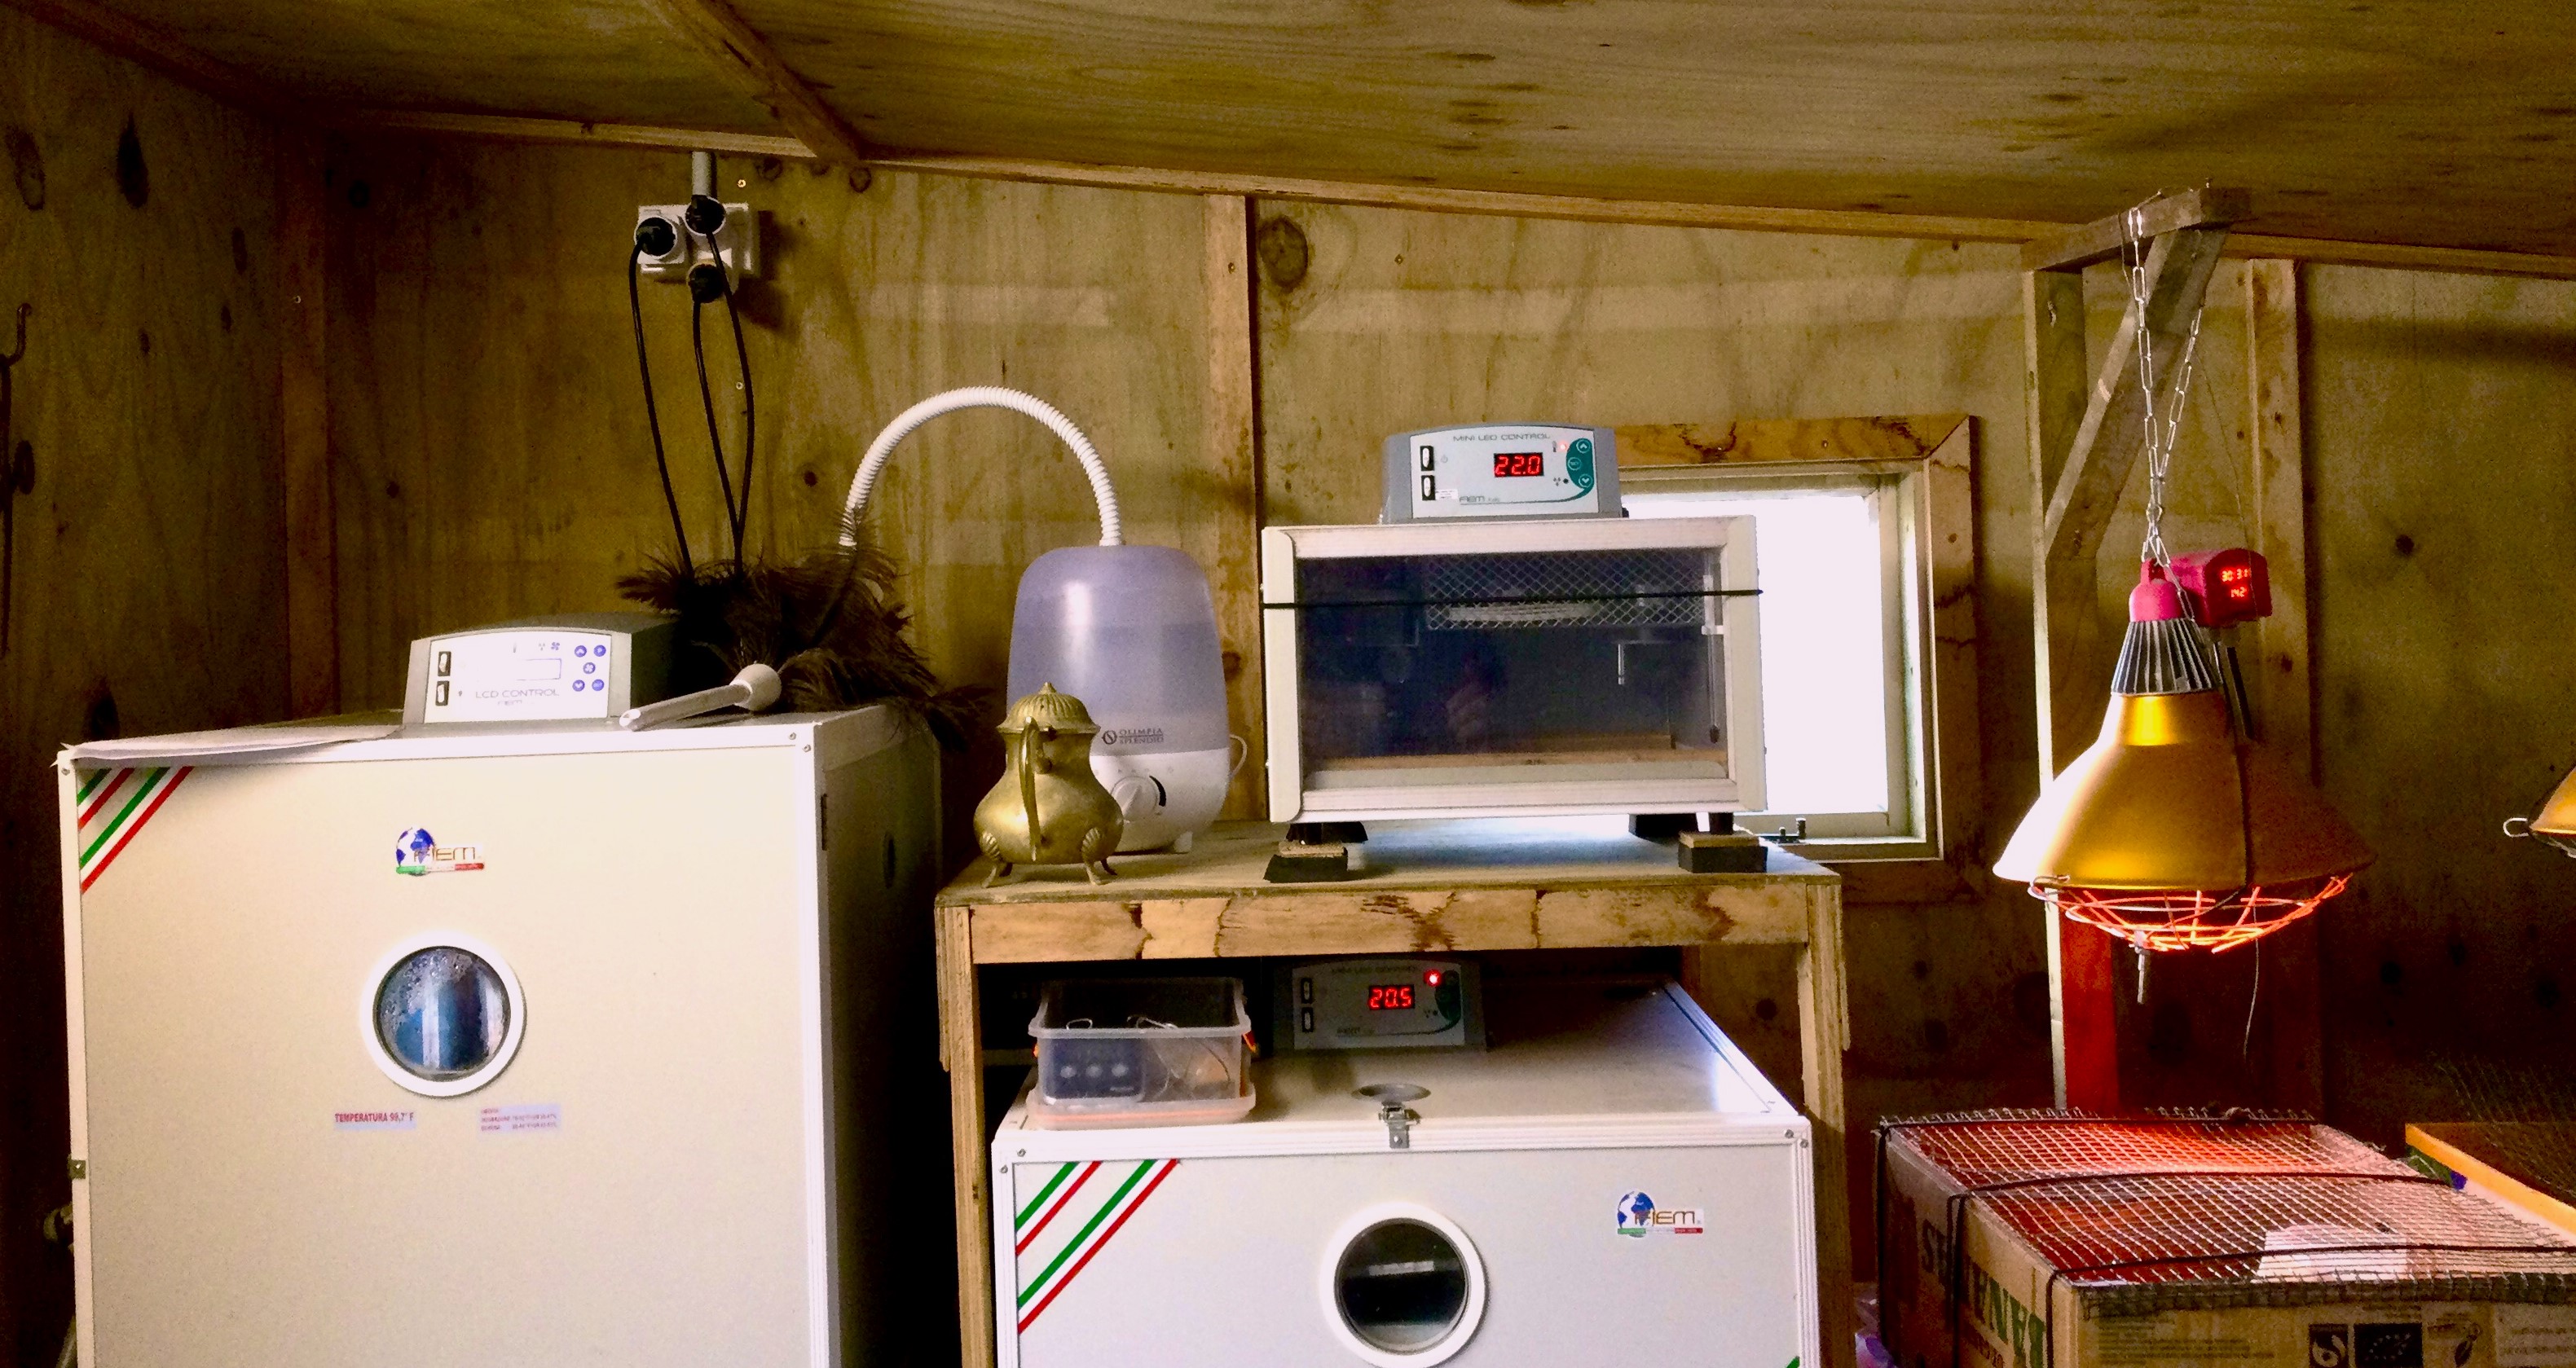
I must emphasise that these results are obtained by using very good commercial incubators and hatchers (FIEM) and it is not possible to achieve these results over an extended period with most of the cheap equipment on offer nowadays. Even with my equipment, the monitors in the incubators and hatchers are not always 100 % accurate and I have seperate calibrated thermometers and wet bulb thermometers to compare all the time, making sure settings are actually achieved inside the machines.

Quail Eggs are much more sensitive / difficult to hatch compared to chicken, or most other specie, eggs

The ideal settings for my conditions for Coturnix coturnix are :

Day 1 to day 14 – RH (%) – 60

Day 1 to day 14 – Temperature (C) – 37.7

Day 15 to hatch – RH (%) – 80

Day 15 to hatch – Temperature (C) – 37.5

The following hatching conditions I have found over the years are giving the best hatching and survival rates for Coturnix coturnix quails

I collect eggs for up to 3 days, depending on how many I want to incubate, then class them for hatching.

1. Do not clean or wash the eggs at all

2. Remove any odd colours and shapes of eggs

3. Candle all eggs for fine cracks and discard cracked eggs

4. Weigh the eggs and only incubate eggs that are between 12 and 15 grams. Smaller eggs result in weaker chicks, while larger eggs (15 g plus) is not preferred since it becomes too large for the hens. The incidence of double yolks are not always detectable and is more frequent in larger eggs. I select hens for about 280 – 300 g body mass and do not breed from larger birds. This is the most economical bird and eggs size.

5. Incubators are set at 37.7 Celsius and 60% (RH) Humidity. Hatchers are set at 37.5 C and 80 % (RH) Humidity. I monitor and adjust incubators and hatchers for both these two parameters with independent monitors as incubator measuring and displays are not always that accurate, even with my FIEM commercial, sophisticated and well proven machines. I use calibrated thermometers and wet bulb thermometers. Preheat incubators and hatchers for a couple of hours before setting.

I am always trying to simulate nature during incubation and hatching and therefore keep the inside of the machines dark, as if under a hen. Furthermore there are some research published lately suggesting to have better hatching results if the incubators and hatchers are switched off for about 30 minutes every day, again simulating the hen getting up to eat. I have not tried it, but will experiment with this soon.

Keep hatchers and incubators in an environment as close as possible to the setting parameters. Also avoid fluctuations in conditions and make sure there are no drafts, but it should be very well ventilated.

6. Coturnix coturnix eggs are incubated for 14 days (37.7 Celsius and 60 % (RH) Humidity) while automatically turned every 2 hours. Then they go into the hatcher (37.5 C and 80 % (RH) Humidity) until hatching at about 17 days. I leave the chicks undisturbed for 24 – 36 hours after the first chick hatched and then move all the hatched chicks to the brooders and stop hatching. I do not assist any chicks that struggle to hatch, or still in the eggs.

HATCHING TIMES

I use the same incubation and hatching parameters for many other species as well. All are moved to the hatchers 3 days prior to hatching and are just left in the incubators until 3 days before hatching, whatever time that may be.

Pheasants 24 Days (21 + 3)

Partridge 23 Days (20 + 3)

Bob White Quail 23 Days (20 + 3)

Californian Quail 22 Days (19 + 3)

Coturnix coturnix 17 Days (14 + 3)

HATCHING COTURNIX COTURNIX QUAILS

The following hatching conditions I have found over the years are giving the best hatching and survival rates for Coturnix coturnix quails

I collect eggs for up to 3 days, depending on how many I want to incubate, then class them for hatching.

1. Do not clean or wash the eggs at all

2. Remove any odd colours and shapes of eggs

3. Candle all eggs for fine cracks and discard cracked eggs

4. Weigh the eggs and only incubate eggs that are between 12 and 15 grams. Smaller eggs result in weaker chicks, while larger eggs (15 g plus) is not preferred since it becomes too large for the hens. The incidence of double yolks are not always detectable and is more frequent in larger eggs. I select hens for about 280 – 300 g body mass and do not breed from larger birds. This is the most economical bird and eggs size.

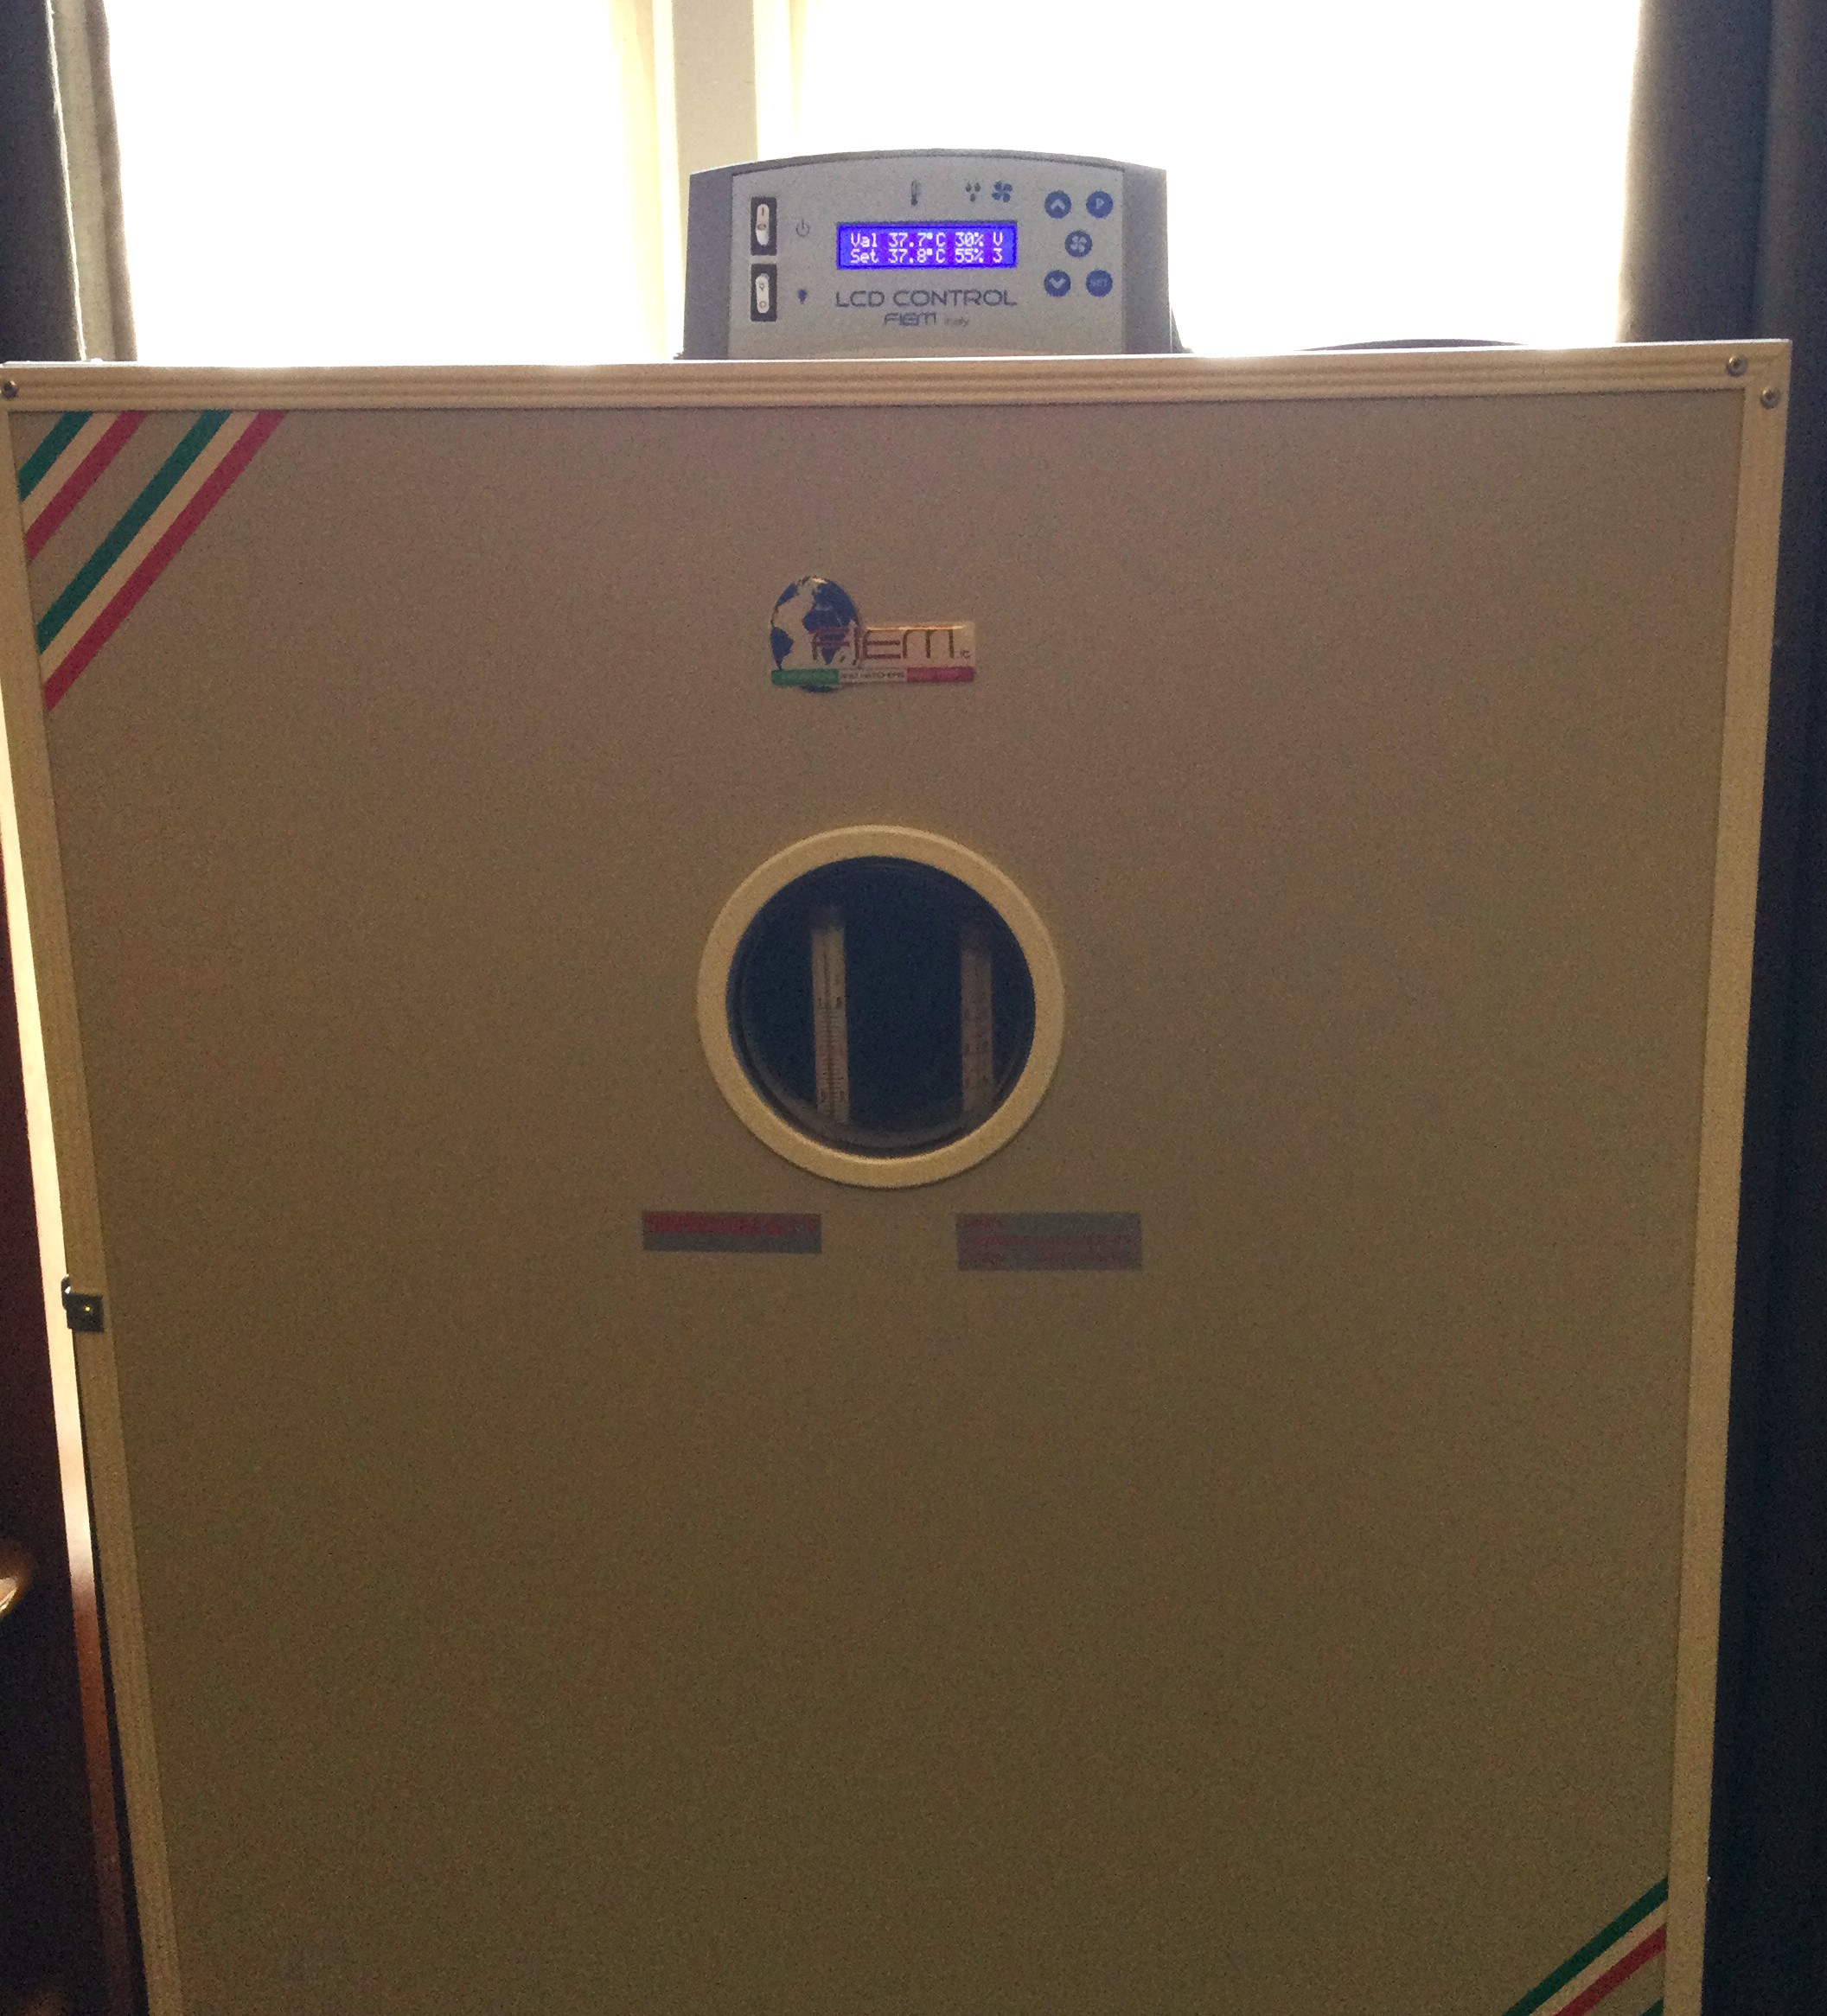
5. Incubators are set at 37.7 Celsius and 45 degrees Humidity. Hatchers are set at 37.5 C and 80 % Humidity. I monitor and adjust incubators and hatchers for both these two parameters with independent monitors as incubator measuring and displays are not always that accurate, even with my commercial, sophisticated and well proven machines. Notice the independent thermometers and wet bulb thermometers through the front windows of the machines. Preheat incubators and hatchers for a couple of hours before setting.

I am always trying to simulate nature during incubation and hatching and therefore keep the inside of the machines dark, as if under a hen. Furthermore there are some research published lately suggesting to have better hatching results if the incubators and hatchers are switched off for about 30 minutes every day, again simulating the hen getting up to eat. I have not tried it, but will experiment with this soon.

Keep hatchers and incubators in an environment as close as possible to the setting parameters. Also avoid fluctuations in conditions and make sure there are no drafts, but it should be very well ventilated.

6. Coturnix coturnix eggs are incubated for 14 days (37.7 Celsius and 45 degrees Humidity) while automatically turned every 2 hours. Then they go into the hatcher (37.5 C and 80 % Humidity) until hatching at about 17 days. I leave the chicks undisturbed for 24 – 36 hours after the first chick hatched and then move all the hatched chicks to the brooders and stop hatching. I do not assist any chicks that struggle to hatch, or still in the eggs.

HATCHING TIMES

I use the same incubation and hatching parameters for many other species as well. All are moved to the hatchers 3 days prior to hatching and are just left in the incubators until 3 days before hatching, whatever time that may be.

Pheasants 24 Days (21 + 3)

Partridge 23 Days (20 + 3)

Bob White Quail 23 Days (20 + 3)

Californian Quail 22 Days (19 + 3)

Coturnix coturnix 17 Days (14 + 3)

HOW DO I SEX MY COTURNIX QUAILS

A question that I often get is “How do I sex my quails?”

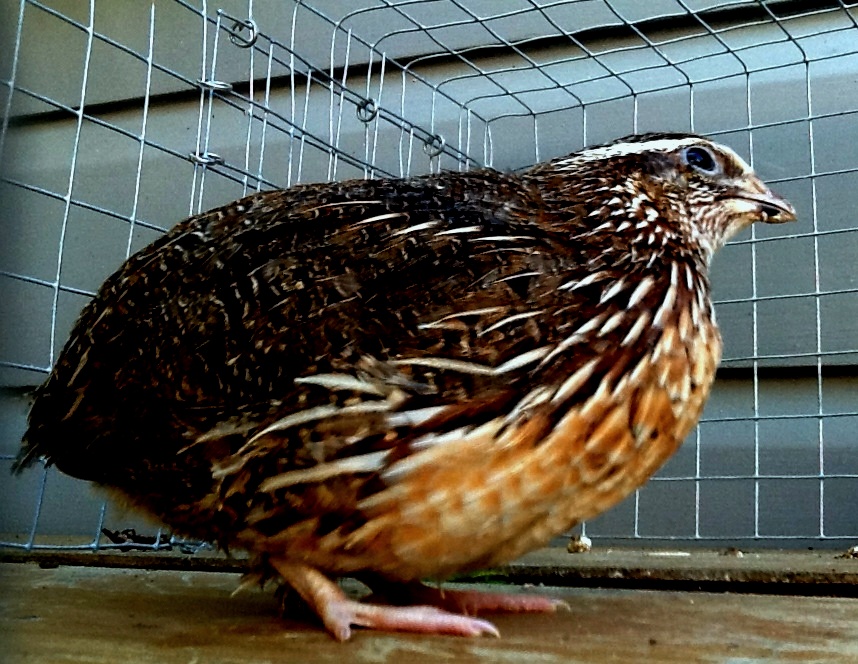
The easiest is that the male quails crow and the females do not. Should your quails be well housed and fed, the males will start crowing at about 3 weeks of age. I catch the crowing males and place them in a different brooder and come the time that they can go out to the breeding cages, or be sold, at 6 – 7 weeks of age, they are all sexed. Mature male quails only crow when sexually active during the breeding season and not so much when molting and not producing. Secondly the Pharoah colour and Italian colour can be feather sexed in that the males have brown feathers on the chest where the females have black spotted chests. The problem comes with the Tibetan colour and White colour where you cannot feather sex them as males and females look alike. All birds can be vent sexed though. The cloaca opening in the female is larger and more plump. In the males the cloaca opening is more tight and they also have a red swollen gland on the top end of the cloaca opening and when pressed a white substance appears, which is lubricant and not semen. The females do not have this gland. This gland in the males is also very depressed when not in the breeding cycle and it is more difficult to distinguish then.

Italian Coturnix coturnix Male with brown feathers on the chest

Italian Coturnix coturnix Female with black spotted chest feathers

Pharoah Coturnix coturnix Male with brown chest feathers

Pharoah Coturnix coturnix Female with black spotted chest feathers

Tibetan Coturnix coturnix – Males and Females look alike

White Coturnix coturnix – Males and Females look alike