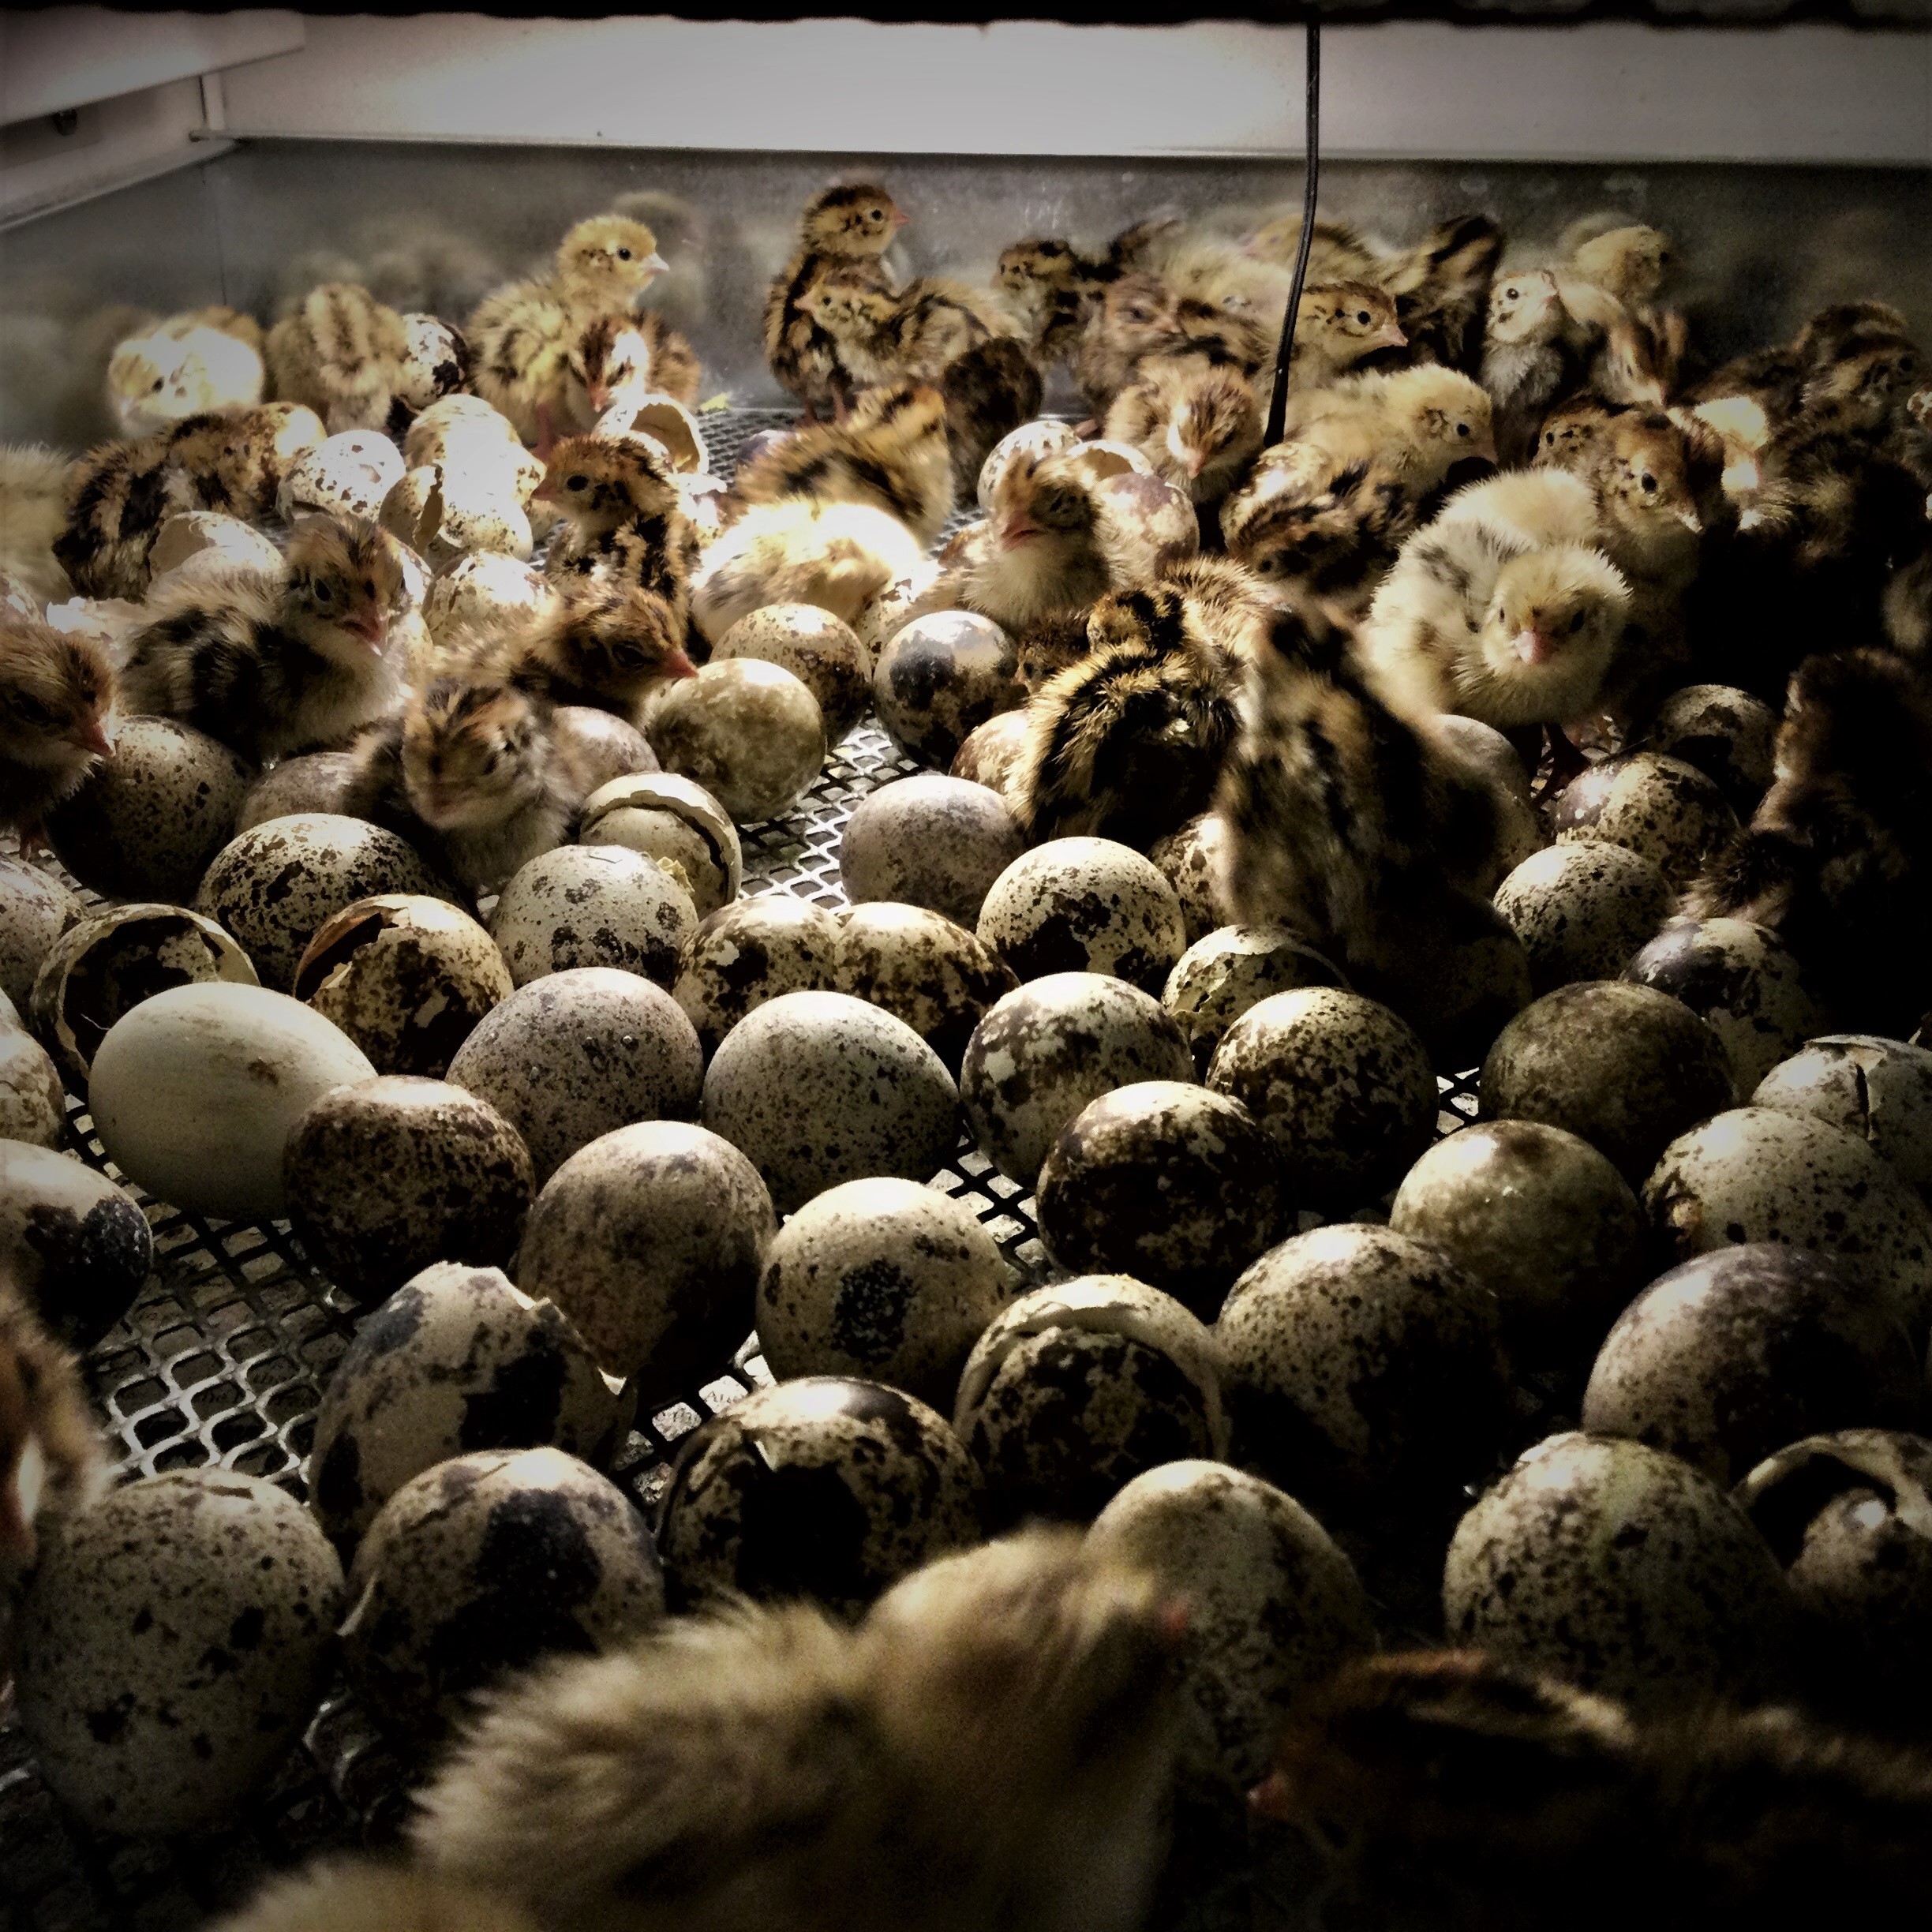
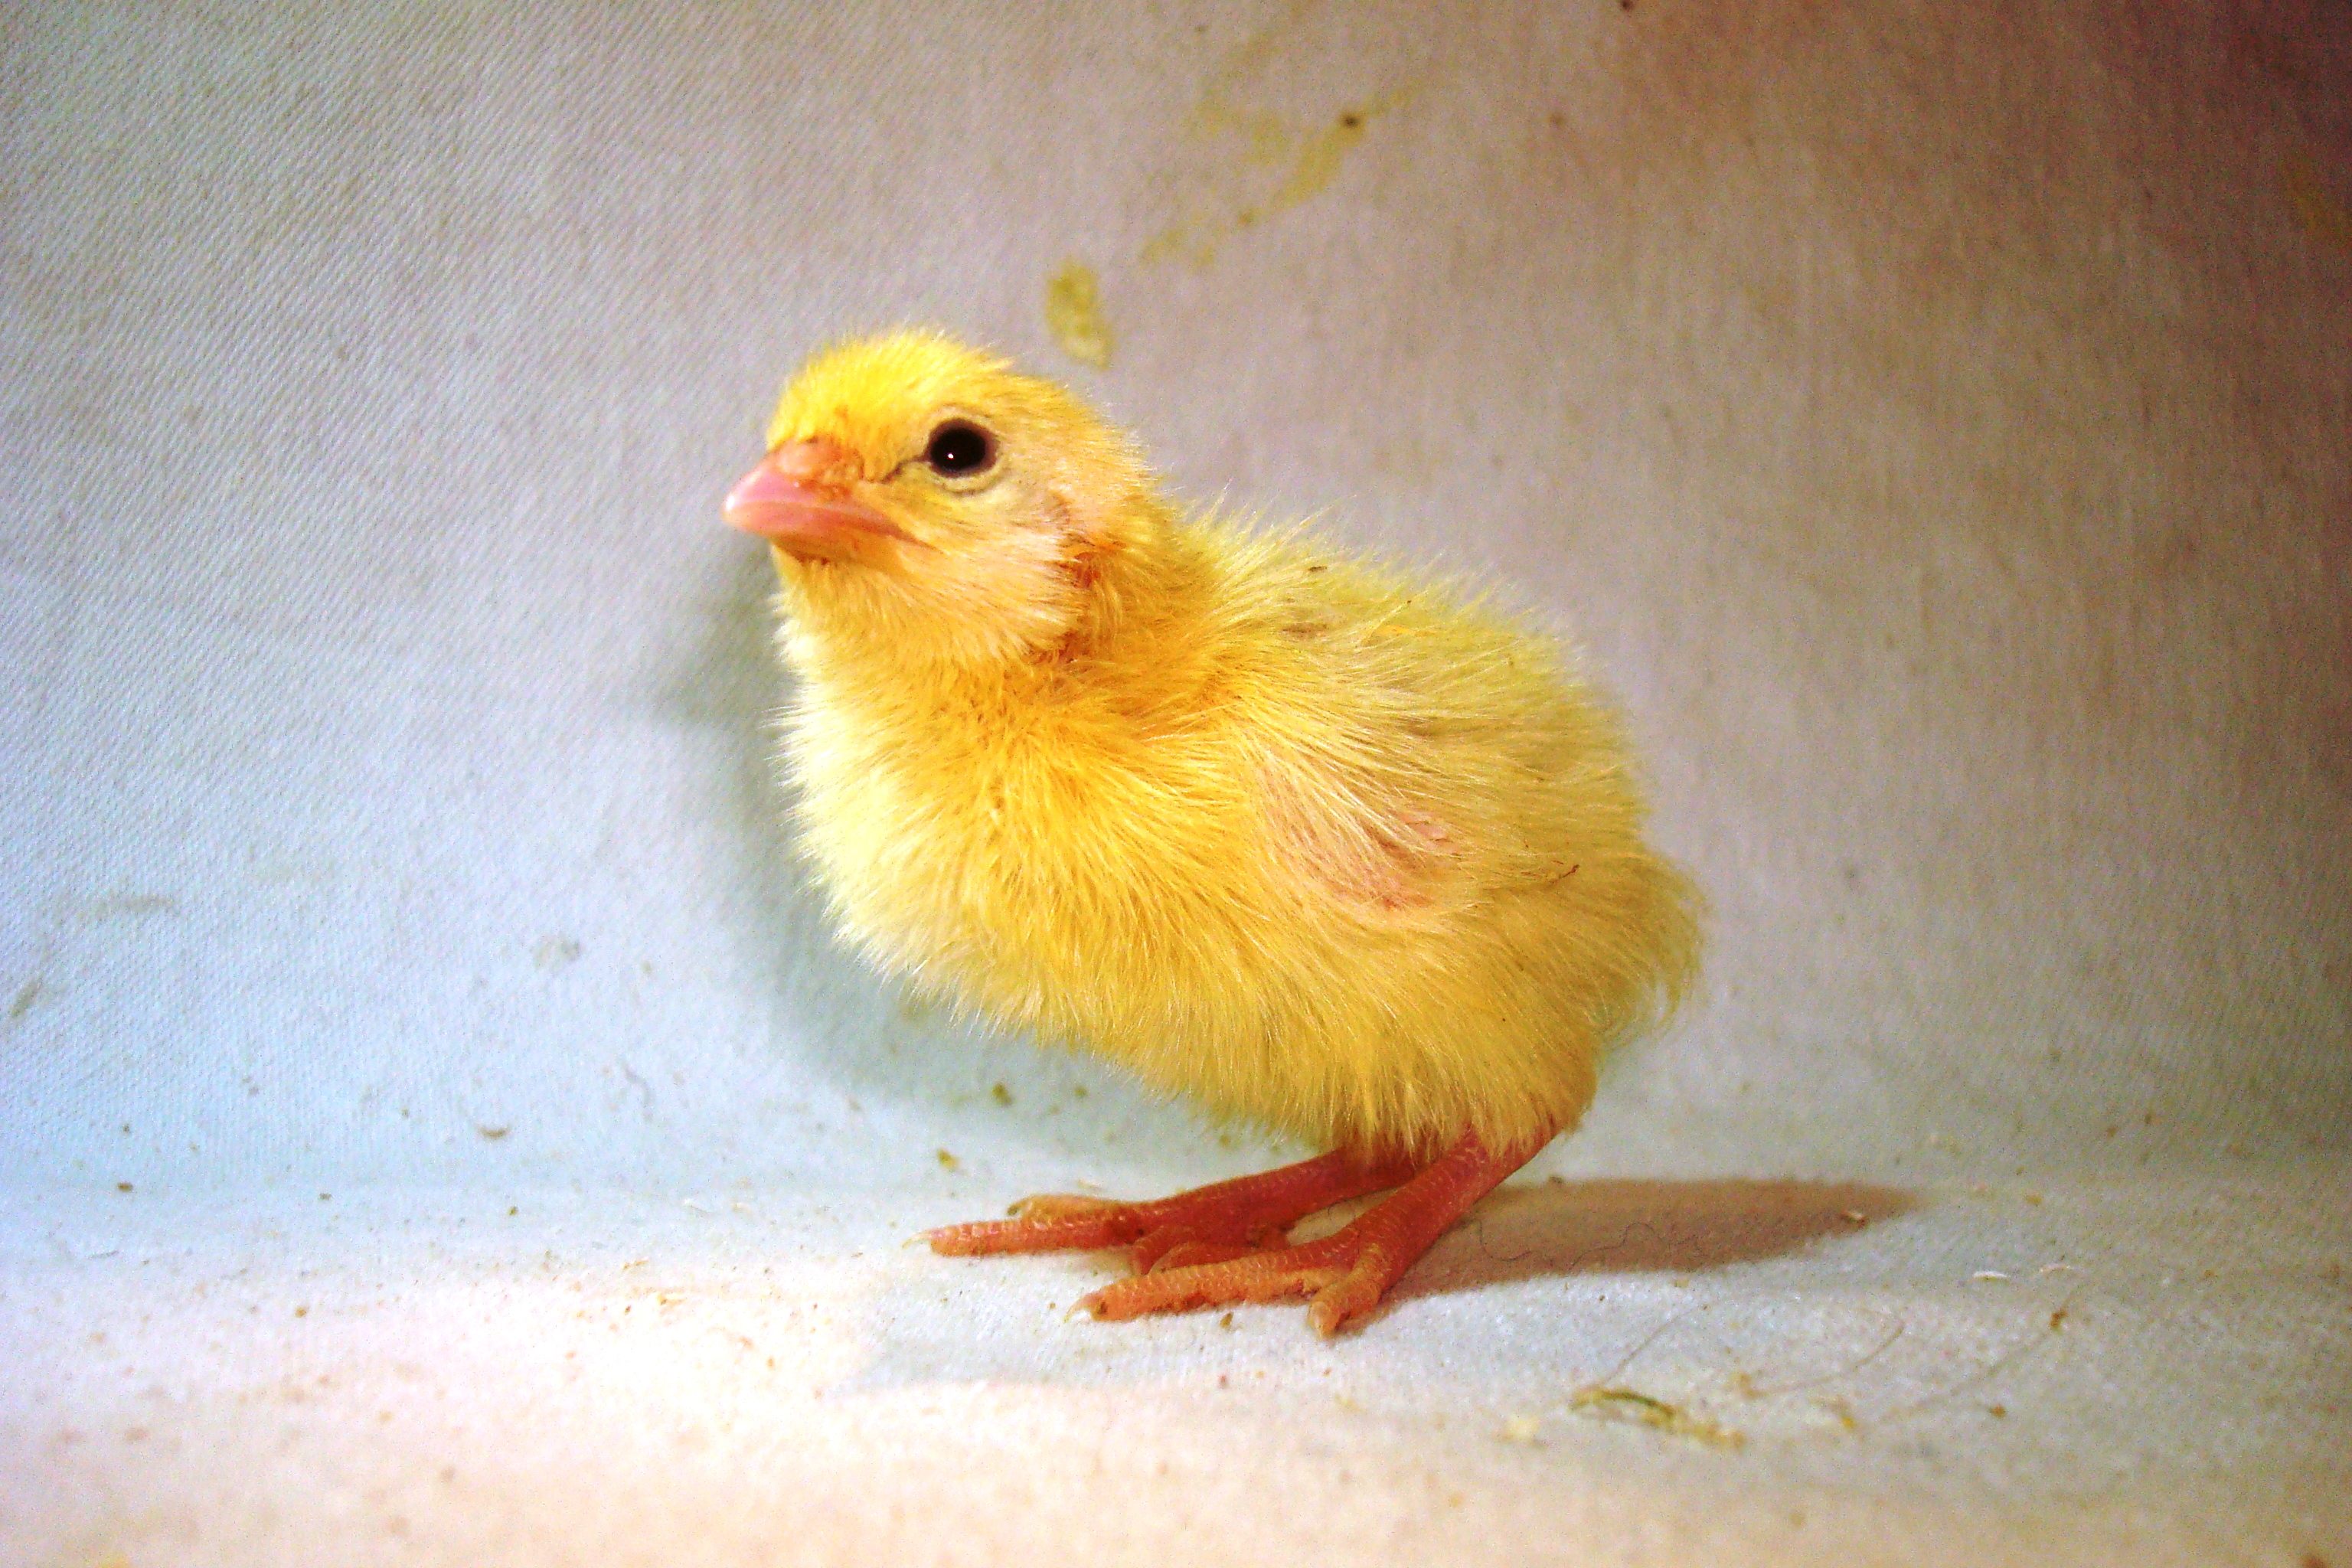
To ensure the highest standards of avian health and chick vitality, we have upgraded our hatchery with an advanced, dual-action mechanical ventilation and air-filtration system. Poultry environments – particularly during the brooding phase – naturally generate high volumes of microscopic feather dander, dried droppings, and feed dust. Left unmanaged, these airborne particulates act as physical vectors, carrying and spreading opportunistic pathogens, mold spores, and fungi throughout the space. By introducing a centralized, high-efficiency “scrubber” system at table height, we actively intercept and trap these respirable dust particles right at the source, preventing them from settling or irritating the birds’ sensitive respiratory tracts. Simultaneously, our calibrated, variable-speed extraction system maintains optimal cross-flow ventilation. This continuous exchange of air prevents the dangerous accumulation of metabolic byproducts like carbon dioxide and ammonia gas – both of which can severely suppress chick immune systems and damage respiratory cilia. By systematically drawing fresh oxygen in and exhausting stale, humid air out, we dramatically lower the ambient bacterial load and moisture levels required for fungal growth. The result is a mathematically optimized microclimate that suppresses pathogen transmission, eliminates ammonia odors, and provides our quail with the pristine air quality essential for robust early development.
Lighting is one of the most important environmental controls in quail farming, particularly if you want hens to maintain a high and consistent level of egg production throughout the year
COTURNIX COTURNIX are strongly influenced by the length of the day In the wild, increasing day length in spring signals that conditions are becoming favourable for breeding The same biological response occurs in domesticated quail
Light is detected not only by the eyes Birds also have specialised photoreceptors within the brain that respond to light reaching the head Increasing day length stimulates the reproductive system through the hypothalamus and pituitary gland, ultimately promoting ovarian development and egg production
For the backyard farmer, however, you do not need to understand all of the reproductive physiology to manage lighting successfully The important principle is simple
If you want quail to continue laying well, give them a long and consistent day, followed by a proper period of darkness
1 – How Much Light Do Laying Quail Need?
For actively laying hens, I recommend a total photoperiod of approximately 15–16 hours of light per day, including both natural daylight and artificial light
For example, if natural daylight provides 10 hours, the timer can provide another 5–6 hours
I prefer 16 hours as the maximum, rather than trying to provide light for 17, 18 or more hours More light does not necessarily mean more eggs Once the birds have received sufficient stimulation, extending the photoperiod further provides little advantage and may interfere with their normal daily rhythm
Just as important as the light is the darkness
Give the birds a proper dark period
A laying flock should have approximately 8 hours of darkness every night
Darkness is not wasted time It is an essential part of the bird’s daily biological rhythm It allows the birds to rest and maintain their normal circadian cycle
Do not leave the lights on continuously
A lighting programme should therefore provide a clear distinction between day and night
2 – The Most Important Rule – Never Suddenly Reduce the Day Length
Once hens are established in lay, do not suddenly reduce their total daily light exposure
This is particularly important when artificial lighting is being used to maintain production through autumn and winter
A reduction in day length is interpreted by the bird as a seasonal signal In nature, shortening days indicate that winter is approaching The reproductive system responds accordingly and egg production can decline
Therefore, once a laying flock has been brought onto a long-day lighting programme, maintain that photoperiod consistently
For example, if your hens are receiving 16 hours of total light each day, do not suddenly change them to 12 hours simply because the natural daylight is changing
3 – Lighting Young Quail
Young quail have different lighting requirements from laying hens
The objective during the growing period is to encourage healthy growth without unnecessarily stimulating the reproductive system too early
During the first few weeks, the priority should be feeding, drinking, warmth, growth and normal activity, rather than maximum light exposure
A practical programme is
Age
Approximate Light
Main Objective
0–1 week
20–24 hours*
Ensure chicks can easily find feed and water
2–4 weeks
About 8–12 hours
Normal growth and development
5 weeks
About 12–14 hours
Begin preparing females for lay
6 weeks onward
15–16 hours
Maintain reproductive stimulation and egg production
*The very long lighting period sometimes used immediately after hatching is primarily a management tool to ensure newly hatched chicks readily find feed and water It is not necessary to maintain continuous lighting as the birds get older
There is no need to make the transition complicated The important thing is to increase day length gradually as the pullets approach maturity
4 – Increasing Light Before Lay
COTURNIX COTURNIX mature very quickly and can begin laying at around 6–8 weeks of age, depending on genetics, nutrition and management
As the pullets approach maturity, gradually increase their daily photoperiod
I prefer to increase the lighting by approximately 30–60 minutes per week, rather than making a sudden large increase
This does not have to be followed to the minute The purpose is to provide a gradual increase in day length as the birds approach sexual maturity
Once the hens are in production, maintain the chosen photoperiod consistently
5 – Natural Daylight Plus Artificial Light
For a backyard flock, there is no reason to ignore natural daylight
The total photoperiod is what matters
For example
Summer Natural daylight = 14 hours Artificial light = 1–2 hours Total = approximately 15–16 hours
Winter Natural daylight = 9 hours Artificial light = 6–7 hours Total = approximately 15–16 hours
A programmable timer makes this very easy
I prefer morning supplementation
Where possible, I prefer to add artificial light before sunrise rather than extending the evening
For example, if natural daylight begins at 7.00 am, the artificial lights can come on at 5.00 or 5.30 am
The lights then go off when natural daylight is established
In the evening, the birds can naturally settle down as daylight fades
This arrangement has another advantage If there is a power failure, the birds are less likely to be suddenly plunged into darkness while they are still active
6 – Avoid Sudden Darkness
One problem with artificial lighting is switching the lights off abruptly while the birds are still active
Quail naturally become accustomed to the gradual reduction in daylight at sunset If artificial lights are providing the entire evening, suddenly switching them off can leave the birds disorientated
Morning supplementation largely avoids this problem
If evening lighting must be used, a gradual dimming system can be useful
For most backyard farmers, however, morning supplementation is the simplest solution
7 – Light Intensity – Bright Is Not Better
The objective is not to make the quail house as bright as possible
Quail have excellent vision and can be uncomfortable under excessively bright lighting Very bright conditions can also contribute to unwanted activity, aggression and feather pecking
I prefer moderate, evenly distributed lighting rather than a very bright light concentrated in one area
A level around 15–20 lux at bird level is a useful practical target for a laying flock, although exact requirements can vary with housing design and the type of lighting used
The important thing for the backyard farmer is that
Feed and water can be easily found
All areas of the cage receive reasonably even light
There are no extremely bright spots
The birds are not constantly exposed to harsh, glaring light
A small LED light can provide surprisingly good illumination in a quail house You do not need powerful household lighting
8 – What Colour of Light Should You Use?
The colour or spectrum of artificial light can influence birds because different wavelengths penetrate the head and interact differently with the birds’ visual and non-visual photoreceptors
Research in poultry and quail has investigated red, green, blue, white and other light spectra, with results varying according to intensity, photoperiod, age and production system
For practical backyard farming, I would not become overly concerned about buying expensive specialised poultry lighting
A warm or neutral LED light, providing comfortable and reasonably even illumination, is a sensible choice
Red-spectrum lighting has received particular attention in poultry research because longer wavelengths can have effects on reproductive development and production However, photoperiod and consistency are considerably more important management factors than chasing a particular colour of light
9 – Winter Lighting
Winter is when artificial lighting becomes particularly valuable
In southern New Zealand, natural daylight becomes considerably shorter during autumn and winter If the flock is allowed to follow the natural day length, egg production will normally decline
This is not necessarily a problem
It is simply the natural reproductive response of the bird
If you want eggs throughout the year, however, artificial lighting can maintain the longer photoperiod required for continued production
The easiest method is to use a timer to top up natural daylight to approximately 15–16 hours
For example, if natural daylight provides only 9½ hours, the timer might provide approximately another 6 hours
As spring approaches and natural daylight increases, gradually reduce the artificial-light period so that the total remains around the same target
10 – What Happens If You Use No Artificial Light?
There is nothing inherently wrong with allowing quail to follow the natural seasonal cycle
In fact, this is the simplest and most natural system
Under natural daylight, you should expect
Spring: Egg production increases as day length increases
Summer: Production is generally high
Autumn: Production gradually declines as days become shorter
Winter: Production can fall substantially, and some hens may stop laying
This is a normal biological response rather than a disease or nutritional deficiency
The advantage of natural lighting is simplicity and allowing the flock to follow its natural seasonal rhythm
The disadvantage is that you will have less consistent egg production throughout the year
11 – Lighting and Feed Must Work Together
Light stimulates the reproductive system, but light alone cannot produce eggs
Once the hen is stimulated to lay, she needs adequate energy, protein, amino acids, minerals, vitamins and water to support egg production
This is particularly important with Coturnix coturnix because they are capable of remarkably high production
Do not use additional lighting to push birds into high production if their nutrition is inadequate
A well-balanced layer feed, constant access to clean water and appropriate housing must accompany the lighting programme
12 – Keep the Lighting Programme Consistent
Quail respond well to routine
I recommend using a reliable automatic timer rather than manually switching lights on and off
The timer should provide approximately the same
Time the lights come on
Total daily photoperiod
Time the lights go off
Dark period
every day
A difference of a few minutes is of no practical importance What should be avoided is regularly changing the lighting programme by several hours
The Bottom Line
Lighting is one of the simplest and cheapest ways of controlling quail production
You do not need complicated equipment or expensive lighting systems
For a productive Coturnix coturnix flock, the basic principles are
• Young birds need appropriate lighting for growth and development
• Increase day length gradually as pullets approach maturity
• Maintain approximately 15–16 hours of total light for laying hens
• Give the birds about 8 hours of proper darkness every night
• Keep the lighting programme consistent
• Use artificial light during the shorter days of autumn and winter if you want year-round egg production
• Morning supplementation is my preferred method because it allows the birds to settle naturally at sunset
• Bright light is not necessary – moderate, evenly distributed light is preferable
Most importantly, remember that lighting is a management tool, not a substitute for good genetics, good feed, clean water, suitable housing and good flock management
When these factors are combined, a well-managed Coturnix coturnix flock can maintain excellent egg production for a large part of the year**
I hatch between 30 and 40 eggs every week and keep meticulous records (ex scientist) and hatching percentage at present is about 78% (chicks alive at 3 days of age of eggs placed). This is for all eggs placed over at least a 12 month period. It also includes some batches from much older birds as well as batches of very young birds, as I may sometimes collect eggs from these before they are either sold or slaughtered. Very young and very old birds obviously have lower egg viability and hence affect the records. It is not uncommon to get 90%+ hatchings from the commercial flocks. My records also include hatchings from Male lines and Female lines, Breeding Parent Stock, where I have lower Male to Female ratios and different ages in the same cages, where hatching percentages are not always that good
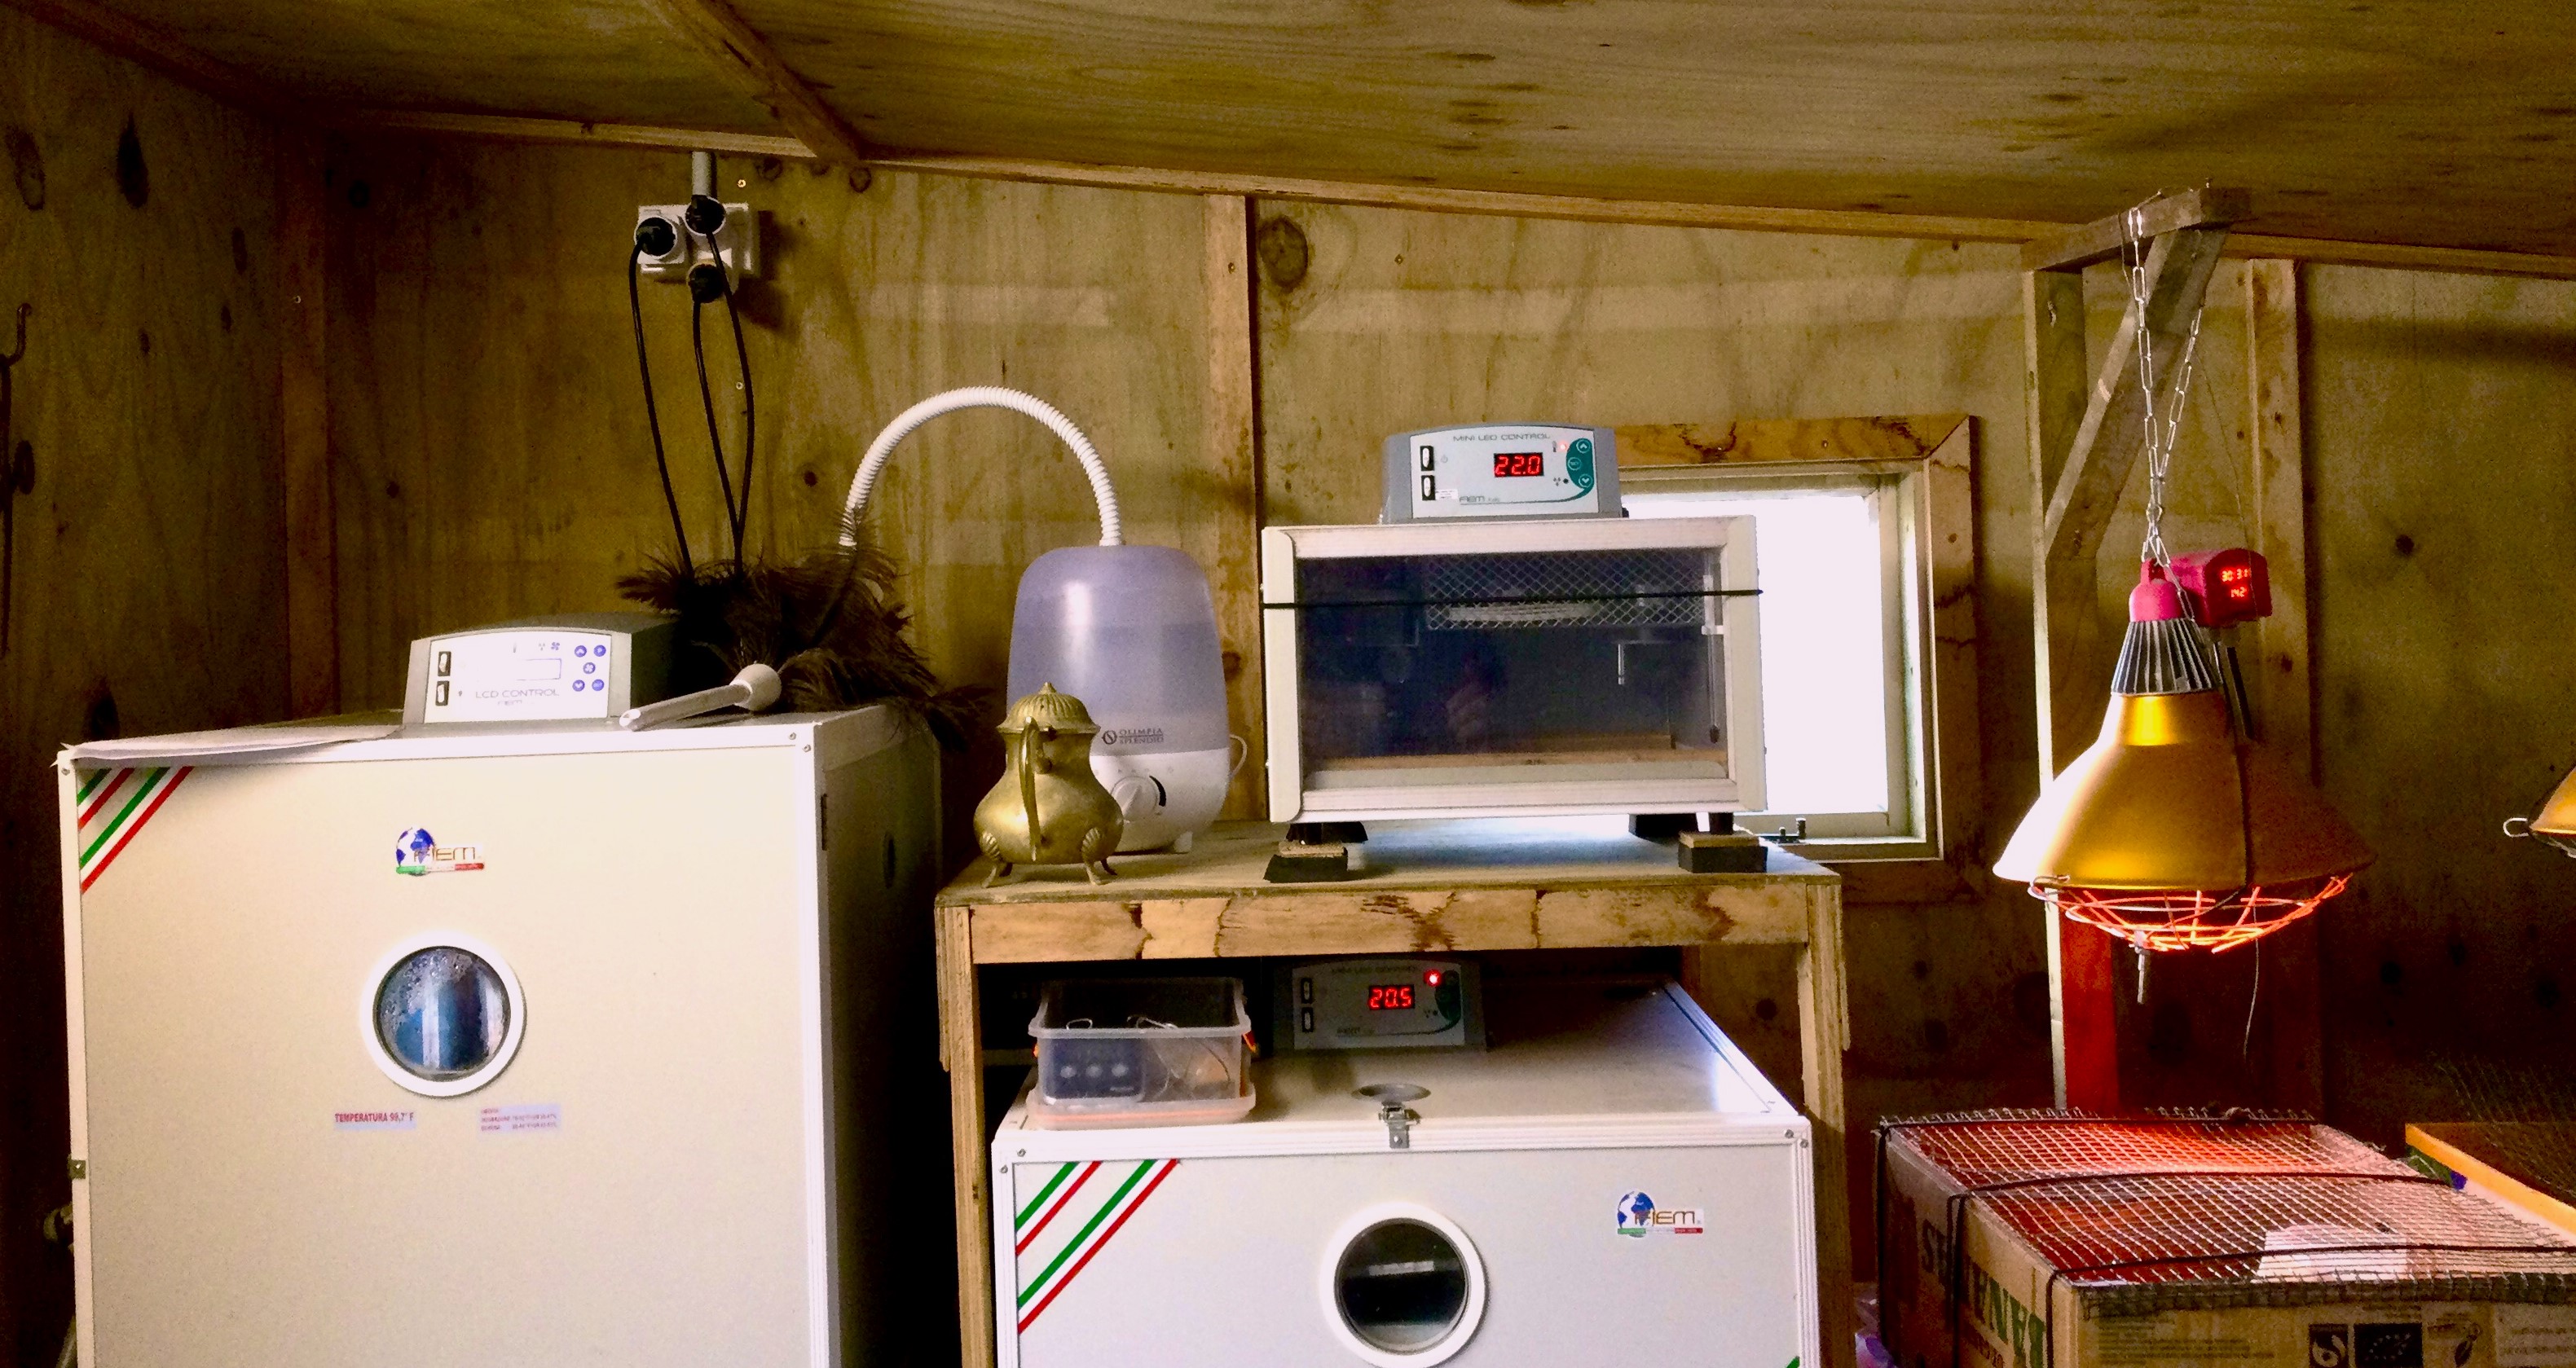
I must emphasise that these results are obtained by using very good commercial incubators and hatchers (FIEM) and it is not possible to achieve these results over an extended period with most of the cheap equipment on offer nowadays. Even with my equipment, the monitors in the incubators and hatchers are not always 100 % accurate and I have seperate calibrated thermometers and wet bulb thermometers to compare all the time, making sure settings are actually achieved inside the machines.
Quail Eggs are much more sensitive / difficult to hatch compared to chicken, or most other specie, eggs
The ideal settings for my conditions for Coturnix coturnix are :
Day 1 to day 14 – RH (%) – 60
Day 1 to day 14 – Temperature (C) – 37.7
Day 15 to hatch – RH (%) – 80
Day 15 to hatch – Temperature (C) – 37.5
The following hatching conditions I have found over the years are giving the best hatching and survival rates for Coturnix coturnix quails
I collect eggs for up to 3 days, depending on how many I want to incubate, then class them for hatching.
1. Do not clean or wash the eggs at all
2. Remove any odd colours and shapes of eggs
3. Candle all eggs for fine cracks and discard cracked eggs
4. Weigh the eggs and only incubate eggs that are between 12 and 15 grams. Smaller eggs result in weaker chicks, while larger eggs (15 g plus) is not preferred since it becomes too large for the hens. The incidence of double yolks are not always detectable and is more frequent in larger eggs. I select hens for about 280 – 300 g body mass and do not breed from larger birds. This is the most economical bird and eggs size.
5. Incubators are set at 37.7 Celsius and 60% (RH) Humidity. Hatchers are set at 37.5 C and 80 % (RH) Humidity. I monitor and adjust incubators and hatchers for both these two parameters with independent monitors as incubator measuring and displays are not always that accurate, even with my FIEM commercial, sophisticated and well proven machines. I use calibrated thermometers and wet bulb thermometers. Preheat incubators and hatchers for a couple of hours before setting.
I am always trying to simulate nature during incubation and hatching and therefore keep the inside of the machines dark, as if under a hen. Furthermore there are some research published lately suggesting to have better hatching results if the incubators and hatchers are switched off for about 30 minutes every day, again simulating the hen getting up to eat. I have not tried it, but will experiment with this soon.
Keep hatchers and incubators in an environment as close as possible to the setting parameters. Also avoid fluctuations in conditions and make sure there are no drafts, but it should be very well ventilated.
6. Coturnix coturnix eggs are incubated for 14 days (37.7 Celsius and 60 % (RH) Humidity) while automatically turned every 2 hours. Then they go into the hatcher (37.5 C and 80 % (RH) Humidity) until hatching at about 17 days. I leave the chicks undisturbed for 24 – 36 hours after the first chick hatched and then move all the hatched chicks to the brooders and stop hatching. I do not assist any chicks that struggle to hatch, or still in the eggs.
HATCHING TIMES
I use the same incubation and hatching parameters for many other species as well. All are moved to the hatchers 3 days prior to hatching and are just left in the incubators until 3 days before hatching, whatever time that may be.
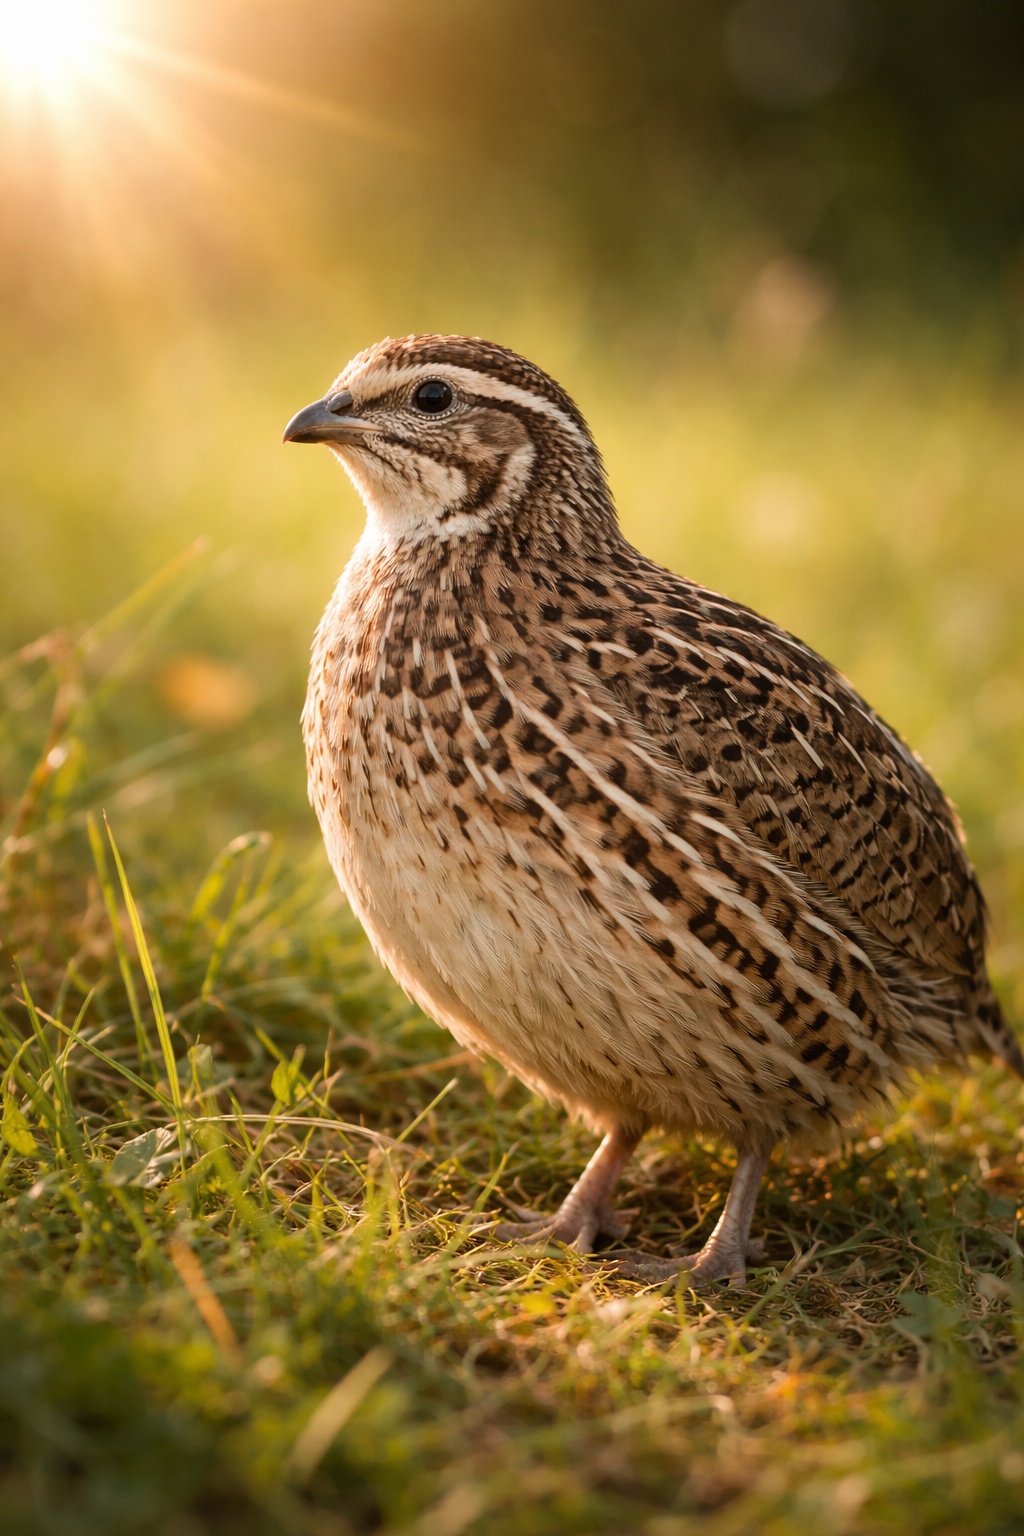
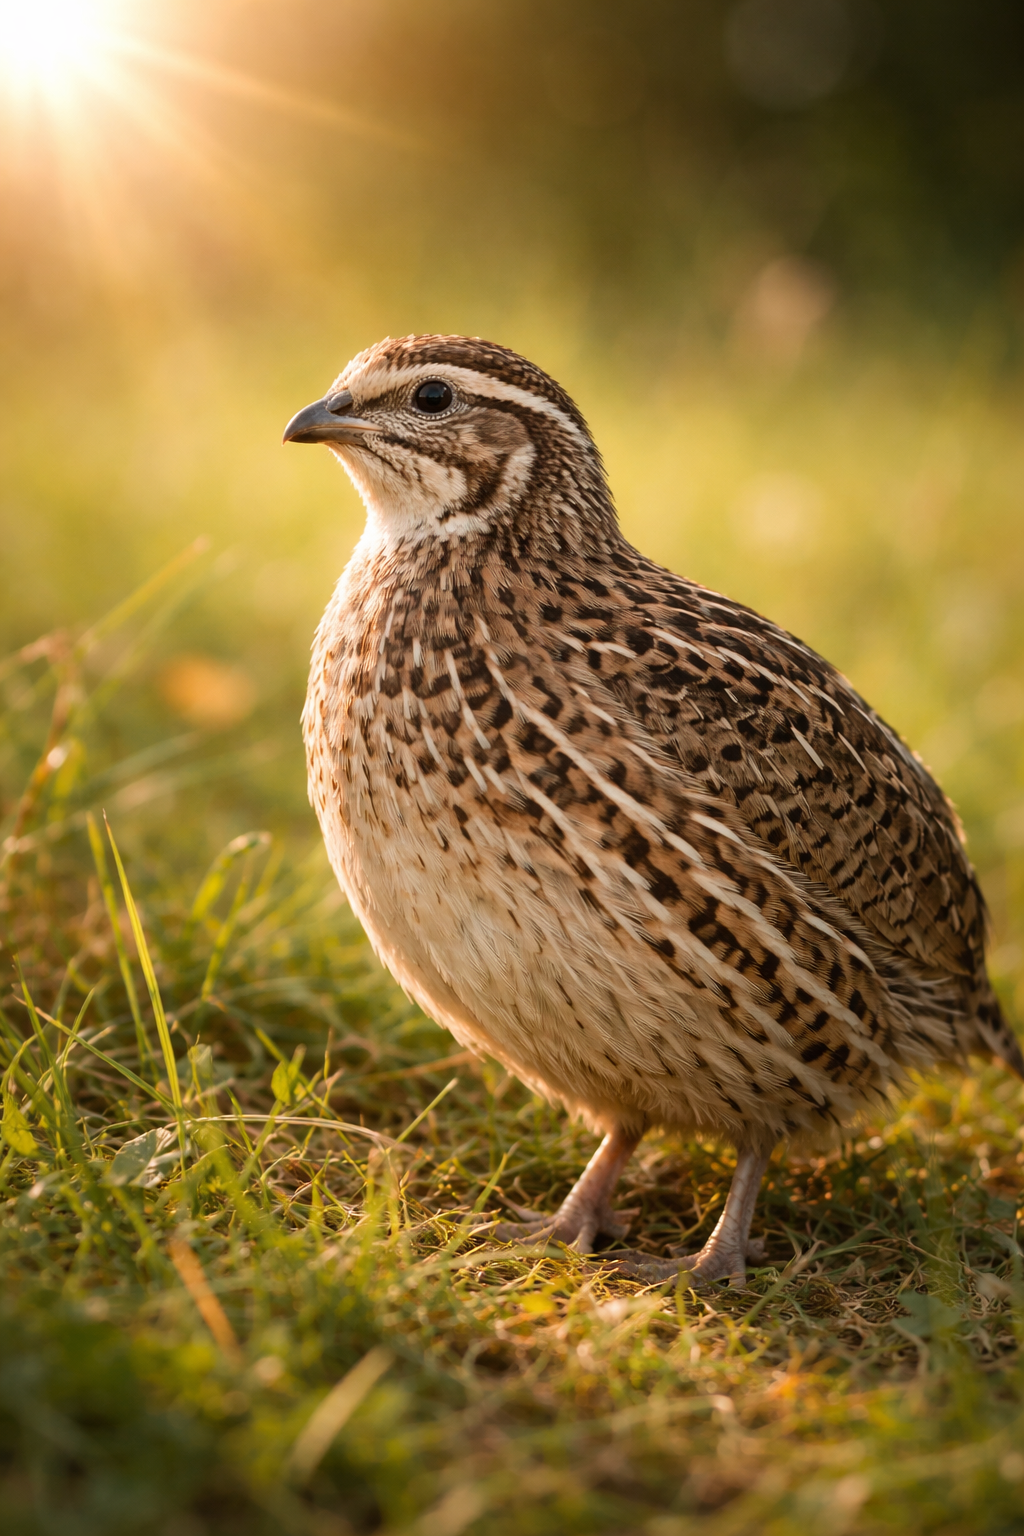
A good example of a Pharoah Breed of Coturnix coturnix quail
The quails that I mentioned, Coturnix coturnix, all have some commercial value somewhere in the world for hunting, eggs, meat and research purposes, whereas Button and Chinese quails are purely decorative and known by a different name everywhere. All quails are called different names in different parts of the world and as soon as money gets involved, the facts are starting to be distorted, but we cannot create species at will. Hence there is no such species of animal as a Coturnix japonica. Mediterranean quails, Coturnix coturnix, roam freely in the Mediterranean. I have an estate in the Po Valley in Italy where Coturnix coturnix are abundant still today. The “problem” with Coturnix coturnix is that it is such an adaptable animal in captivity with such great production capacities and very short generation intervals that it is being favoured all over the world by researchers and commercial producers alike. These Mediterranean birds migrate over to North Africa every year and the Egyptian Pharaohs have caught and domesticated them many hundreds of years ago. Some time later the Japanese Emperors purchased some from the Pharaohs for their song apparently – which is just another nonsense as Coturnix coturnix does not have any singing sound and would probably be the last bird you would acquired for such. Because of the special qualities of Coturnix coturnix they were and are being kept in every corner of the world and as such various mutations happened over the years and combined with selective breeding, new breeds have evolved (Tibetans, Golden Italians, Whites, Etc, Etc), but no new species has sprung up from somewhere. As an example the latest meat Ross and Cobb chickens are different breeds, but still Gallus gallus, not a new species. Similarly Jumbo, White, Golden Italian, Tibetans, Common quails, call them what you like, are different BREEDS, but not different SPECIES – still Coturnix coturnix. Similarly an Alsation, Bulldog, Greyhound and Chihauhau are all different breeds of dogs and not different species of animals and all are Canis lupus https://backyardfarmer.co.nz/quails/
As soon as money gets involved people make all sorts of claims for personal benefit
Do not believe everything you read on Wikepedia either
In New Zealand, the problem is that as result of legislation, no new Coturnix coturnix have entered the country for many decades, resulting that ALL Coturnix coturnix in NZ being related, inbred and mongrels with poor production capacities compared to birds in other parts of the world (Maybe we must apply for a Coturnix newzealandia nomenclature for an exceptionally poor example of the species) The problem with the breed in New Zealand is that there is no overseeing controlling body that monitors matters and every person with a male and a female call themselves “breeders”, whereas they are just multipliers doing more harm than good to the species. As a qualified geneticist (retired) I am, as a hobby, trying to breed a better Coturnix coturnix in New Zealand and have achieved good results over the 10 years that I lived in New Zealand
There is no such species of animal as a Coturnix japonica or Japanese Quails