PANCETTA

By this time of the year Pancetta stocks are almost depleted in the BYF pantry and the wheater being kind, new stock will be made soon

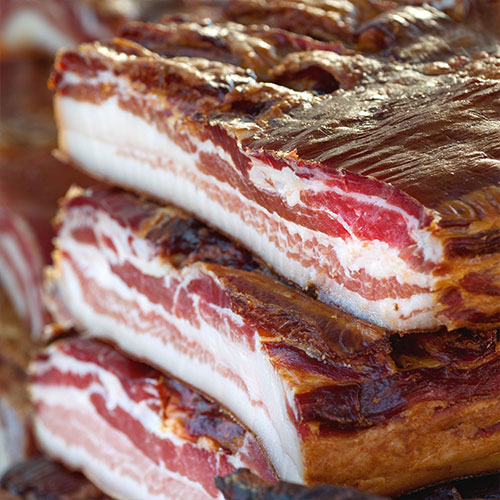
Get some nice thick pork belly (skin off and fat on!) hopefully raised free range and chemical free, or you may be lucky enough to shoot a nice young and fat wild pig

Trim the edges so as to have an almost uniform, in thickness, belly. Now cut the belly in managable sizes of about 300 mm X 200 mm

Mix the following ingredients per Kg of meat

2 Cloves Garlic – finely chopped

1 small sprig of Rosemary – finely chopped

3 g grated Nutmeg

3 g ground Black Pepper

1 g fresh Chilli (optional) – finely chopped

Mix the spices well and thoroughly rub it into the belly, covering all the cracks and crevices

Get a container large enough to lay out the pieces of meat in a single layer. Spread a thin layer of sea salt covering the bottom of the container, then lay the pieces of meat onto the salt and cover them completely with more salt in such a way that no meat is exposed. Place the container with meat in the fridge at about 3 – 5 C for 2 days. After 2 days, remove the salt, turn the meat over, drain off any fluid and cover with the same salt and return it to the fridge. If the belly is thin (about 25 – 30 mm) remove from the fridge and discard the salt after day 3. If the belly is thicker than 30 mm, leave for another day and remover from the fridge and discard the salt after day 4

Now rinse the bellies very well with cold running water and then wash with good red or white wine

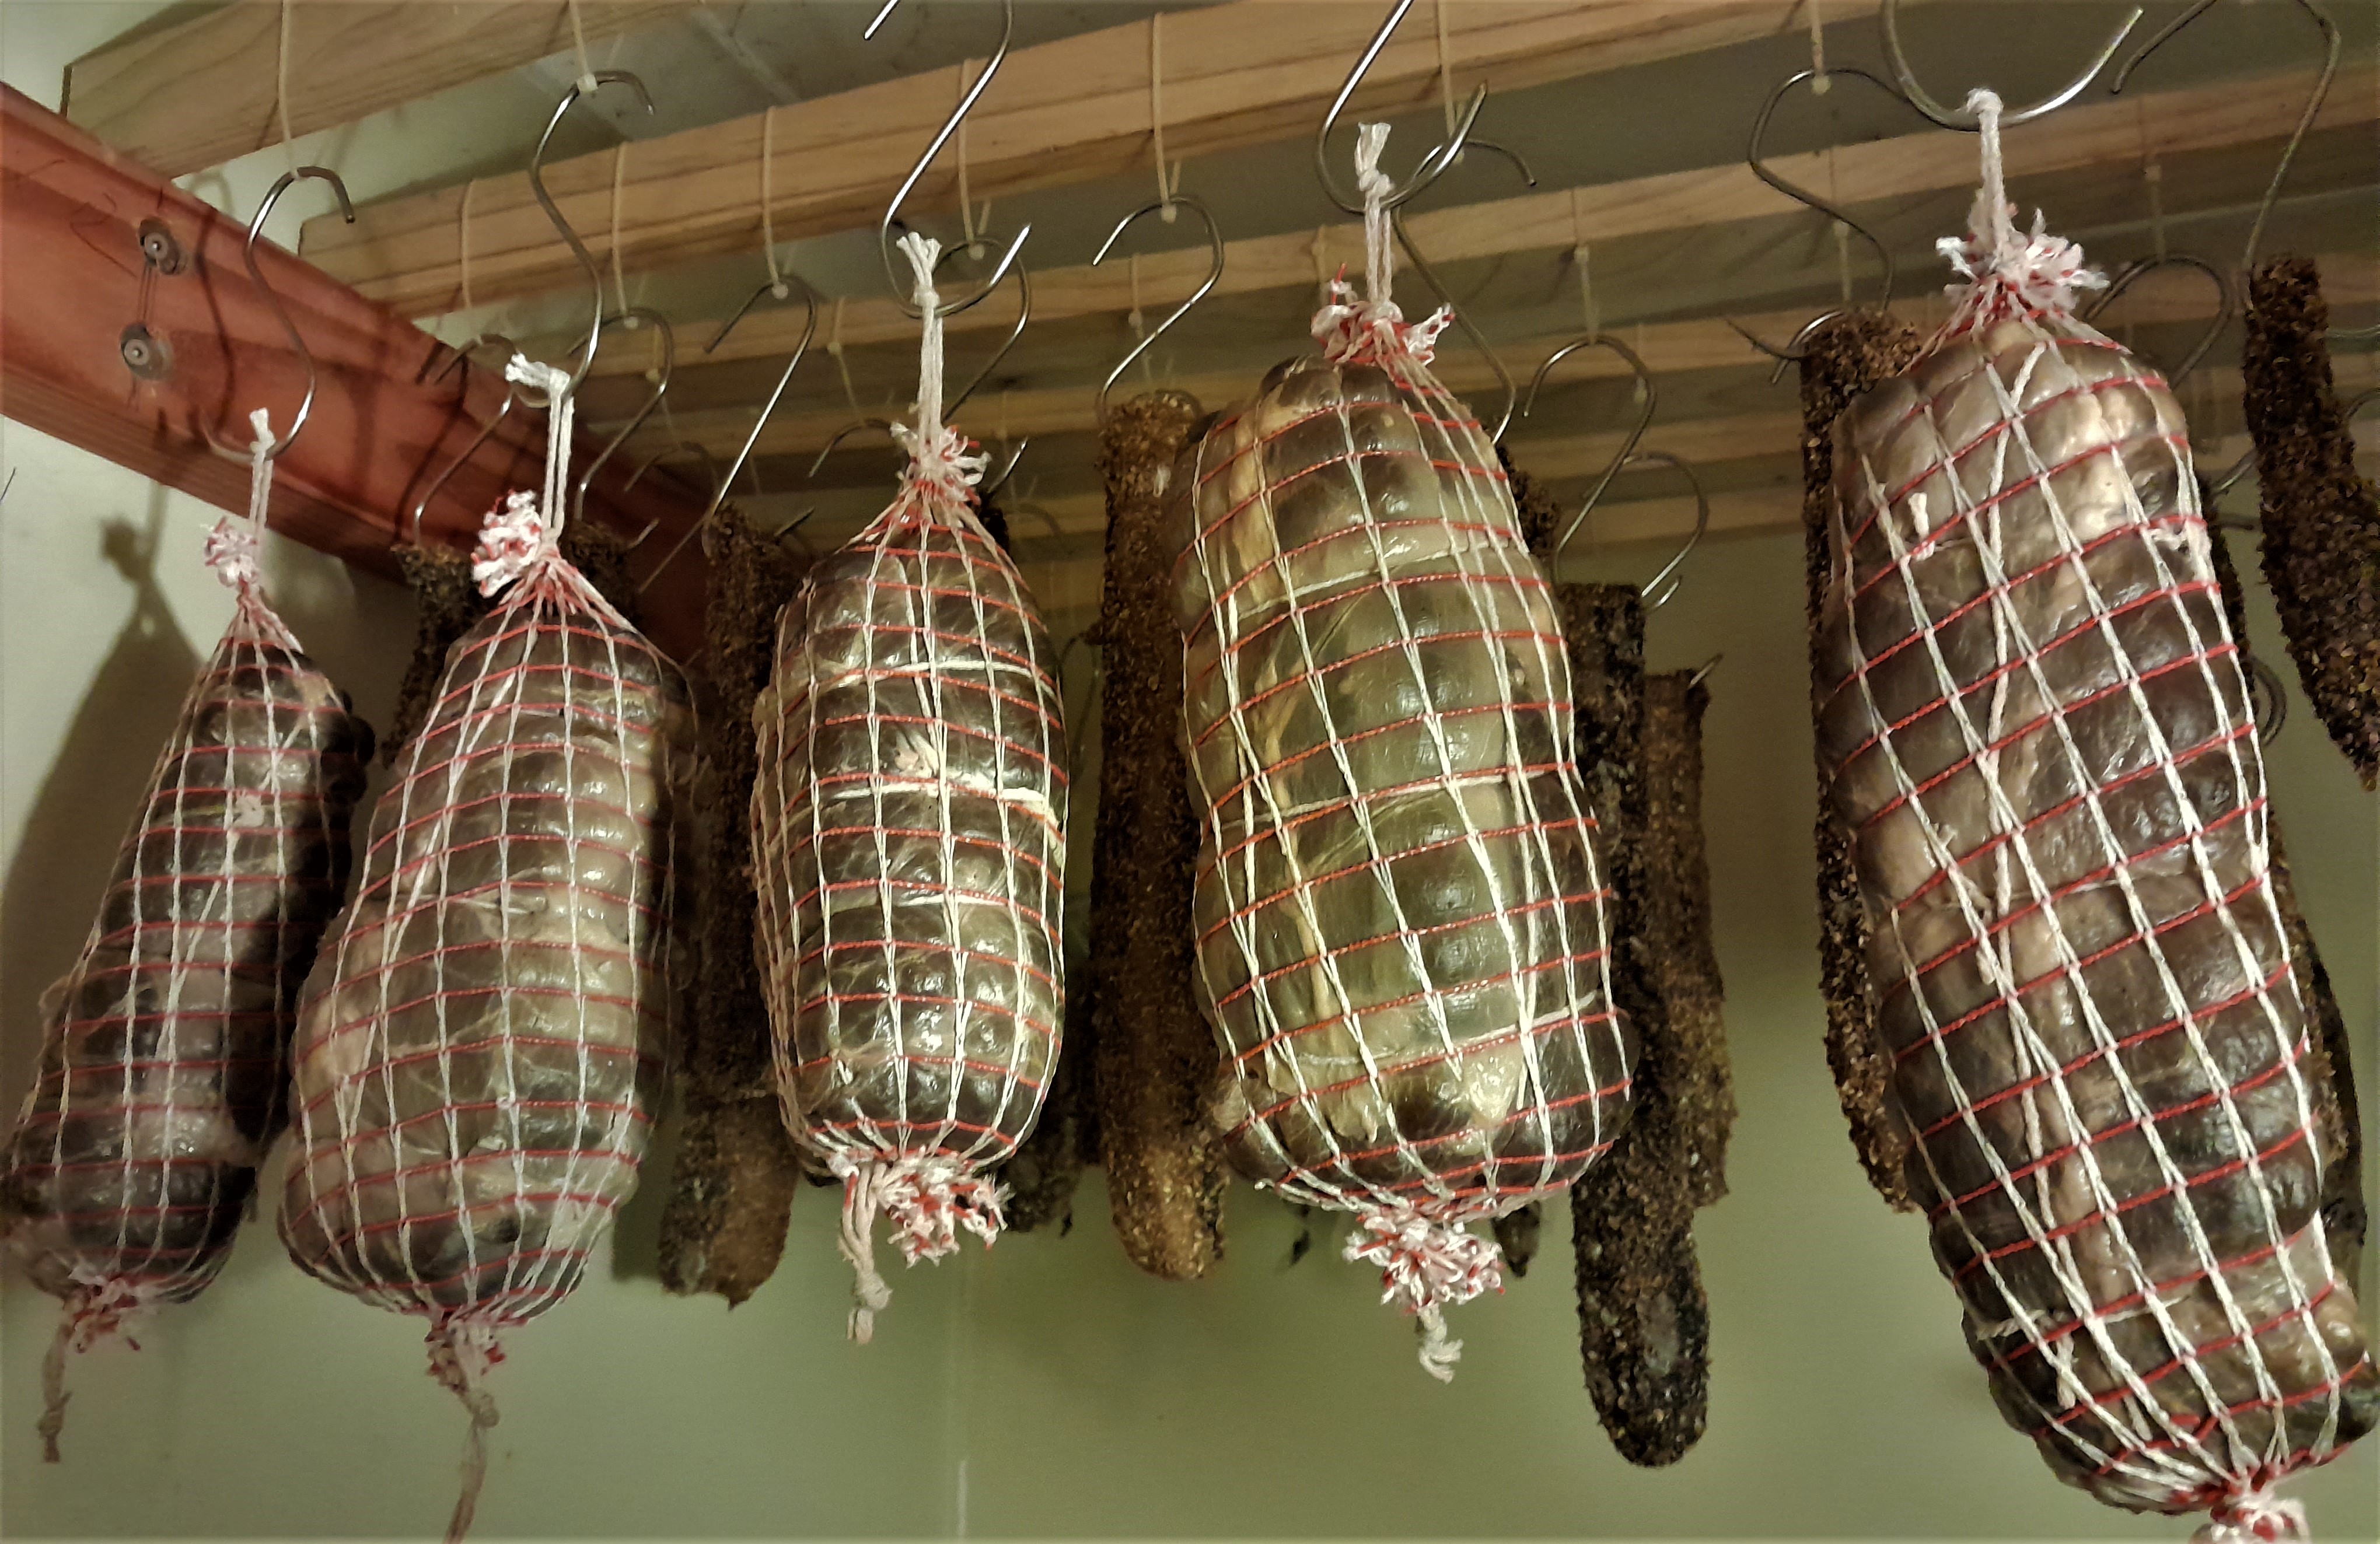
Your Pancetta are ready to commence the curing process now by hanging them in such a way that they do not touch each other. Conditions must be about 15 C for the first week and then about 7 – 10 C until ready to use. Make sure the area is well ventilated, but NO DRAFT on the meat. The Pancetta should be rotated in such a way that uniform drying is achieved

After about 30 days, depending on the thickness, ventilation and temperatures of the Pancetta, they should be ready to taste and eat when you think they are ready and of the correct consistency – no harm in eating them too soon. Always remember to slice your Pancetta VERY thin. An old hand can tell when the Pancetta is ready by just feeling them

Once the consistency and moisture content is acceptable, vacuum pack and store in the pantry

The Pancetta can be enjoyed as is or in any cooking or fried, like bacon

Another version of pancetta can be made with the skin on and the pancetta rolled and tied

ENJOY and do not forget the home red wine to compliment the good Pancetta

CAPOCOLLO (COPPA)

If your Capocollo looks, smells and tastes like this, you know you have done something right!

COPPA

Capocollo (Coppa) is made from the whole neck muscle of a young pig to the fourth rib. Cut a round section of about 200 – 250 mm in diameter and 400 – 500 mm long. Trim and clean the section properly so it does not have any loose pieces of meat and fat.

For every Kg of meat, mix the following ingredients:

35 g Salt

6 g Black Pepper (Ground)

50 g Garlic (Finely crushed)

50 Rosemary (Finely chopped)

20 g Sage (Finely chopped)

10 g Nutmeg (Fine)

5 Bay Leaves (Finely chopped)

6 Cloves (Finely chopped)

Mix all the spices well together and make sure it is all very fine, then rub well into all surfaces of the meat

Tie the meat down with natural twine, then put into Butchers Netting, tightly fit, to keep it all together

Hang at room temperature (17 C is ideal) for 4 days, then hang in the pantry / cellar at maximum 10 C until ready. Make sure the room is well ventilated, but NO DRAFT. This may take up to 24 months, depending on temperature, ventilation and meat size. Feel the consistency for readiness every so often and also rotate the meat position in the pantry, as well as top to bottom turnover (hang on the other side)

This is a dry cured SALUMI and needs to be sliced very thinly

Enjoy as antipasto with home-made bread and home-made red wine !!

BRESAOLA

Bresaola and Biltong are the two pure beef Salumi I regularly make. Winter is always busy, getting enough Salumi processed for the rest of the year. This week I made both Bresaola and Biltong

RECIPE

Get yourself a good quality Beef Silverside and cut decent chunks of steaks for the Bresaola (About 250 mm long and 100 mm in diameter). Remove all sinew and fat and leave clean cut surfaces on all sides. Dry the meat well.

Mix the following spices together (Quantities for 1 Kg of meat)

28 g Salt

7 g Brown Sugar

3 Juniper Berries – Crushed

1 Glove – Crushed

2 Cloves of Garlic – Finely chopped

2 Dry Bay Leave – Crushed

3 g Black Pepper – Ground

1 g Nutmeg – Grated

1 g Cinnamon – Crushed

Mix the spices well and rub thoroughly into the meat. Place the spiced meat covered in the fridge for 5 days and turn and rub twice daily. You can also use a food bag for this as it allows for easy mixing and the meat is always covered.

After 5 days, remove the meat from the fridge and wash thoroughly in cold running water and then rinse with a good white wine, then dry the meat properly – The photo above is at this stage of the processing.

Now comes the fun part. Wrap the meat in natural sheep casings. If you are lucky enough, you may find a large enough Salame casing and you can just slip it inside, provided it is a tight fit. I cut the casings open and carefully wrap it around the meat and tie it down with string. Make sure there are no exposed meat. You can now either tie it down further or slip it into a stretchable meat netting, which I did.

Prick very well on all sides and hang the Bresaola in a cool place of about 15 C for 3 days and then hang inside the fridge until ready to use, which may be about 100 days. I am fortunate that my pantry is well ventilated and always a couple degrees lower than the ambient temperature and I hang my Bresaola there and not wasting fridge space. Dunedin being cool during June, July and August and my well ventilated pantry with average temperatures of less than 10 C at all the times, which is ideal, makes the perfect curing house. As my curing temperatures are about 6 C, my Salumi cures a bit faster than in the fridge. Make sure you do not have wind (draft) over the meat as it will cause case drying and rotting in the core. Well ventilated without drafts is very important.

I made 5 Bresaola, starting with 11 Kg meat in total and after cleaning the 5 was 7Kg in total. The 4 Kg meat, not used for Bresaola, was well used for minced meat and the sinew, excess fat and poorer quality cuts made wonderful beef stock

Bresaola is more than often part of my antipasto platters and goes down very well with a glass of HOME MADE RED WINE !! ENJOY !!

Amatraciana

Spaghetti with Amatriciana Sauce close-up on a plate. Horizontal Spaghetti with Amatriciana Sauce close-up on a plate on the table. Horizontal amatriciana stock pictures, royalty-free photos & images

Today I had an early brunch dictated by my daily work schedule and at about 19H00 I was ravenous. I fortunately was working the preserved meats from the curing room and noticed a very attractive piece of GUANCIALE (cured pork cheeks) , which off coarse called for Bucatini all’amatriciana. What a wonderful recipe for a delicious pasta with only a few ingredients. Fry the finely chopped guanciale with a few cloves of garlic. Add Passata and cook for about 20 minutes. Also add black pepper, but no salt as the guanciale is quite salty. Keep the sugo moist be adding water from the pasta pot. Boil bucatini pasta in lightly salted water and when al dente, drain and add to the sugo. Cook and toss for another few minutes, then add shredded fresh basil. Toss and serve hot. Add a lot of grated parmigiano reggiano and ENJOY !!!

Do not forget the home made red wine to wash it all down !!!!!

PESTO

7A499B17-9004-40A6-B107-344ECCB71597

Pesto di Ortiche (Stinging Nettle) and Pesto di Crescione (Water Crescent)

On  my way back from feeding the chickens and picking Stinging Nettles, I noticed some Water Crescent on the side of the road and decided to forage some as well. Back home I parted with some nettle for Mrs BYF to make Ristto alle Ortiche, the rest I converted into a Pesto. I also made Watercress Pesto using the same recipe and had a comparative taste test. Nettle – 9, Watercress – 6

170 g Basil, Carrot Tops, Nettle or Cress

45 g Roasted Pine Nuts

40 g Fresh Garlic

5 g Salt

In a Mortar and Pestle crush all the ingredients very fine

270 ml Good Olive Oil

Hand mix the olive oil with the contents of the Mortar and Pestle very well

100 g Grated Parmigiano Reggiano (Any strong hard grating cheese if you do not have Parmigiano

40 g Grated Pecorino Romano (Any sharp goat or sheep cheese if you do not have Pecorino) Today, I used my own home made cheese

90 g Soft unsalted Butter

Now fold the cheeses and butter into the mix

It is ready to eat, but the flavours develop and intensify over the next 24 hours

Enjoy on bread or in a pasta

Do not forget the glass of good home made wine!!!

Pesto freezes very well