Revolutionising Quail Nutrition—The Natural Way – 4

At Back Yard Farmer, we believe that the best solutions often come from the garden, not a laboratory. We are thrilled to announce our new 5-Herb Botanical Blend, a premium upgrade to our quail feed that brings “clean-green” bio-security directly to your coop.

By blending Organic New Zealand grown Salvia ‘Amistad’, Rosemary, Mint, Lemon Verbena, and Bay Leaves, we’ve created a powerhouse formula that acts as a natural shield against pests while boosting bird vitality.

Why Now?

We’ve spent the last several seasons observing the challenges our New Zealand keepers face—from high humidity causing grain pests to the relentless pressure of mites and flies in our summer months. We didn’t want to just offer another chemical fix. We waited until we could perfect a ratio that is safe, highly effective, and stabilized with Salmon Oil and Lypoforte for maximum absorption. It’s the result of months of testing to ensure your quail get the very best of nature’s pharmacy.

A Functional Shield, Not a Filler

Our organic botanical blend fits right into the growing body of research on phytogenic feed additives. These plant-based supports improve digestion, immunity, and antioxidant levels without the need for antibiotics. By including these five specific organic herbs, we help your birds fight off mites, lice, and internal stress naturally.

The Grain Guardian – Bay Leaves

Headline: Protecting the Harvest with Organic Bay Leaves

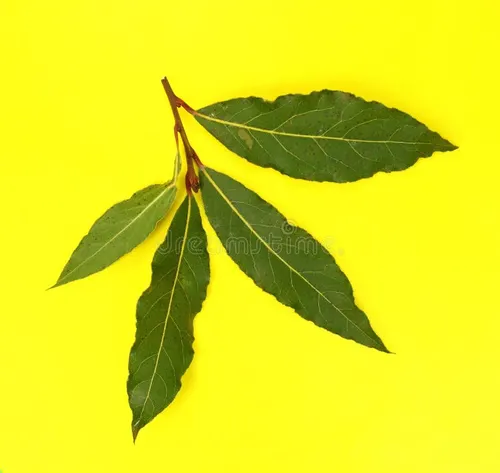
Nothing is more frustrating than opening a bag of feed to find moths or weevils. This week, we highlight Organic Bay Leaves (Laurus nobilis), the “pantry guards” of our 5-herb mix.

The Bay Benefit:

  • Insect Deterrent: Bay leaves contain cineole and eugenol, natural compounds that discourage grain moths and weevils from infesting your feeders.
  • Antimicrobial Support: These leaves offer a mild, natural antimicrobial effect in the gut, supporting a healthy microbiome and helping birds resist internal stress.
  • Digestive Spark: Bay acts as a gentle digestive stimulant, ensuring your quail get the most out of every meal.

The Grand Finale next week: We wrap up our series with the zesty power of Lemon Verbena
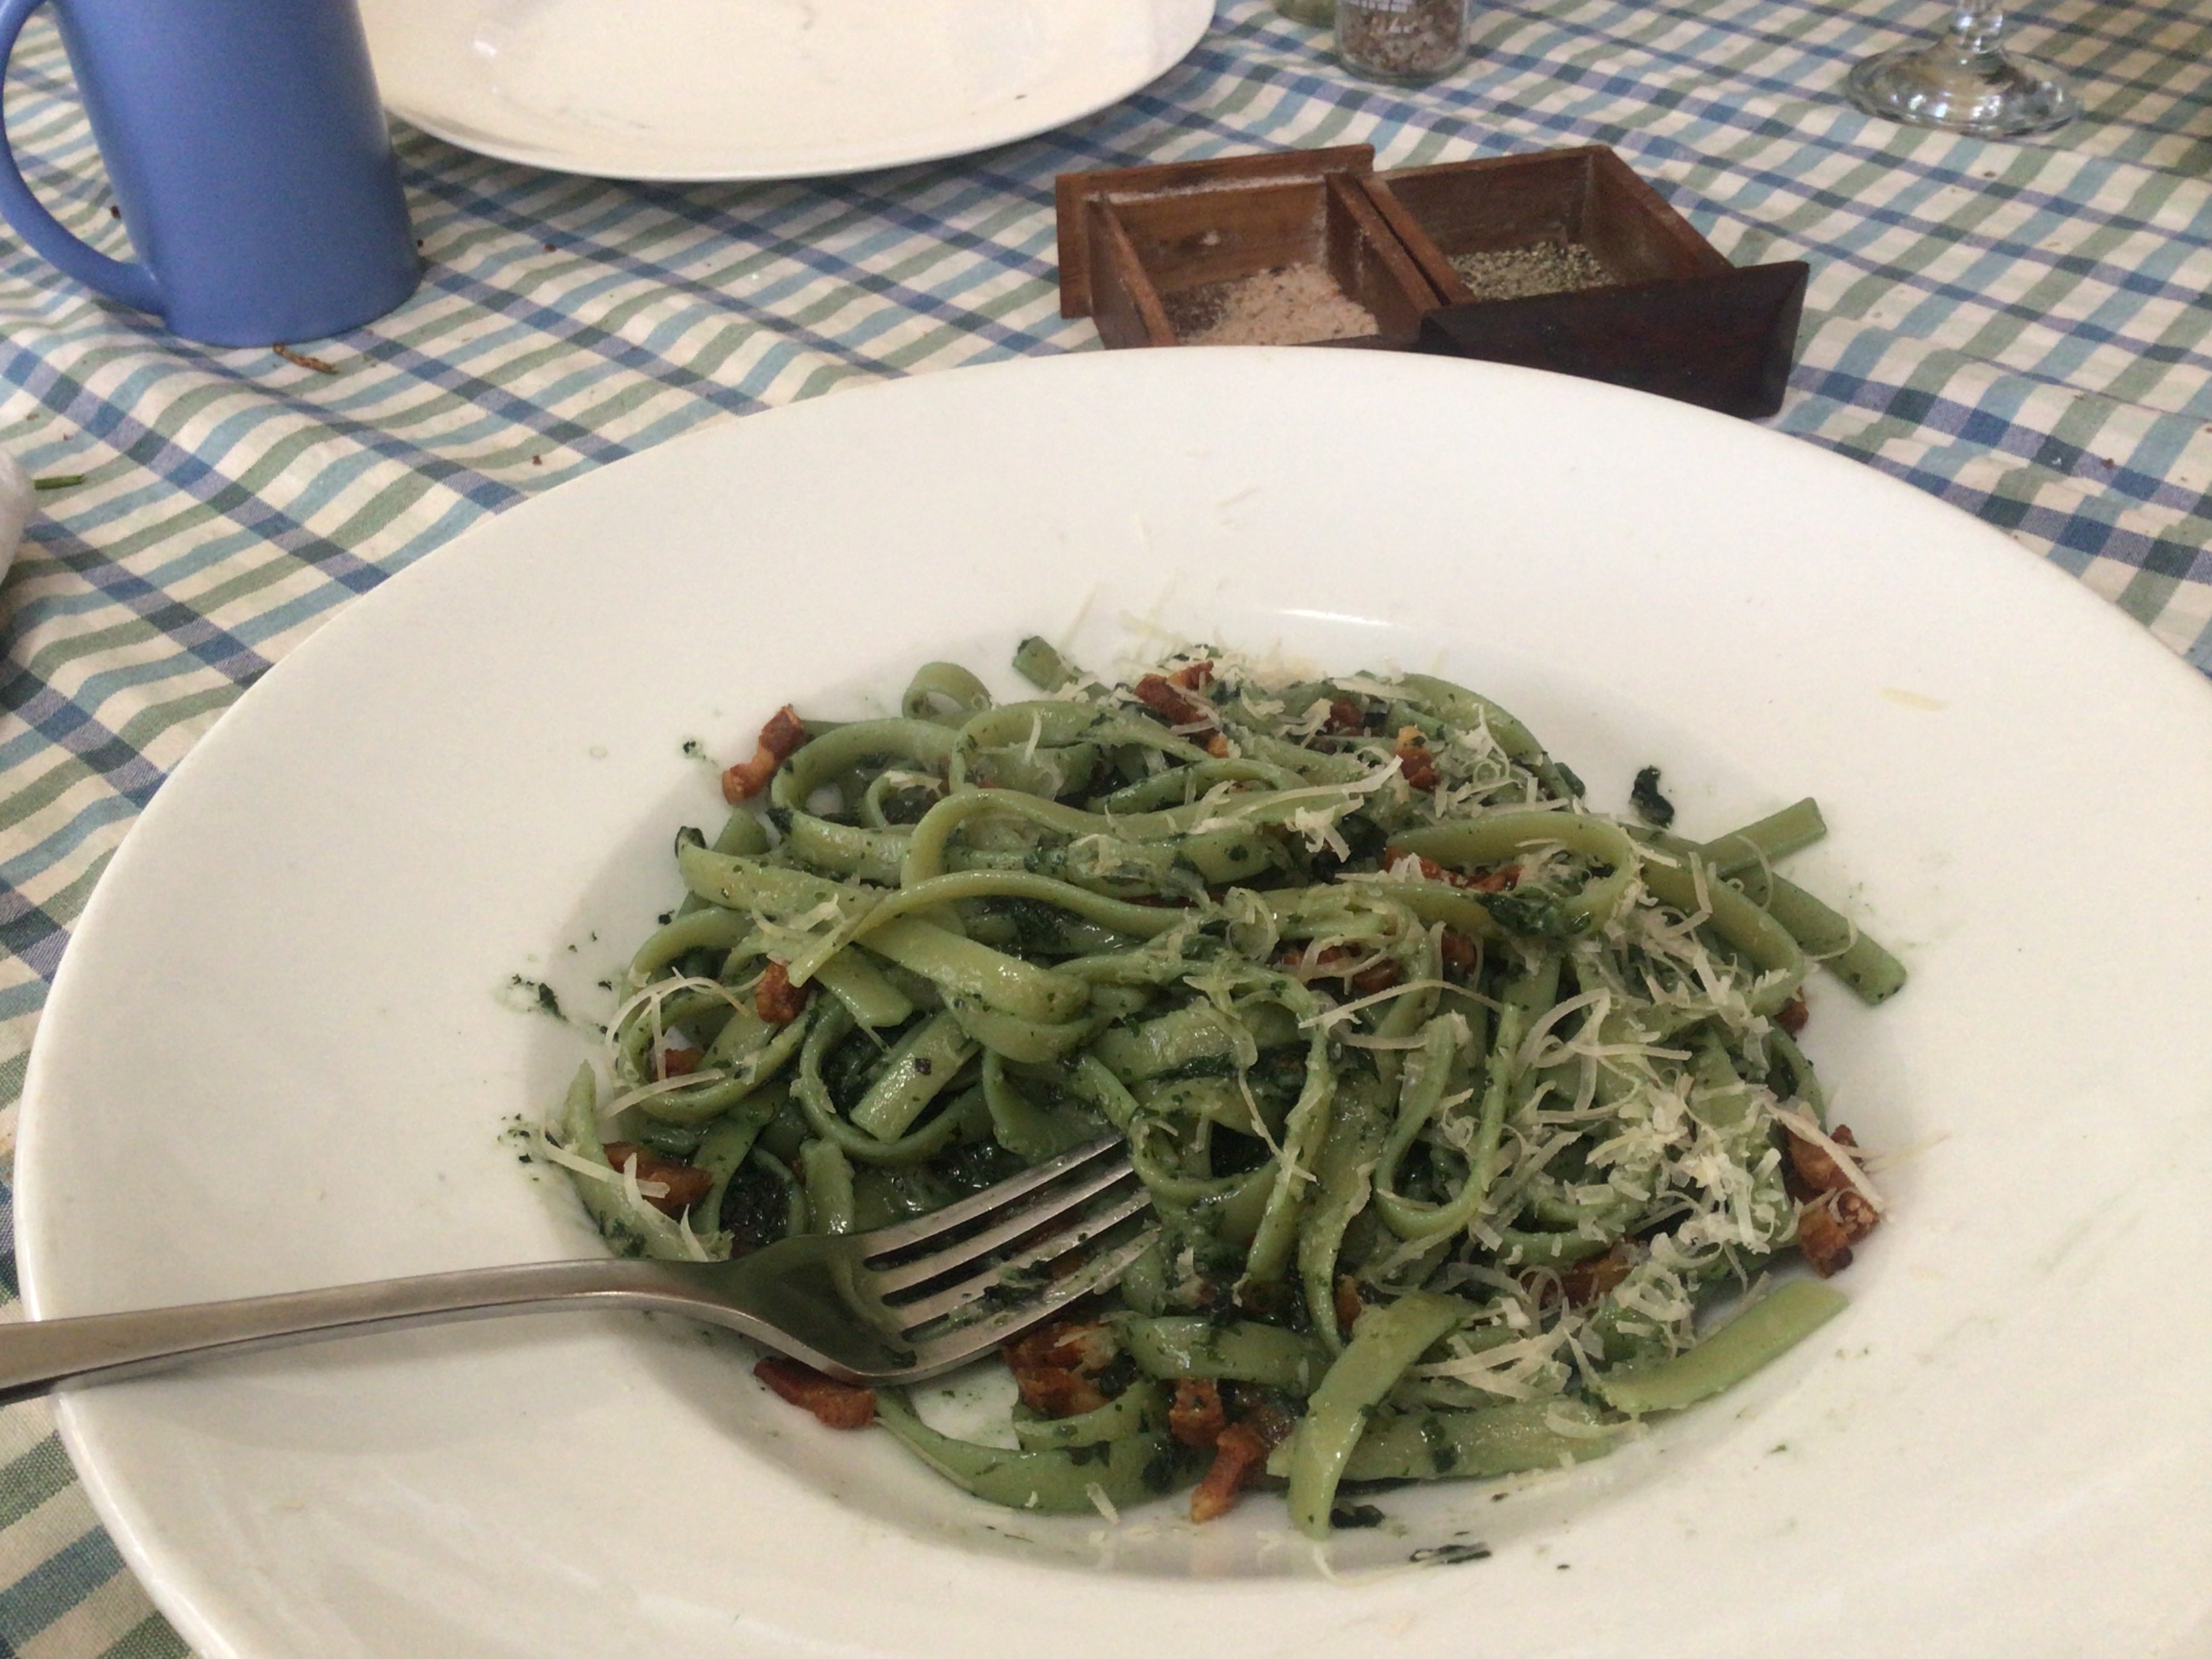
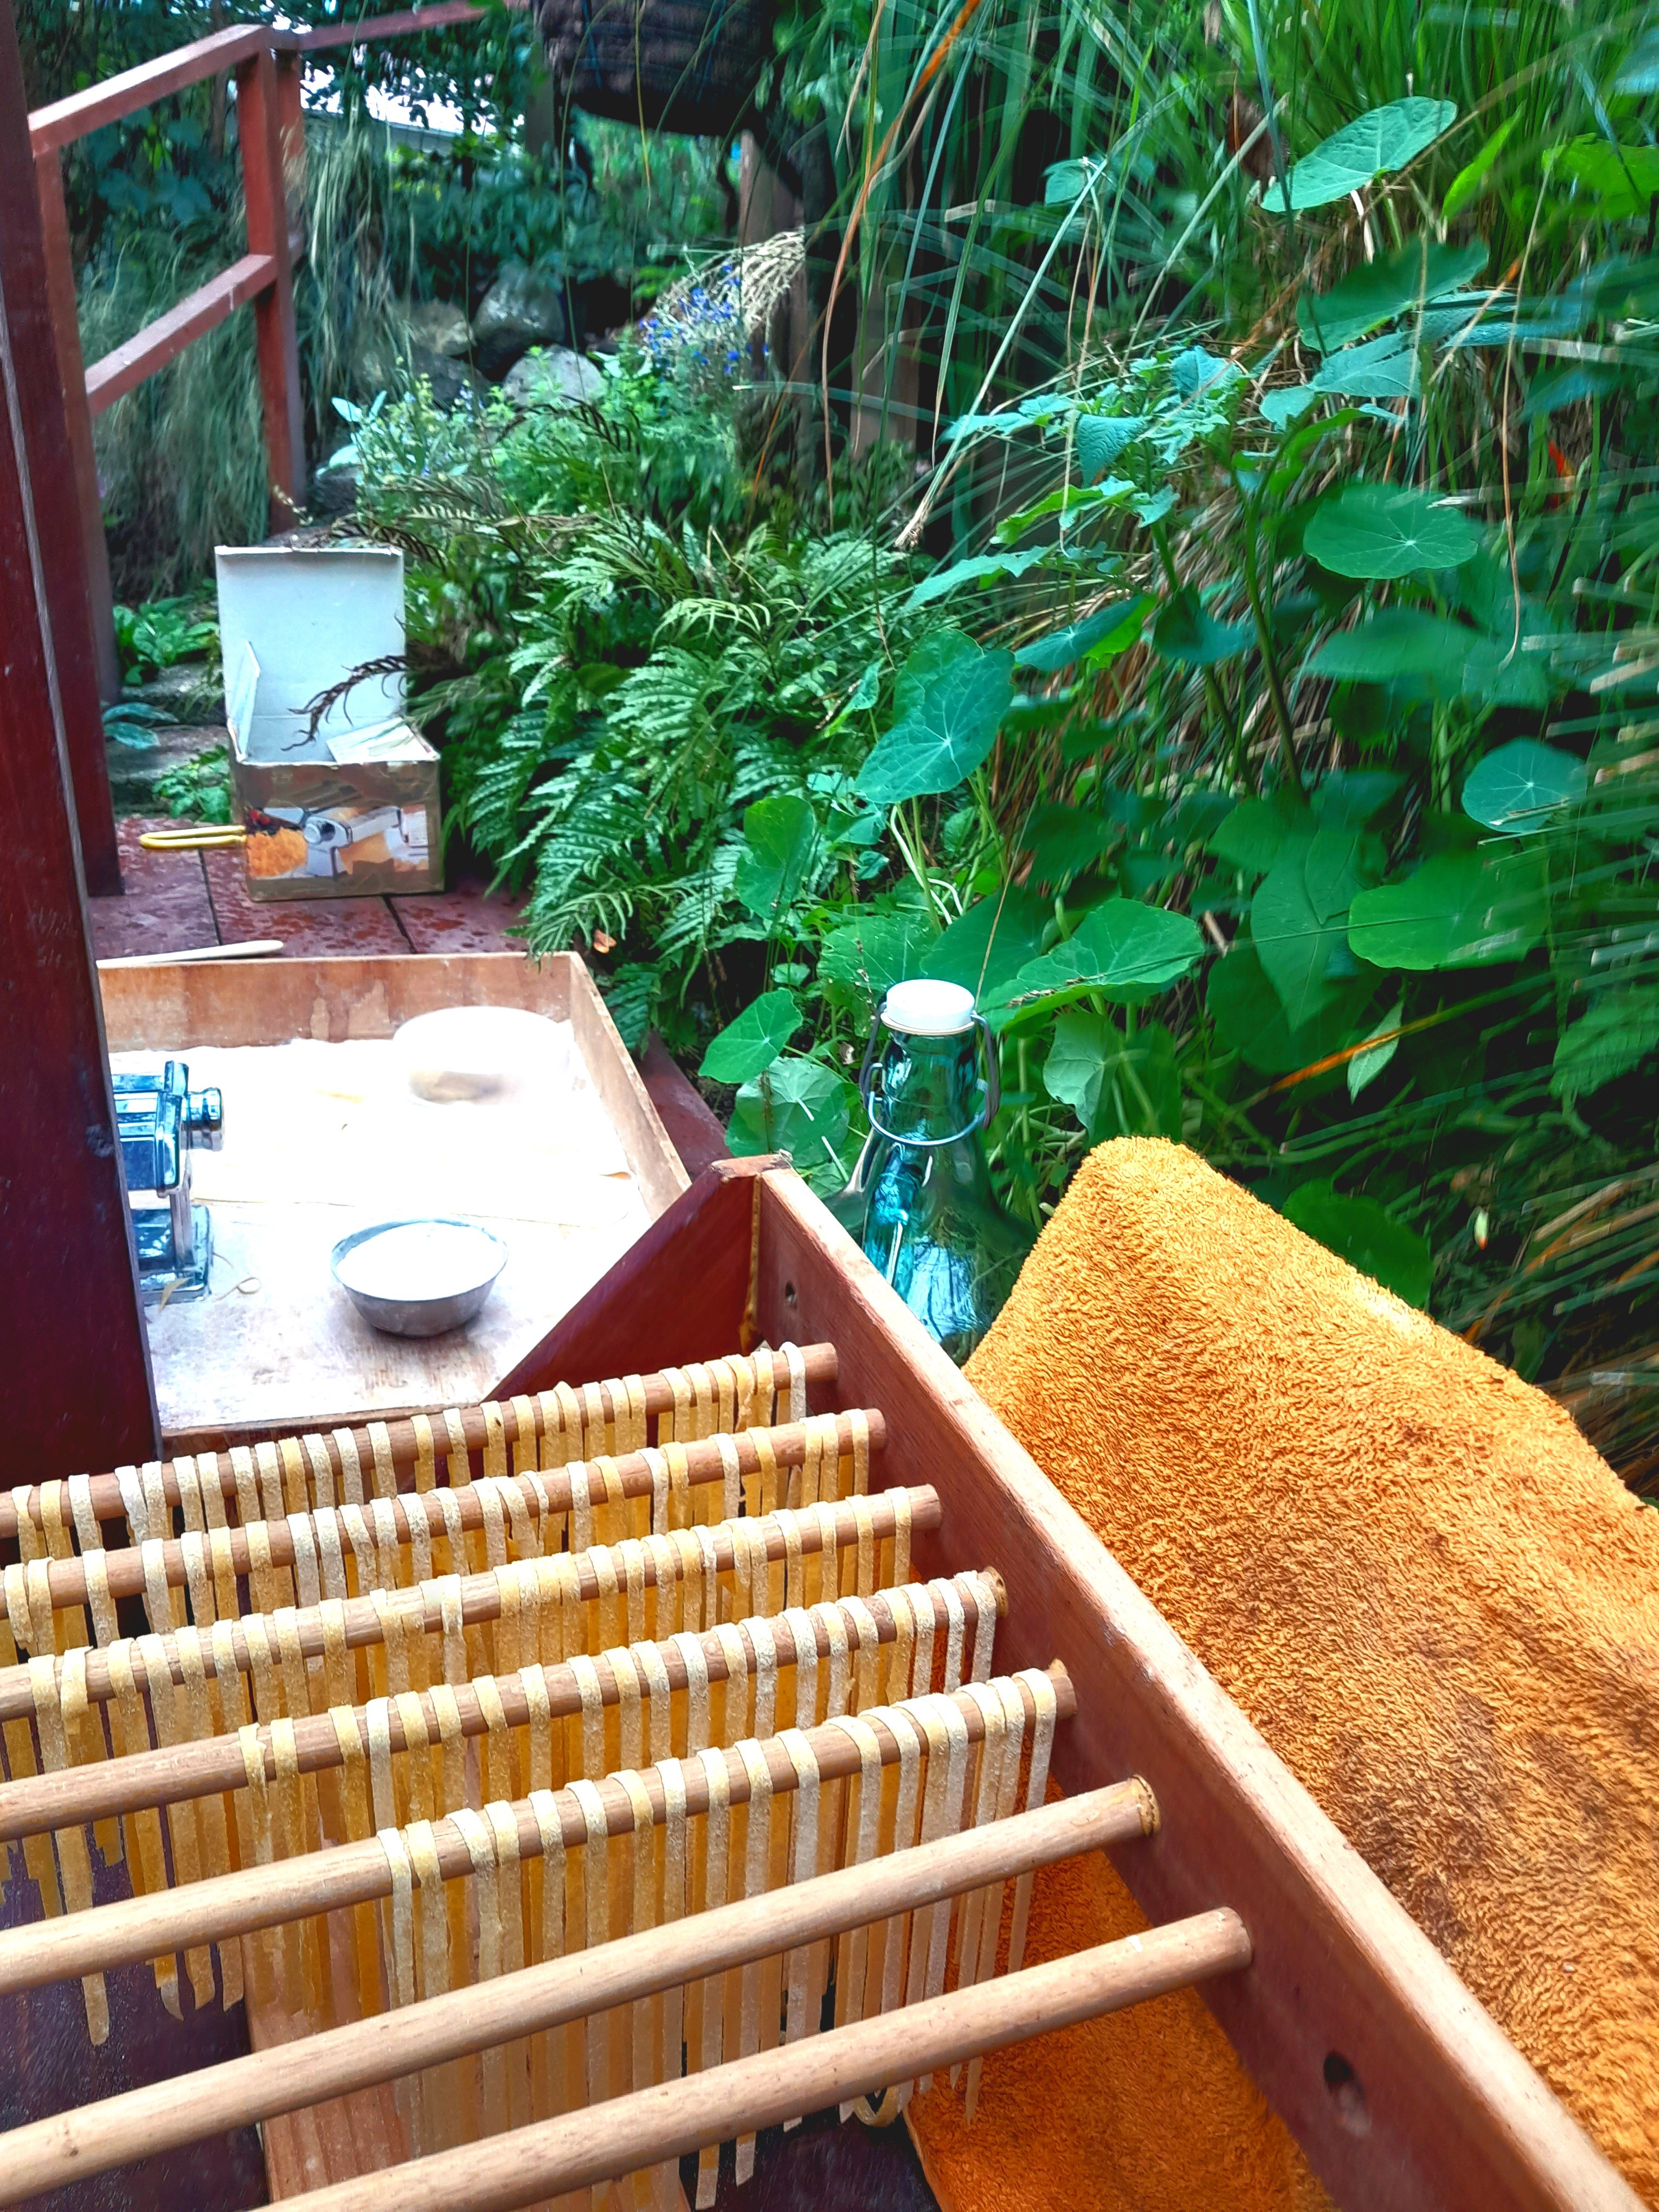
Tagliatelle con salsa di ortiche / Stinging Nettle Tagliatelle

Ingredients (4 Primi Piatti)

  • 100 g Guanciale (or Pancetta), diced into small cubes
  • 3 cloves garlic, finely chopped
  • 1 fresh chilli (pepperoni), finely chopped (add to taste)
  • ½ glass good-quality dry white wine
  • 1 cup blanched stinging nettles, well drained and roughly chopped
  • 100 g freshly grated Parmigiano Reggiano
  • Salt
  • Freshly ground black pepper
  • 500 g fresh tagliatelle

Method

  1. Bring the pasta water to the boil.
    Fill a large pot with plenty of water, add a generous amount of salt and bring it to a rolling boil while preparing the sauce.
  2. Cook the guanciale.
    Place the diced guanciale in a heavy-bottomed frying pan large enough to hold the finished pasta. Fry over medium heat, stirring frequently, until the guanciale is golden brown and crispy. Remove the crispy guanciale with a slotted spoon and set aside, leaving the rendered fat in the pan.
  3. Prepare the flavour base.
    Add the garlic and chilli to the guanciale fat and cook gently until softened and fragrant, taking care not to brown the garlic. Pour in the white wine and simmer until almost all the liquid has evaporated.
  4. Add the stinging nettles.
    Stir the blanched, chopped stinging nettles into the pan and cook for about one minute, allowing them to absorb the flavours. Keep the mixture warm over very low heat.
  5. Cook the pasta.
    Add the fresh tagliatelle to the boiling water and cook until about 1 minute short of al dente. Before draining, reserve about one cup of the hot pasta cooking water.
  6. Combine everything.
    Return half of the crispy guanciale to the pan with the nettles and toss together. Add the drained pasta and gently toss over medium heat. Add a little of the reserved pasta water as required to keep the pasta moist and begin forming a silky sauce.
  7. Mantecare – the Italian finishing touch.
    Remove the pan from the heat and add half of the grated Parmigiano Reggiano. Toss vigorously, adding a little more pasta water if necessary, until the cheese melts and emulsifies with the pasta water to create a rich, creamy sauce.This traditional Italian technique is called mantecare—creating a beautifully creamy sauce without using cream.

To Serve

Divide the pasta among pre-heated serving plates.

Top with the remaining crispy guanciale, a generous sprinkle of the remaining Parmigiano Reggiano and a few twists of freshly ground black pepper.

Serve immediately.

Buon Appetito!

Enjoy with a generous glass of home-made red wine, good friends and plenty of conversation.

PIETRA DI SAPONE – A Rural Italian Recipe – Traditional Farmhouse Soap

Before supermarkets, detergents, and plastic bottles, farm households had to make do with what was on hand. Cleanliness was still important, but it was achieved with simple materials, practical knowledge, and a lot of experience.

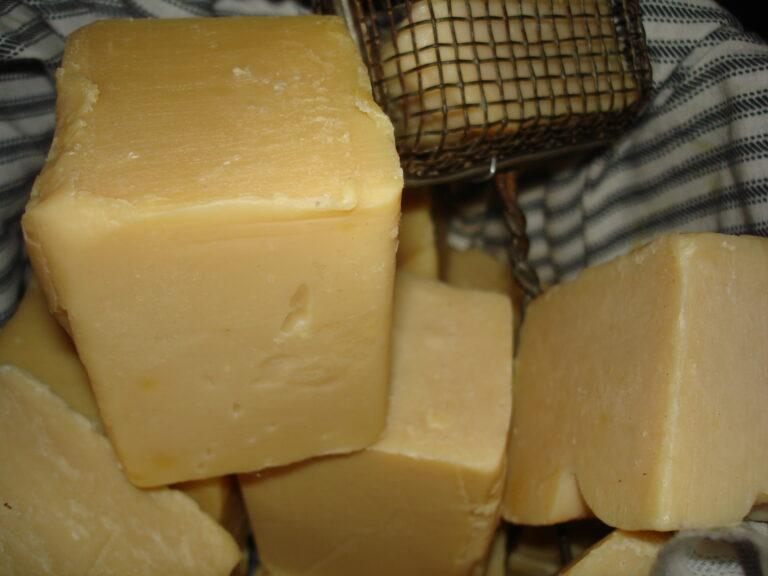
In rural Italy, farmers and shepherds relied on a basic homemade soap often referred to as pietra di sapone — literally “soap stone”. It was a hard, plain soap made from animal fat and alkali, produced in large batches and used for everything from washing clothes to scrubbing floors and tools.

This was working soap, not luxury soap.

Soap Making on the Farm

Soap making was usually done once or twice a year, often after pig slaughtering, when large quantities of lard were available. Nothing was wasted. Fat that was unsuitable for eating became soap, and the end product was stored and used until the next batch was made.

There were many local variations, most passed on orally. The recipe recorded below, of which I made a 5 Kg batch today, was already in use by around 1870, and likely much earlier. It is one of the simplest and most economical versions.

The Traditional Base Recipe (Historical Record)

Ingredients

  • Pork lard – 5 litres
  • Water – 10 litres
  • Flour – 1 kg – (Use Whole Wheaa Flour for some texture and scrubbing effect – optional)
  • Caustic soda (sodium hydroxide) – 1 kg

Basic Equipment

  • Large plastic or wooden tub
  • Wooden or plastic stirring utensil
  • Protective gloves

Traditional Method (As Practised Historically)

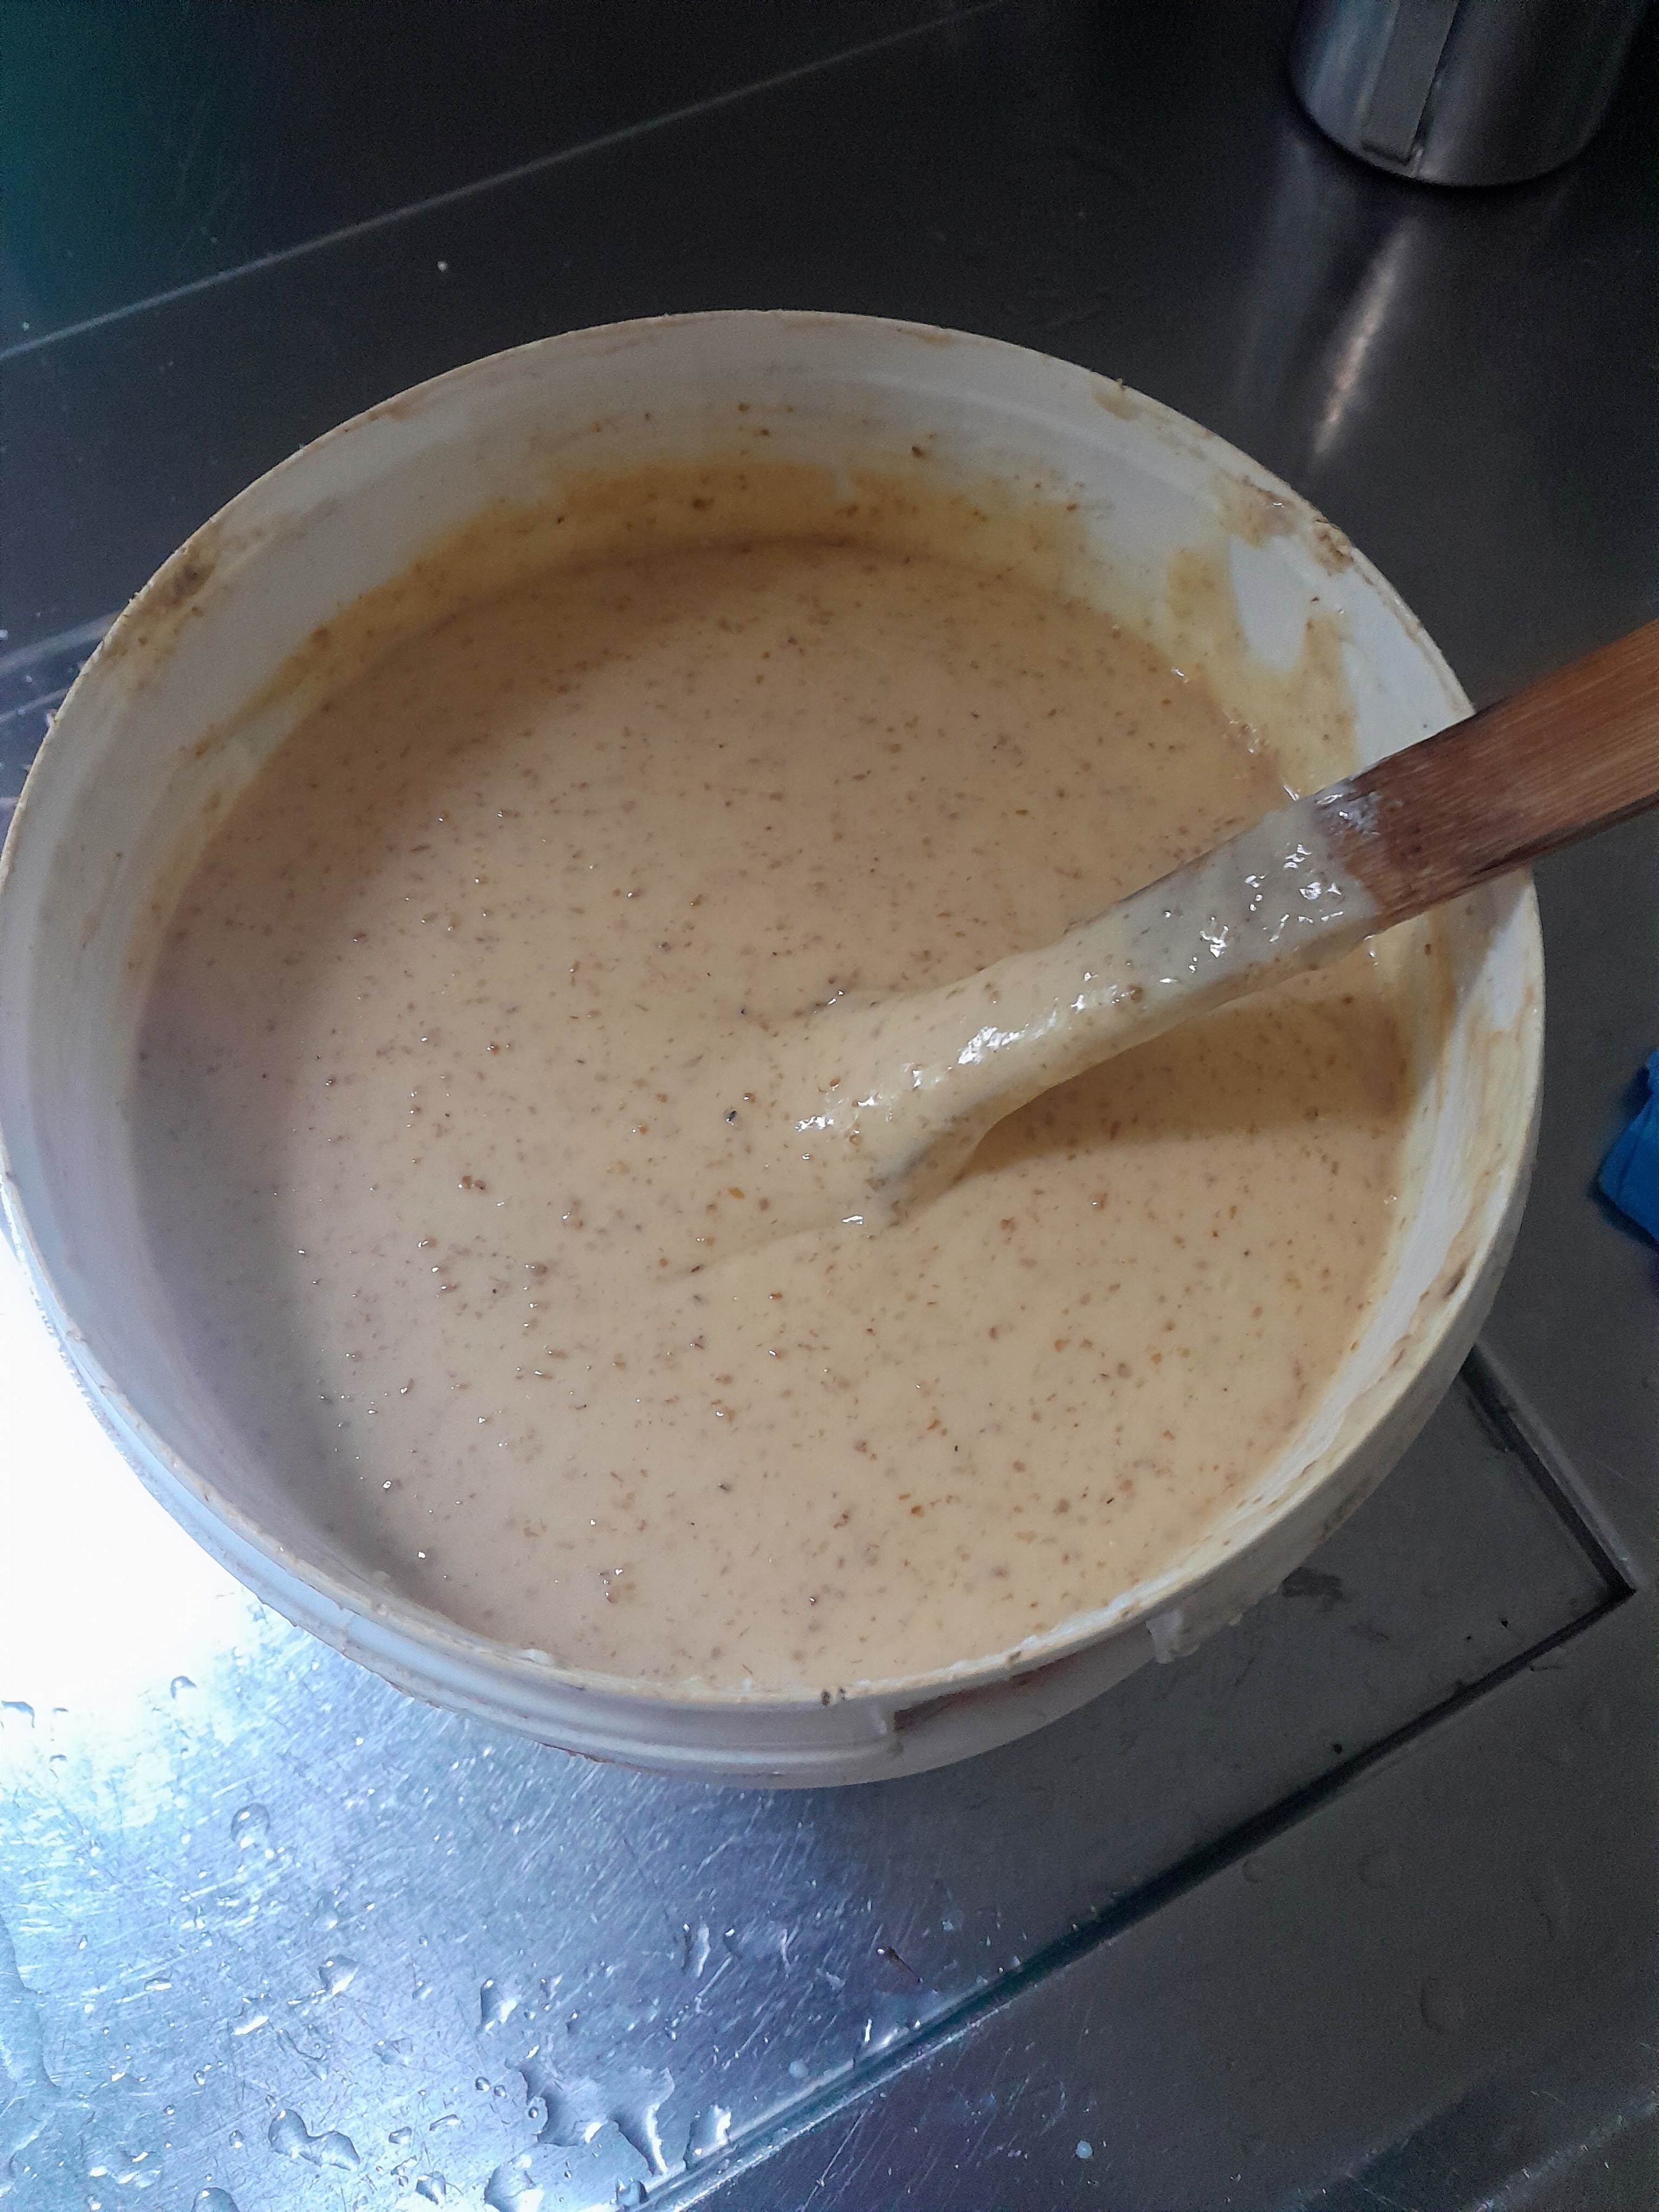
The lard was first rendered until fully melted and clear. Water was placed in a large tub and the flour mixed in to form a smooth liquid with no lumps. The melted fat was then added and stirred until evenly combined.

Only at this stage was the caustic soda introduced. The mixture was stirred continuously until it thickened noticeably — what old soap makers recognised by eye and feel rather than measurement.

When ready, the soap was left undisturbed for several days to set.

Once firm enough, the large block was turned out, cut into smaller pieces, and left to dry and harden in a well-ventilated place. Fresh soap was soft, almost butter-like, and became harder and more durable with time. Only useable after about 40 days.

What This Soap Was Used For

This was a strong, alkaline soap, intended mainly for :

  • Washing heavy work clothes
  • Cleaning floors and walls
  • Scrubbing tools, containers, and equipment

It was not designed for comfort or fragrance. Effectiveness mattered more than gentleness. Some families later added herbs or scents, but the basic soap remained plain and functional.

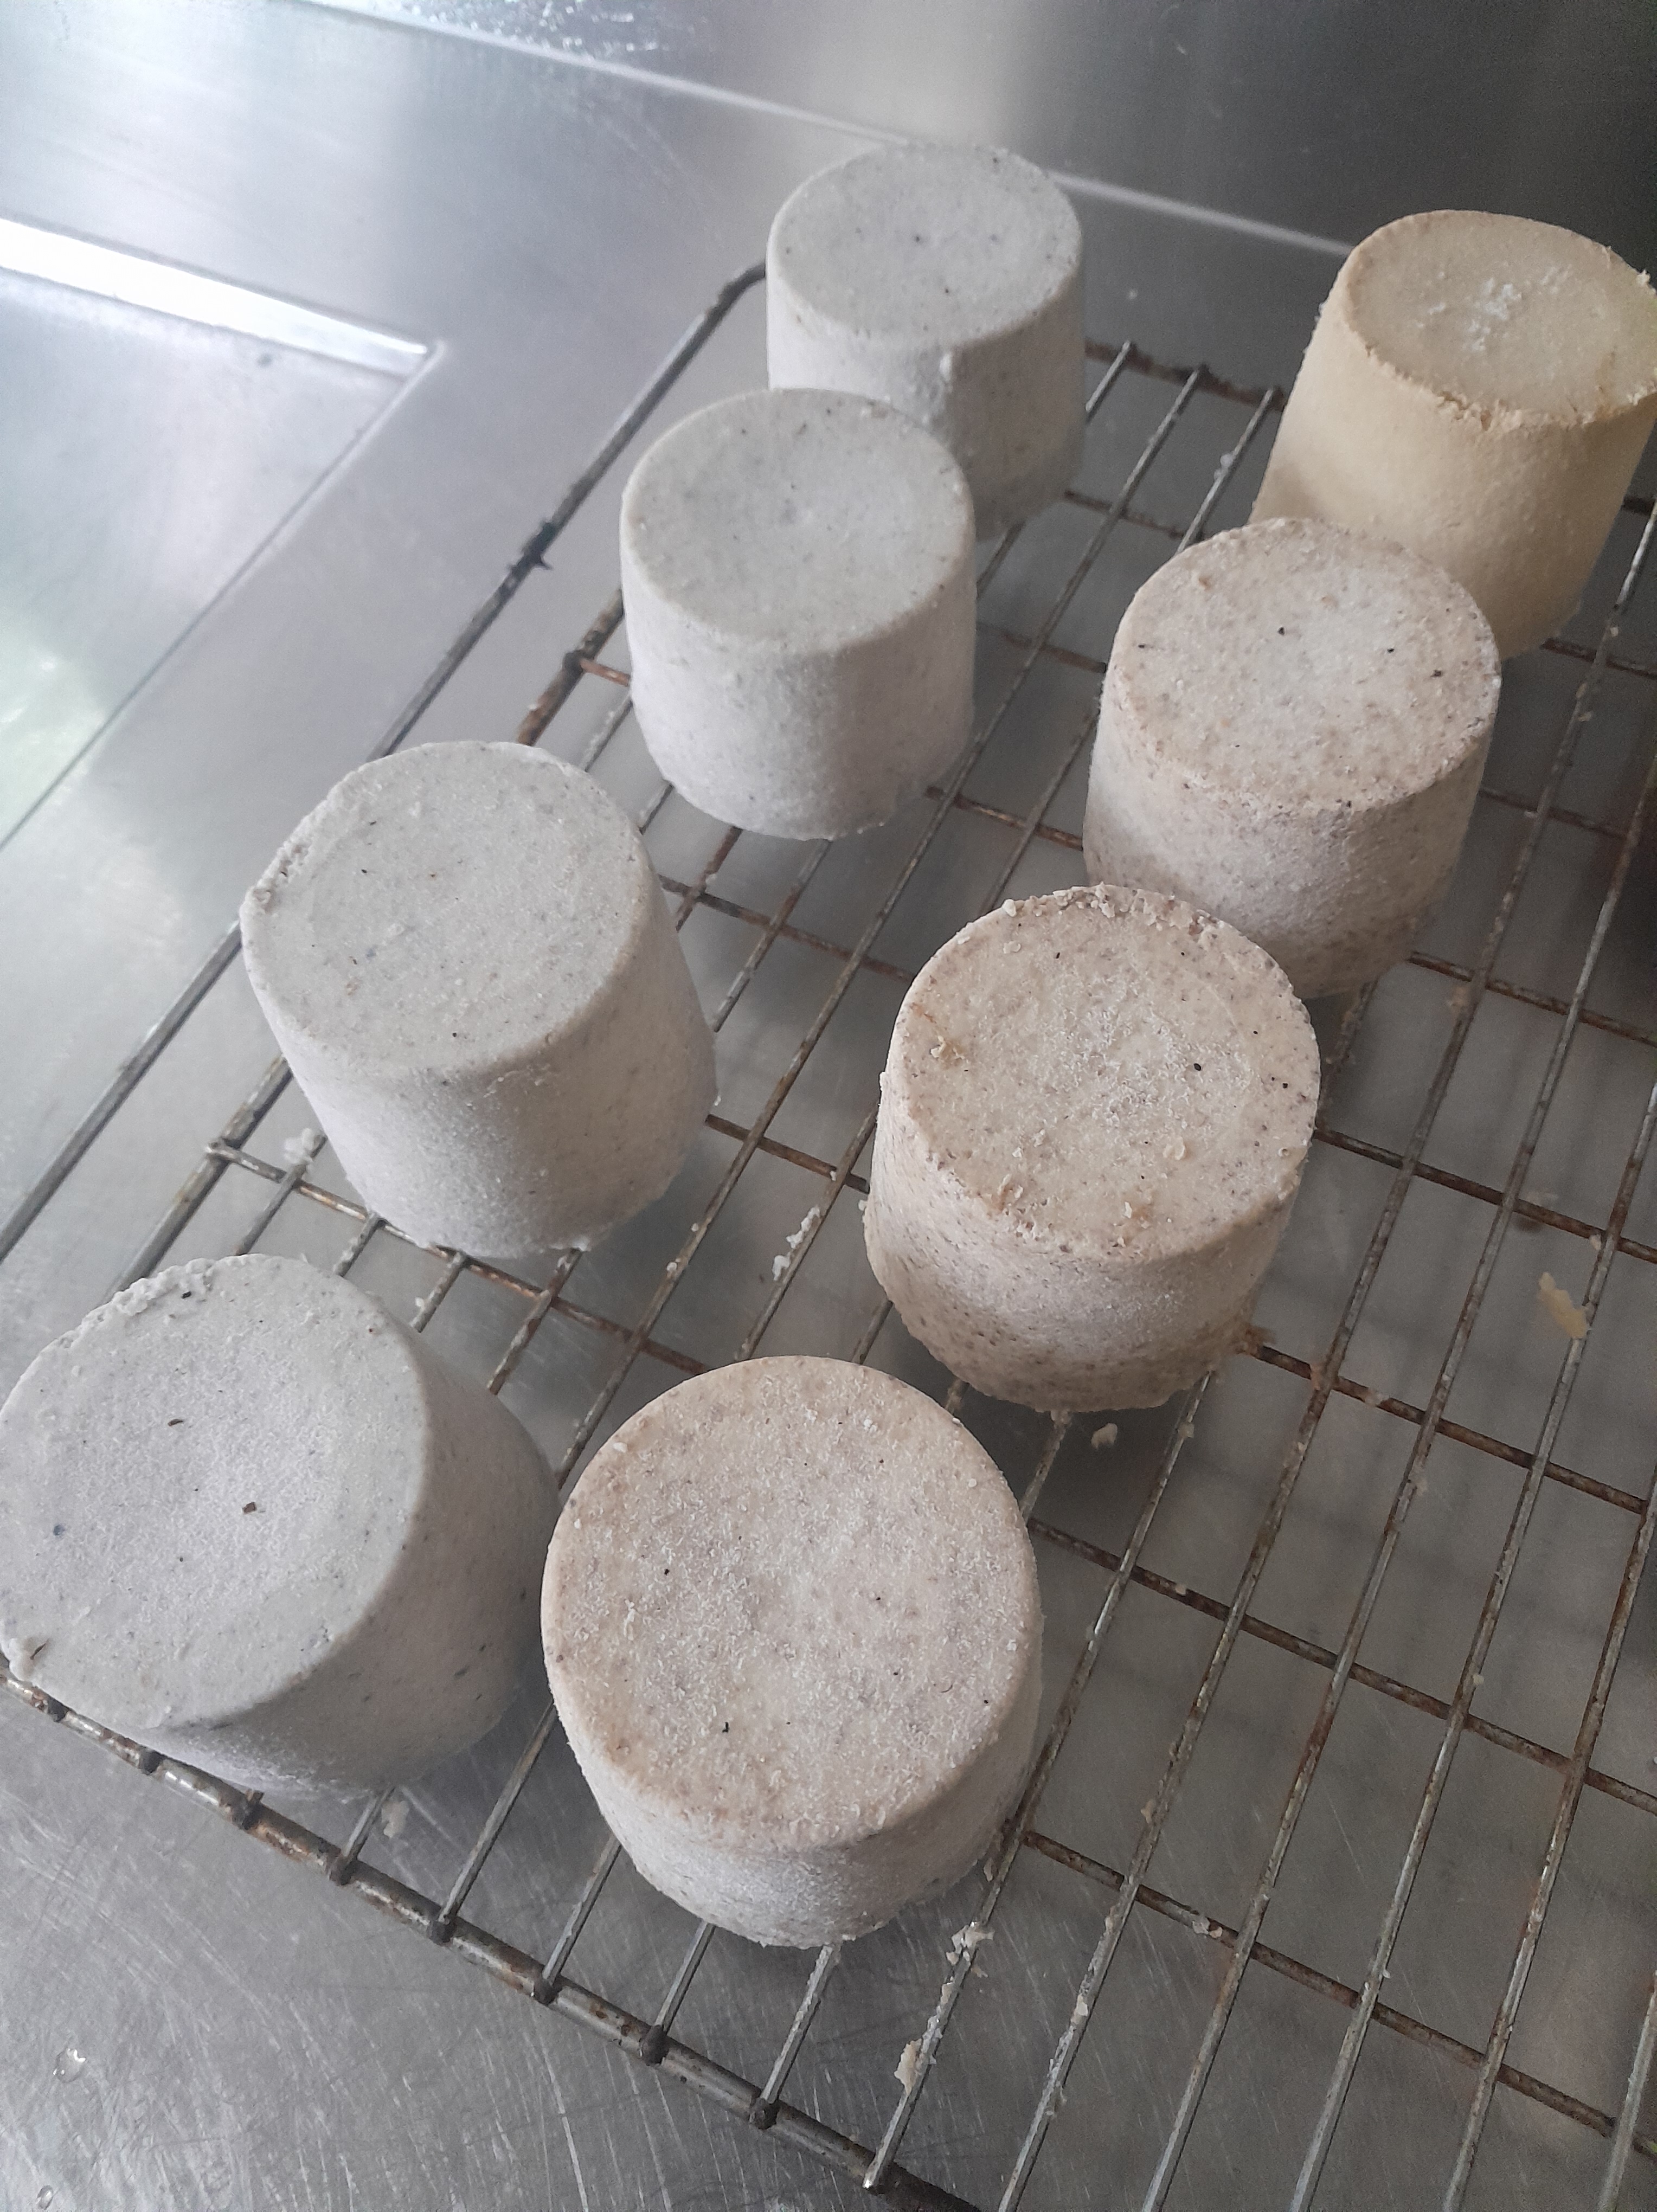
I also made some Extra Virgin Olive Oil Soaps today, adding coffee grind and mint leaves for a scrubbing effect and flavour

Why Flour Was Used

The addition of flour may seem odd today, but it made sense at the time. Flour helped thicken and stabilise the mixture in the absence of scales, thermometers, or chemical calculations. Soap making relied on observation, experience, and repetition rather than precision.

A Lesson in Self-Sufficiency

Recipes like this are a reminder of how farm households once operated. Everyday necessities were made at home, using local resources and practical knowledge built up over generations.

This old farmhouse soap is more than a cleaning product — it is a small example of rural independence, thrift, and ingenuity. Understanding how it was made helps us appreciate how closely farming life was tied to basic chemistry and hands-on skill.

FEEDING YOUR BEES OVER WINTER

Feeding your bees some sugar water is almost a standard in Dunedin if you want your hives to survive and be strong and producing honey over the next season

Commercially bee feeders are available in single, double or triple units. I am using the triple units as it requires less intervention and stress on the bees having to open the hives less frequently for refuelling.

When I first bought these sugar feeders I did a test run on the outside of the hive, as these feeders normally are located inside the brooder box. I did however notice that quite a number of bees drowned in the sugar feeder in spite of the fact that there is a “ladder” on the inside of the cone for the bees to get out. Back Yard Farmer created an internal additional ladder with some off cut wire netting and a piece of twig. Mission accomplished when almost no bees drowned any more.

HAPPY BEES !!!!

UPSIDE DOWN BANANA BOXES

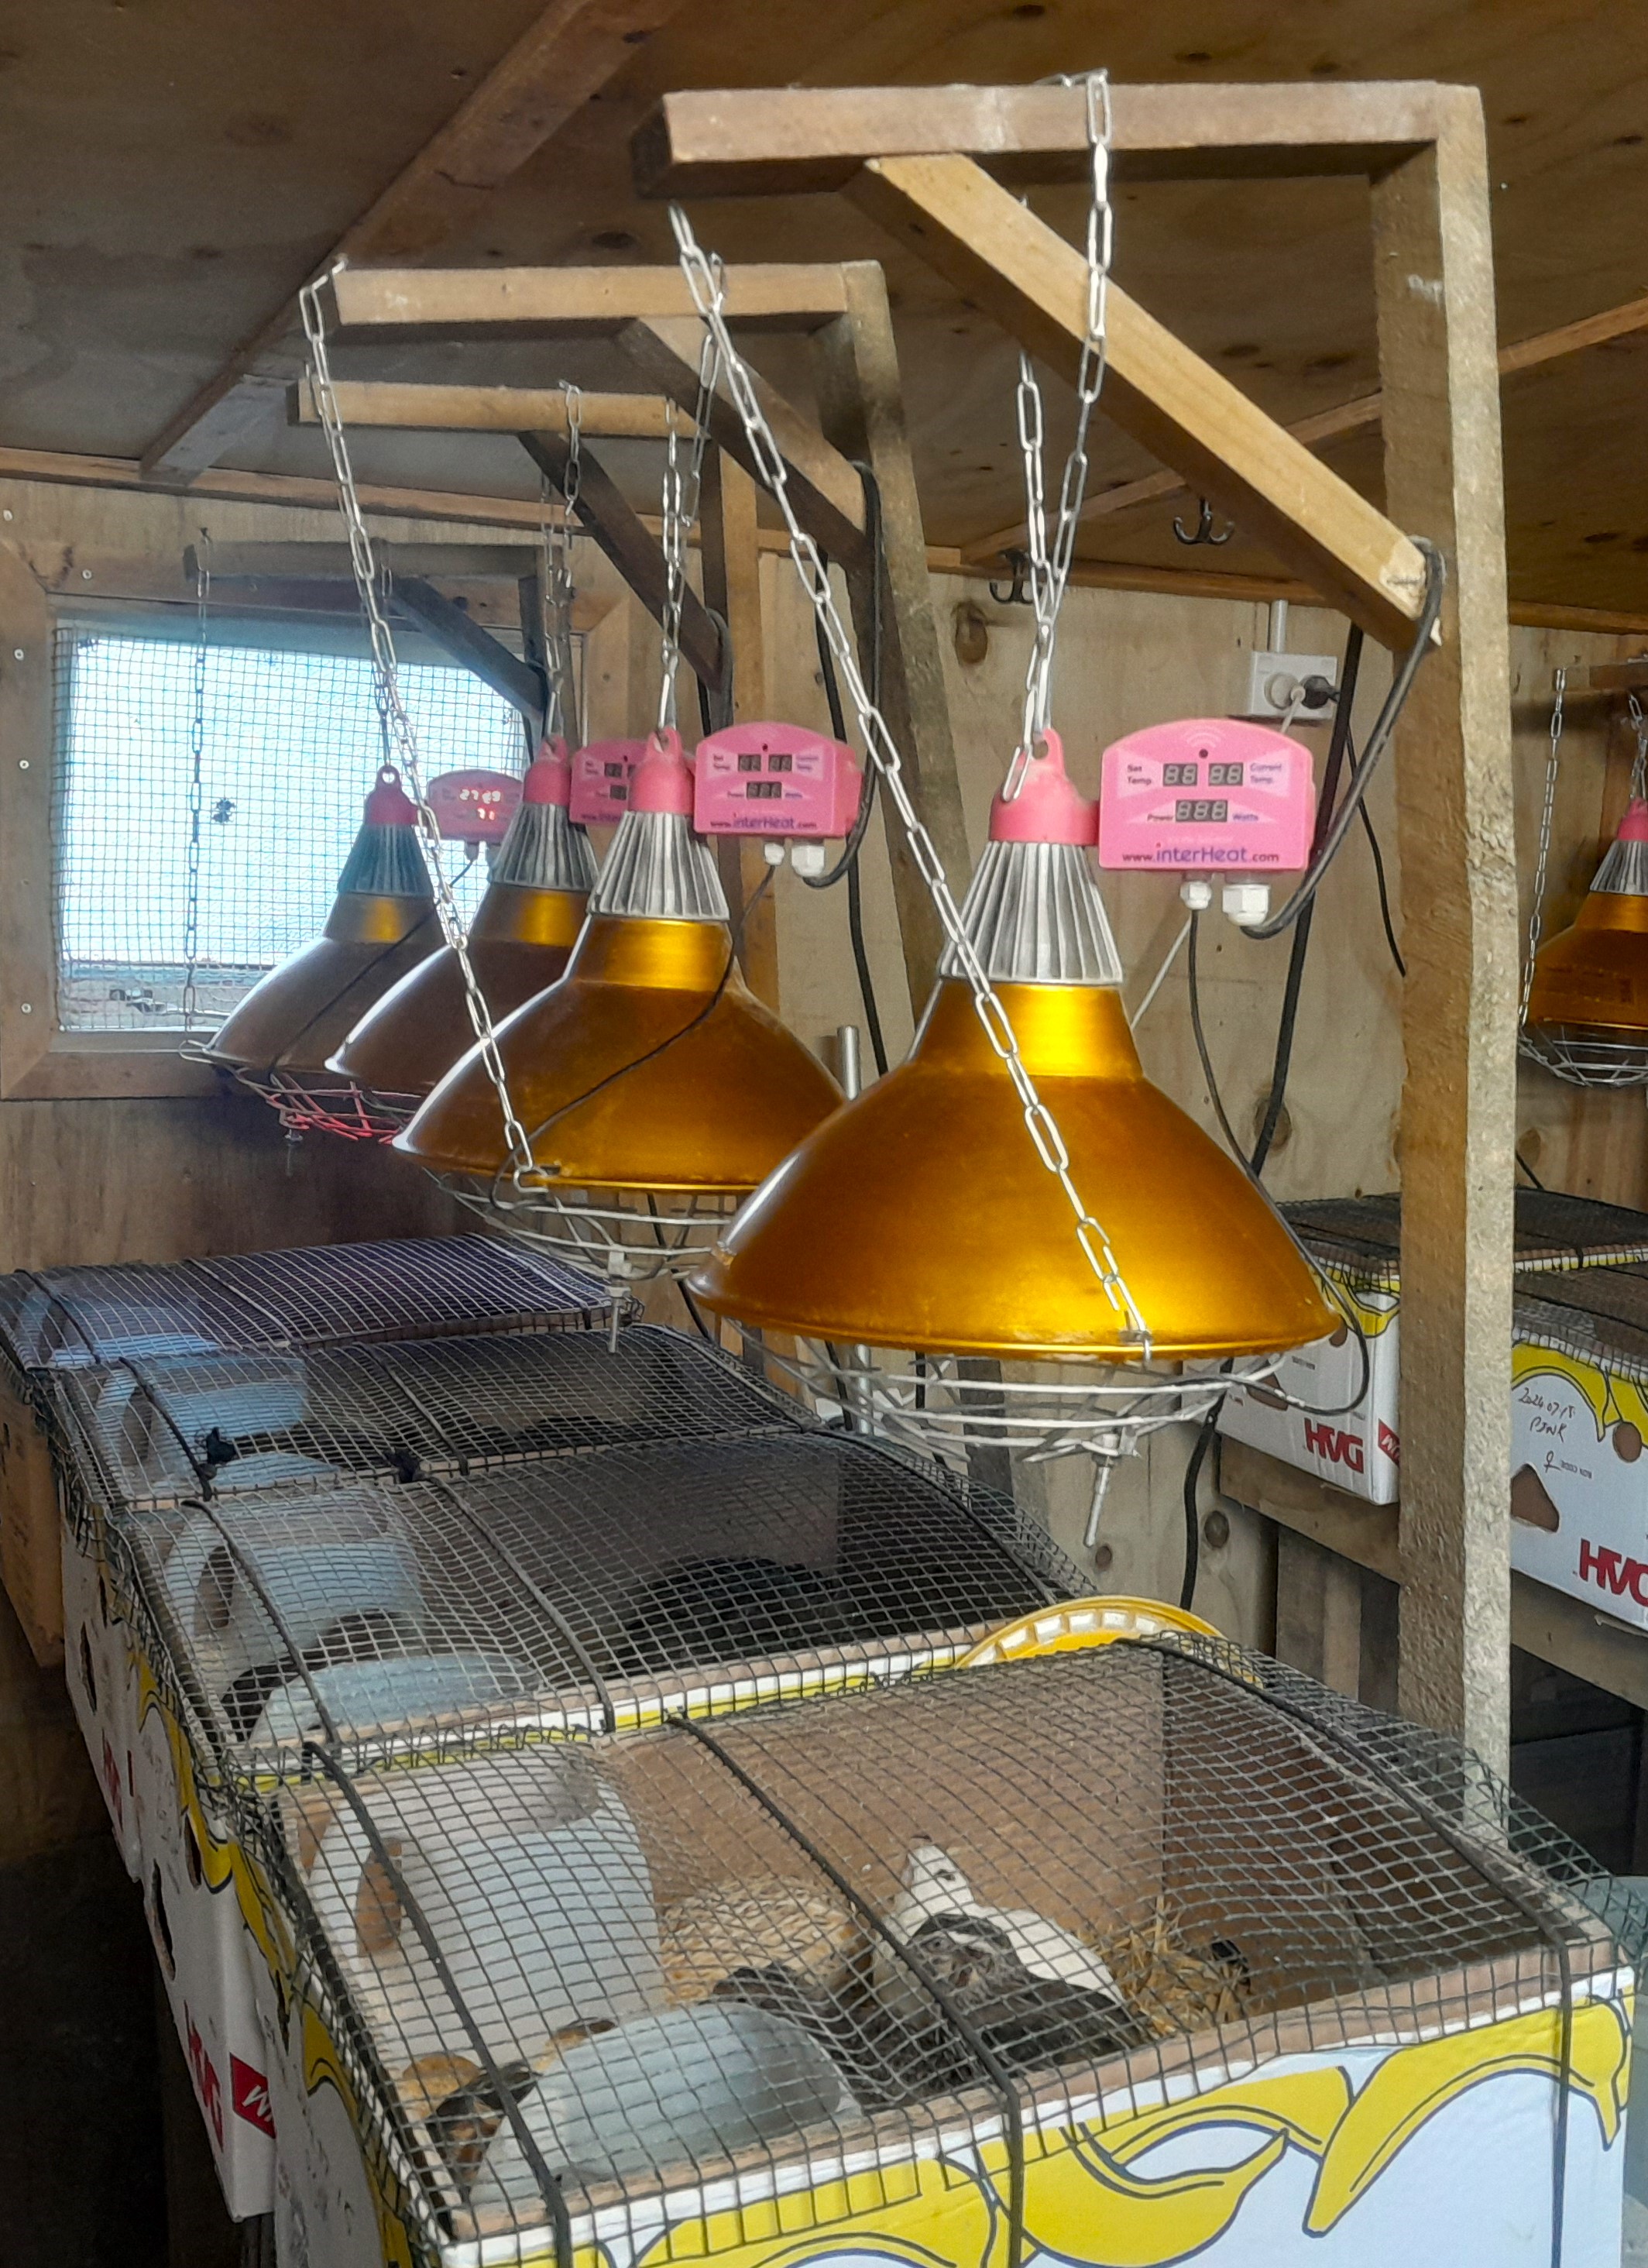
INSIDE TE HATCHERY

For many years I used plastic brooders to grow my small quails in and it worked very well. The problem came having to clean these all the time and since I replace about 10 of these in my hatchery every week, it became a very laborious and unpleasant task. A water blaster was the only way to clean them properly which created a lot of effluent as well. Alternatives were investigated and I settled on Banana Boxes. The advantage is that there is no cleaning as I just replace the used box with a new and clean one. The downside was that I had 10 manure and bedding “soiled” banana boxes every week. I solved this by flattening the boxes and turn them upside down in my garden with the manure and bedding underneath and the box on top. This makes a wonderful source of nutrients fertilising the soil and also an excellent weed mat.


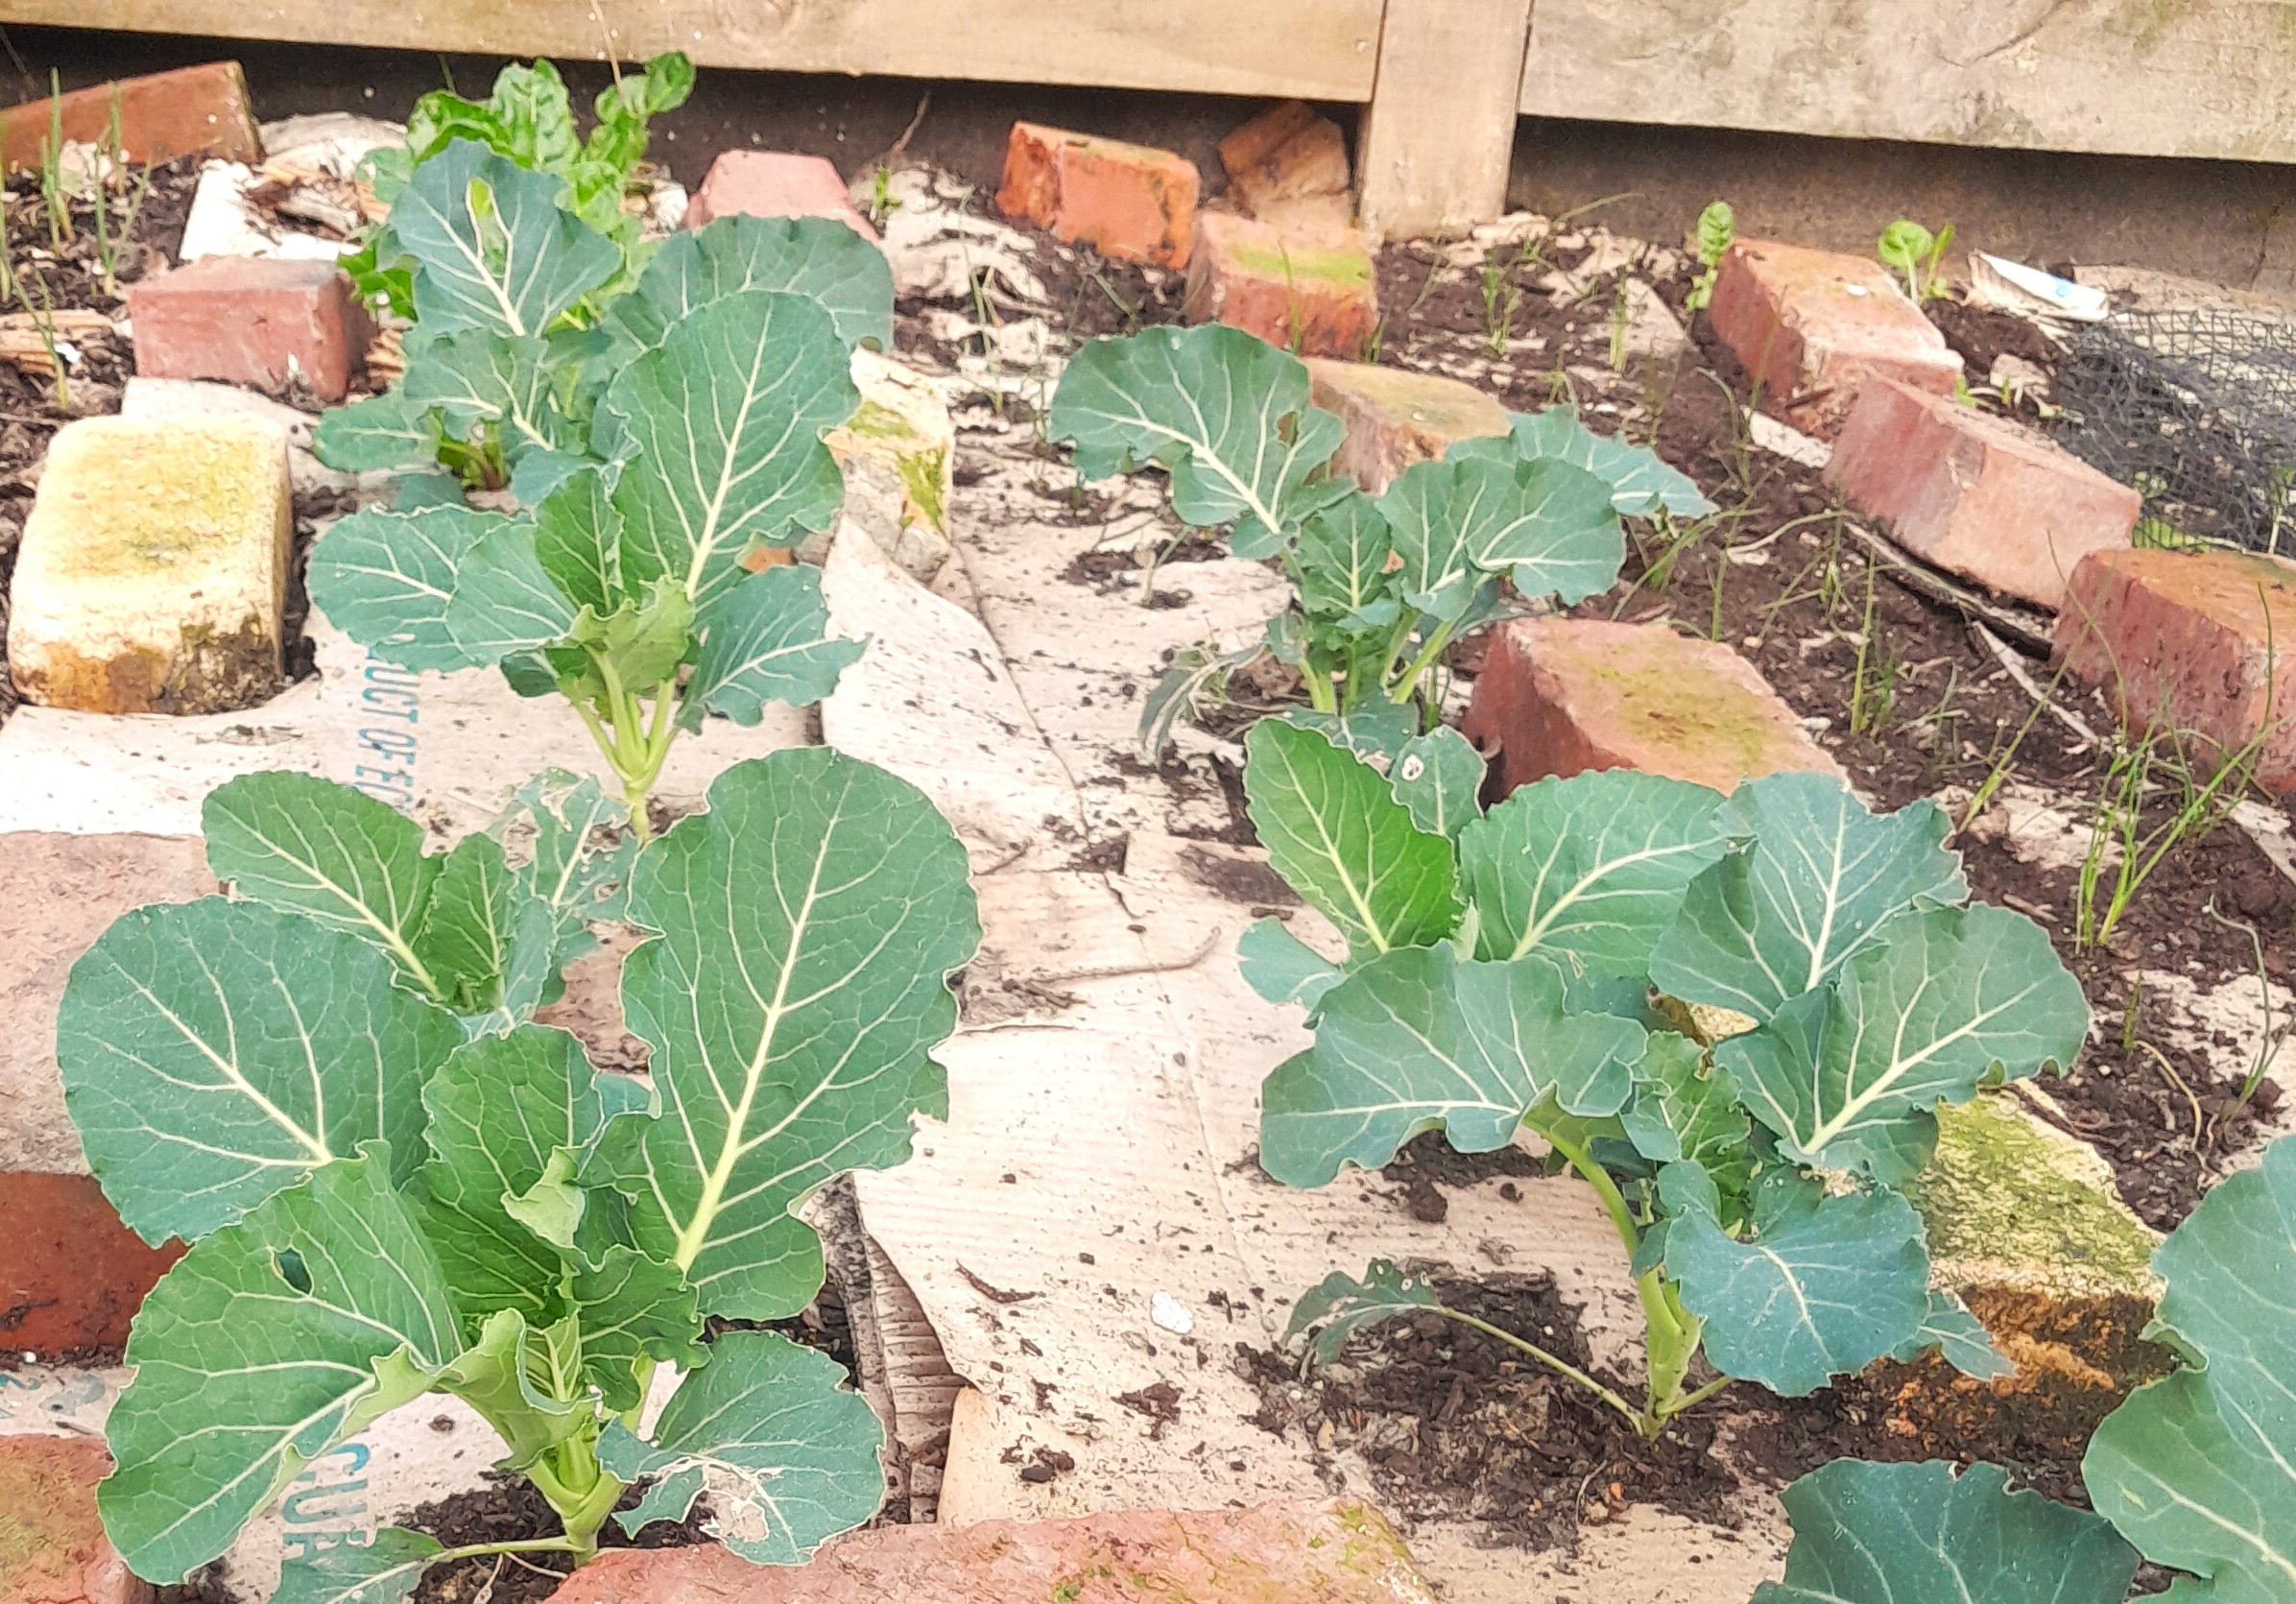
The results are excellent from a plant growth point of view and I have also not seen that many earthworms in all my live. I normally leave the boxes, well watered, for a couple of months before drilling a 40 mm hole about 200 mm deep through the box into the ground, fill it with good quality soil and plant the new plants or seeds it the hole. One needs to pack the boxes down in the beginning (I use old bricks) until the plants are stronger, otherwise the boxes move too much and the hole is not over the seed any more, or the small plants get damaged. After about 1 month the boxes have disintegrated and the bricks can be removed. The plants are now strong enough, weed free and well fertilised.

Ready to plant an Artichoke Forrest

One of the many Tomato beds ready for planting
Brassicas are very happy
Garlic is going very well
Boxes are well disintegrated after 6 weeks