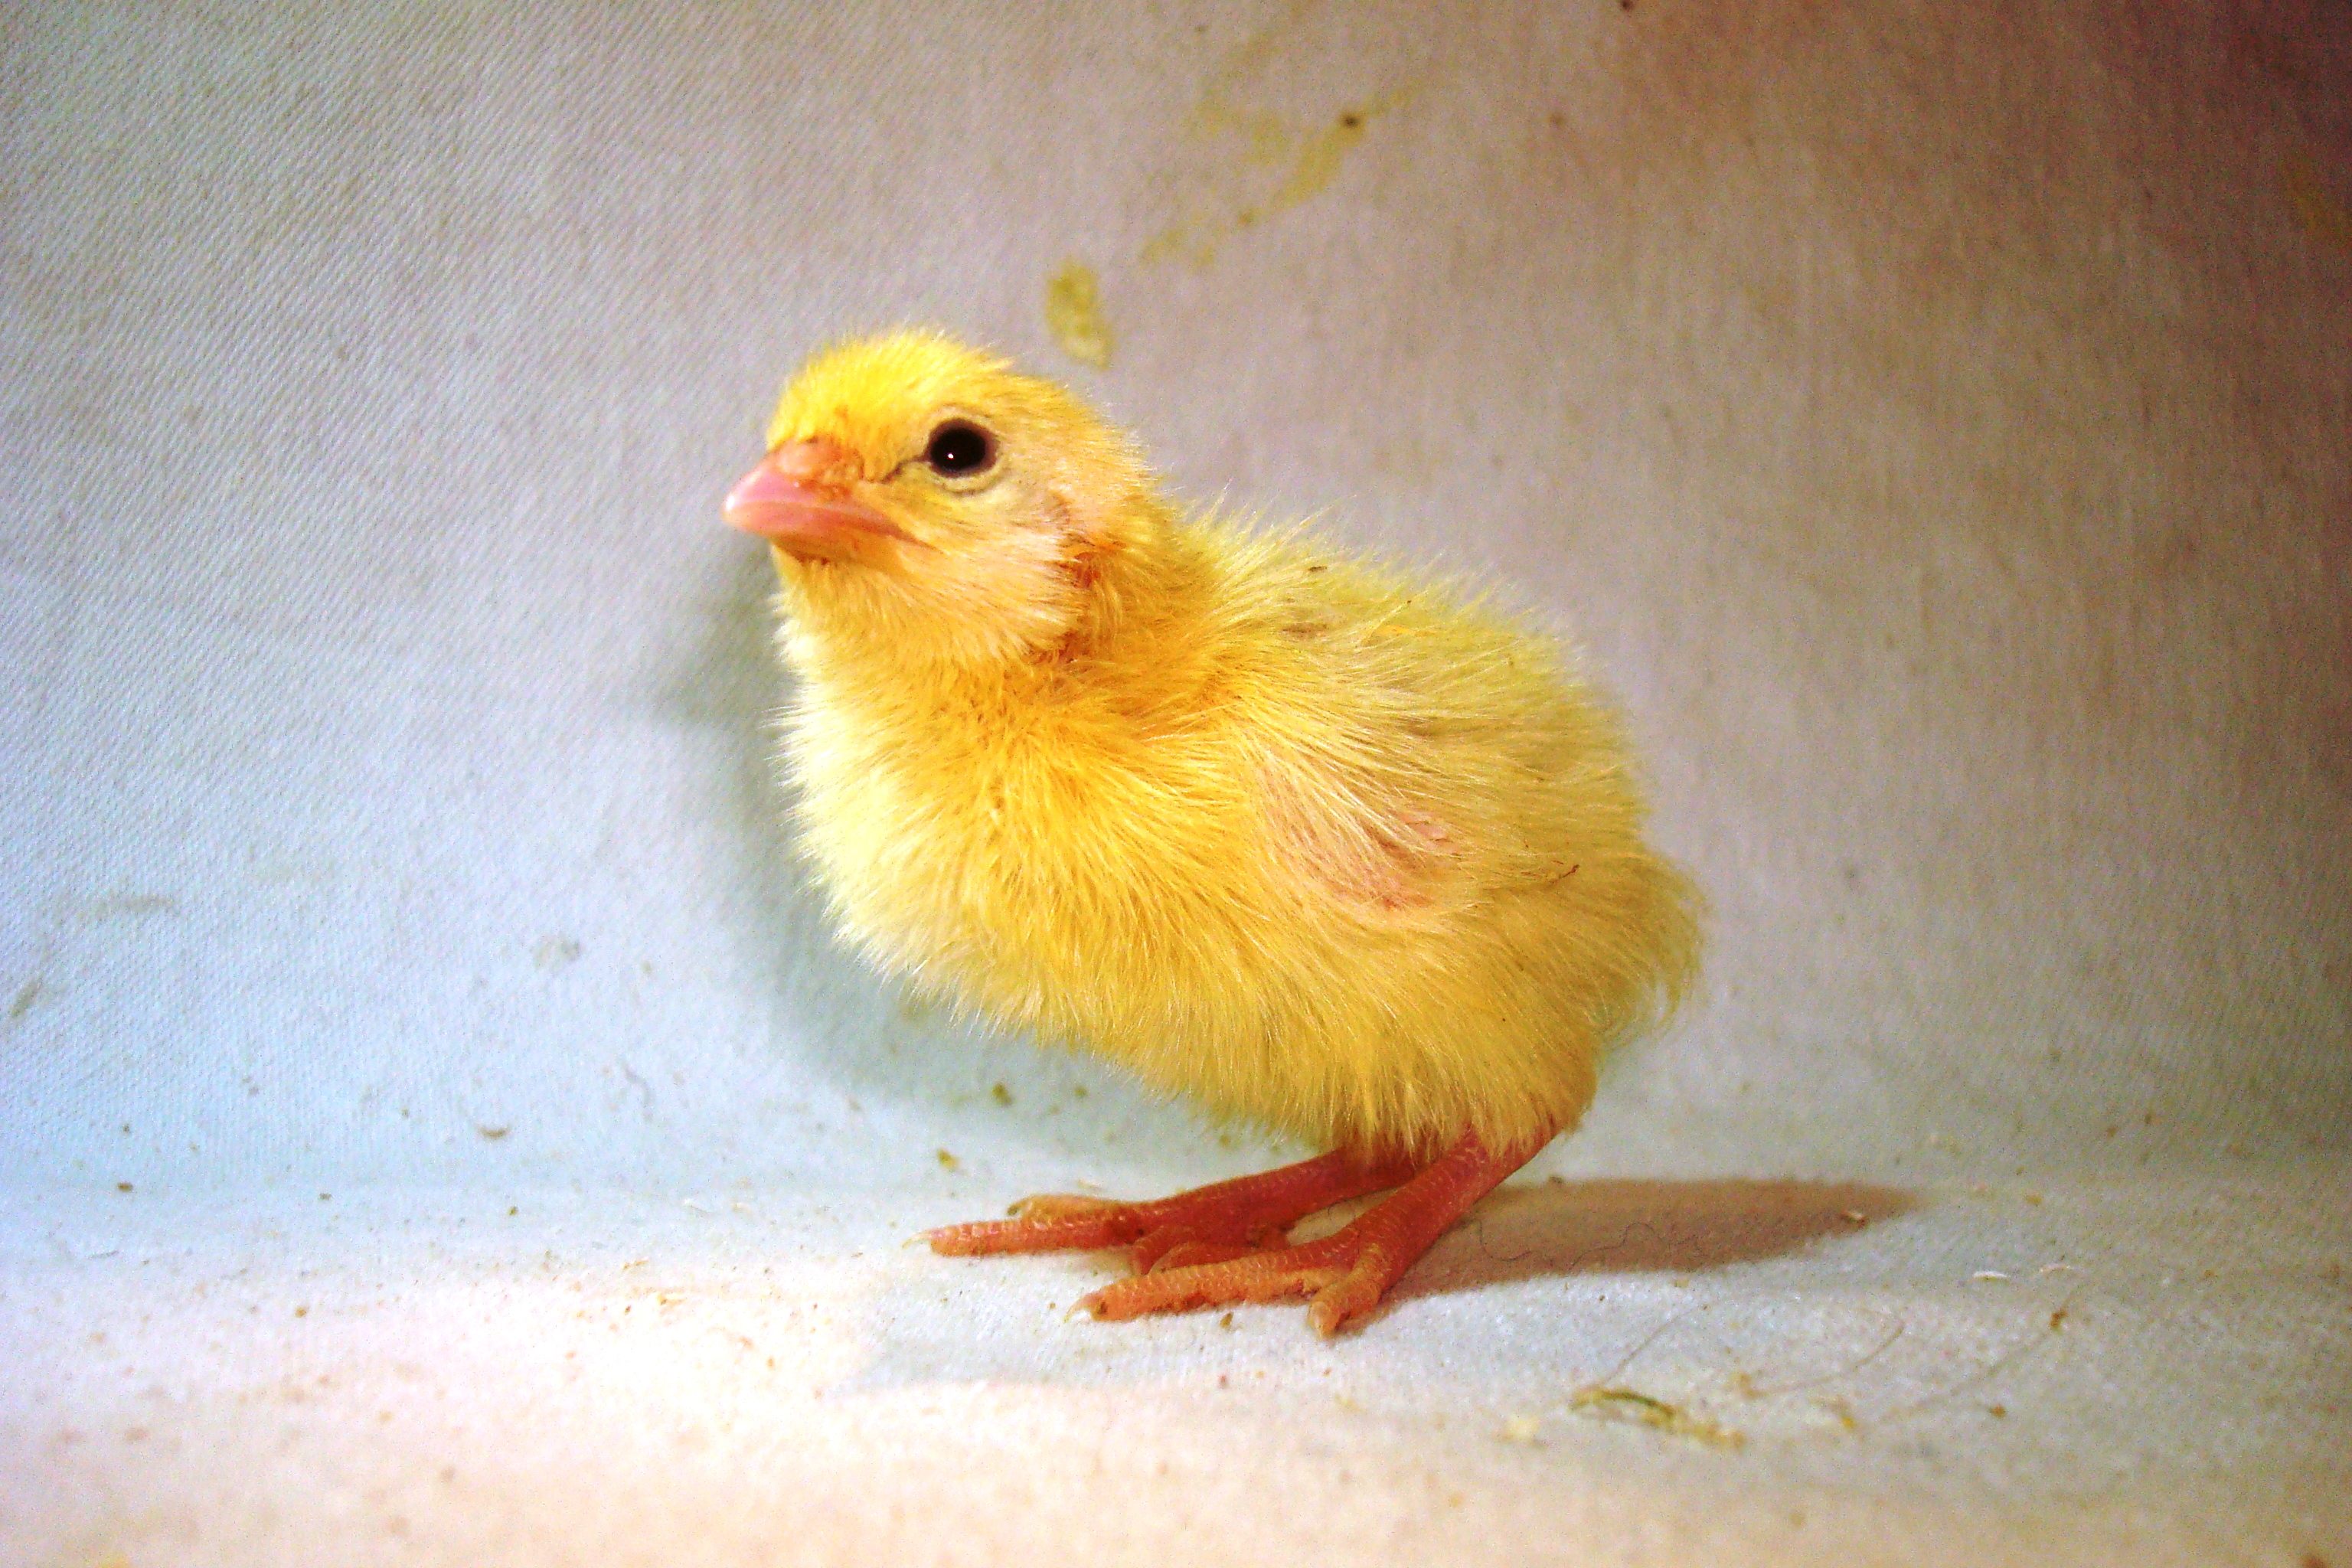
At Back Yard Farmer, we believe that the best solutions often come from the garden, not a laboratory. We are thrilled to announce our new 5-Herb Botanical Blend, a premium upgrade to our quail feed that brings “clean-green” bio-security directly to your coop.
By blending Organic New Zealand grown Salvia ‘Amistad’, Rosemary, Mint, Lemon Verbena, and Bay Leaves, we’ve created a powerhouse formula that acts as a natural shield against pests while boosting bird vitality.
Why Now?
We’ve spent the last several seasons observing the challenges our New Zealand keepers face—from high humidity causing grain pests to the relentless pressure of mites and flies in our summer months. We didn’t want to just offer another chemical fix. We waited until we could perfect a ratio that is safe, highly effective, and stabilized with Salmon Oil and Lypoforte for maximum absorption. It’s the result of months of testing to ensure your quail get the very best of nature’s pharmacy.
A Functional Shield, Not a Filler
Our organic botanical blend fits right into the growing body of research on phytogenic feed additives. These plant-based supports improve digestion, immunity, and antioxidant levels without the need for antibiotics. By including these five specific organic herbs, we help your birds fight off mites, lice, and internal stress naturally.
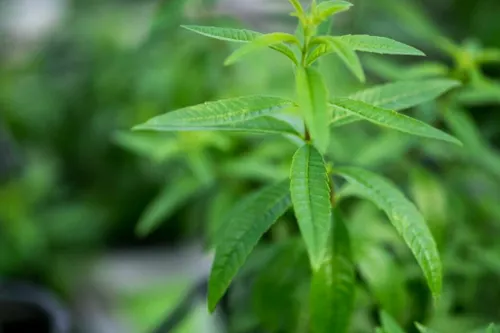
The Fly-Zone Defender – Lemon Verbena
Headline: The Final Piece – Zesty Bio-Security with Lemon Verbena
We wrap up our “Super-Herb” series with the bright, aromatic power of Organic Lemon Verbena.
Why it’s the perfect finish:
- Fly & Gnat Defence: Packed with citral, Lemon Verbena is a specialist at masking the scents that attract flies and gnats to the coop. By including it in the feed and dust bath, you’re creating an invisible aromatic barrier.
- Stress Reduction: The calming scent and phytochemical profile help reduce environmental stress, keeping your layers calm and productive.
The Back Yard Farmer Difference: By bonding these five organic herbs to our feed with Salmon Oil and Lypoforte, we’ve created a dust-free, nutrient-dense, and bio-secure meal that represents the best of New Zealand farming.
Ready to upgrade your flock? Our new 5-Herb Botanical Blend is available now. Experience the natural difference in every egg!