CALAMARI RIPIENI (Stuffed Squid)

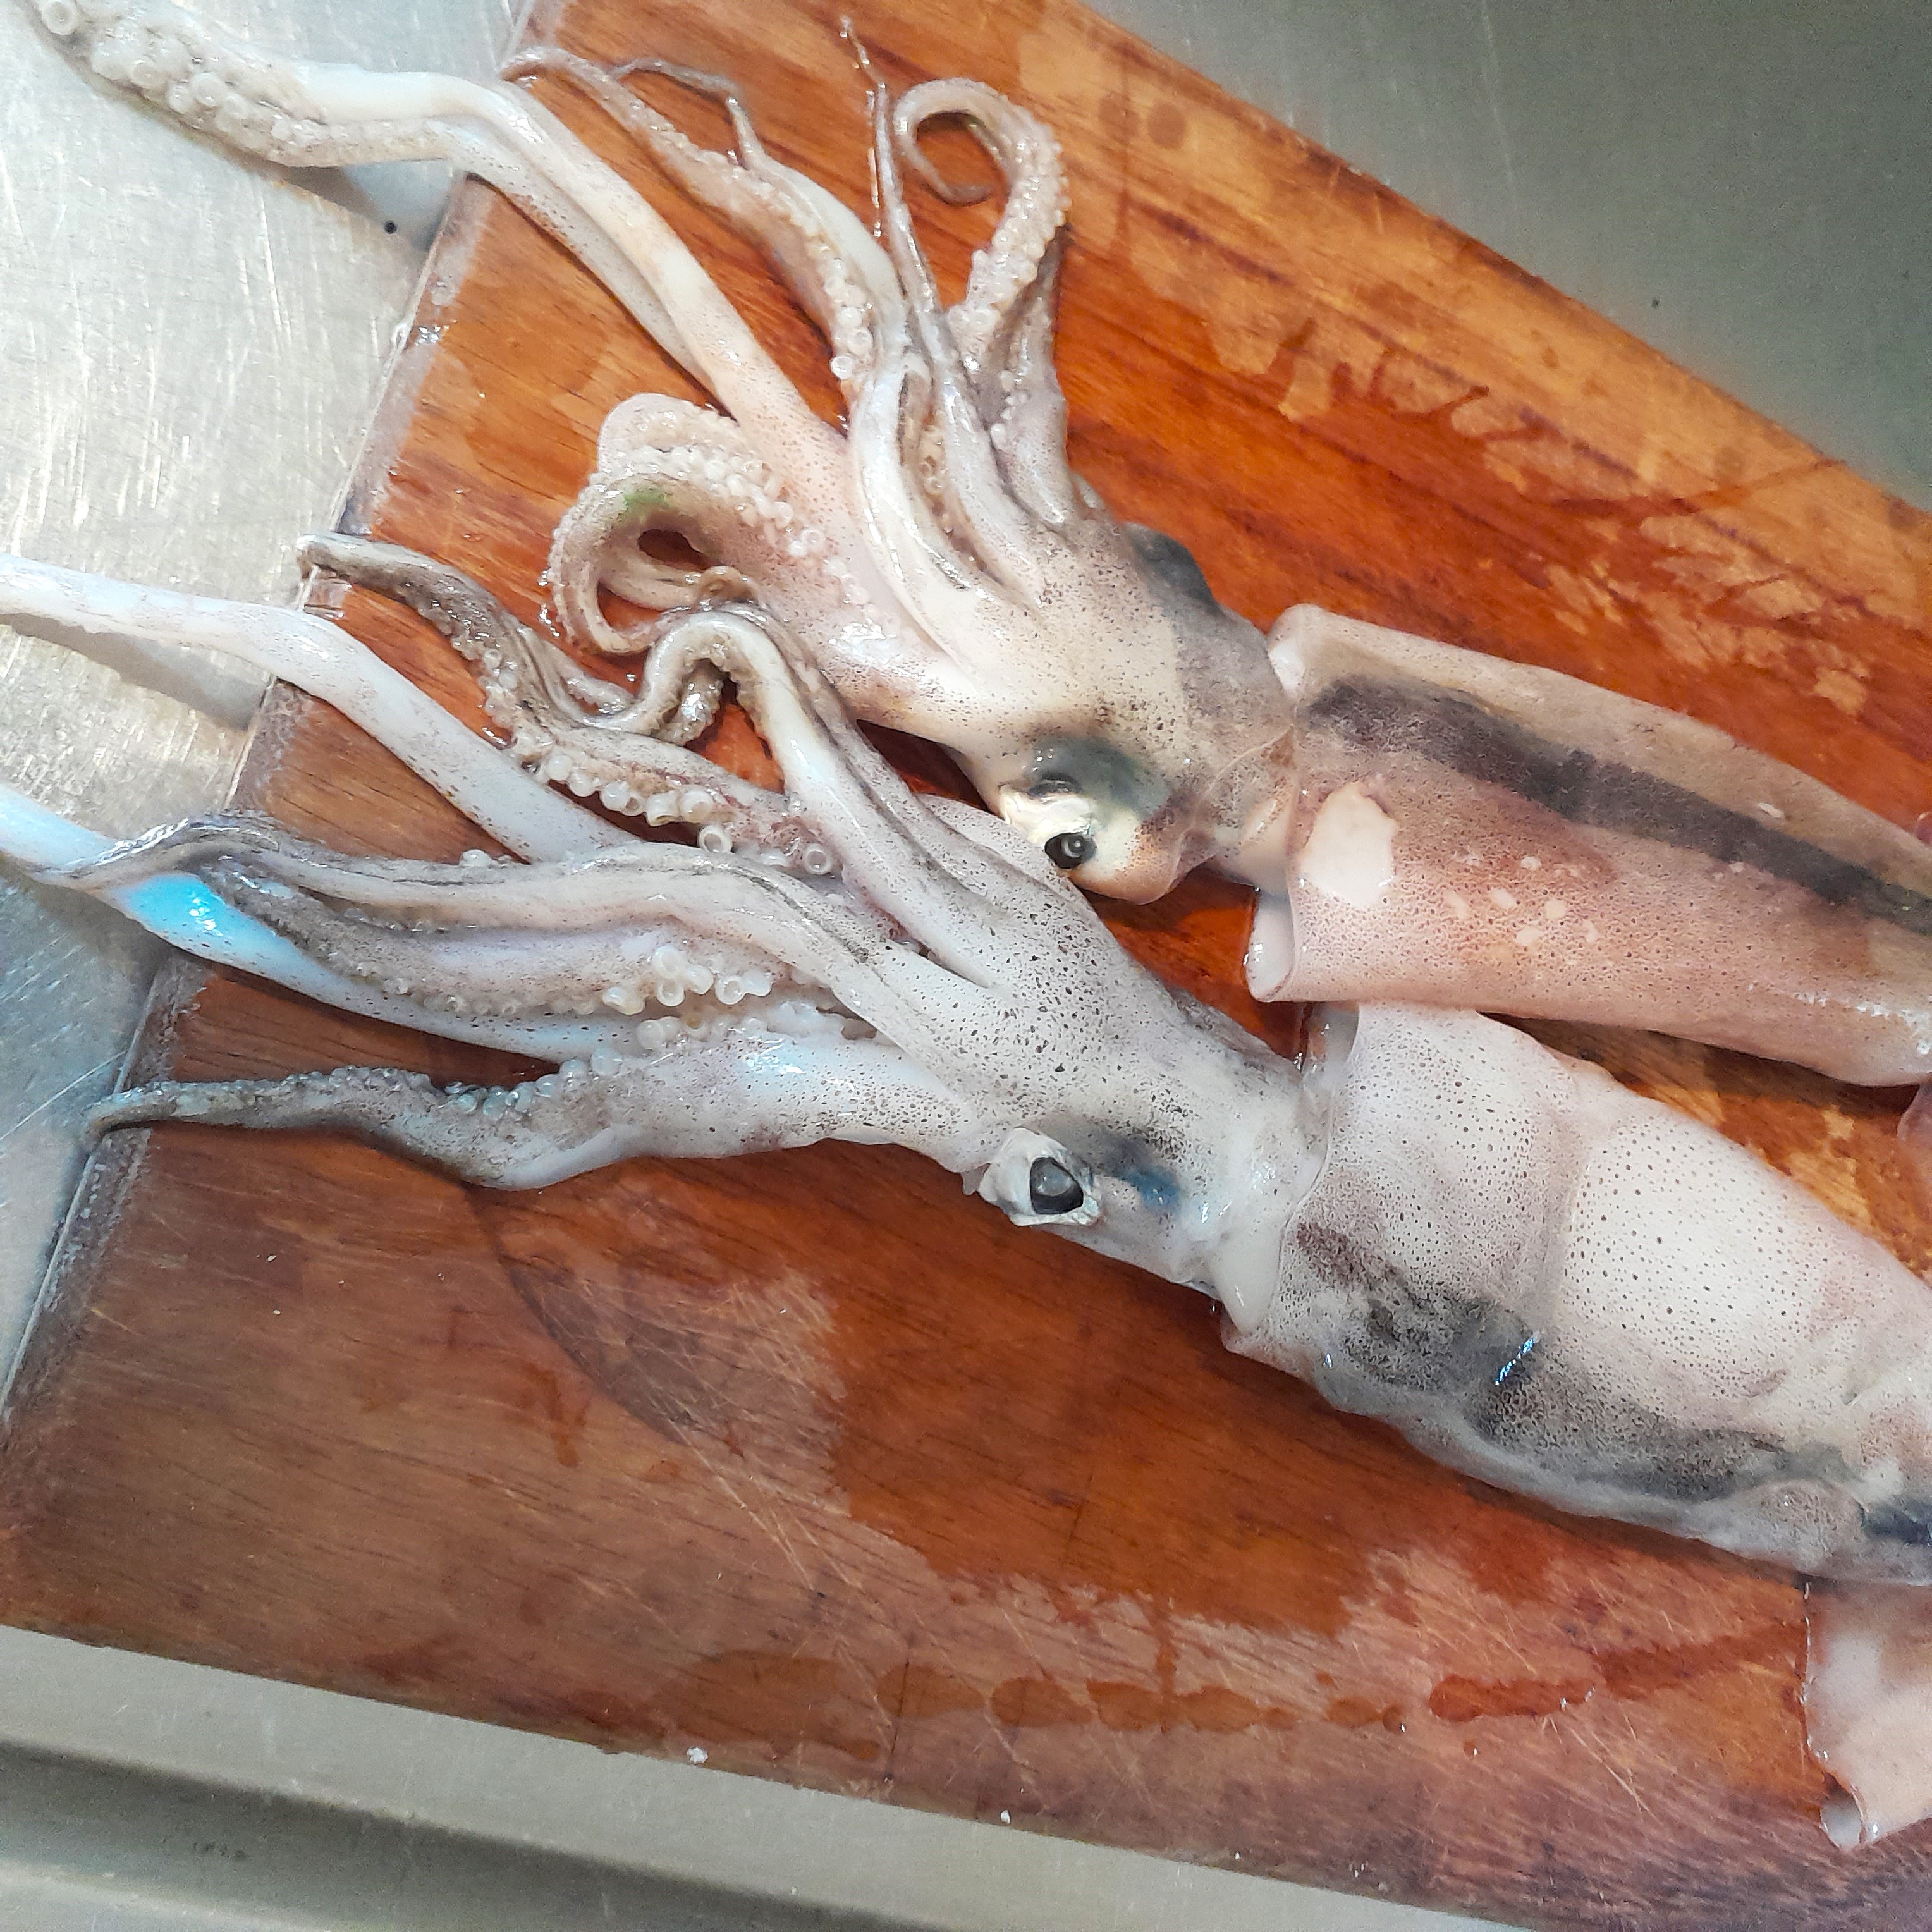
We got our hands on probably the best squid we have ever had. Fresh, large, tasting of the sea. We immediately started discussing our many options, determined to make the most of it.  The recipe we settled on was a tender, flavourful dish of squid. I cleaned as much as we need and froze the rest. After making a tender and tasty squid  with wine and spinach, Mrs BYF decided to put stuffed squid on the menu for lunch.

To serve six, or two with some very nice leftovers for the rest of the week 

6  whole Squid cleaned, tentacles and fins cut off leaving the sac intact

4  tablespoons extra-virgin Olive Oil

4  Garlic cloves or more

2  tablespoons chopped Italian Parsley 

140g fresh Tomatoes.

Salt to taste

chopped Chilli or chilli flakes to taste

1 Egg yolk

15g dry Bread crumbs. White bread unflavoured.

170g thinly sliced brown Onion 

100ml dry white Wine

Toothpicks the large strong ones

Method

Chop up the fins and tentacles

To make the stuffing, cook the garlic in the 1 1/2 tablespoons of oil until slightly coloured. Add the parsley and stir a few times before adding the tentacles and fins, cook for a few minutes stirring well. Add the tomatoes and let the stuffing simmer for  about 30 minutes until the tomatoes are dense and have lost the waterlines.  When done, transfer the stuffing to a bowl and let it cool completely. Add the egg and the breadcrumbs and mix well. Mrs BYF was using quail eggs and could not be bothered to seperate the whites from the yolks. The result was still very good. 

While the tomato mix cooks, cook the chopped onion in 11/2  tablespoons of oil until golden. Meanwhile divide the stuffing in to 6 equal portions and stuff the squid sacs, secure the openings with the toothpick.

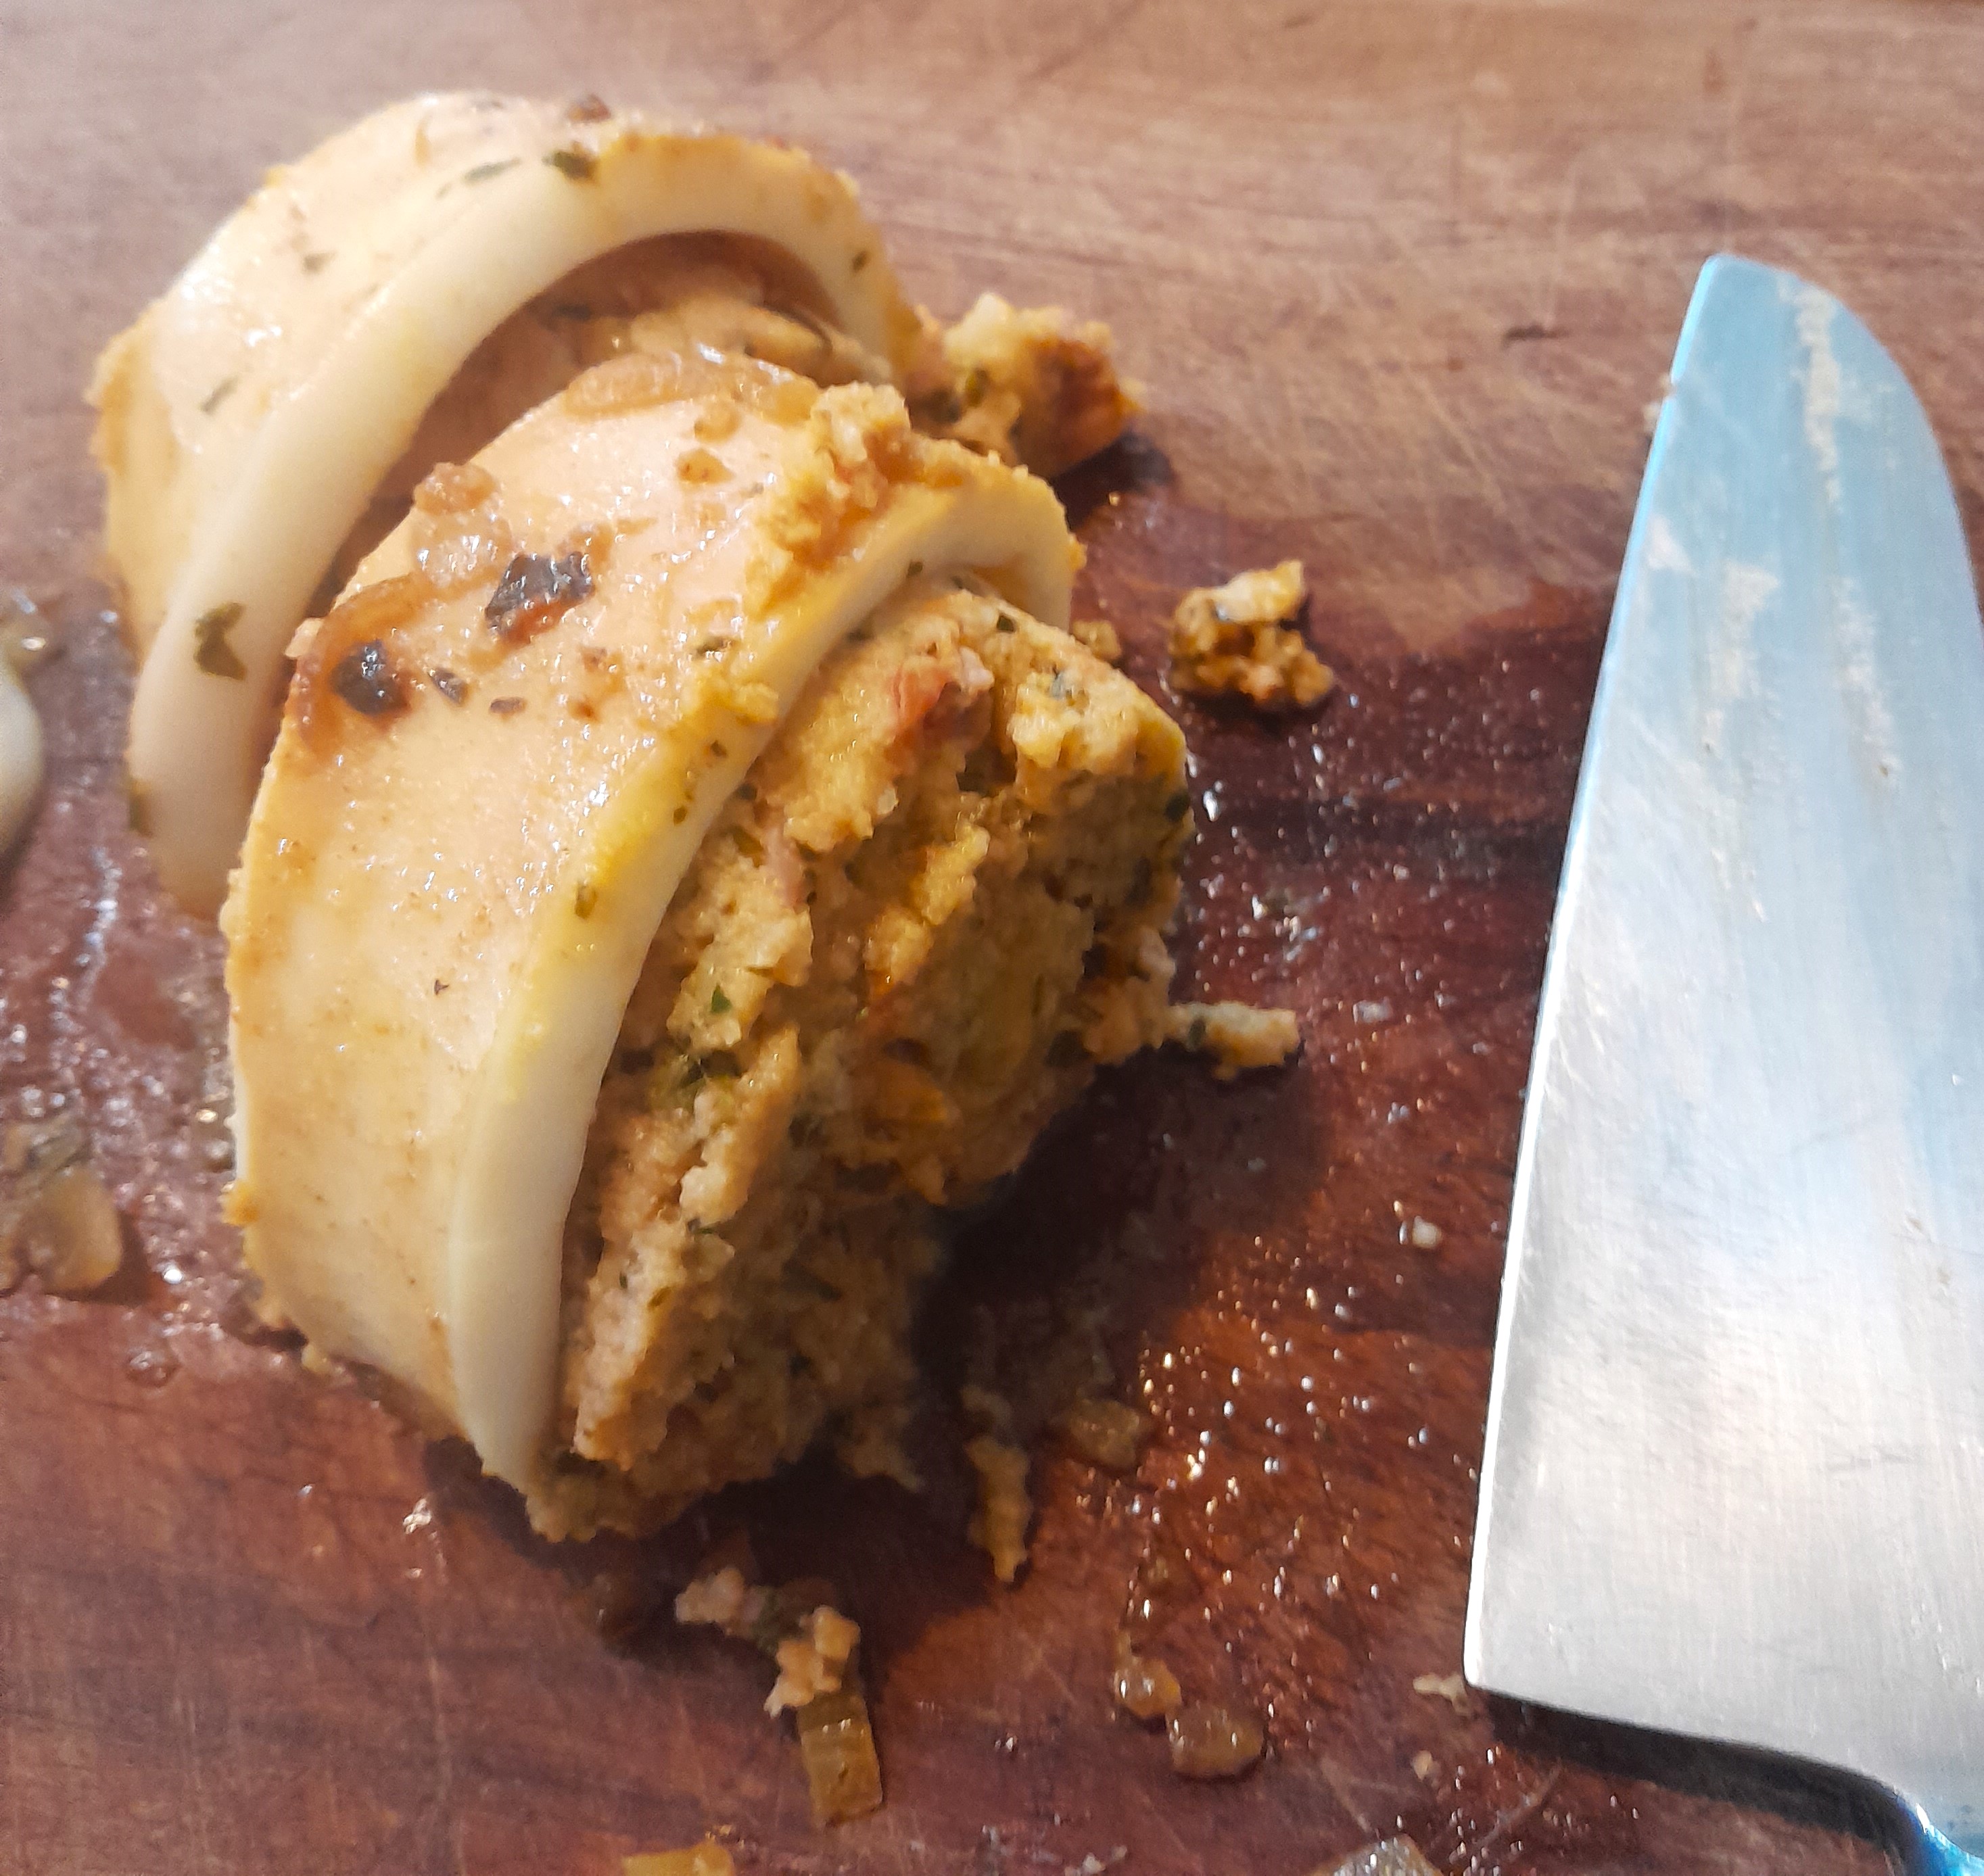
Add 1 tablespoon of olive oil to the onion and turn up the heat, cook the squid turning it until all the sides of the sacs are golden brown. Add the white wine, let it bubble away completely, put the lid on the pan and turn the heat to a very gentle simmer for 45 minutes. Add a bit of water only when there is a danger of the squid sticking to the pan. When tender, slice the sacs in to 1 or 2 cm thick slices. Return to the pan and dribble whatever juices there are over the slices. Serve immediately.

The entire process was worth while because the end result was delicious! 

ENJOY and do not forget a glass of good home made red wine

PANCETTA

By this time of the year Pancetta stocks are almost depleted in the BYF pantry and the wheater being kind, new stock will be made soon

Get some nice thick pork belly (skin off and fat on!) hopefully raised free range and chemical free, or you may be lucky enough to shoot a nice young and fat wild pig

Trim the edges so as to have an almost uniform, in thickness, belly. Now cut the belly in managable sizes of about 300 mm X 200 mm

Mix the following ingredients per Kg of meat

2 Cloves Garlic – finely chopped

1 small sprig of Rosemary – finely chopped

3 g grated Nutmeg

3 g ground Black Pepper

1 g fresh Chilli (optional) – finely chopped

Mix the spices well and thoroughly rub it into the belly, covering all the cracks and crevices

Get a container large enough to lay out the pieces of meat in a single layer. Spread a thin layer of sea salt covering the bottom of the container, then lay the pieces of meat onto the salt and cover them completely with more salt in such a way that no meat is exposed. Place the container with meat in the fridge at about 3 – 5 C for 2 days. After 2 days, remove the salt, turn the meat over, drain off any fluid and cover with the same salt and return it to the fridge. If the belly is thin (about 25 – 30 mm) remove from the fridge and discard the salt after day 3. If the belly is thicker than 30 mm, leave for another day and remover from the fridge and discard the salt after day 4

Now rinse the bellies very well with cold running water and then wash with good red or white wine

Your Pancetta are ready to commence the curing process now by hanging them in such a way that they do not touch each other. Conditions must be about 15 C for the first week and then about 7 – 10 C until ready to use. Make sure the area is well ventilated, but NO DRAFT on the meat. The Pancetta should be rotated in such a way that uniform drying is achieved

After about 30 days, depending on the thickness, ventilation and temperatures of the Pancetta, they should be ready to taste and eat when you think they are ready and of the correct consistency – no harm in eating them too soon. Always remember to slice your Pancetta VERY thin. An old hand can tell when the Pancetta is ready by just feeling them

Once the consistency and moisture content is acceptable, vacuum pack and store in the pantry

The Pancetta can be enjoyed as is or in any cooking or fried, like bacon

Another version of pancetta can be made with the skin on and the pancetta rolled and tied

ENJOY and do not forget the home red wine to compliment the good Pancetta