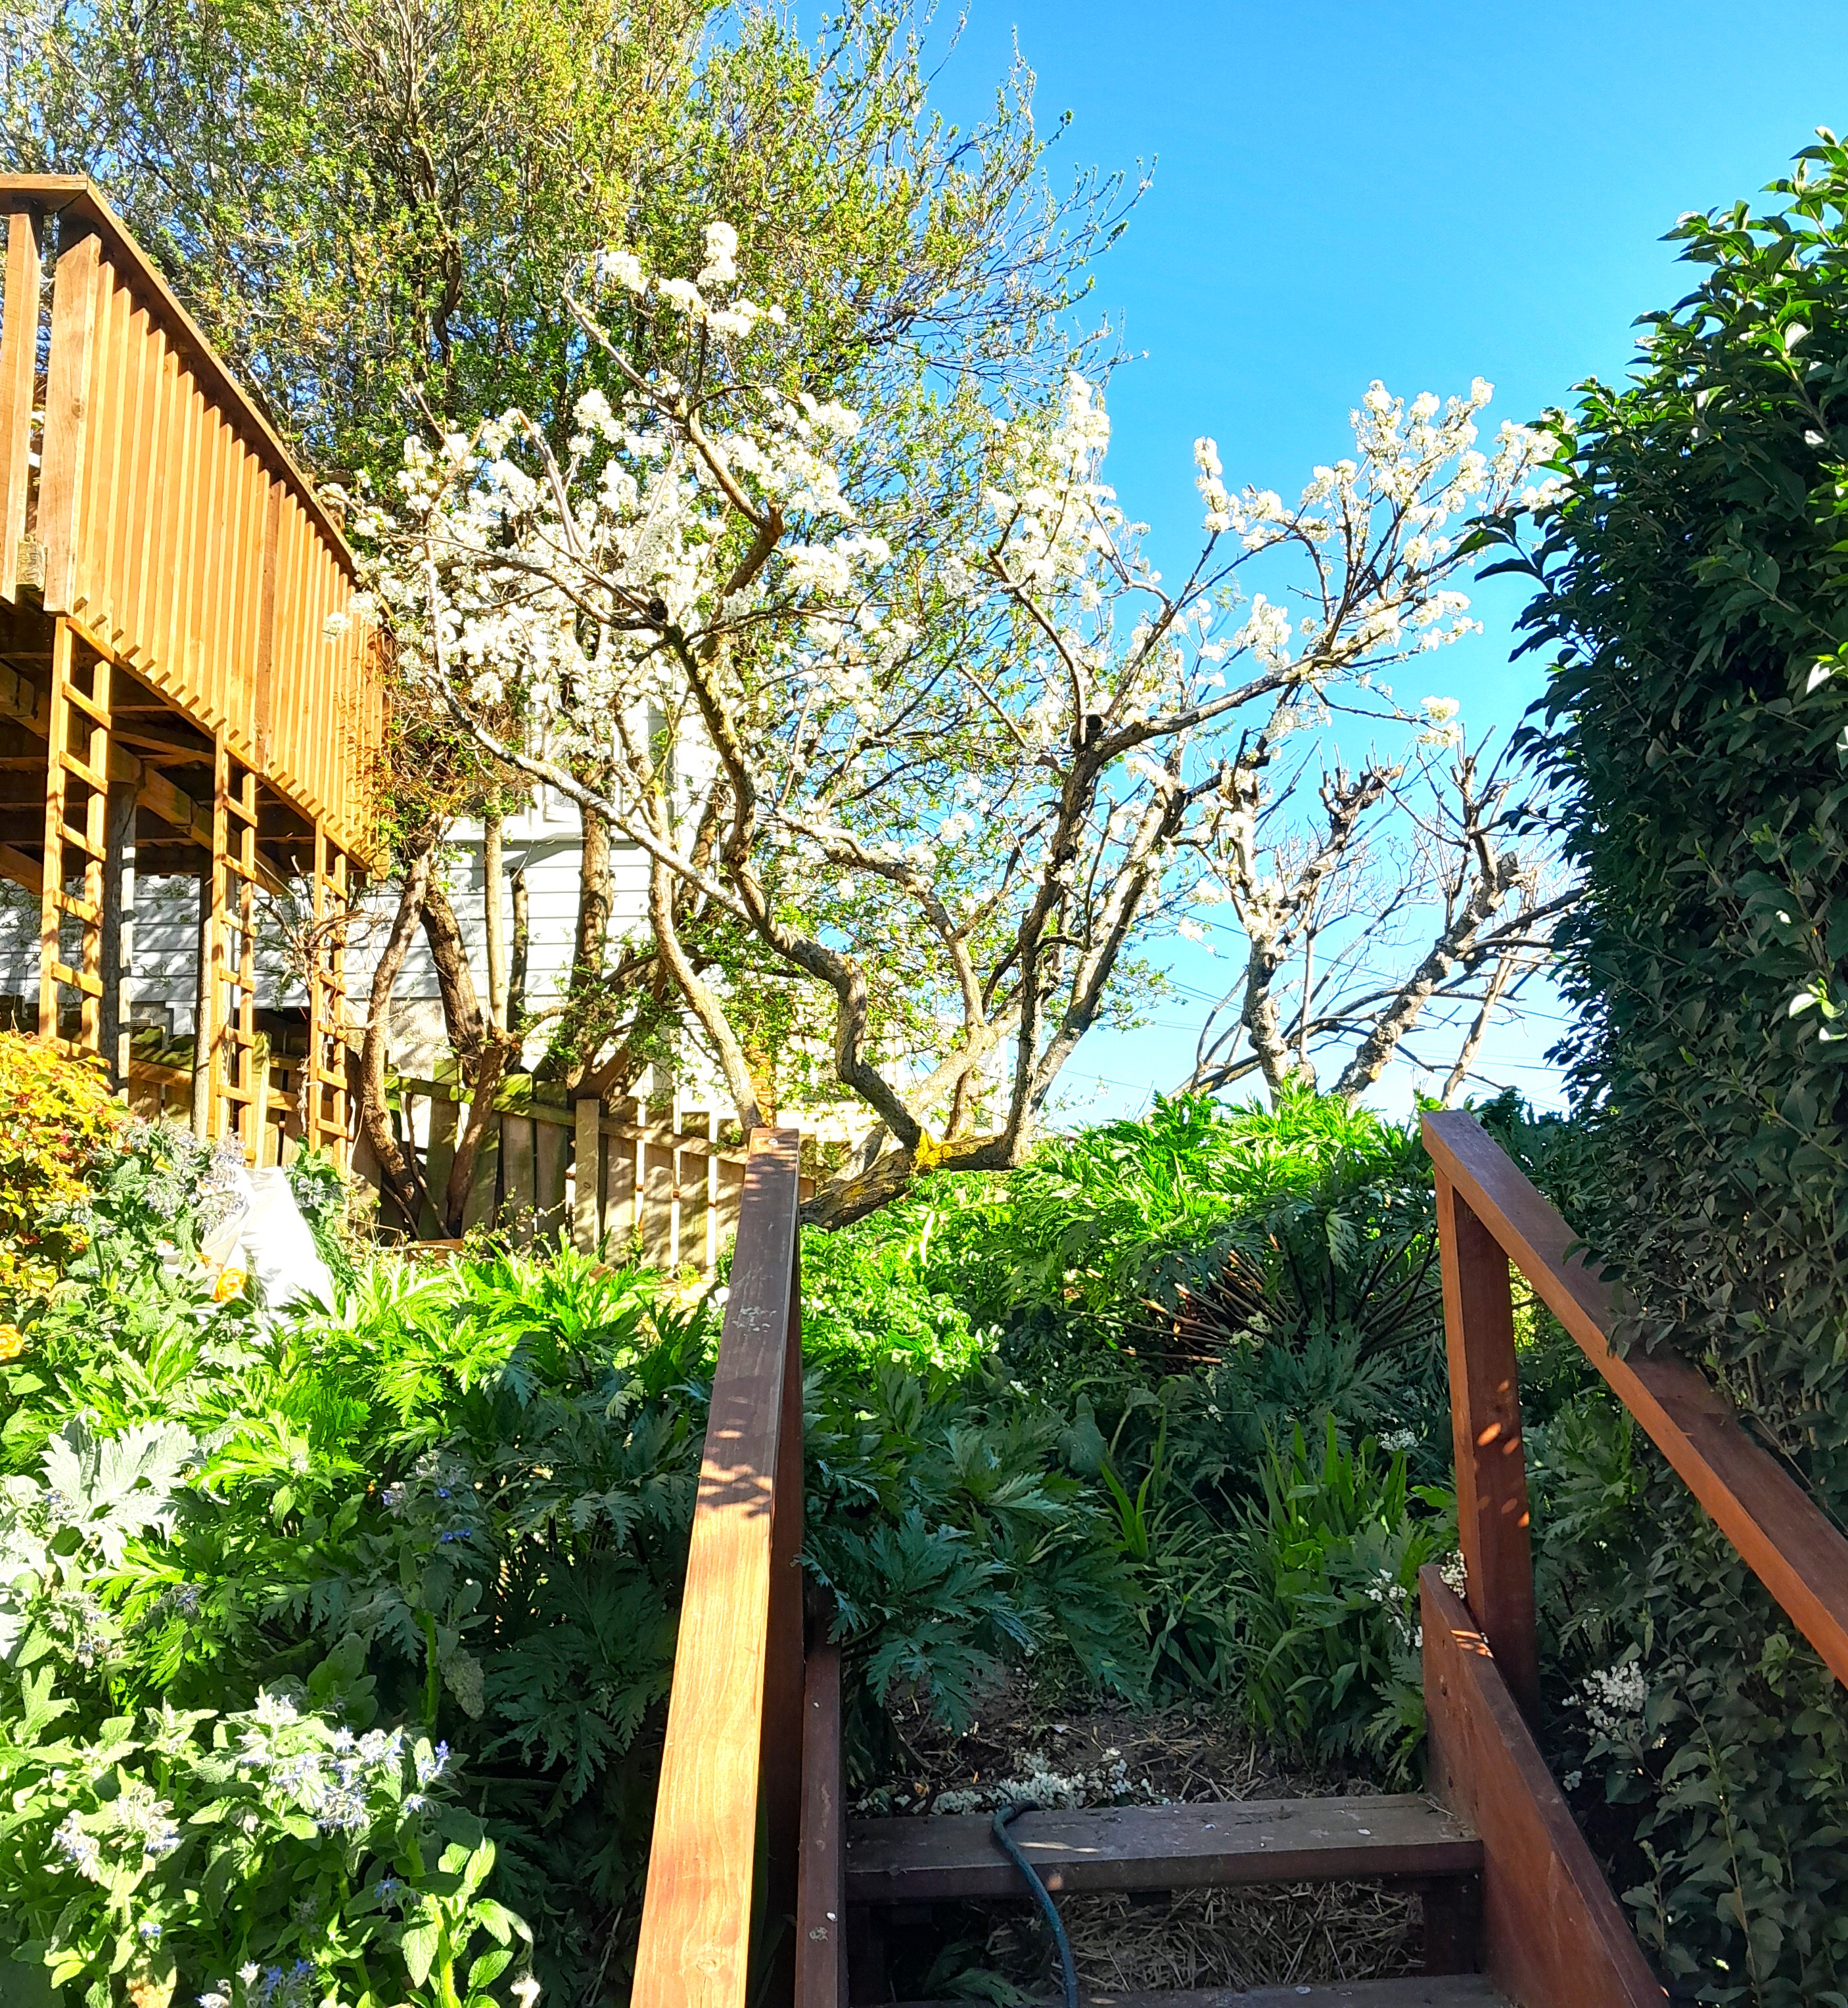
Walking towards my car this morning, it was joyful to see that it is going to be a good plum year again and I can make more plum wine, preserved plums, plum jam, plum leathers and plums under grappa, etc

Walking towards my car this morning, it was joyful to see that it is going to be a good plum year again and I can make more plum wine, preserved plums, plum jam, plum leathers and plums under grappa, etc

Ingredients
1 medium cauliflower broken in to florets
3 cloves of garlic, peeled and smashed
6 anchovies
6 tablespoons of olive oil for the sauce
6 tablespoons of olive oil for roasting
190g of any short cut dry pasta
1/2 cup of grated Parmigiano Reggiano cheese
salt and pepper to taste
preheat the oven to 200C
Put the raw cauliflower in a bowl, add the olive oil and turn the couliflower over until the florets are well covered. Put the florets in a roasting pan that will take all the cauliflower in one level. Roast the florets until they are golden. The tips can be a little blackened because that enhances the nutty flavour
When the cauliflower has roasted, put the pasta on the stove to boil
Use a pot that can contain the florets and pasta together, put the 6 tablespoons of olive oil in the pot and add the garlic and all the anchovies. Turn the heat to low and brown the garlic, the anchovy will melt in to the oil
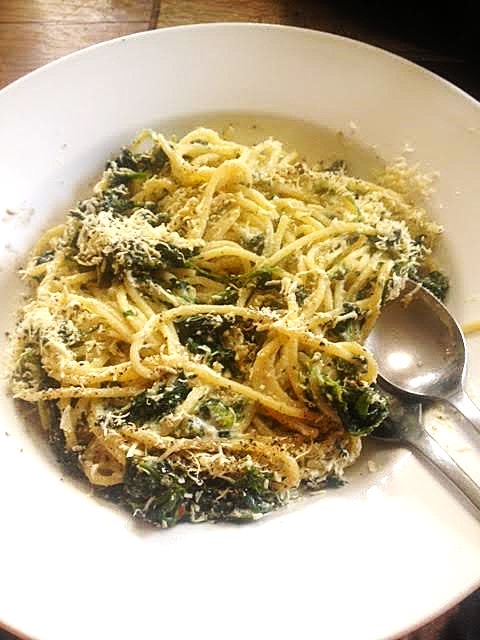
When the pasta has cooked, save 1/4 cup of the pasta water and drain the pasta. Pour the pasta directly into the anchovy and garlic sauce and mix well. Add a bit of the pasta water to the mix if needed. Serve immediately, put the cheese on the table so everyone can add cheese to taste
Feeding your bees some sugar water is almost a standard in Dunedin if you want your hives to survive and be strong and producing honey over the next season
Commercially bee feeders are available in single, double or triple units. I am using the triple units as it requires less intervention and stress on the bees having to open the hives less frequently for refuelling.
When I first bought these sugar feeders I did a test run on the outside of the hive, as these feeders normally are located inside the brooder box. I did however notice that quite a number of bees drowned in the sugar feeder in spite of the fact that there is a “ladder” on the inside of the cone for the bees to get out. Back Yard Farmer created an internal additional ladder with some off cut wire netting and a piece of twig. Mission accomplished when almost no bees drowned any more.


HAPPY BEES !!!!
We expected 2 friends for dinner tonight and I decided to bake a STROMBOLI instead of the normal bread I always make
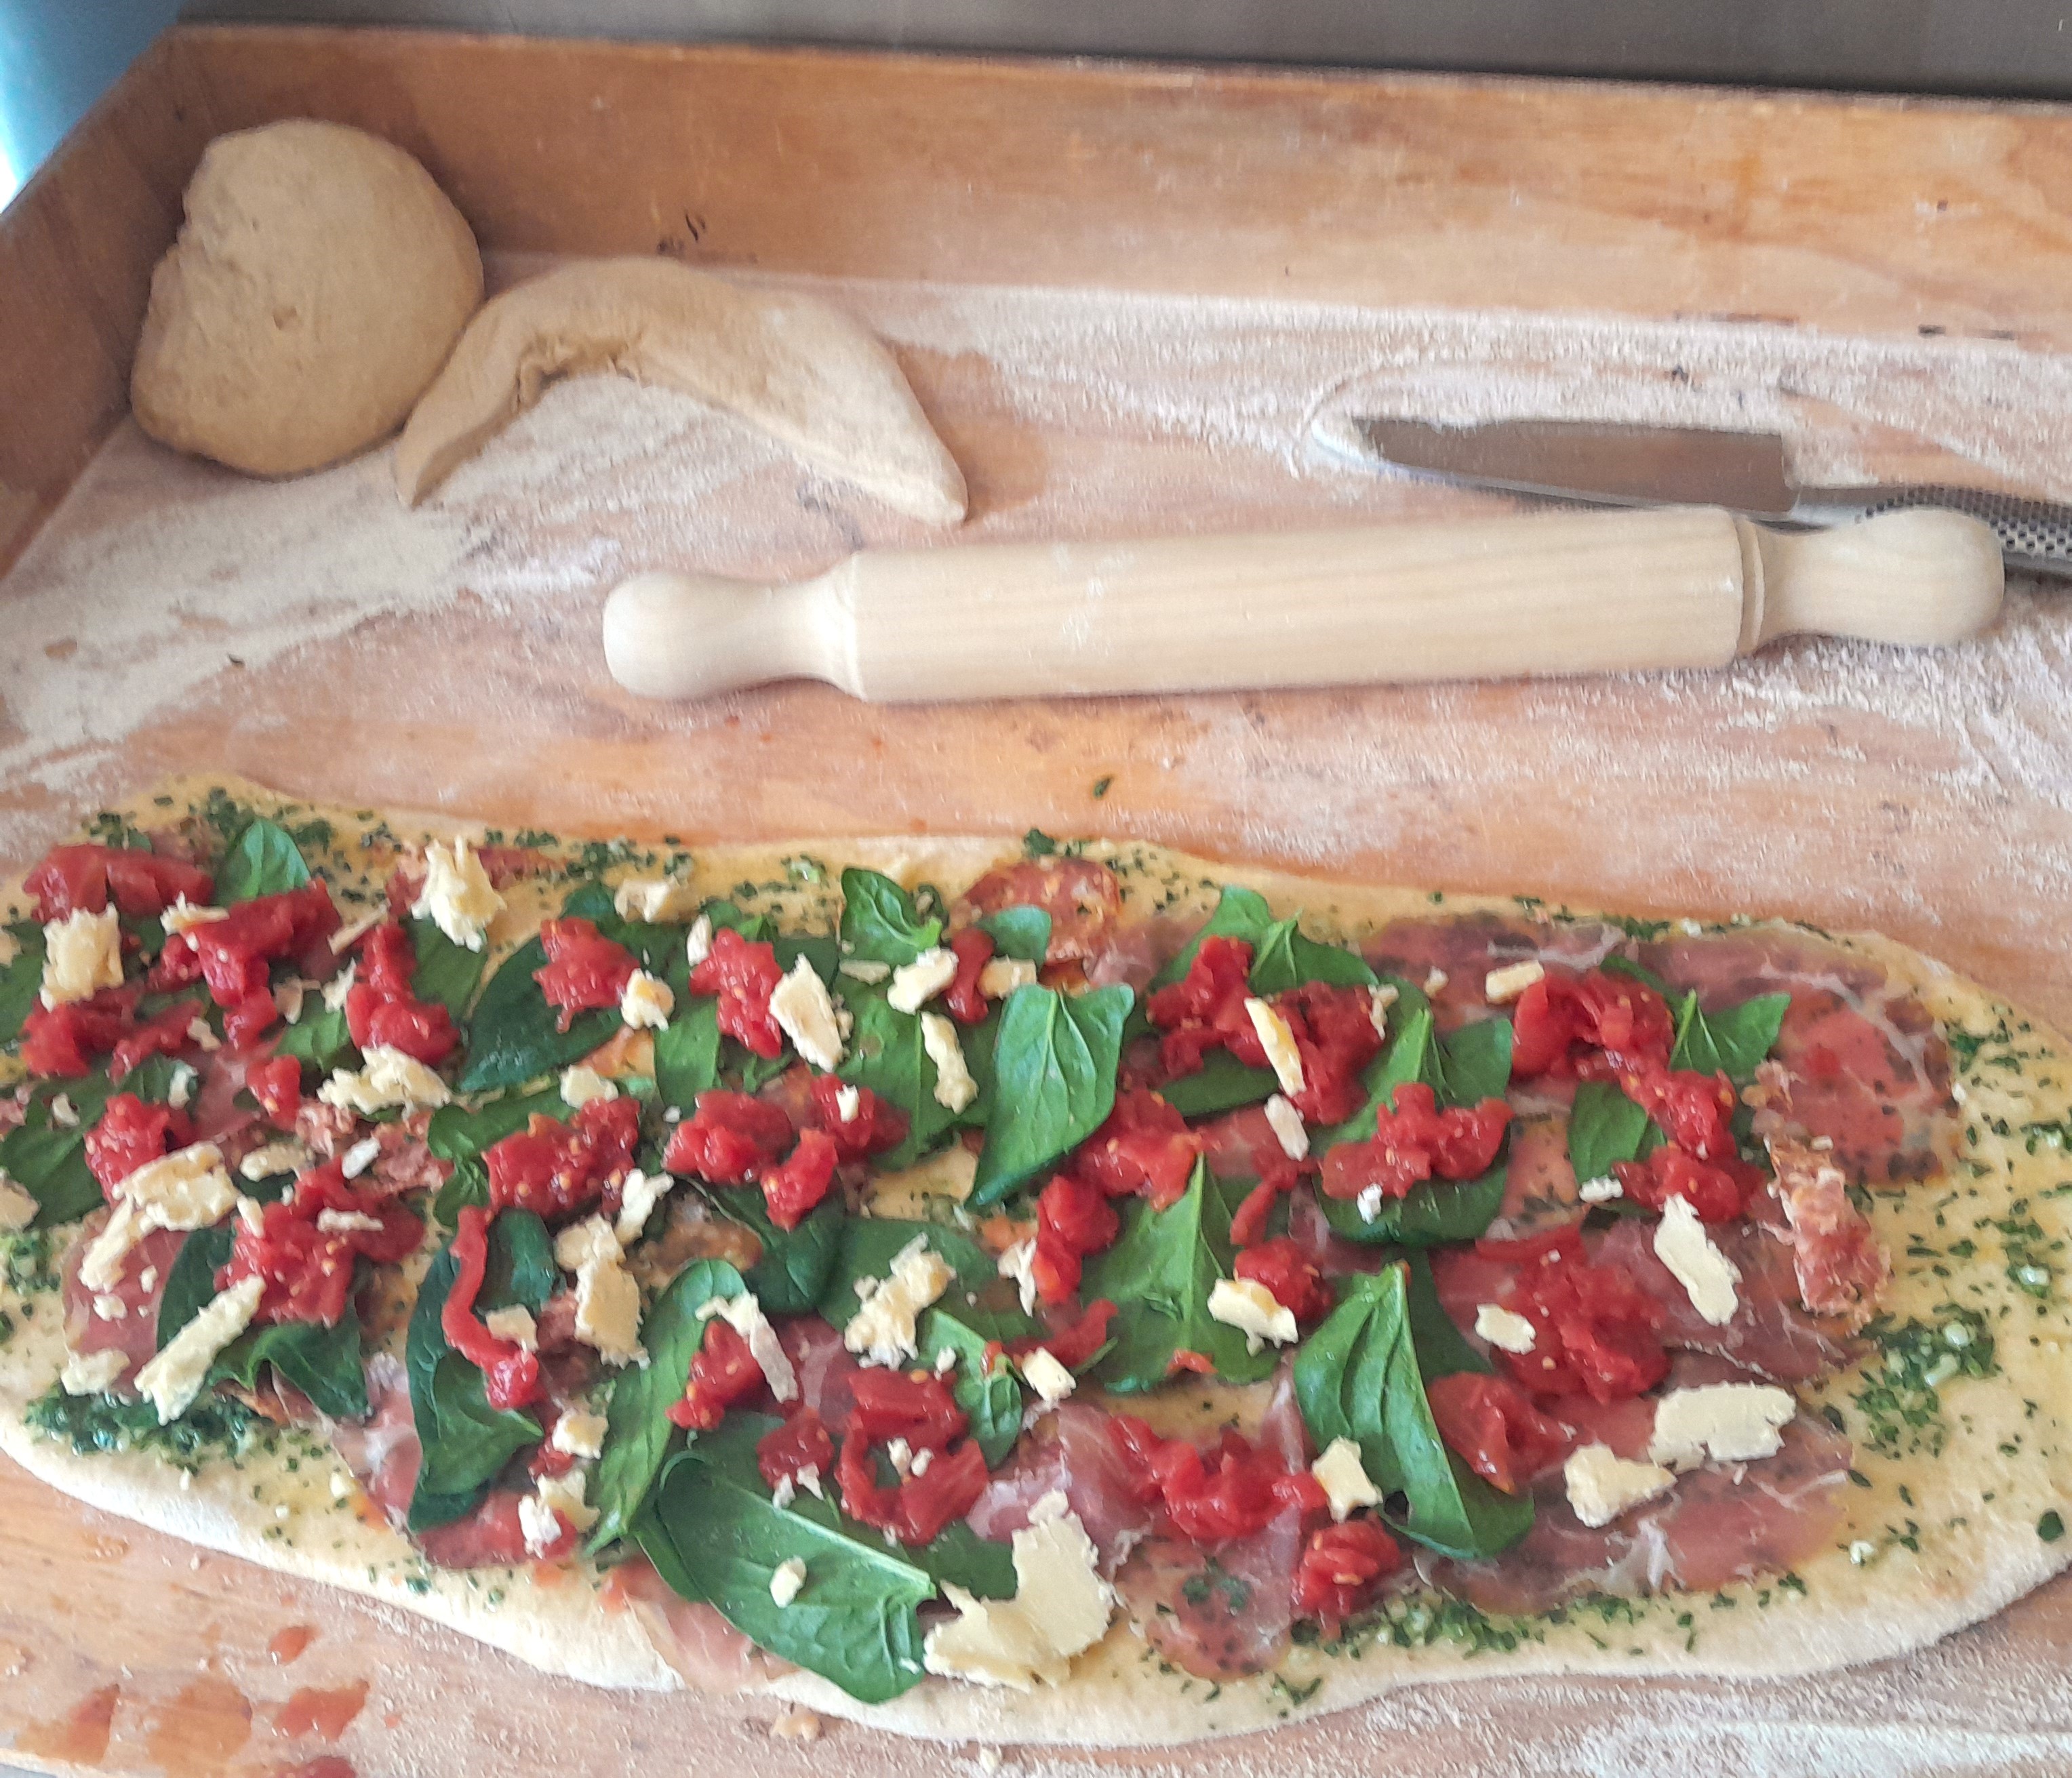
I used my standard bread dough recipe, using my own organic milled wheat flour and rolled it out about 0.5 cm thick. Dressed it with Fresh baby Spinach, Caciocavallo cheese, Tomatoes, Capocollo, Salami, Garlic, Parsley, Olive Oil, Salt and Pepper – Most of the Produce, Cheese and Salumi are my own produce

Roll it up thightly

Proof it in one of my spare egg incubators

Bake at 225 C for 30 minutes, turn the heat down to 190 C and bake for another 30 minutes
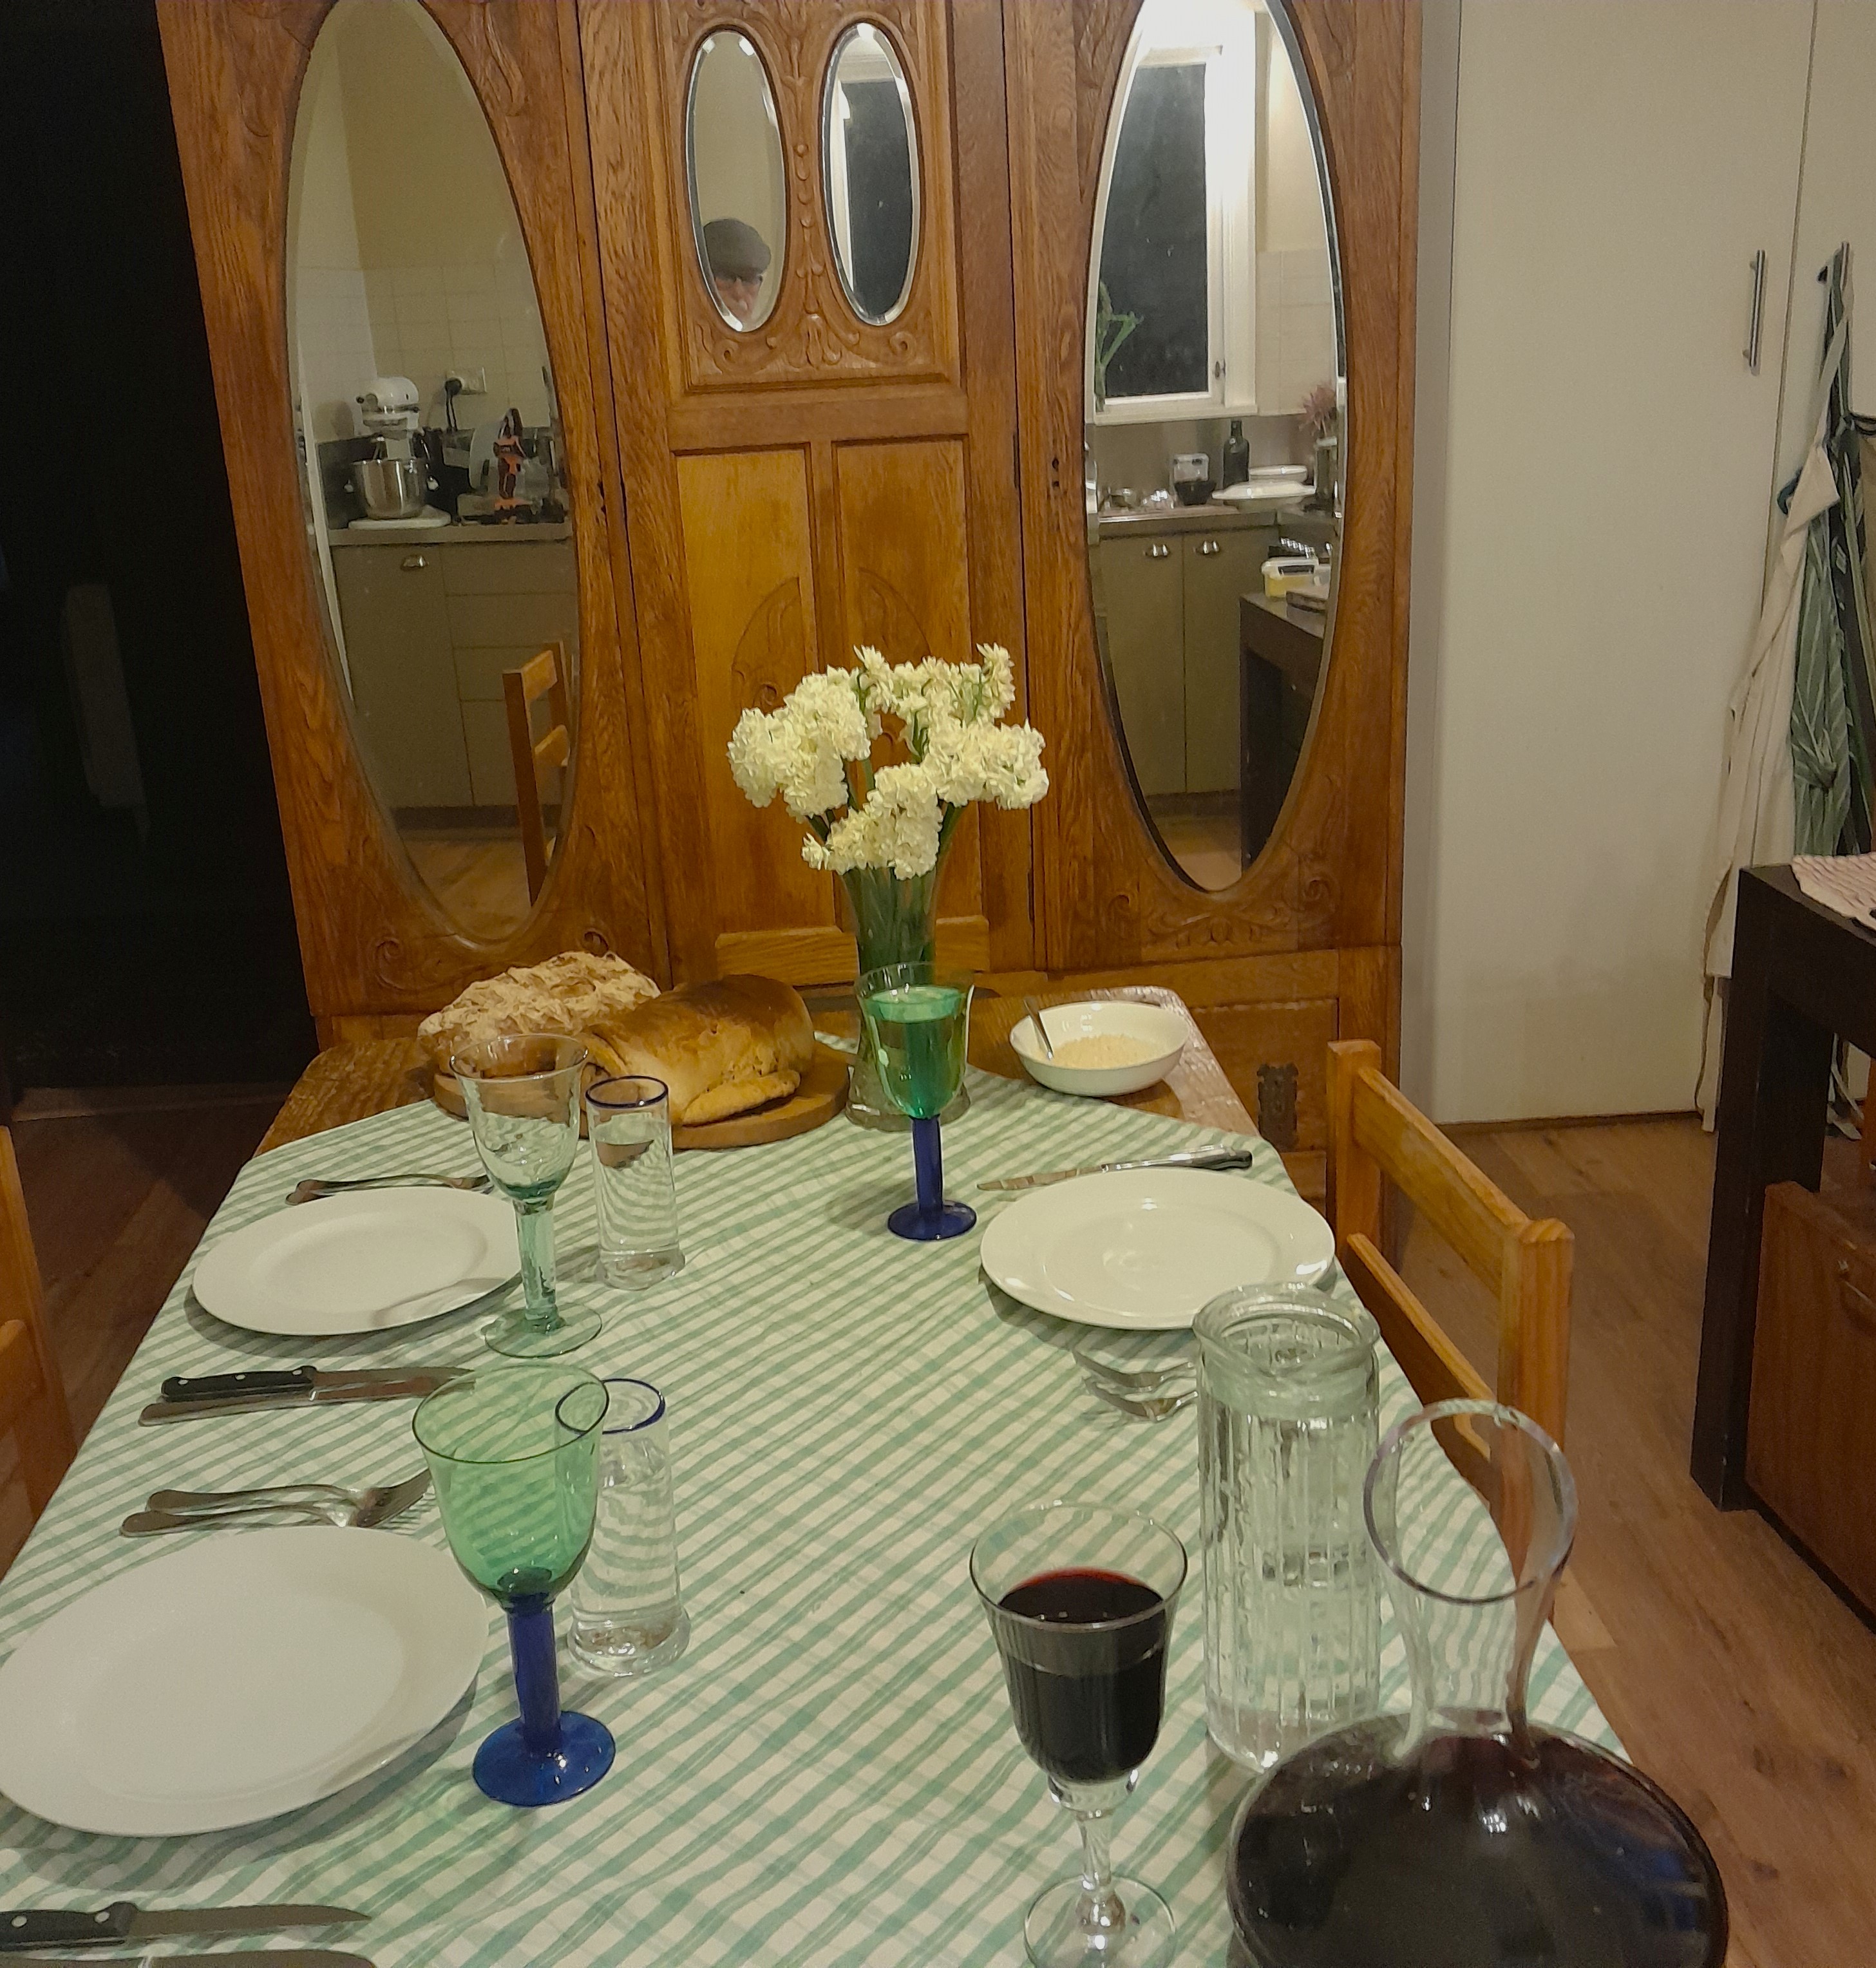
Ready for the guests

The end product was not only visually appealing, but met with the approval of all !!

Winter in Dunedin means that the garden is not very productive and we need to eat what is available. Beetroot seems to ignore the cold and the plants were producing throughout winter – fortunately I planted enough. The problem of too little vegetable varieties becomes more intense as one runs out of ideas as to how the beetroot is going to be cooked today. I harvested some more beetroot and asked Mrs BYF to do something else with it this time and she came up with this wonderful Beetroot Risotto – I am now sorry I did not plant more.
Ingredients
4 small or 2 large Beetroot (about 500g) washed but not trimmed
1 whole Garlic
4 Scallions (because we have lots in the garden) finely chopped, including the tender parts of the green leaves.
1 1/2 cups of risotto rice like Arborio or Carnaroli
500ml of Stock. Any good stock will do of which we again have ample supplies of.
Olive oil for frying
1 tablespoon of Butter to add at the end.
Salt and Pepper to taste.
Grated Parmigiano reggiano to serve.
Pre heat the oven to 200C. Brush the beetroot and the garlic with olive oil and roast until cooked, about 40 minutes. Don’t leave them too long, they get dry and wrinkly.
When the beetroot and garlic are done and have cooled enough to handle, trim and chop the beetroot ( I never remove the skin) if you chop finely enough you don’t have to blend anything. Squeeze the garlic over the beetroot and set aside.
Heat the stock to just below boiling point
Add a few tablespoons of olive oil to a pan, big enough to contain the cooked rice, scallions and beetroot add the chopped scallions and fry until translucent. Add the rice and fry for a few minutes. Add half a glass of good white wine and allow the alcohol to evaporate. Start adding the stock a few tablespoons at a time, don’t make a soup. Keep stirring while adding stock. Each grain of rice should have a coating of moisture and float separately from the others. Keep this up until the rice is almost done, then add the garlic and beetroot mix to the rice. Cook and stir until the rice is tender enough to taste. Adjust salt and pepper. Add the butter and stir very well before serving hot onto heated plates
Top with Parmigiano reggiano and some chopped parsley
ENJOY with a glass of GOOD home made red wine !!
