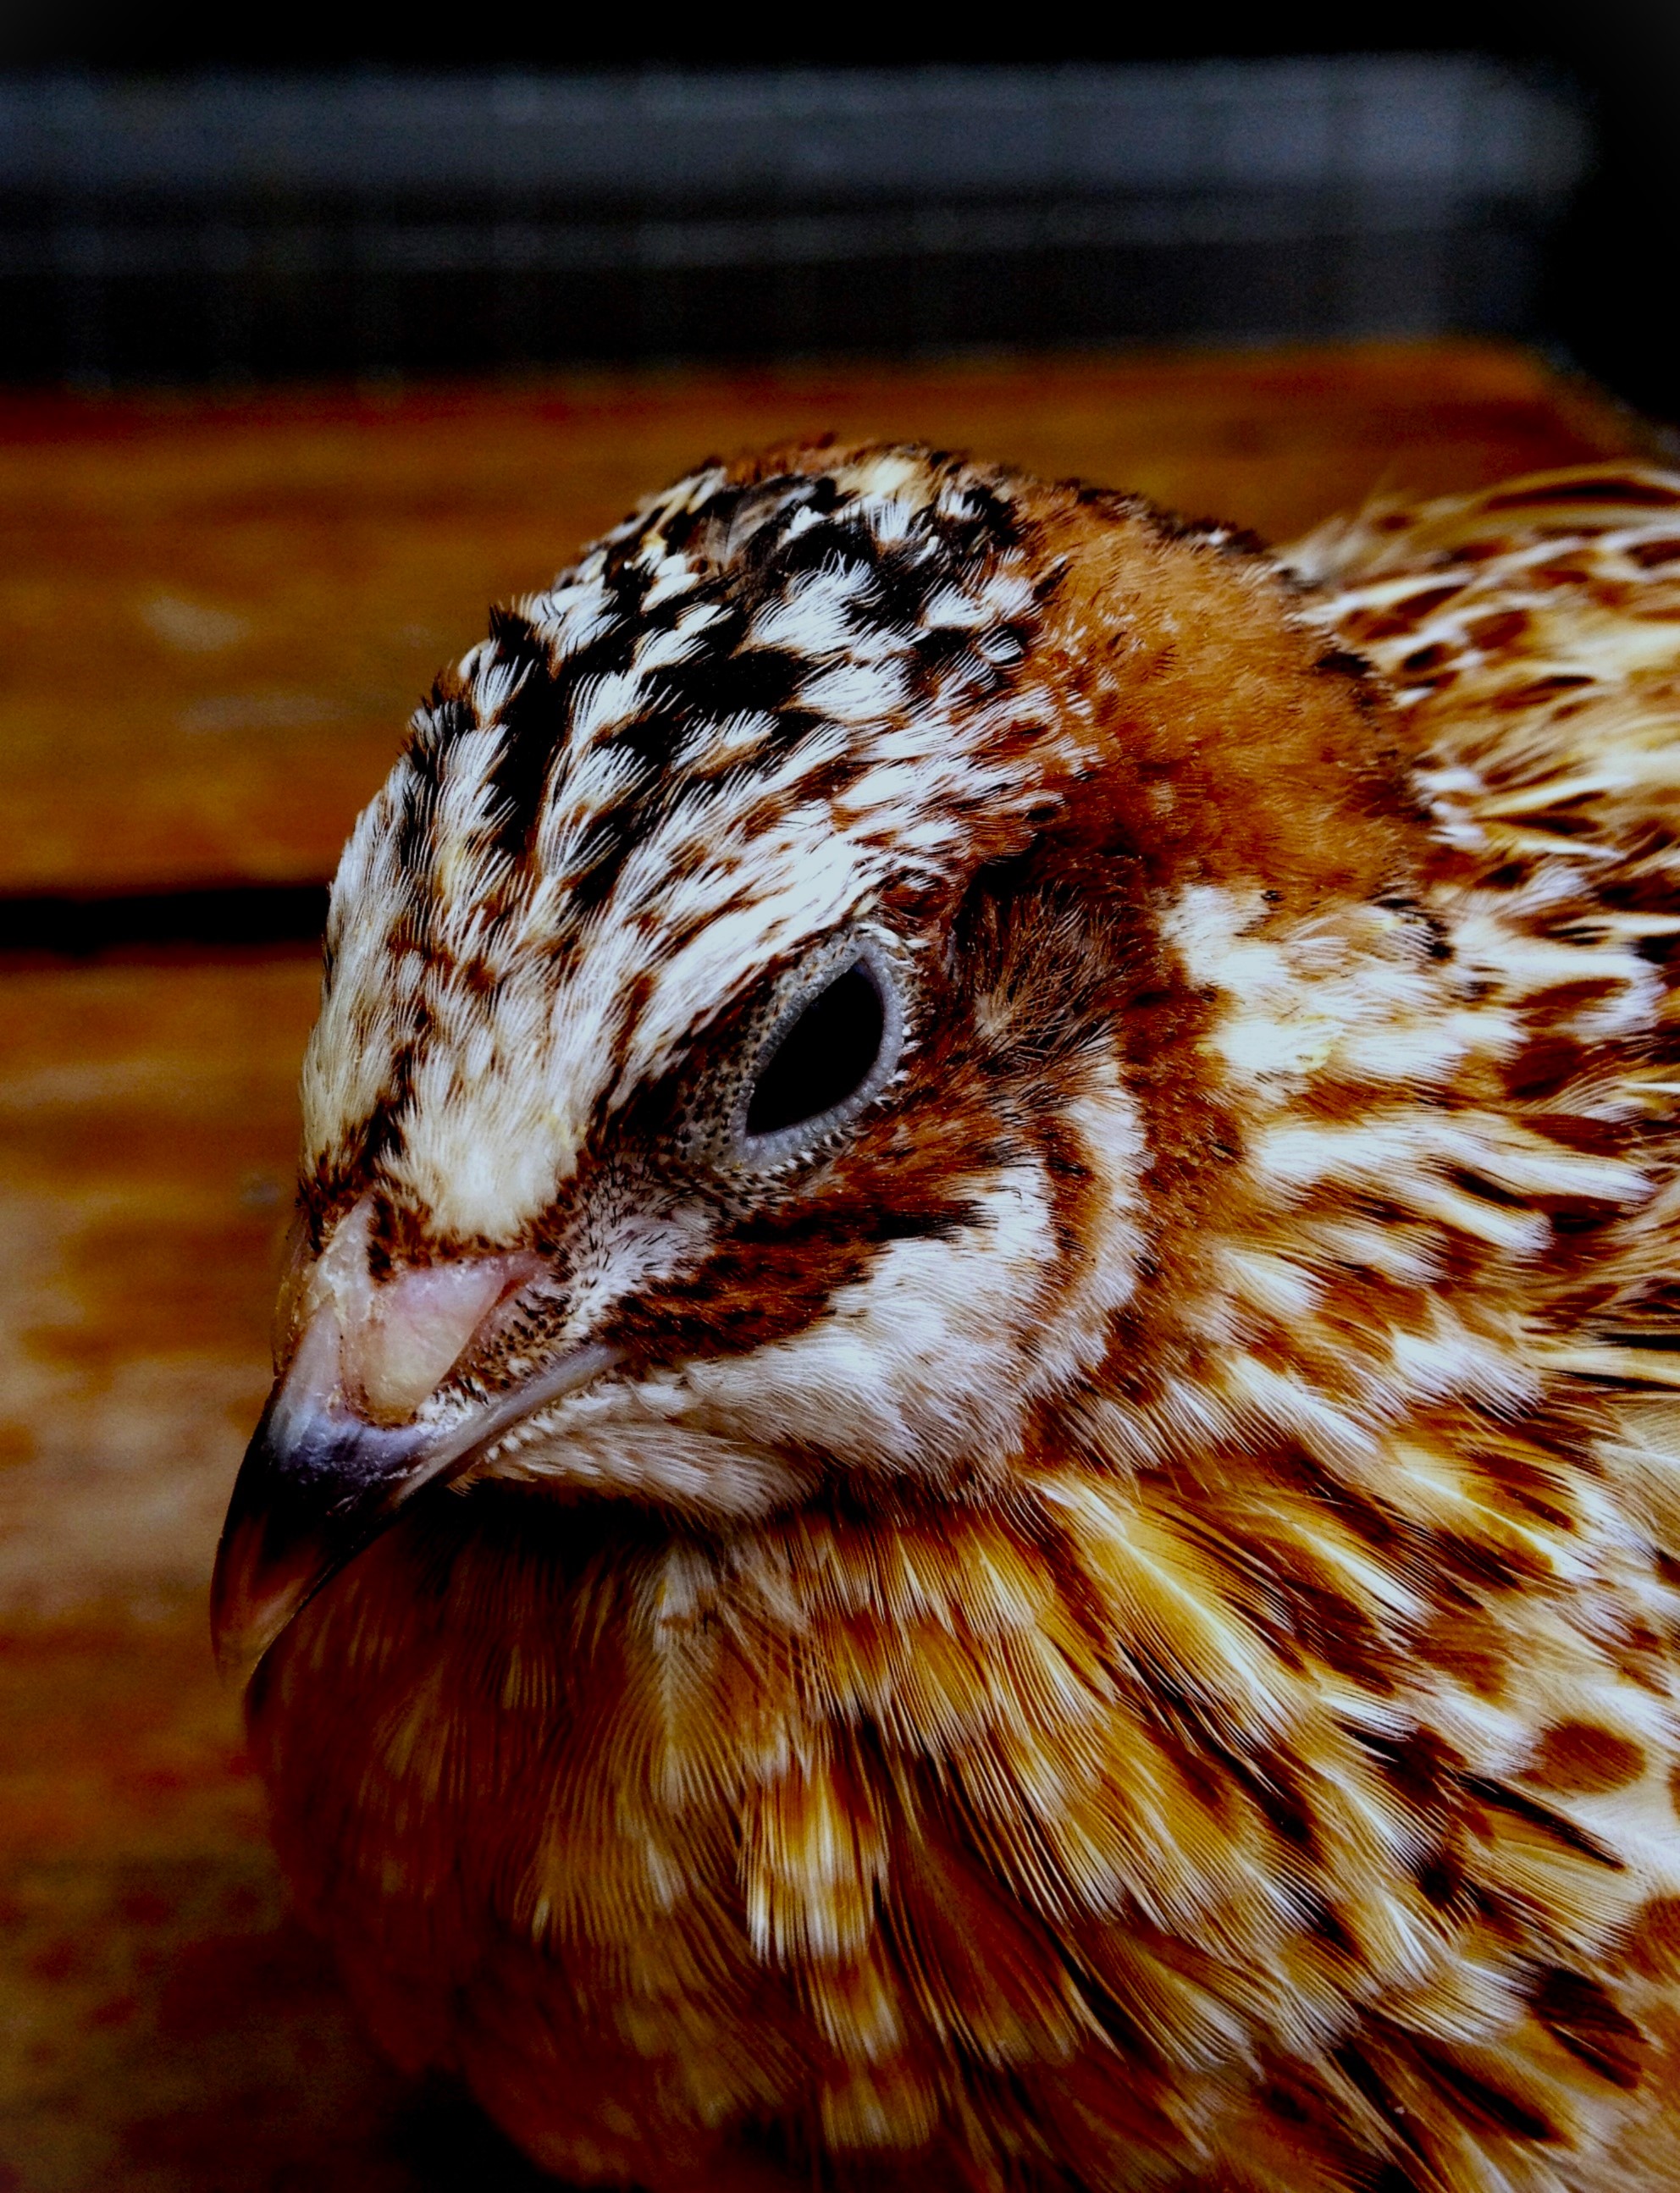
At Back Yard Farmer, we believe that the best solutions often come from the garden, not a laboratory. We are thrilled to announce our new 5-Herb Botanical Blend, a premium upgrade to our quail feed that brings “clean-green” bio-security directly to your coop.
By blending Organic New Zealand grown Salvia ‘Amistad’, Rosemary, Mint, Lemon Verbena, and Bay Leaves, we’ve created a powerhouse formula that acts as a natural shield against pests while boosting bird vitality.
Why Now?
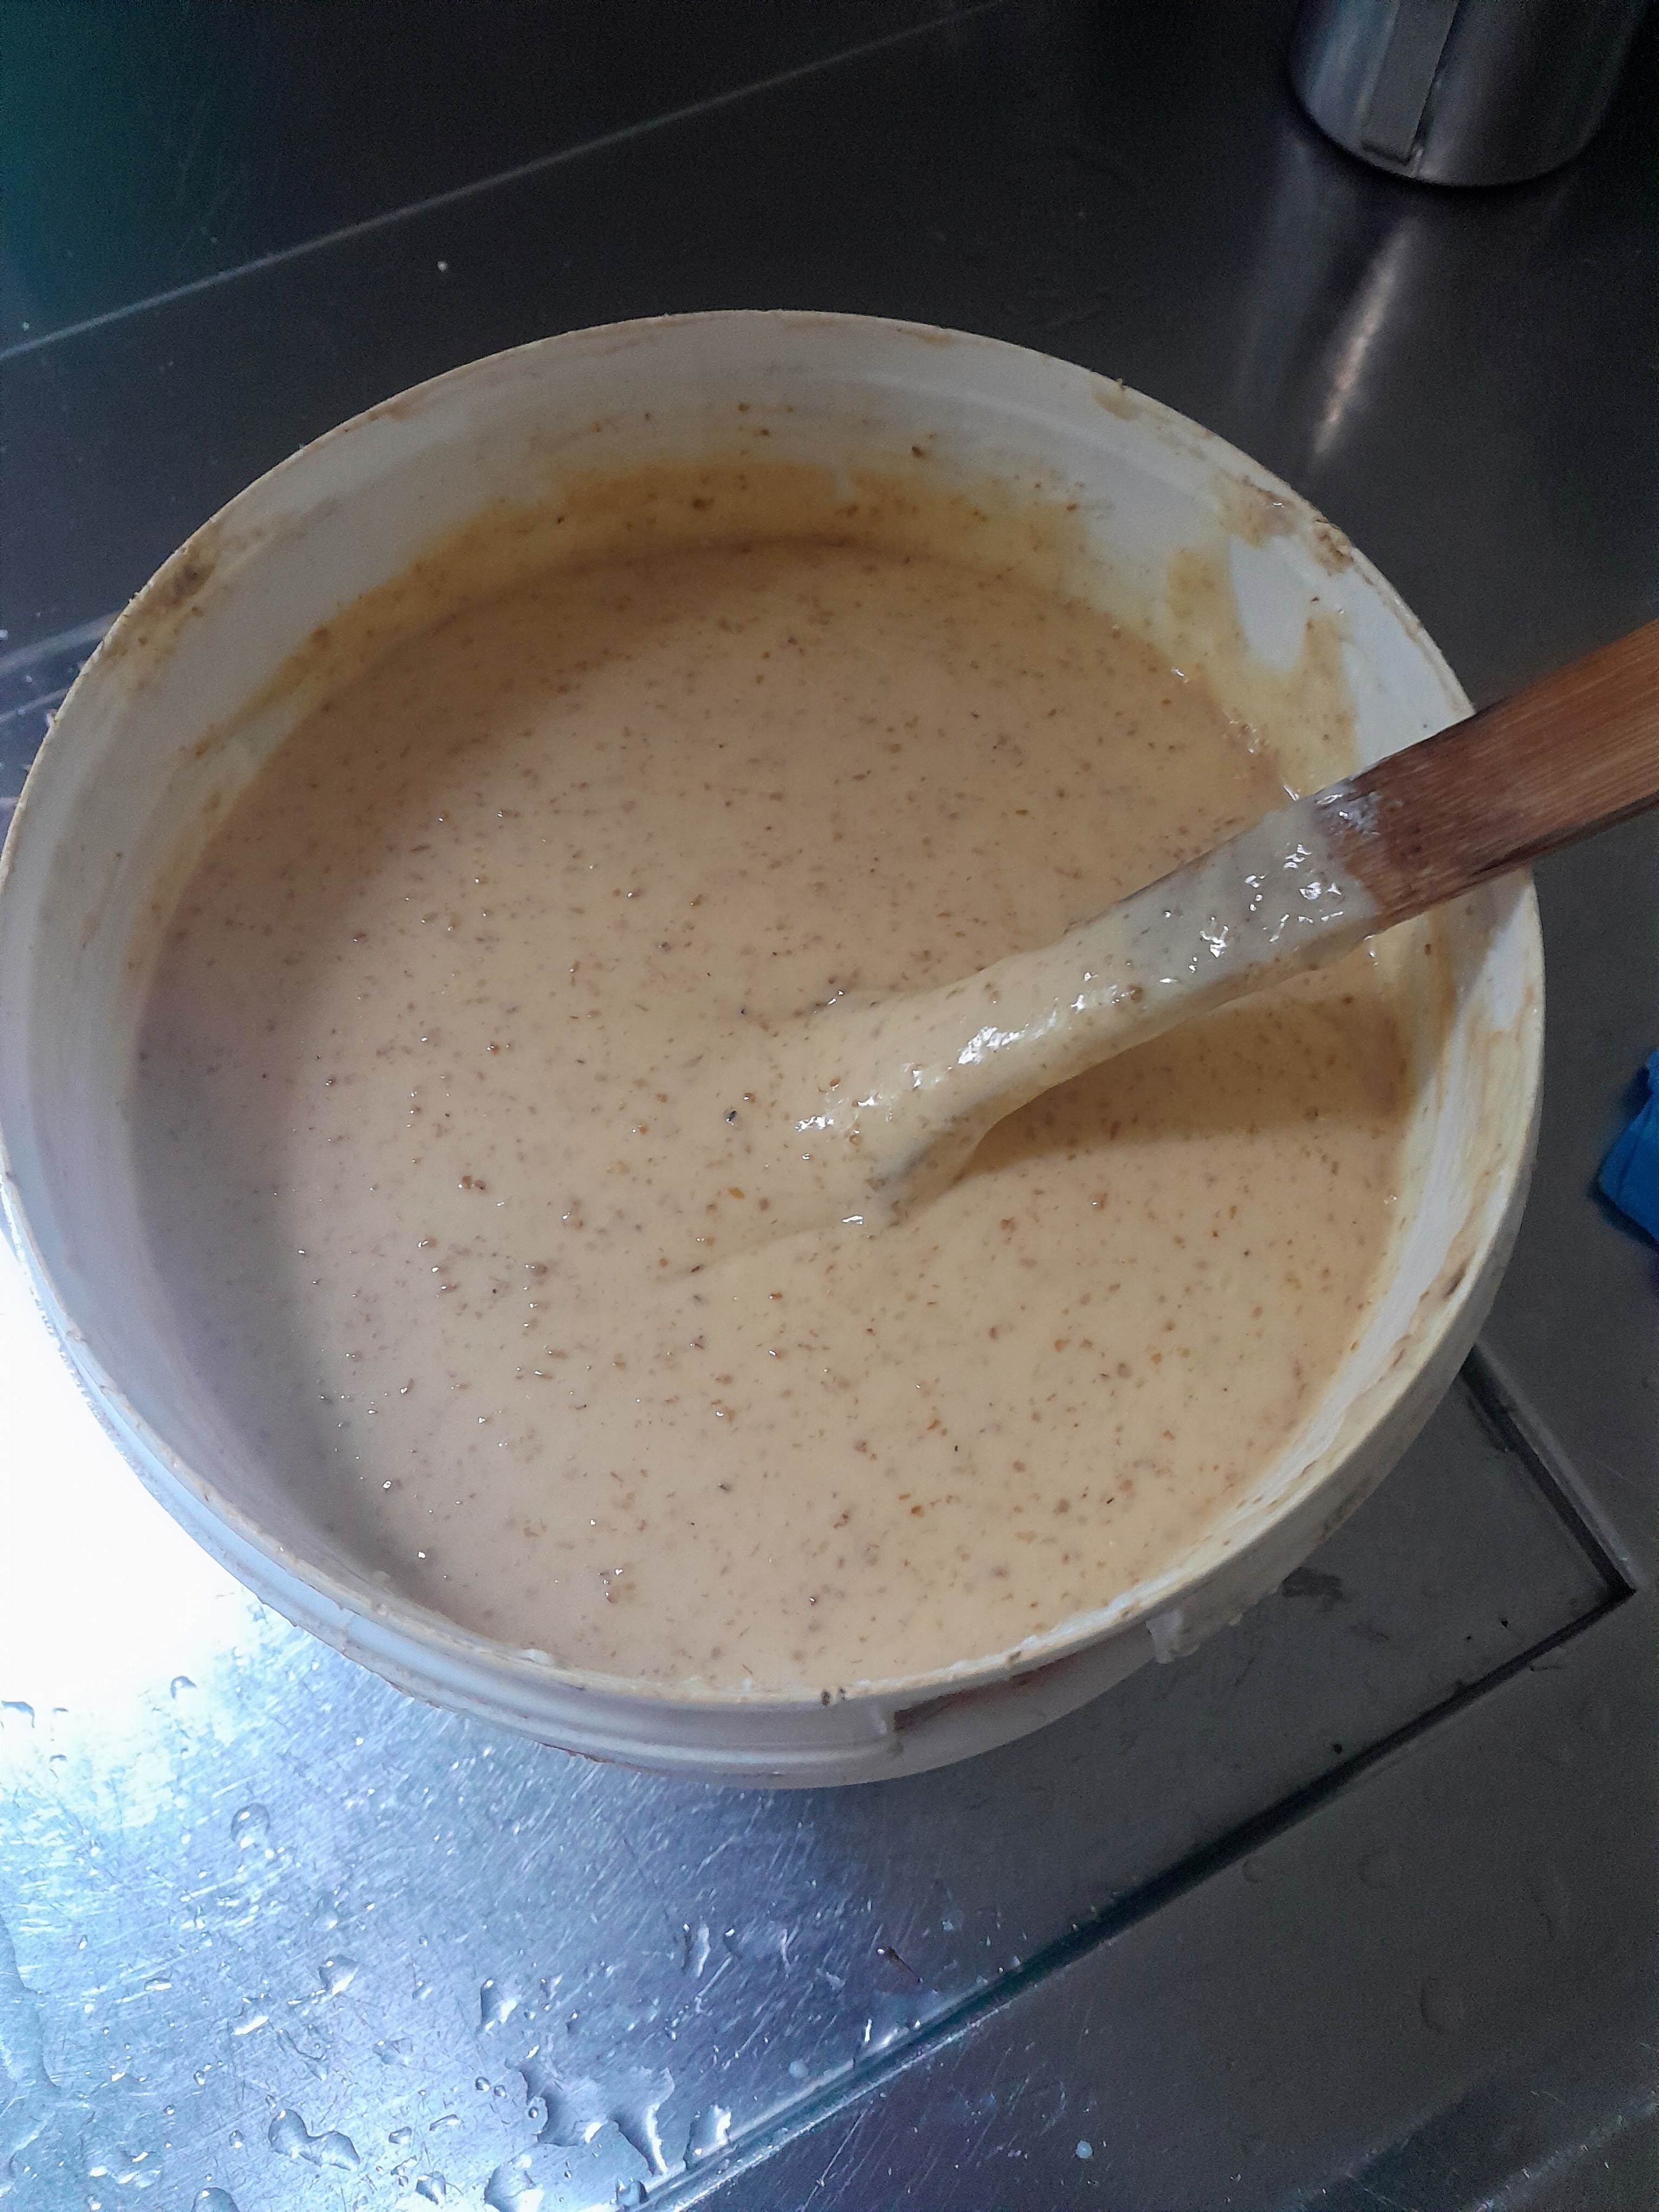
We’ve spent the last several seasons observing the challenges our New Zealand keepers face—from high humidity causing grain pests to the relentless pressure of mites and flies in our summer months. We didn’t want to just offer another chemical fix. We waited until we could perfect a ratio that is safe, highly effective, and stabilized with Salmon Oil and Lypoforte for maximum absorption. It’s the result of months of testing to ensure your quail get the very best of nature’s pharmacy.
A Functional Shield, Not a Filler
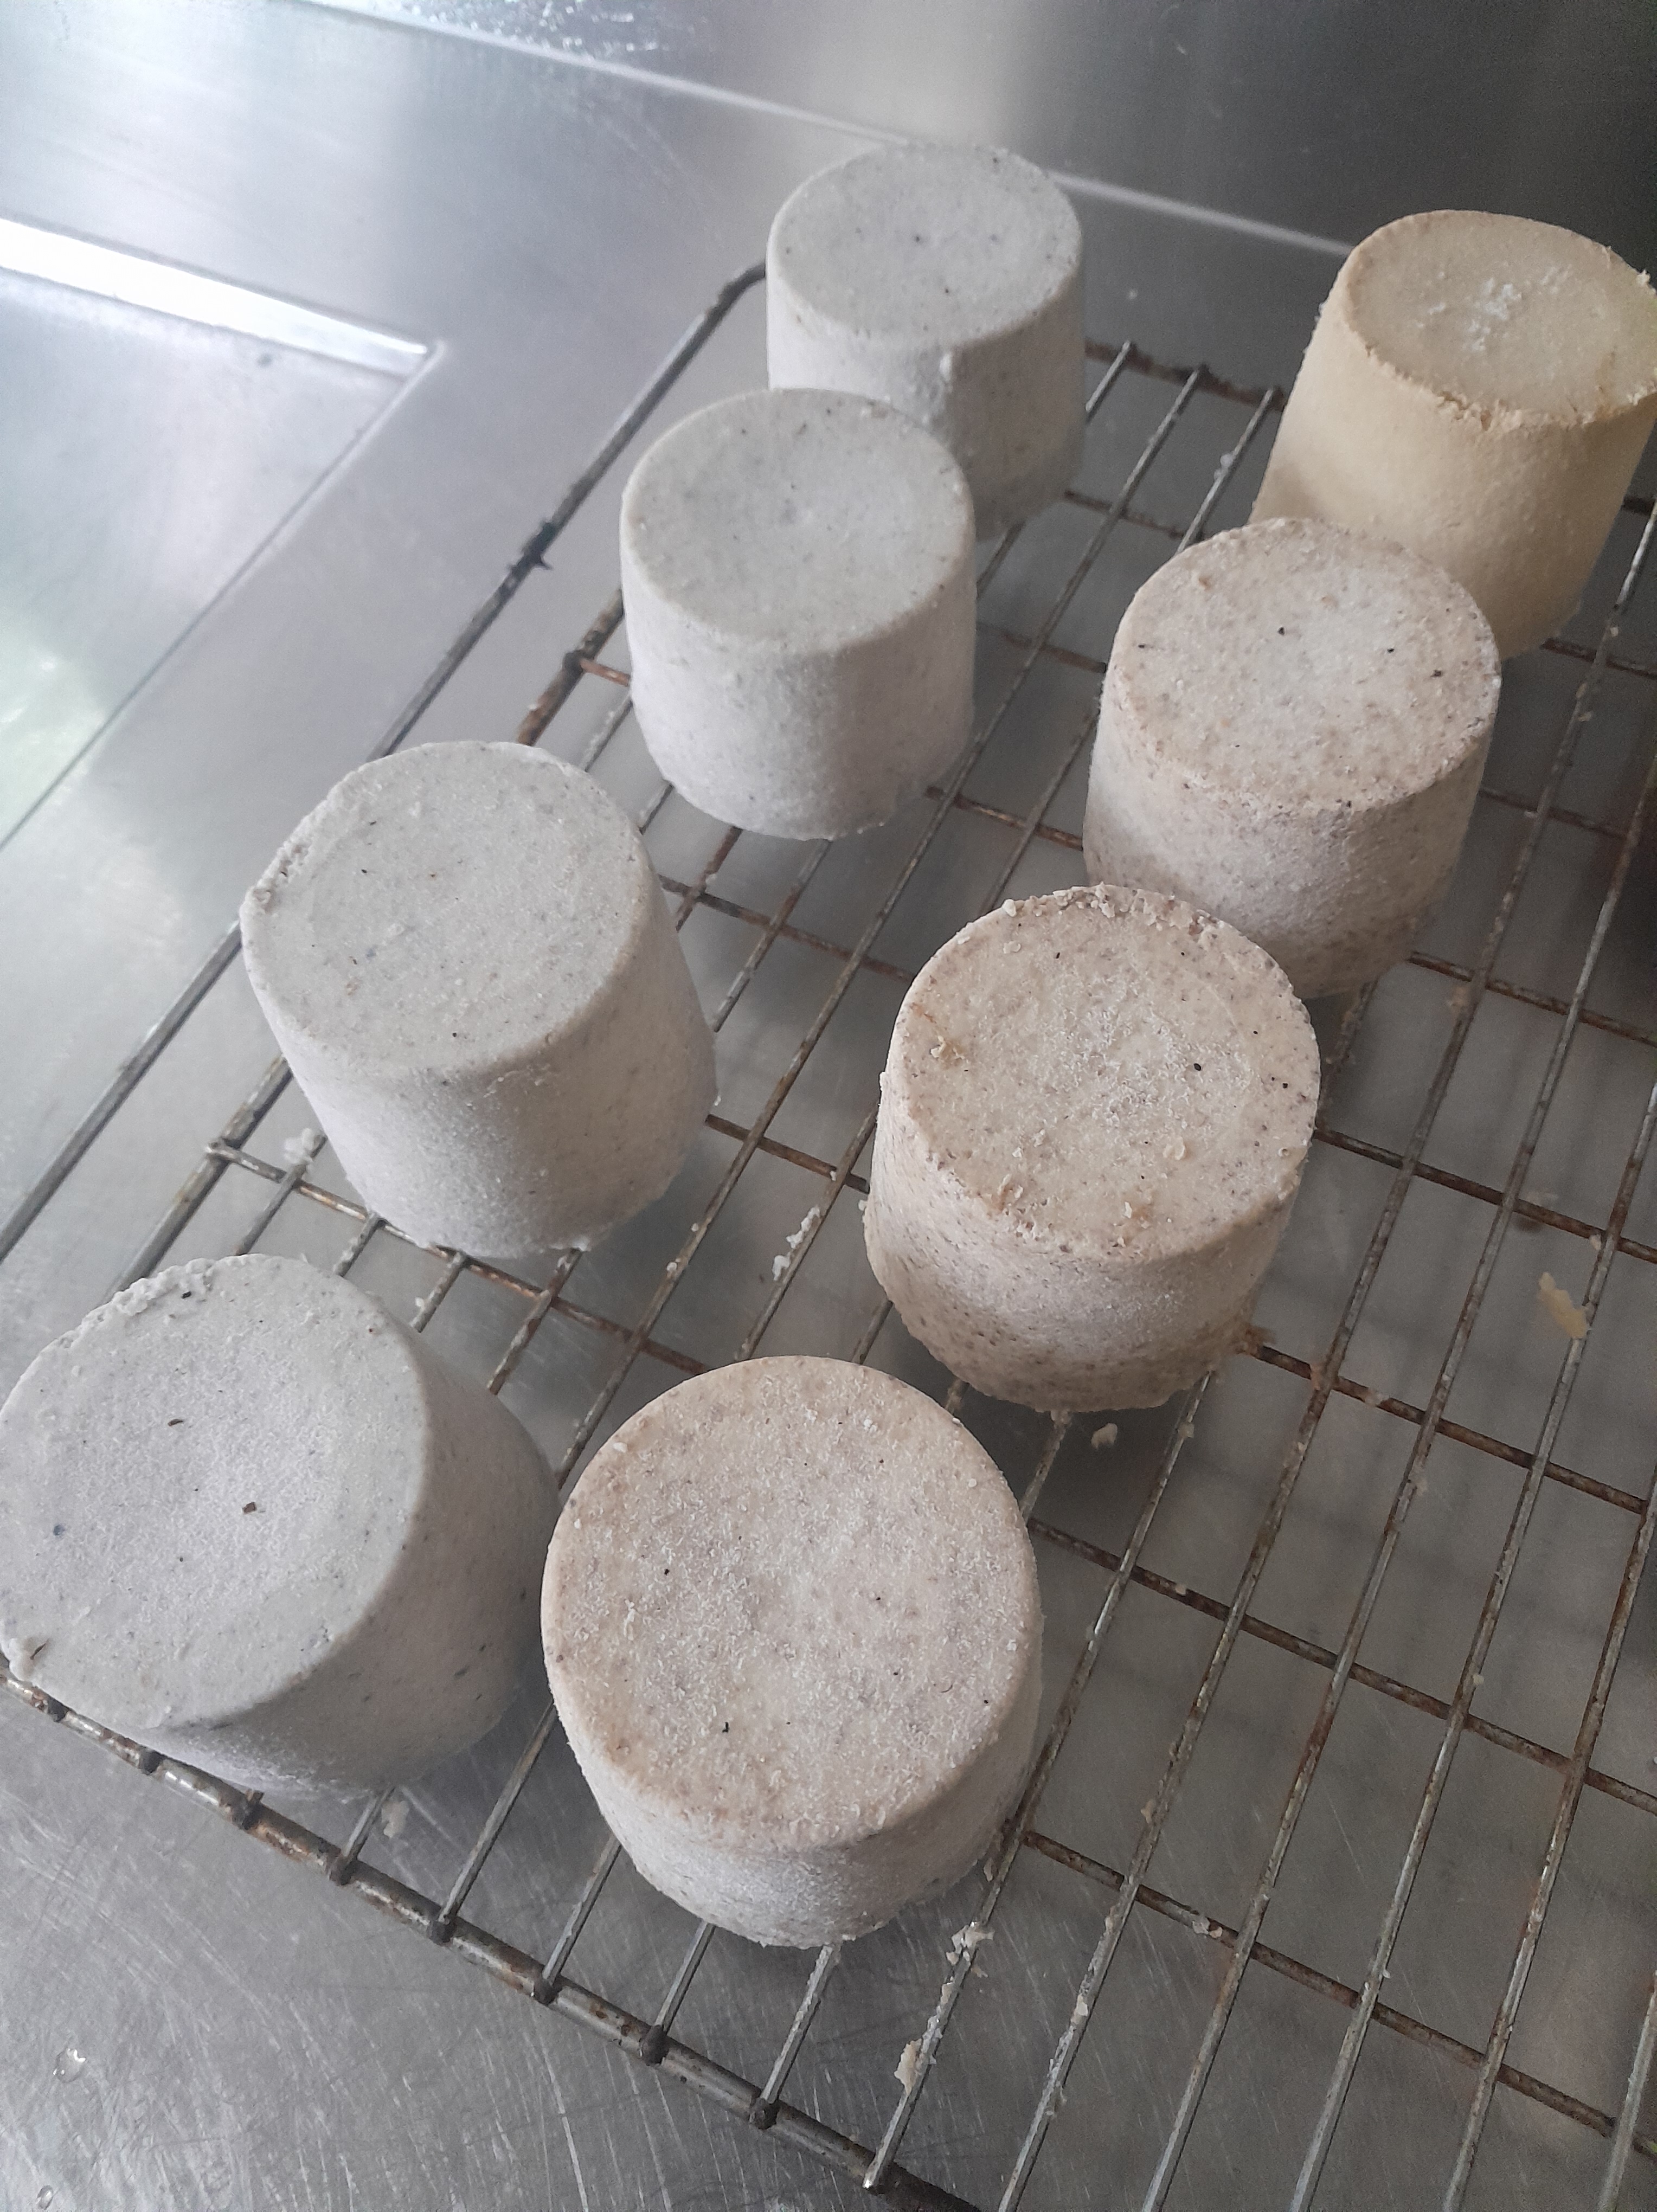
Our organic botanical blend fits right into the growing body of research on phytogenic feed additives. These plant-based supports improve digestion, immunity, and antioxidant levels without the need for antibiotics. By including these five specific organic herbs, we help your birds fight off mites, lice, and internal stress naturally.
Featured Herb of the Week: Salvia ‘Amistad’
We are kicking off our series with the exotic Salvia ‘Amistad’. While a favorite in NZ gardens, for quail, it is a hidden gem. We use the dried leaves and flowers to provide:
- Natural Bio-Security: The resinous compounds act as a bitter deterrent for external pests and rodents.
- Immune Vitality: Rich in anthocyanins, these purple blooms provide powerful antioxidants that help birds cope with environmental stress and high egg production.
Potential Benefits You’ll Notice:
- Antioxidant & Immune Support: Helping birds through molt and peak laying.
- Enhanced Palatability: Aromatic herbs encourage natural foraging and steady intake.
- Superior Absorption: Our 1% Salmon Oil cuts the dust and ensures these herbal oils are fully digested.
Stay tuned! Over the next four weeks, we will continue diving deep into each of these “Super-Herbs.” Next week, we put the spotlight on Rosemary and how it acts as the ultimate “Liver Specialist” for your flock.