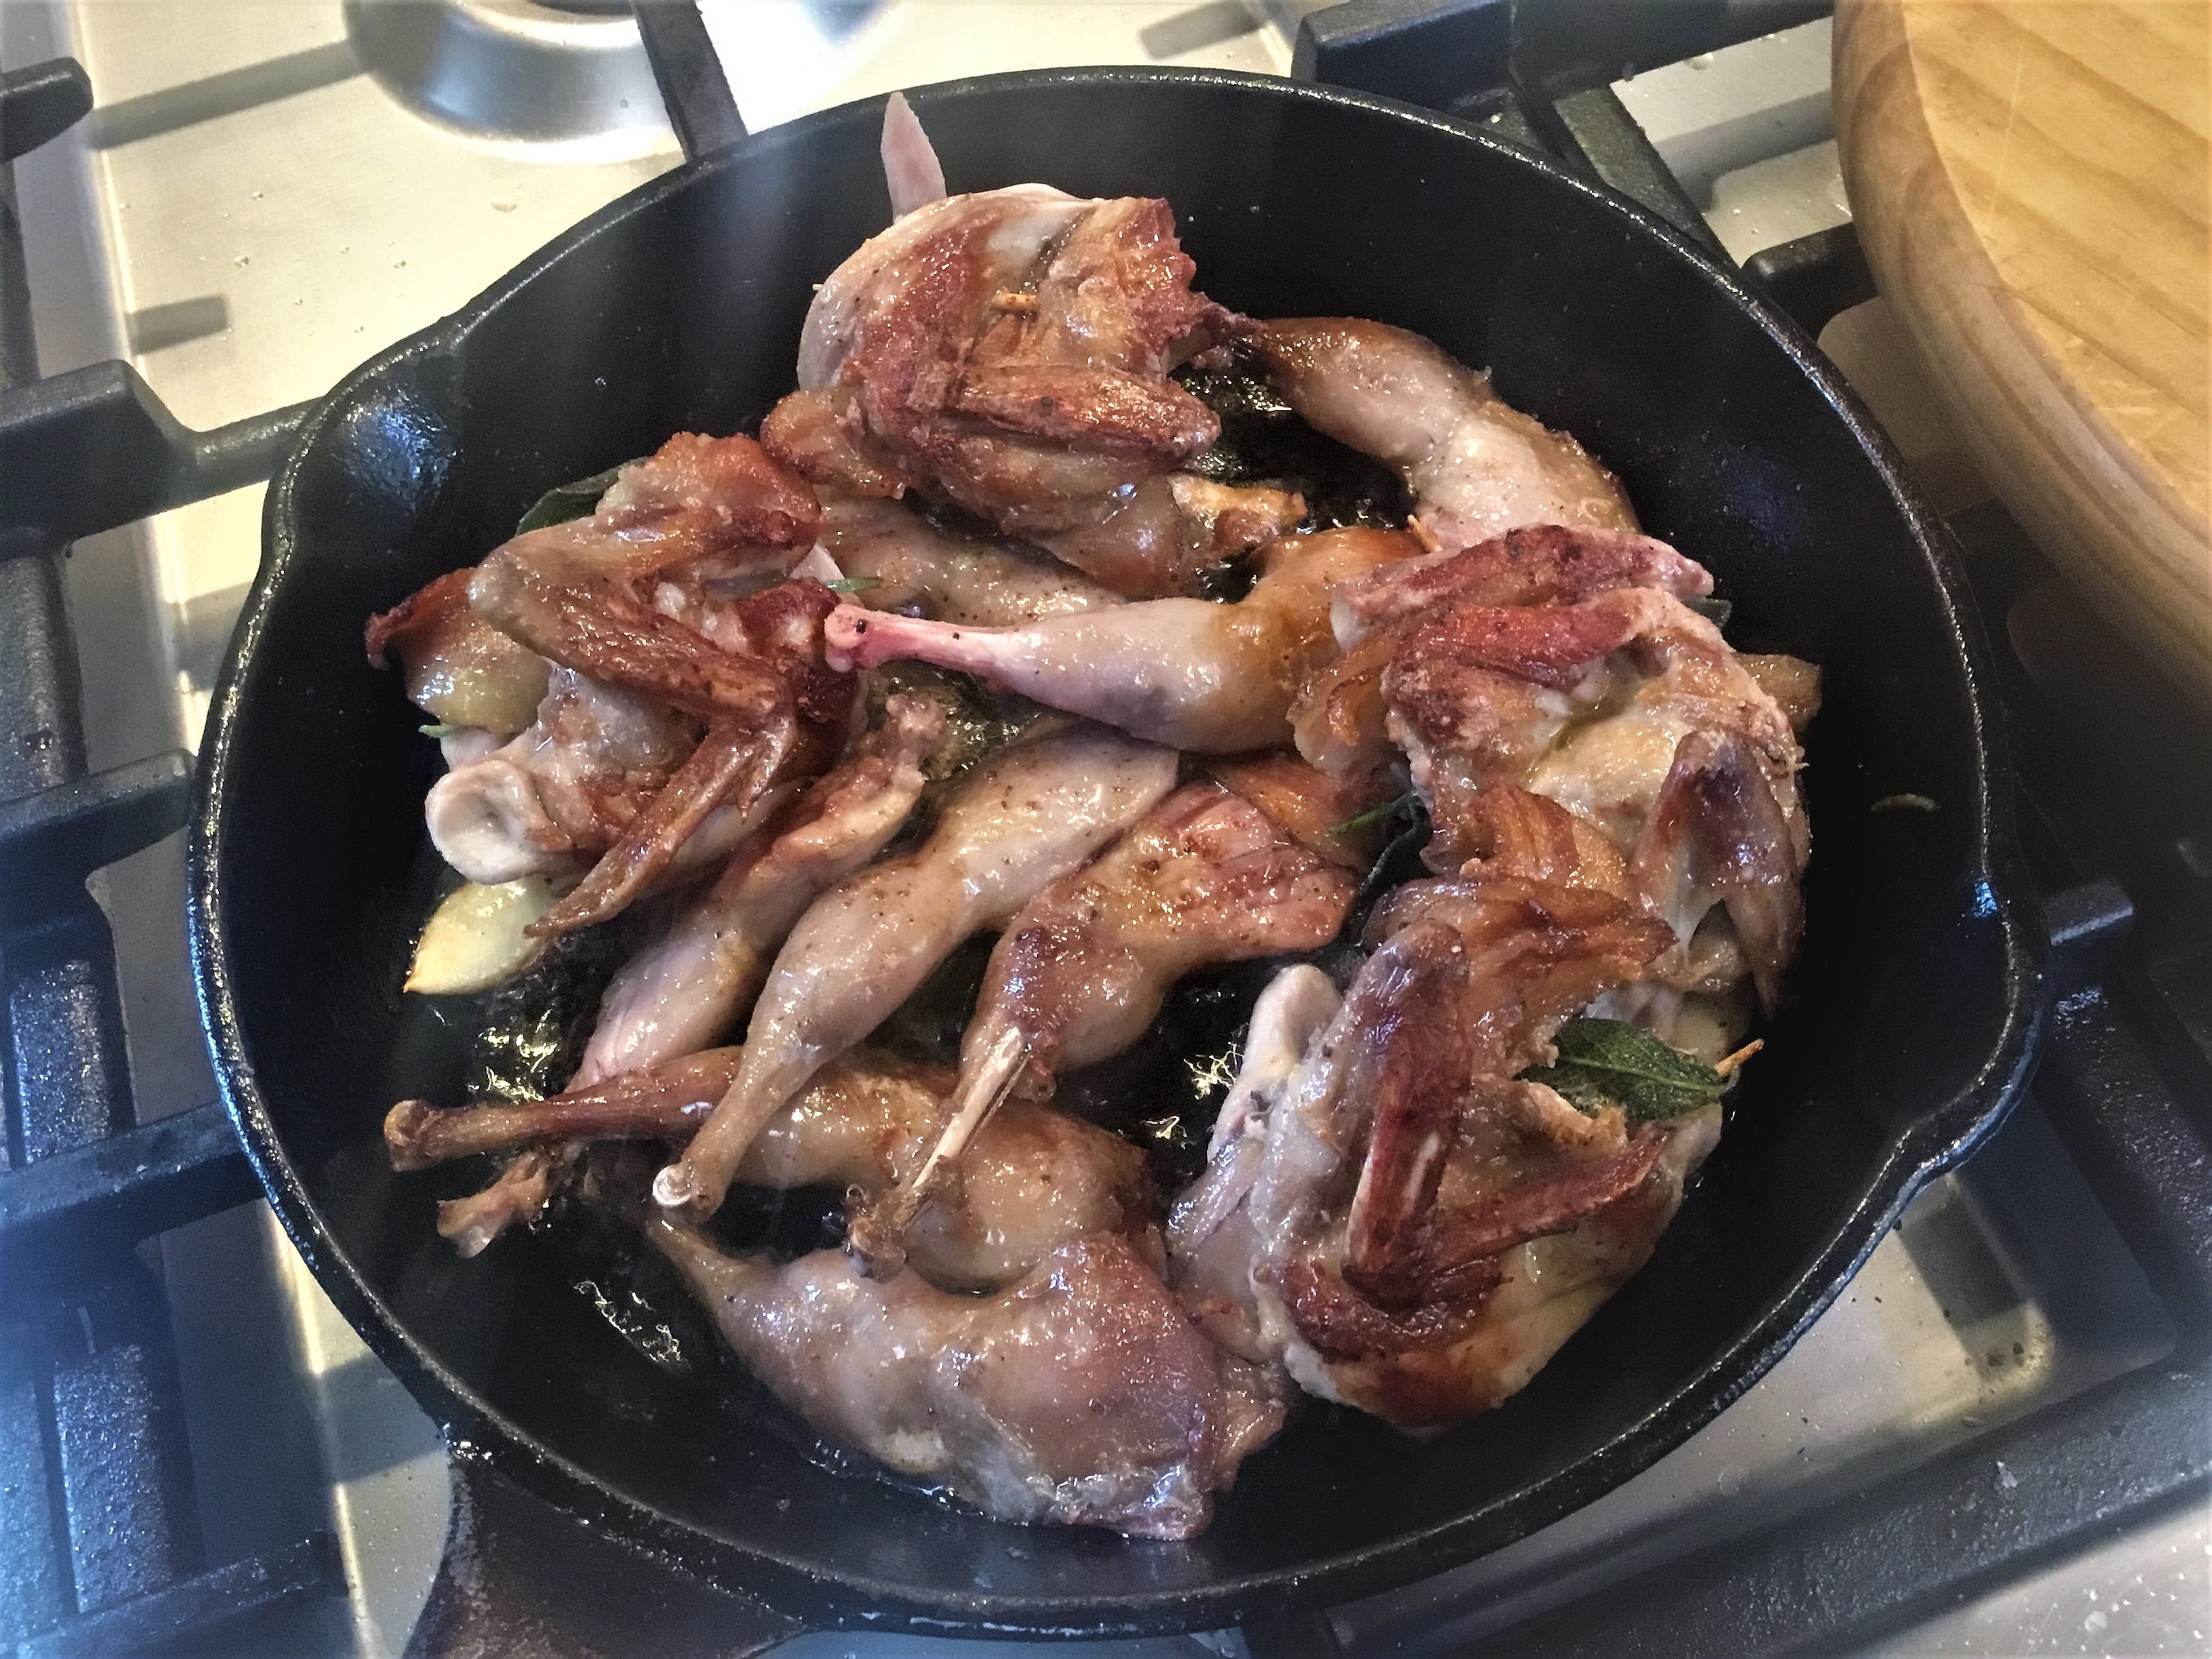
Oven-roasted quail is one of our favourite ways to prepare quail. It is simple, quick, and exceptionally delicious.
Use as many deboned quails as required. Season them generously all over with salt and freshly ground black pepper. Place a sage leaf, some coarsely chopped rosemary, and a few thin slices of pancetta inside the cavity of each quail. Secure the birds by stitching the sides together with skewers or tying them neatly with kitchen string.
Arrange the quails in a well-oiled roasting pan and place them in a hot oven. Start by browning them on both sides under a high grill setting. Once nicely coloured, reduce the oven temperature to 140 °C and allow the meat to cook gently and evenly.
The entire cooking process should take 5–6 minutes. If in doubt, check the internal temperature: when it reaches 80 °C, the quail is perfectly cooked.
To finish, sprinkle with freshly chopped parsley and a little more ground black pepper. Drizzle generously with high-quality extra virgin olive oil and serve immediately on creamy polenta.
Enjoy — and remember to finish it off with a glass of good homemade red wine.
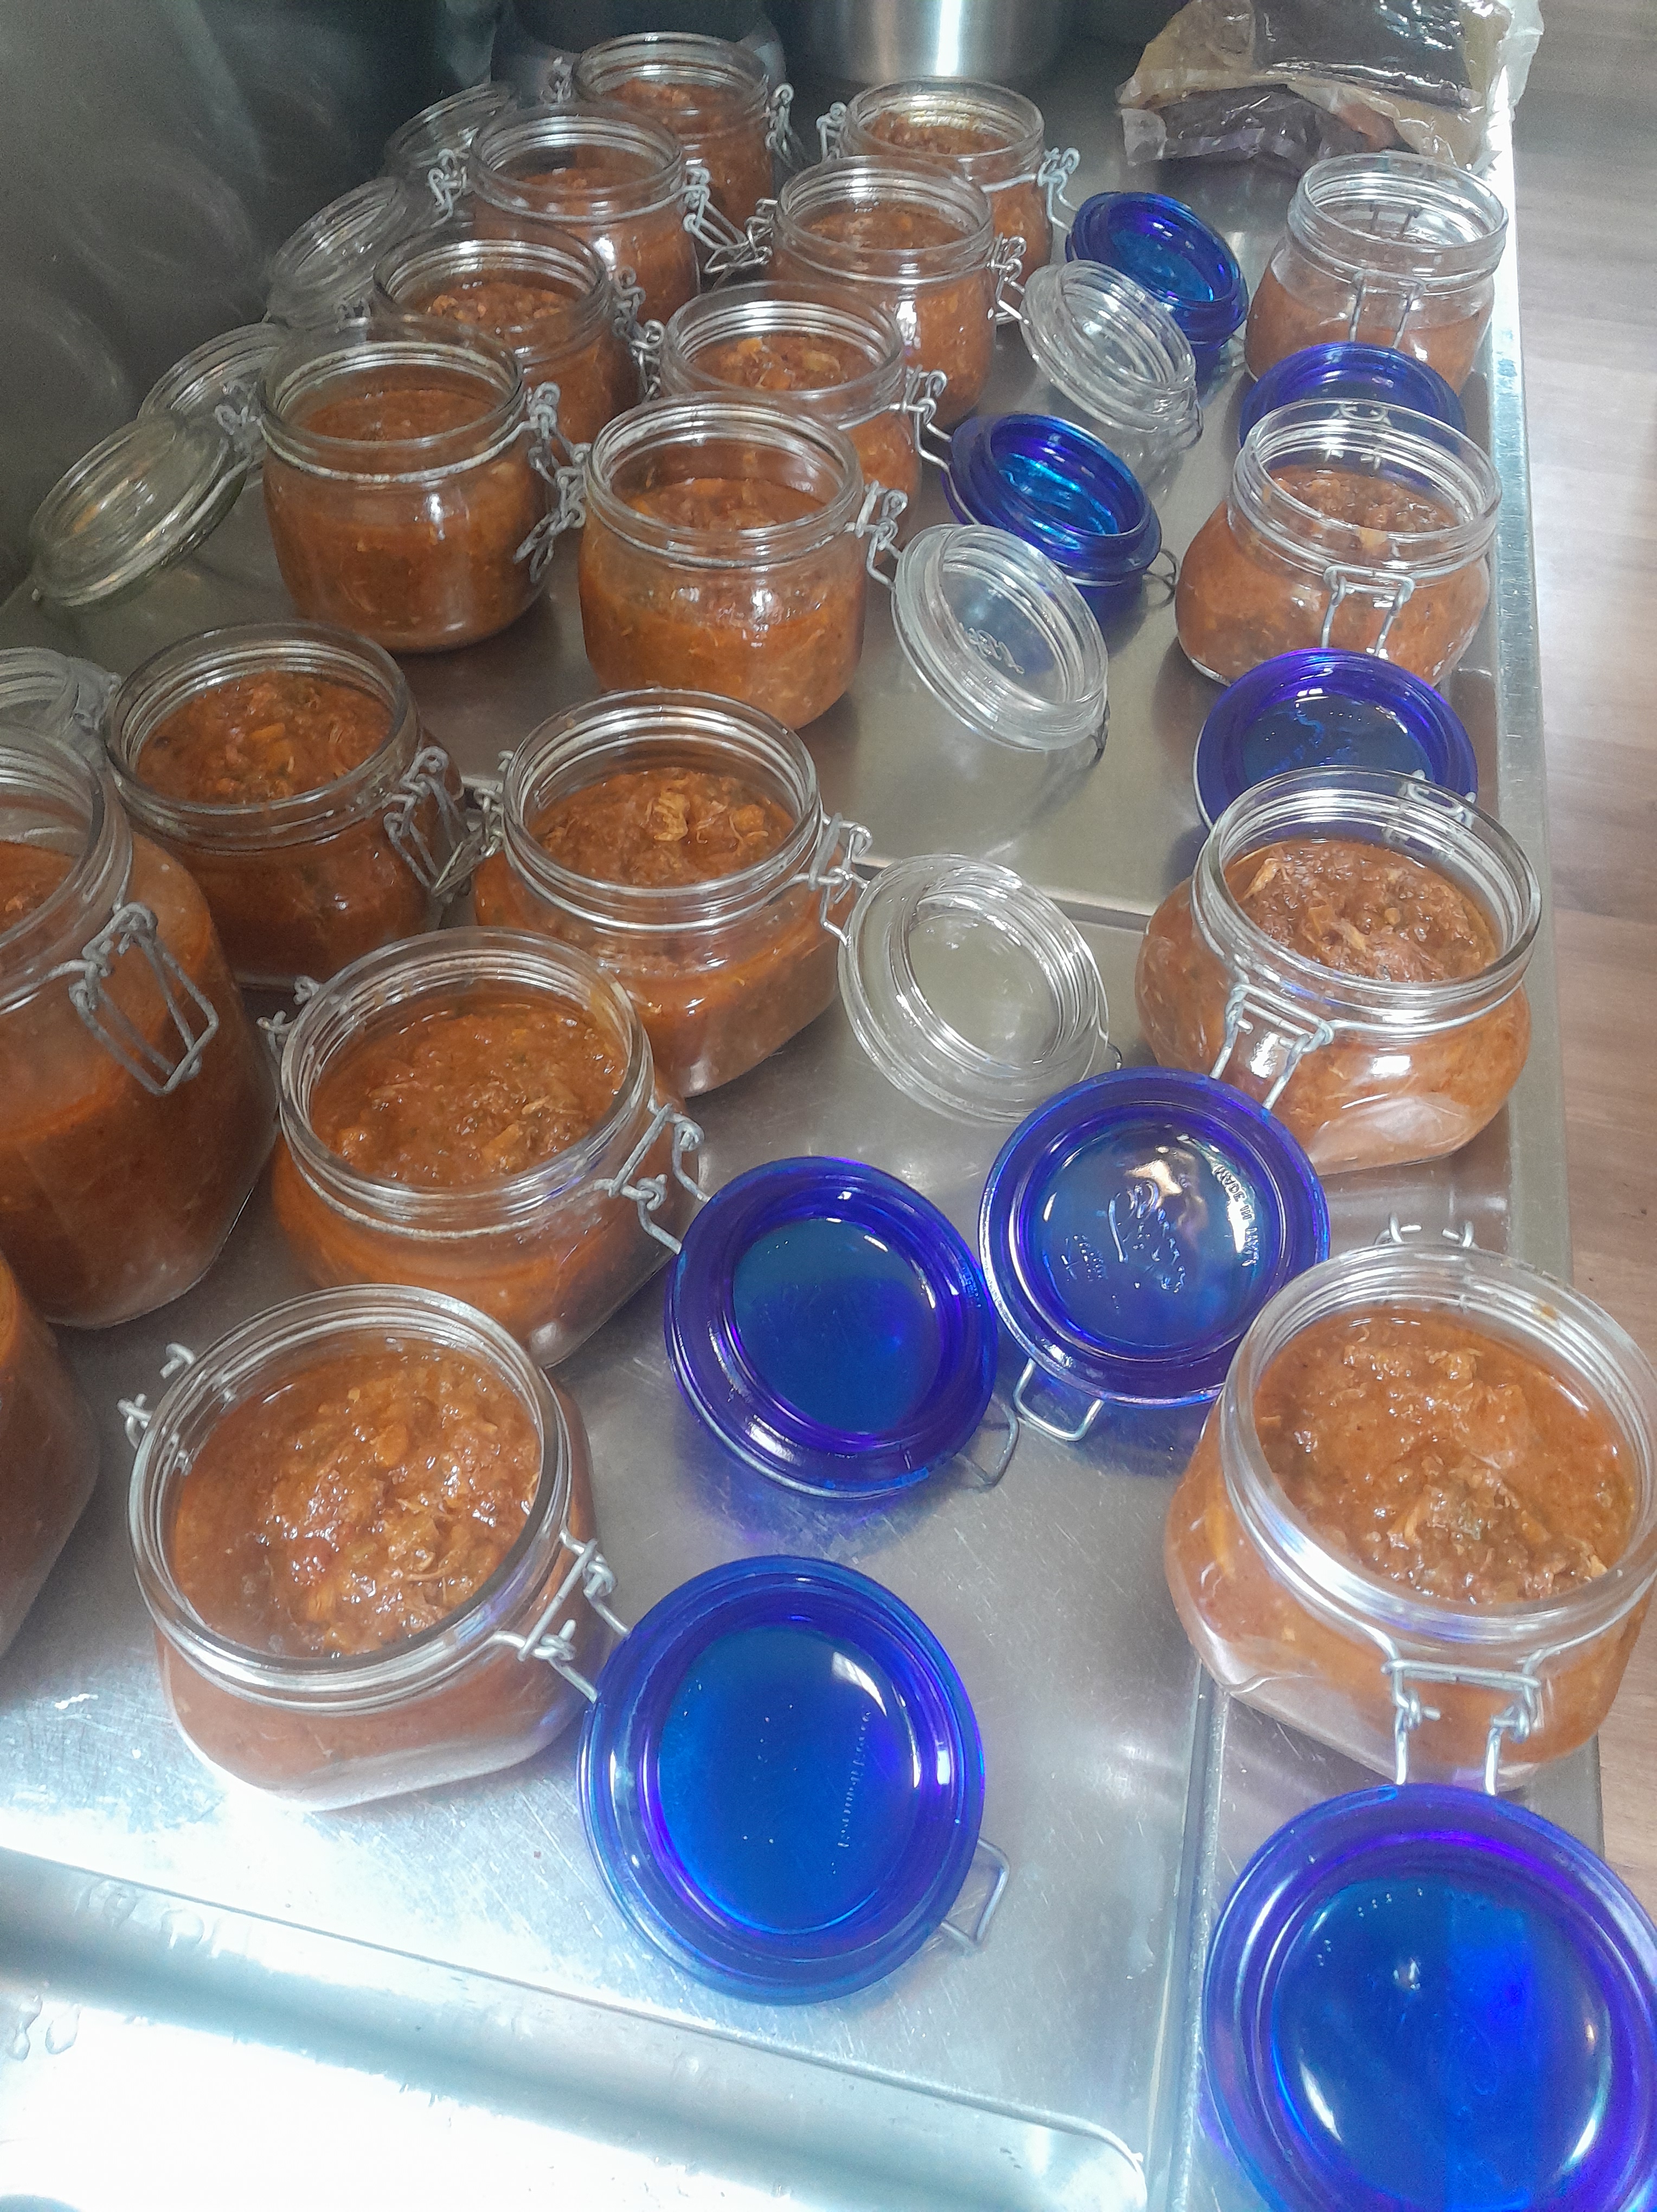
Every so often the freezer fills up with mature, processed quails, and the best solution is to turn them into something truly special : a slow-cooked ragù. On this occasion, I pulled 40 frozen quails from the freezer and spent most of Sunday afternoon transforming them into a rich, deeply flavoured sauce that can be enjoyed for months to come.
This is a labour of love, but one that rewards you generously. This is not just a sauce – it’s a celebration of North Italian tradition, where time, patience, and respect for every ingredient create something unforgettable. Cooked slowly, bottled carefully, and served with fresh pasta, it brings the warmth of our kitchen straight to your table.
Ingredients
40 deboned quails
2 kg finely chopped onions (50% brown, 50% red)
250 g extra virgin olive oil
250 g butter
200 g finely chopped celery
200 g finely chopped carrot
50 g salt (adjust to taste)
50 g freshly ground black pepper (adjust to taste)
250 ml full-cream milk
500 ml white wine
500 ml stock (quail stock preferred)
500 g tomato purée
1 kg tinned tomato passata
100 g finely chopped garlic
50 g finely chopped fresh hot chilli (optional)
5 g freshly grated nutmeg
A handful of hand-shredded fresh basil
2 Cups Grated Parmigiano Reggiano Cheese
Method
In a very large, heavy-based pot (large enough to hold all the ingredients), add the olive oil, butter, and chopped onions. Sauté gently over medium heat until the onions are soft and translucent, but not browned.
Add the celery and carrot and cook gently for a further 5 minutes.
Add the quail meat, season with salt and pepper, and cook until lightly browned. Stir in the tomato purée and cook for a few minutes to deepen the flavour.
Pour in the white wine and cook until it has completely evaporated. Add a portion of the stock and stir frequently.
Reduce the heat to medium, then add the garlic, chilli (if using), milk, and nutmeg. Cook until the milk has fully evaporated, stirring regularly.
Stir in all the tomato passata. Once the ragù begins to bubble, reduce the heat to low and cook uncovered for 4–5 hours. Stir often and do not let it burn. As the ragù thickens, add more stock, as needed to maintain a rich, slow-simmering consistency.
Once cooked, bottle the ragù, seal, and pasteurise.
Storage & Yield
The great advantage of this method is longevity : the bottled ragù can be stored in the pantry for a very long time and provides an exceptional, ready-to-use meal at any time.
This batch yielded approximately 50–60 meal portions. For a family-sized version, simply divide all quantities by ten.
If quail is not available, a combination of beef and pork makes an excellent alternative.
Pasta al Ragù di Quaglia
While the pasta cooks in ample salted water – fresh pappardelle is my preference – open a bottle of ragù and transfer it to a pan large enough to accommodate both the pasta and sauce.
Gently heat the ragù. Drain the pasta while it is just shy of al dente and add it directly to the pan. Toss the pasta and ragù together over low heat until fully cooked, stirring and lifting constantly (Mantecare).
If the sauce becomes too thick, add a little stock, or some of the salted boiling pasta water. Finish with fresh basil, give it one final toss, and serve immediately topped with ample grated Parmigiano Reggiano Cheese.
Pasta al Ragù di Quaglia should be served piping hot – and enjoyed without haste.
Do not forget the bottle of home made red wine to finish it all !
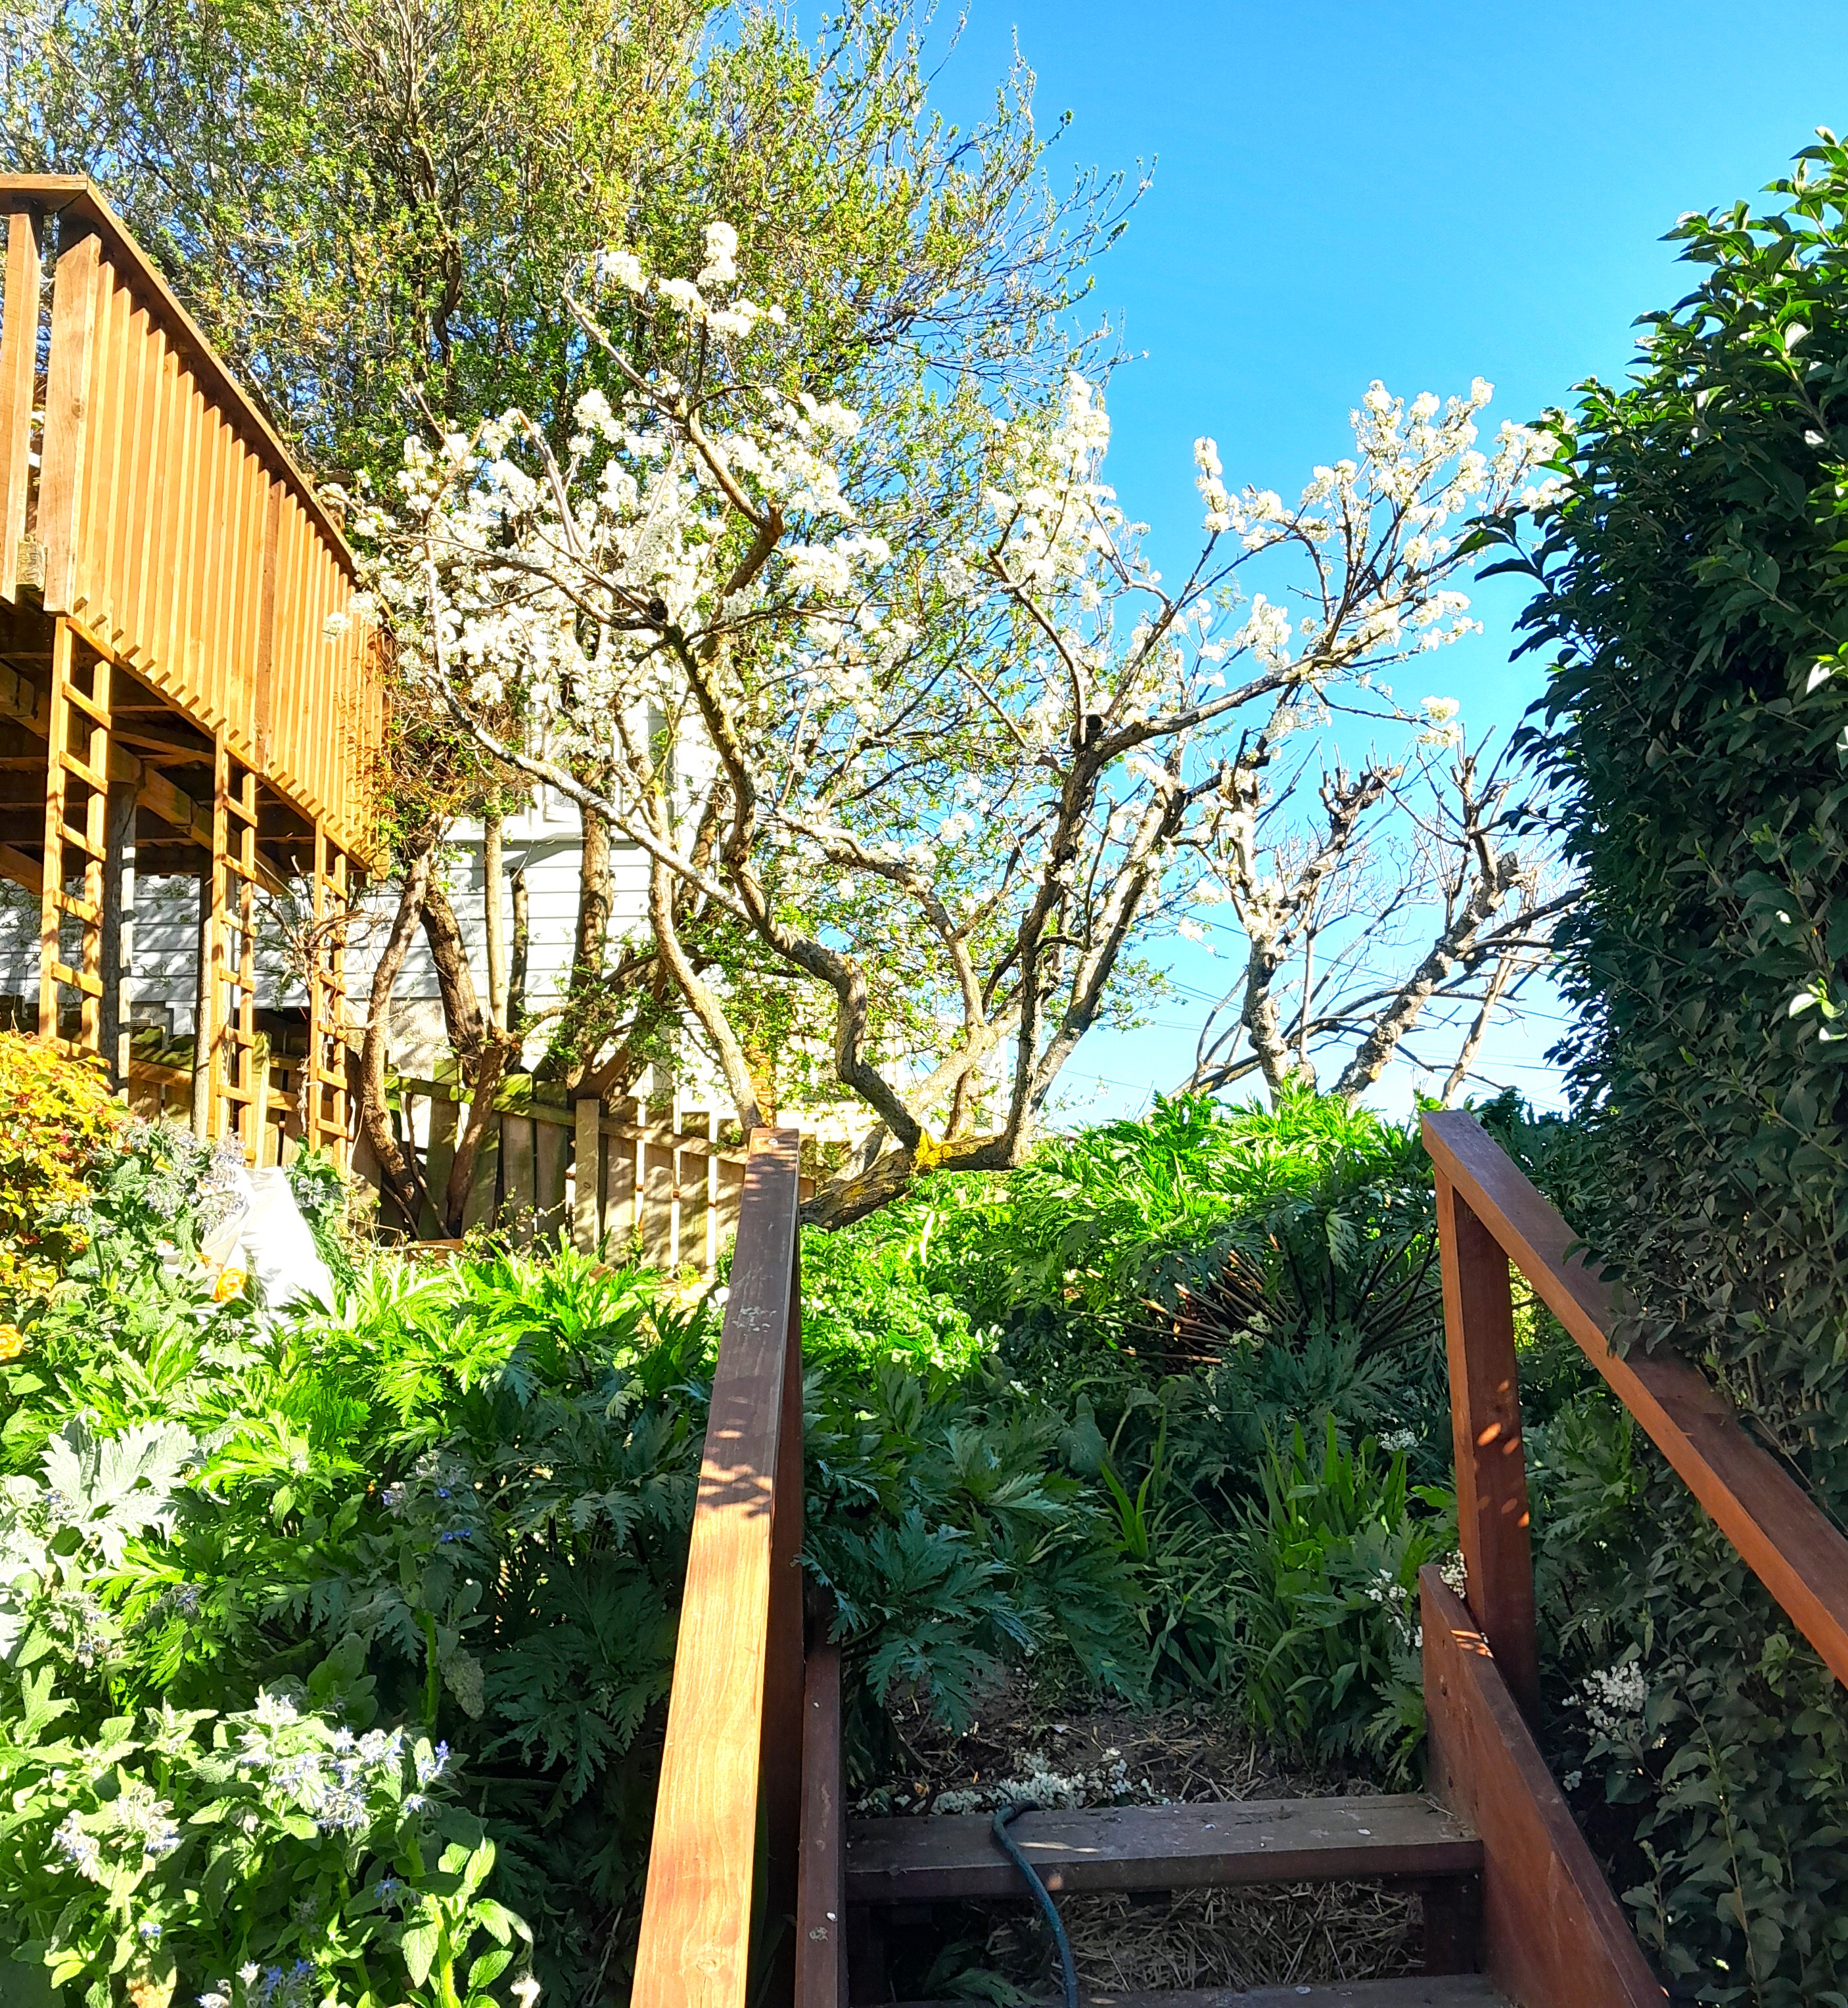
Walking towards my car this morning, it was joyful to see that it is going to be a good plum year again and I can make more plum wine, preserved plums, plum jam, plum leathers and plums under grappa, etc
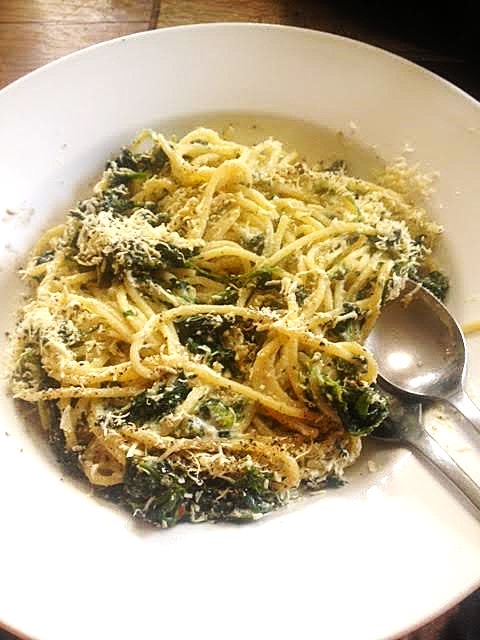
Put the raw cauliflower in a bowl, add the olive oil and turn the couliflower over until the florets are well covered. Put the florets in a roasting pan that will take all the cauliflower in one level. Roast the florets until they are golden. The tips can be a little blackened because that enhances the nutty flavour
When the cauliflower has roasted, put the pasta on the stove to boil
Use a pot that can contain the florets and pasta together, put the 6 tablespoons of olive oil in the pot and add the garlic and all the anchovies. Turn the heat to low and brown the garlic, the anchovy will melt in to the oil
When the pasta has cooked, save 1/4 cup of the pasta water and drain the pasta. Pour the pasta directly into the anchovy and garlic sauce and mix well. Add a bit of the pasta water to the mix if needed. Serve immediately, put the cheese on the table so everyone can add cheese to taste
Feeding your bees some sugar water is almost a standard in Dunedin if you want your hives to survive and be strong and producing honey over the next season
Commercially bee feeders are available in single, double or triple units. I am using the triple units as it requires less intervention and stress on the bees having to open the hives less frequently for refuelling.
When I first bought these sugar feeders I did a test run on the outside of the hive, as these feeders normally are located inside the brooder box. I did however notice that quite a number of bees drowned in the sugar feeder in spite of the fact that there is a “ladder” on the inside of the cone for the bees to get out. Back Yard Farmer created an internal additional ladder with some off cut wire netting and a piece of twig. Mission accomplished when almost no bees drowned any more.