I am a bit of a jam tragic, if there is anything in abundance I need to make jam from it (or preserve it one way or another). I have a lot of apricots and Dunedin has a lot of rosemary. There are no genuine Italian food ingredients to be had over here, apart from all this rosemary. It grows in every garden, cascades down garden walls in the university grounds, grows vigorously several public spaces, parks, everywhere but in my garden. Why the inhabitants plant so much of it, I can not fathom, since I can not believe that they cook with it. But, I seem to be the only person in Dunedin who has not succeeded in growing a single sprig. To get my hands on rosemary I have to resort to theft from lush bushes of the stuff overhanging various pavements around where I live.
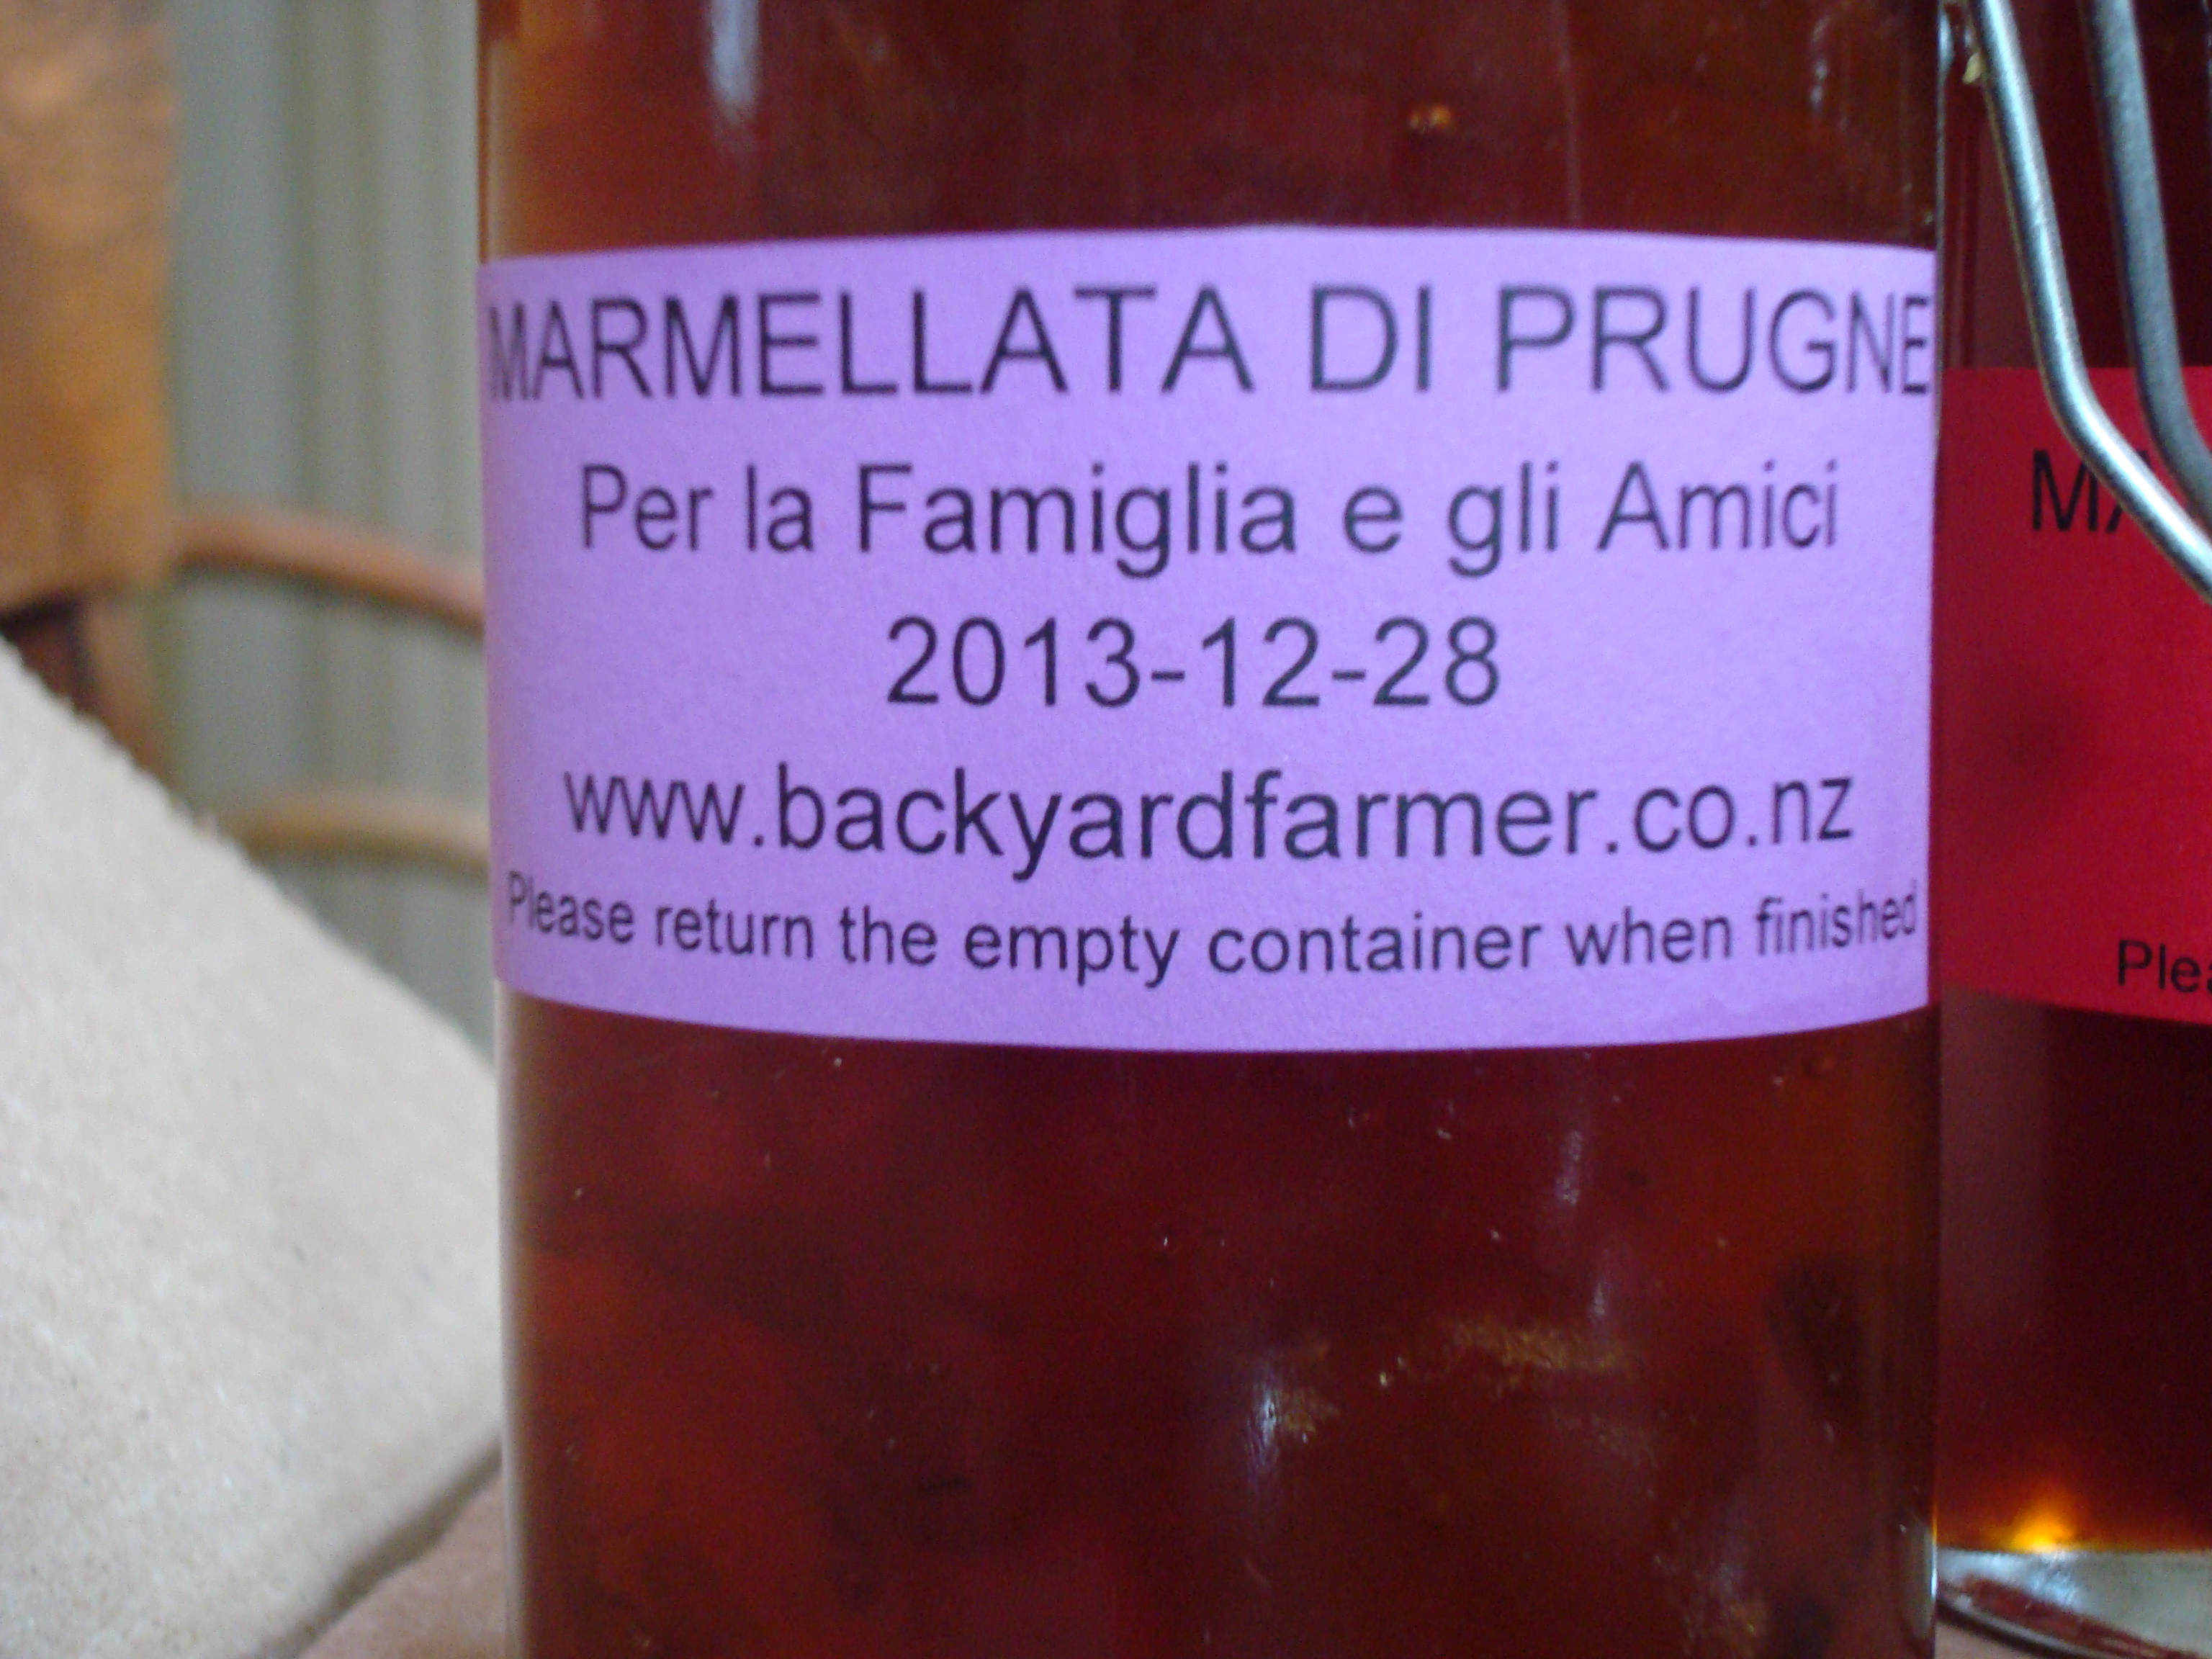
Apricot and Rosemary Jam
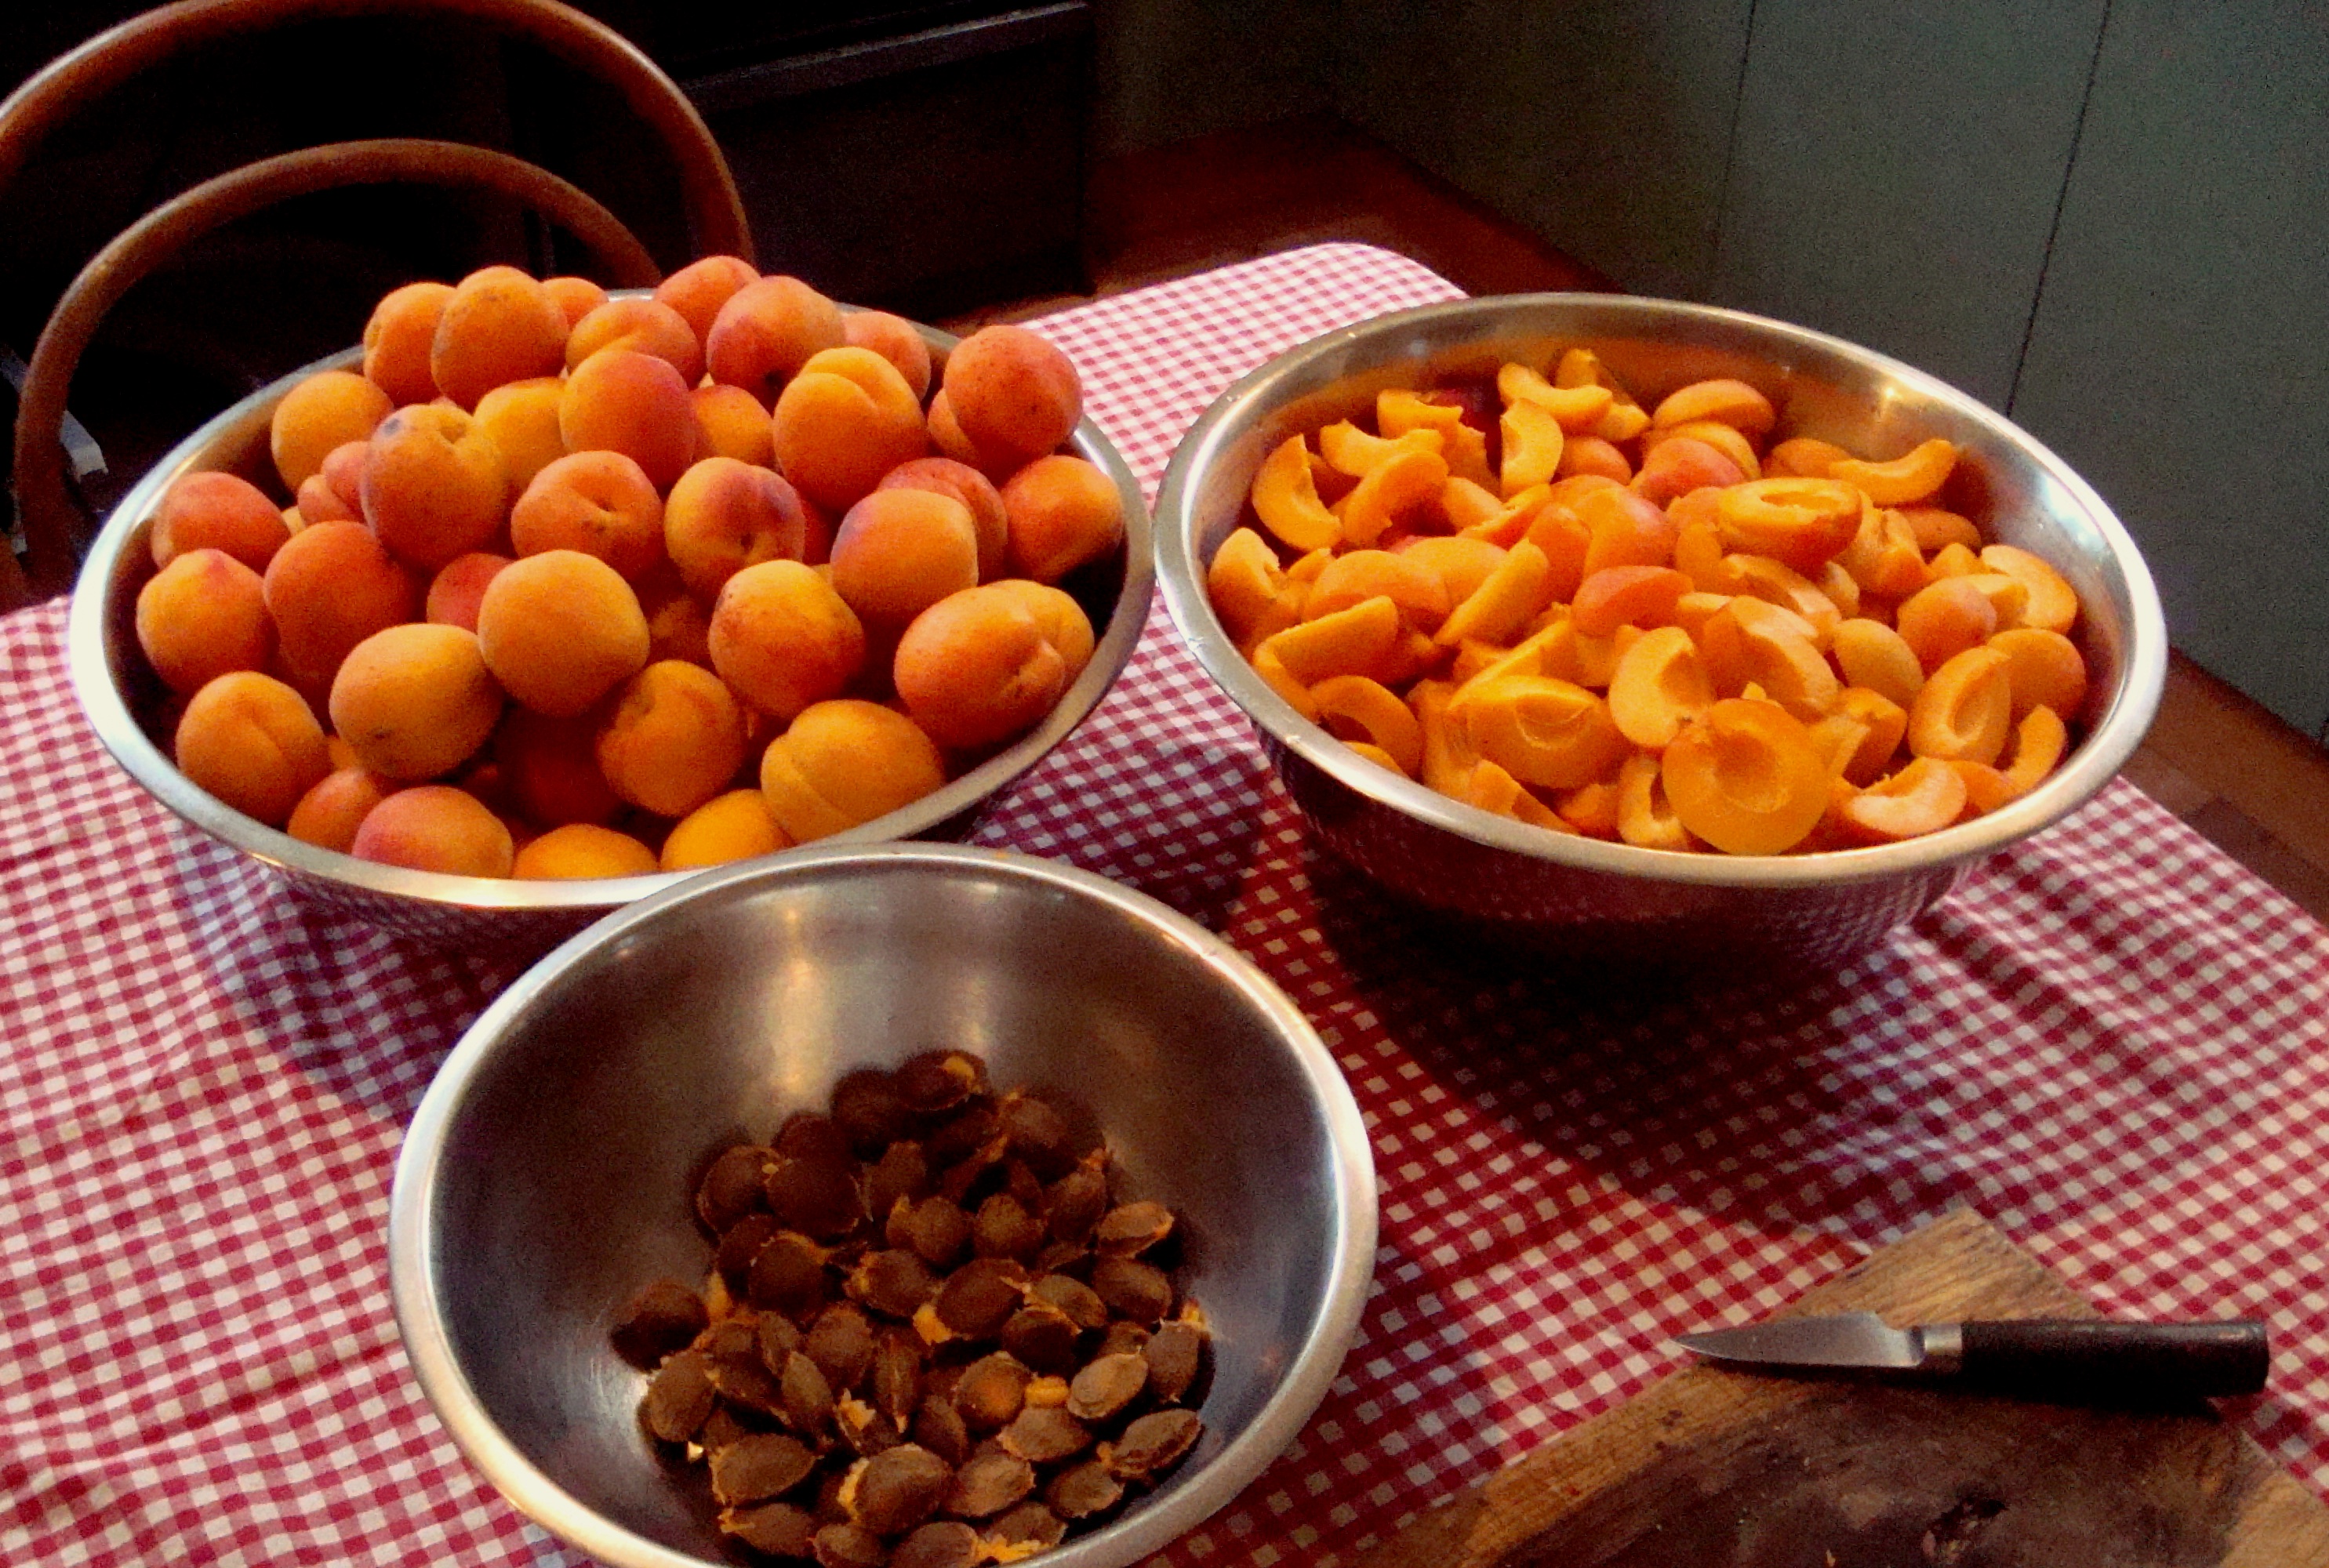
3 Kg Ripe Apricots
2 Kg White Sugar
20 g Finely chopped Rosmary leave
15 g Apricot Stone kernels, finely chopped
Cook everything together in a big pot for half an hour. Let it rest for some 12 hours. Cook again until the jam consistency reaches the “Freezer Test ” thickness. Stir in a tablespoon of butter and take it off the heat. When it is cool enough to handle. bottle and seal. Sterilise the closed bottles as described before.
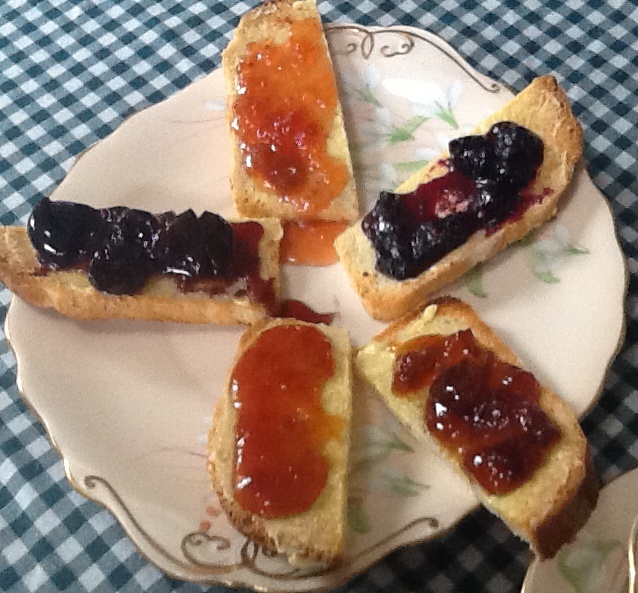
This flavorsome jam is ideal for eating with strong cheeses and using as a glaze for pork and poultry.