Cheesy Breads and Panini using Yeast

2014-02-17 11.08.05-2

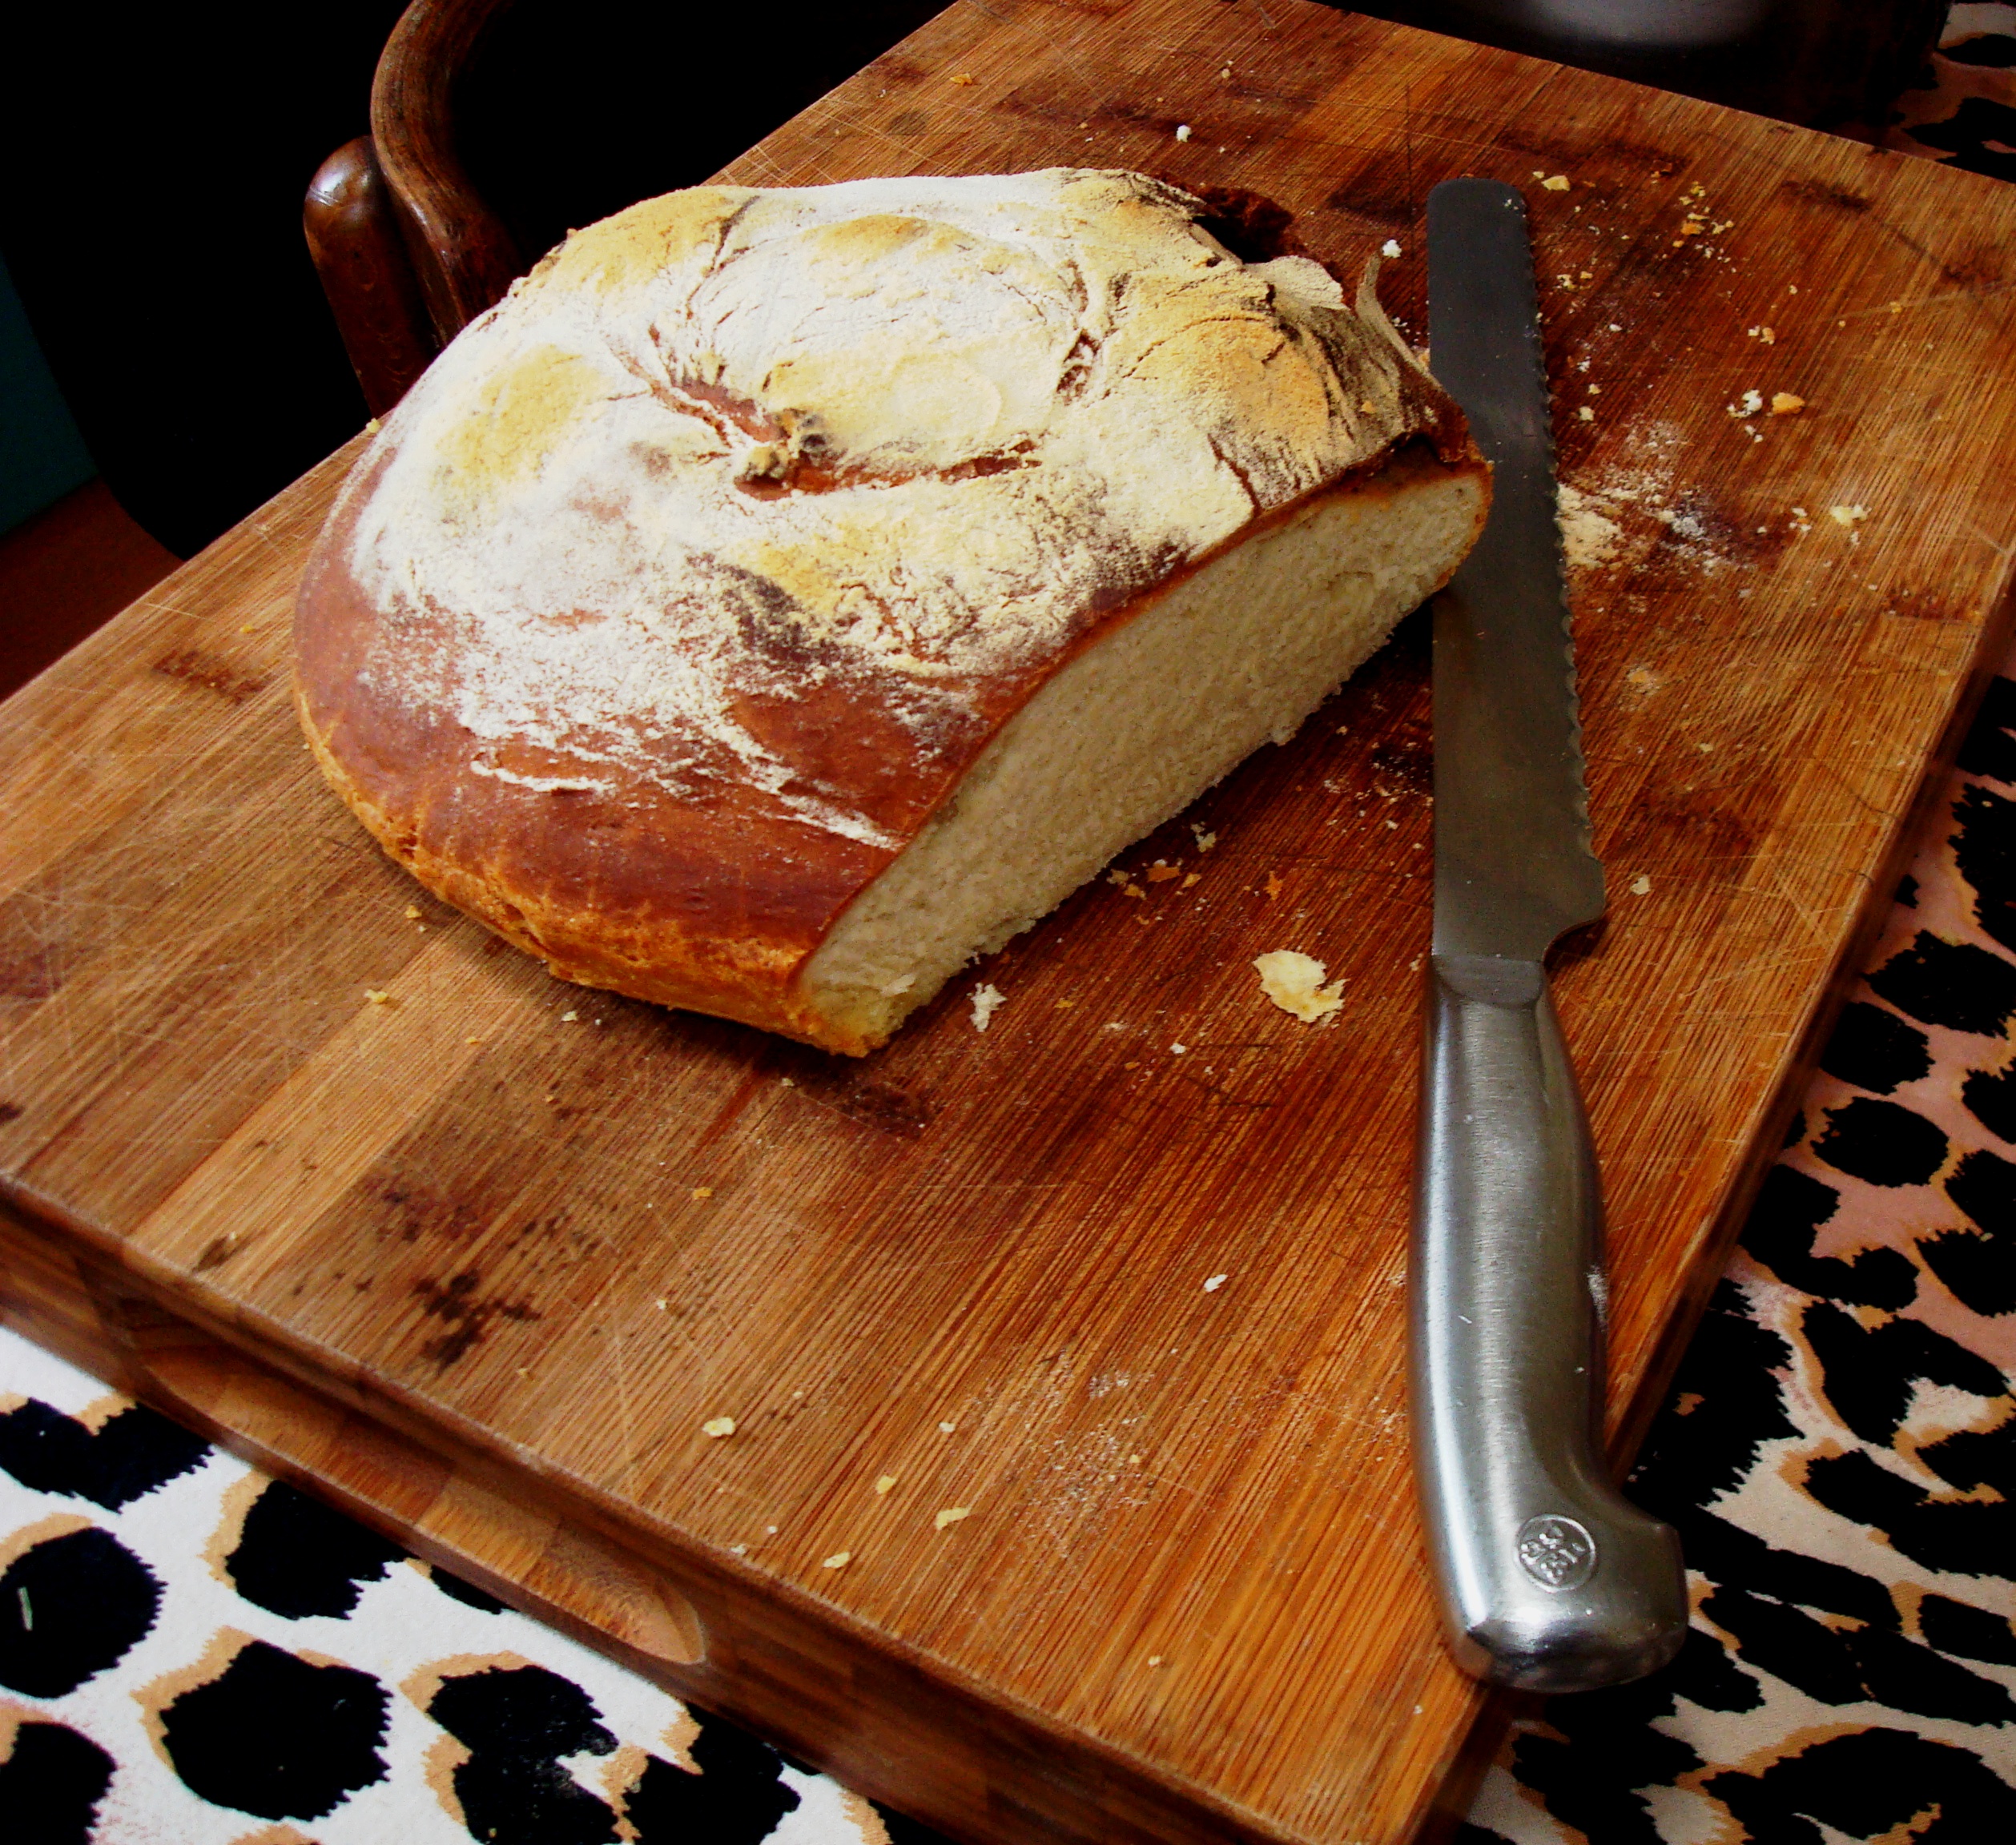
After a day of no bread in the house I had to provide bread by breakfast time or face a riot  in the kitchen.  To appease everyone I made Cheesy Buns, Panini, Pane di Casa and Foccacia.

I love baking with Biga and it remains my first preference.  Sometimes I have very little time for baking and  because I would rather go without than buy commercial bread, yeast is a fast option. The yeast product is lighter and softer whereas the Biga products are denser and a bit heavier and chewier.  There is no difference in the speed with which both types of breads are devoured by my household!

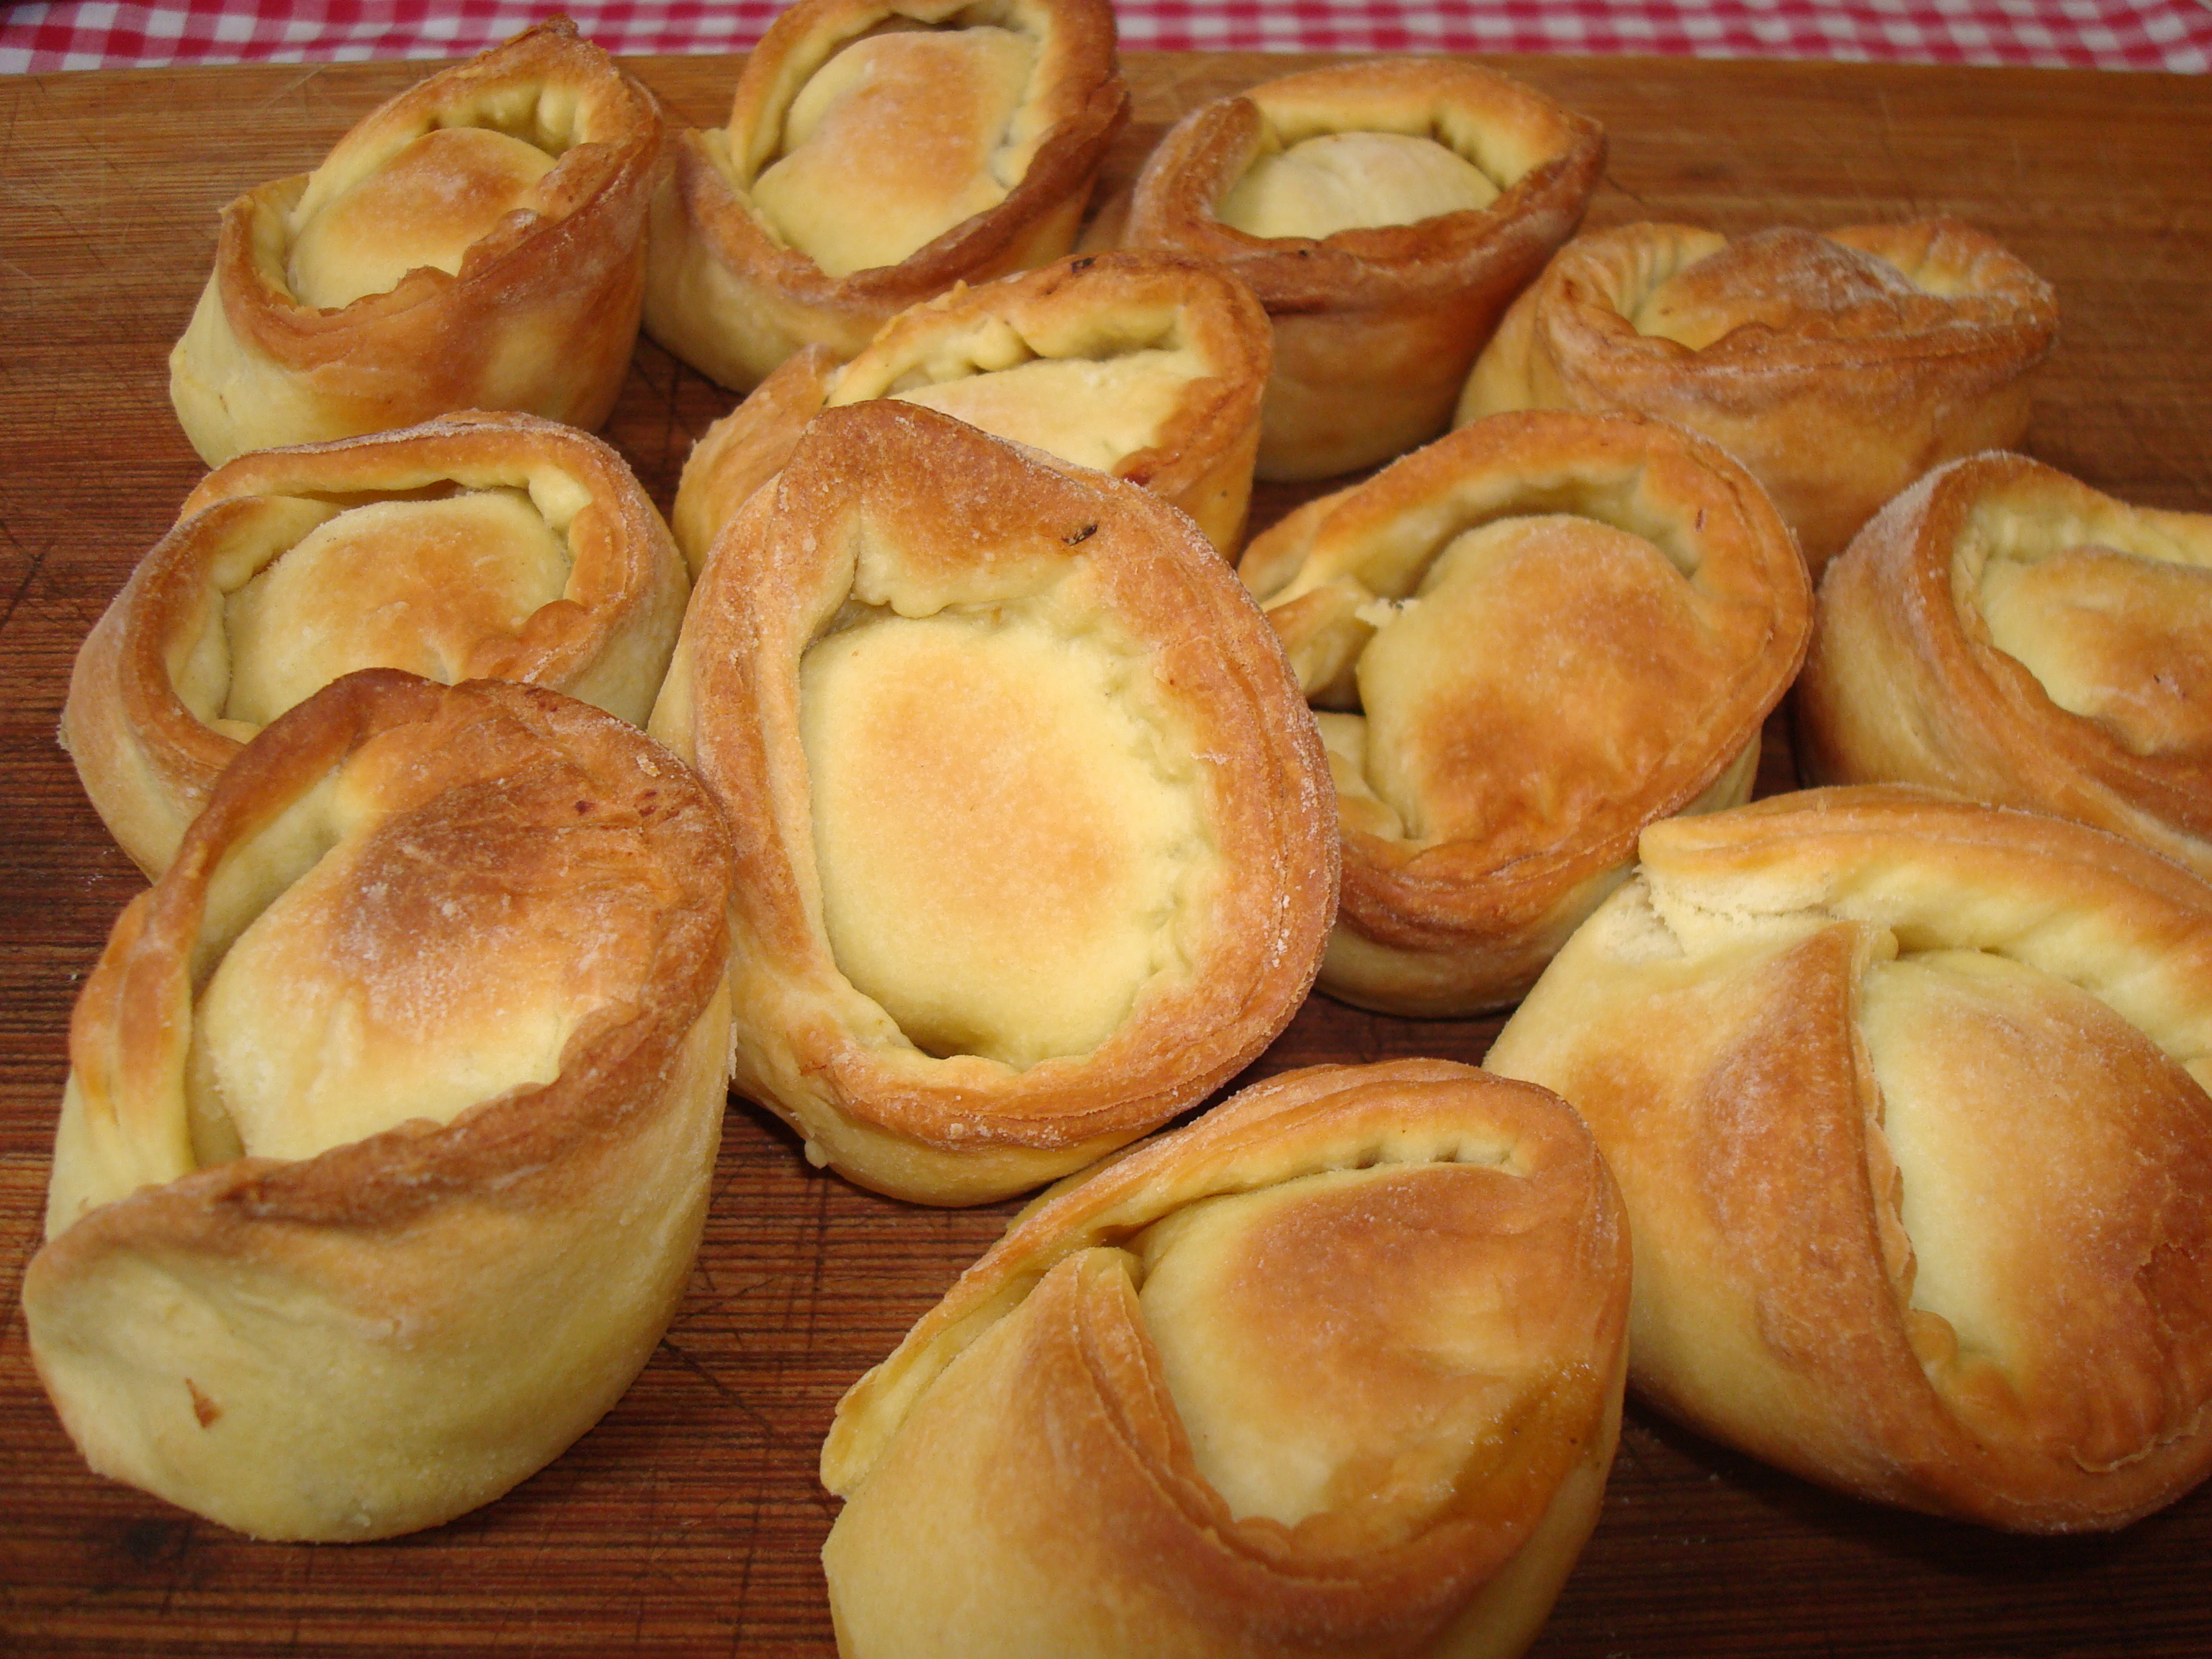
Cheesy Buns with Yeast

Mix 10 g Sugar and 10 g Dry Yeast with a little temperate water, wisk occasionally and let stand until frothy. This should take only a few minutes.

Mix 500 g Flour, 10 g Salt, 30 ml Olive Oil and the Yeast mix with 320 ml temperate water (taking into consideration the water already used for the yeast mix). Mix and knead well. This will give you a soft dough which should be of a consistency that just clings to your hands when kneading (makes it difficult to knead well). Place it in a warm place until double in size. I use my dehydrator / drier and set it at 38 C for about half an hour. Now mix in 100 g grated Cheese of your choice – I use a sharp Cheddar – and mix well. Divide into 24 equal balls and place in two well buttered muffin / cup cake pans and dust liberally with flour. Leave to rise again – mine goes back into the dehydrator.  Be careful not to over proof these two breads at the second rising, as it will collapse when put into the oven.  Start baking while bread is still rising strongly, even before it has reached the desired size. Bake in the oven at 220 C for 15 minutes.
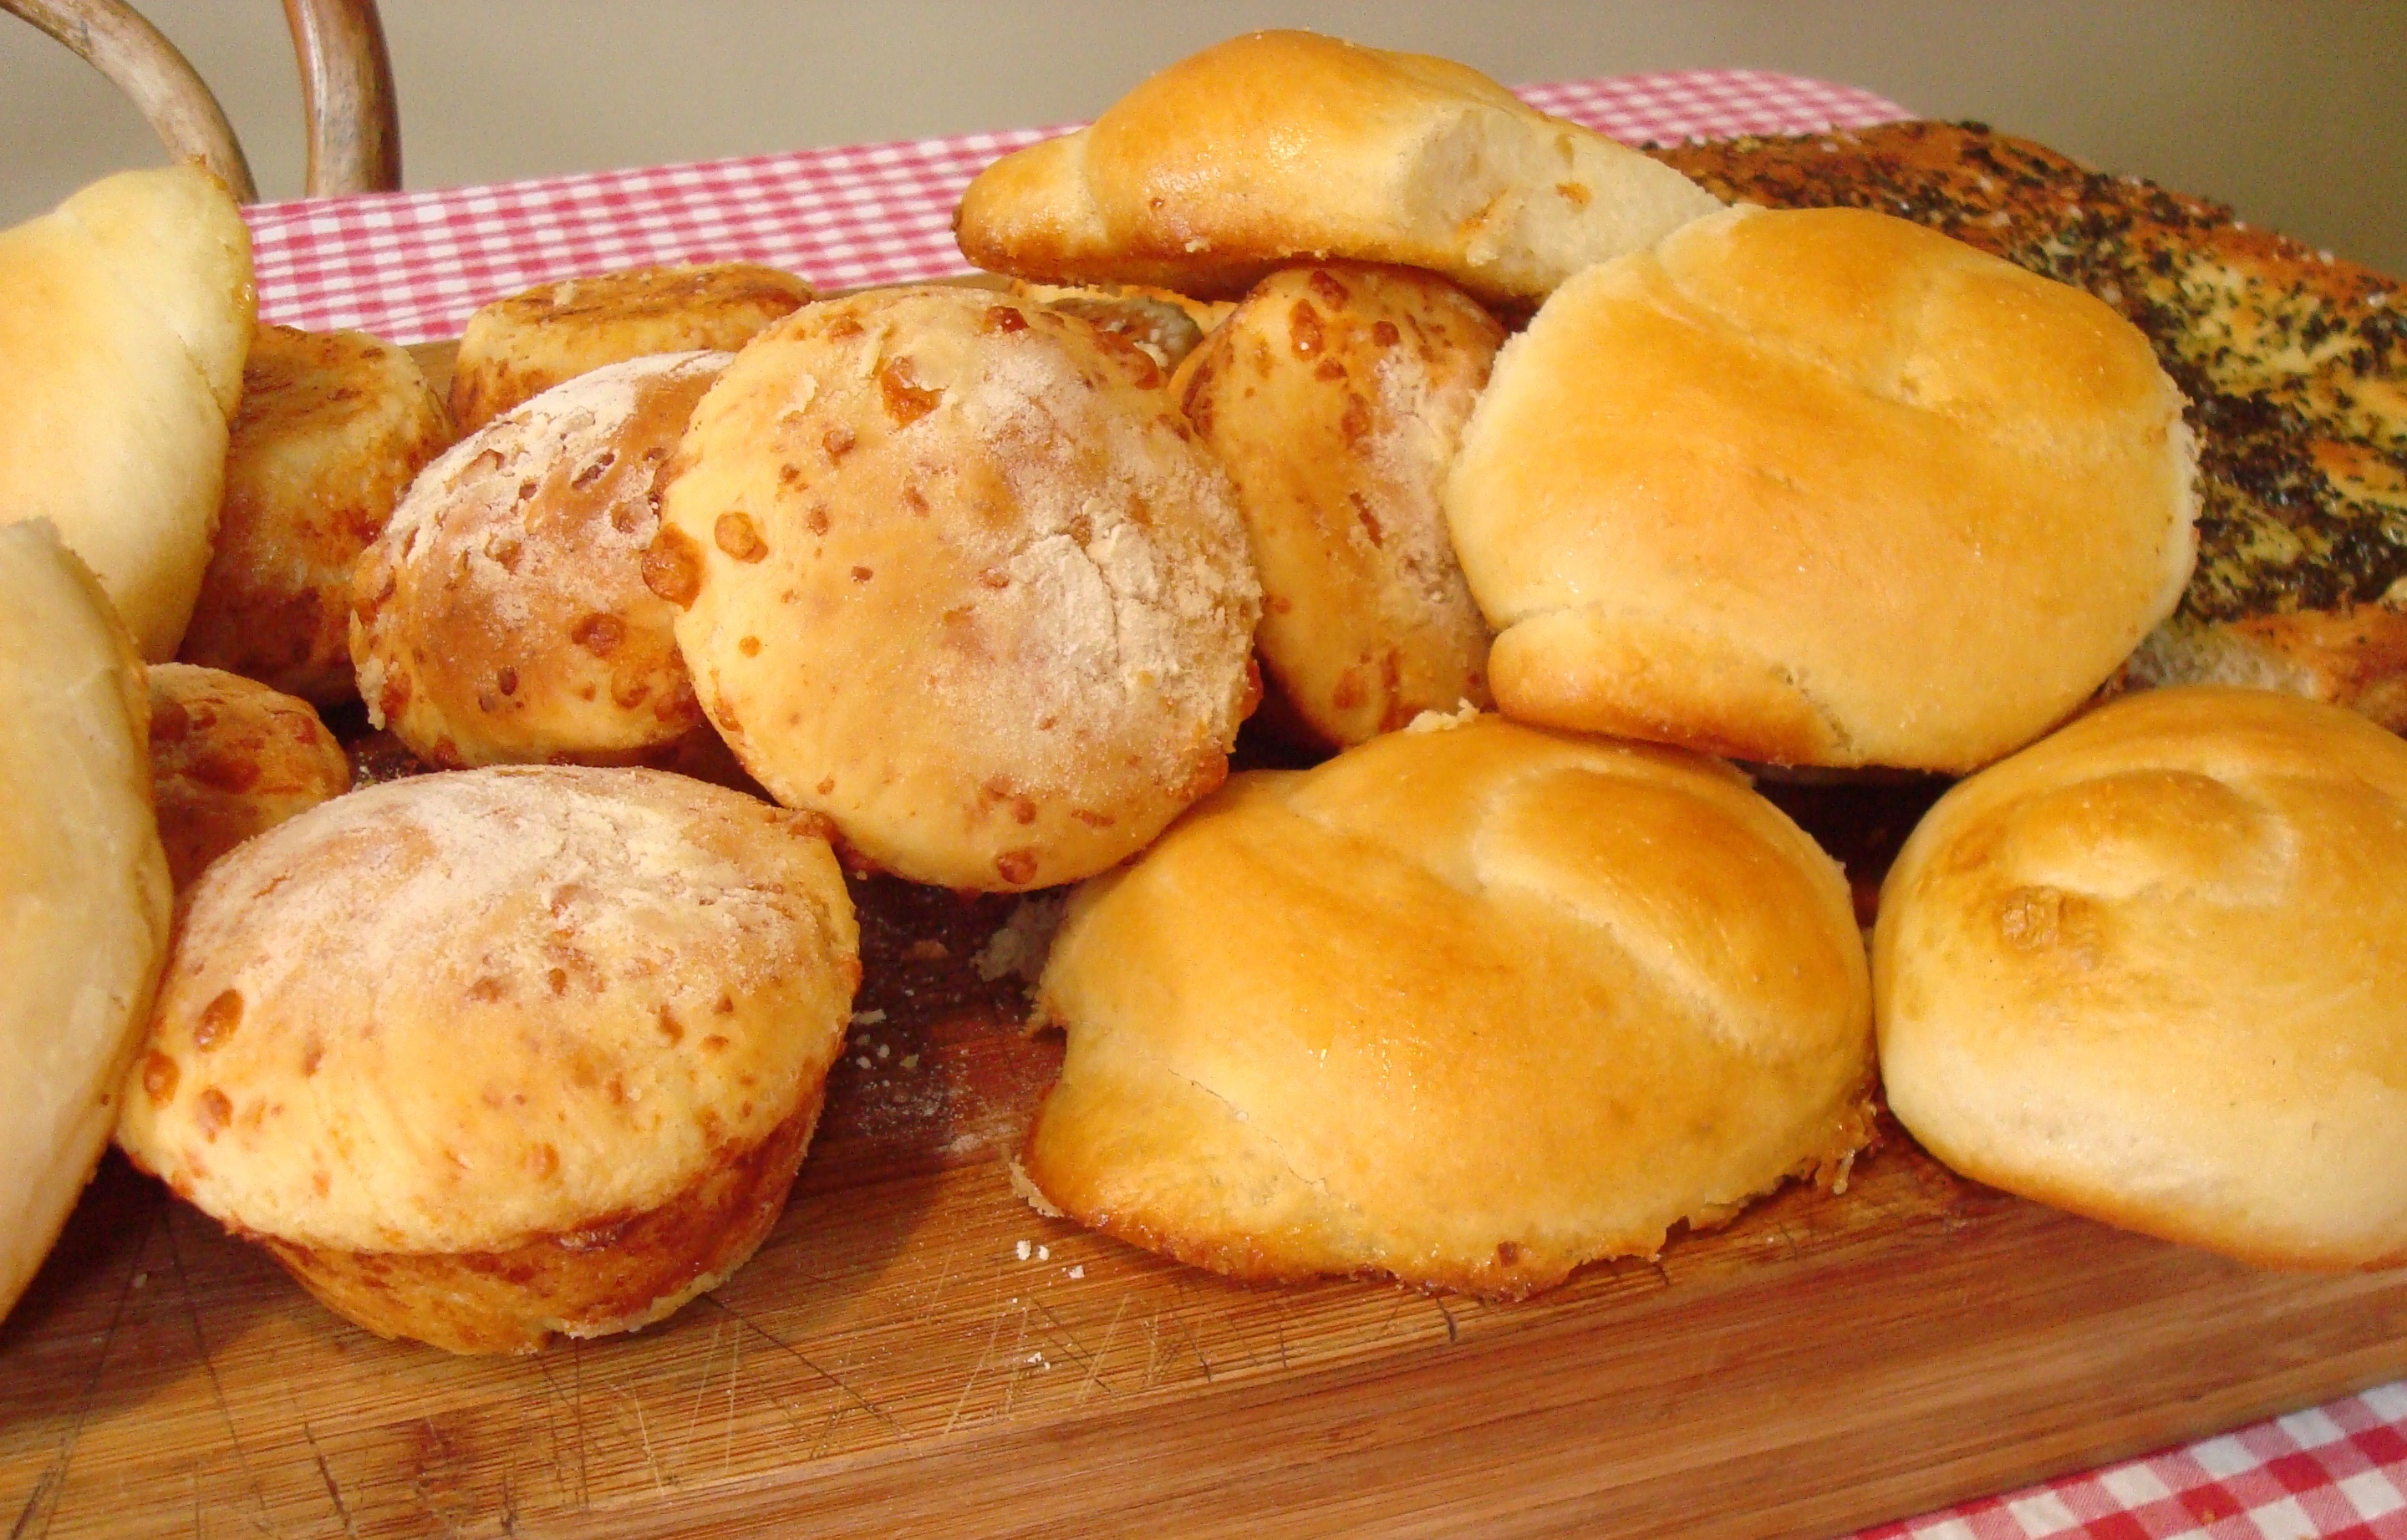
Panini

Exactly the same as above, but exclude the cheese and size and form the Panini the way you like. Bake in a well buttered oven pan.


Enjoy!

PANE VELOCE

2014-02-07 - Pane Veloce

Should you have run out of bread and the guests arrive in half an hour, the Pane Veloce is the only way out. It may not be the lightest bread around, but definitely very nice and fresh out of the oven. One cannot use BIGA for this recipe as it is too slow – use dry yeast.

15 g dry yeast

10 g sugar

50 ml luke warm water

Whisk the above before you start weighing out the rest and let if begin to foam before use

500 g plain flour

10 g salt

60 ml olive oil

300 ml luke warm water

Mix all together, including the yeast mix and knead well (it may be a bit difficult to knead as it should be soft). The mix must be softer than a normal bread and the dough should just stick to your hands (a hard dough does not work for this recipe) add water if not soft enough or flour if too soft.

Form dough in a ball and place in a well oiled oven pan (not a bread pan). Cut a circle with a sharp knife, about 15 mm deep in the top of the dough, about halt the circumference of the bread – this will allow it to rise and expand and bake through.

Now place your bread in a COLD oven and then turn it on to become 220C when heated. The bread will rise while the oven is heating up and will then bake. I cannot say for how long you need to bake it as it will depend how fast your  over reaches temperature – a slower oven is better than a faster one. Use the knocking technique to see if loaf is ready.

The Pane Veloce can be made well under an hour from the time you take the flour out of the pantry until your serve your guest fresh bread out of the oven – no bread is faster!!

Small Pies with Leftover Filling

2014-02-14 13.15.53

I started making these for the kids but had to triple up because everyone wants them now.I have given my version of leftover meat filling, but you may have your own ideas

Small Pies 

The Fillng

After a meaty meal there is always something leftover like BBQ Beef , Roast Pork or Chicken. Making pies with these often resuls in a tastier meal than the original.  Saute one onion and a couple of cloves of garlic in some butter and olive oil until soft. Now turn the heat up and fry the diced meat until well heated through. Adjust for salt and pepper. Add a half a chopped chili and some chopped fresh time. Baste for a while and keep moist by adding some stock, or wate, if you do not have stock. When heated through and basted for a few minutes, ad some fresh, or tinned if you do not have fresh, mushrooms.  Let all the moisture evaporate until you have a firm filling. Stir frequently. Remove from the heat to let it cool and set a bit as this will make it easier to use as a filling.

The Pastry

Whisk 10 g yeast and 10 g  sugar in enough lukewarm water to dissolve the sugar and yeast. Leave until the mixture is foaming

500 g     flour

150 g     butter softened

2             eggs  lightly whisked

10 g       salt

Mix all the ingredients including the yeast together. You should have a stiff dough like a pasta dough after kneading it a bit. Let the dough stand in a warm spot until the yeast is activated. Roll the dough out thinly – less that 1 mm thick. I do mine with a pasta machine setting on 5 . Cut circles with a cookie cutter about 100 mm in diameter. Put about 1 tablespoon of filling in the center and fold the dough to close after painting the edges lightly with some egg to bind – press closed with the back of a fork. Now fold the wings in and secure the to end together with some egg again. Place in a  well buttered muffin pan and bake at 200 C until brown on top. Eat warm or cold.

FREE: Biga Bread Starter and Bread Making Recipe

2013-09-21 - Foto - Bread 017

FOLLOW OUR BLOG https://backyardfarmer.co.nz/ AND GET YOUR  FREE BIGA

If you follow our Blog and Email us that you want a FREE BIGA, you can either collect it or we shall mail it to you for the cost of postage only, which is $4.80 for New Zealand.

Here is the recipe for the Biga if you want to make it yourself.

La Biga  or Natural Wild Yeast Starter or Bread Mother Plant

Bidga is a natural yeast starter that adds so much character to the bread. When used, the crust will be crunchier, the crumb moister and the bread will be more flavourful with a longer shelf live. Above all, you save on the cost of buying yeast all the time. The idea is to introduce natural wild yeast spores and natural bacteria to ferment the simple, introduced sugars and encourage bubbling. The lactic acid from the bacteria strengthens the gluten elasticity and intensifies the flavours.

Method

Grate one apple and one pear and place in a glass jar with one litre of temperate tap water and leave for three days at room temperature. Strain the juices from the solids and discard solids. Add 150 g of plain flour and 200 g of temperate tap water to the juice and mix very well. Mix well every couple of hours during the day. On the morning of day two mix very well, then discard 250 g of the product and top up with 150 g of plain flour and 200 g of temperate tap water. Stir very well, and keep at room temperature. Always work very hygienically and clean to avoid any outside contamination.

Repeat the above process for 14 days in a row. Stir very well every so often. You should now have almost 1500 g of product as you add more every day than you discard. If the Biga is now smelling sour and is foamy it is almost ready to use in your  baking. When you have your Biga doubling in volume in about eight hours, start baking wonderful bread, focaccia, pizza and more!

Remember to start with a big enough container, preferably glass, as you will end up with a 1500g Biga that is expanding.

Making the Bread

700 g plain flour

700 g of your biga

200 g temperate tap water

60 g Extra Virgin Olive oil

20 g salt

If you were weighing accurately this should have the right consistency for your bread. Mix the above in a large bowl by stirring it slightly and then get your hands in and knead the dough until smooth  (10 – 15 minutes). If the dough is too soft ad flour and if too dry add water – the dough must just not stick to your hands. The best way to work the dough and get maximum air into it to make a light bread, is by flattening the dough out in a large square of about 400 mm by 400 mm. Now press holes into the dough with your fingers, fold it double, turn it 90 degrees and flatten it out to the original size again. Keep on repeating this for 10 to 20 times until dough is light, velvety and smooth. We call this process Colomba (dove) – it is like folding over the wings of a dove.

After you have used your 700 g Biga top the rest up with 300g plain flour and 400 g temperate tap water. Mix very well and leave at room temperature until it starts to bubble – depending on temperature it will take two to eight hours. Now put it in the fridge until 12 hours before the next baking, when you should take it out and allow it to become active before using. You can vary the 400 g water and 300 g flour so that the volume stays about the same, but always in the ratio of 4 : 3 :: water : flour. This will keep years if you treat it well and work clean at all times. Every so often you can re bottle to a clean sterilised bottle.

Back Yard Farmer

Tel – +64 211 34 14 52

byf@backyardfarmer.co.nz

www.facebook.com/backyardfarmernz

http://www.backyardfarmer.co.nz

Dunedin – New Zealand

Bread of the Day

2013-11-13 11.21.11

All of these breads were made with one recipe using home made biga.

Cheese Buns for the Kids – add a cup of tasty cheddar to the dough

Artichoke hart Focaccia for Nonna,

Pane di Casa for Nonno