Ingredients
1 medium cauliflower broken in to florets
3 cloves of garlic, peeled and smashed
6 anchovies
6 tablespoons of olive oil for the sauce
6 tablespoons of olive oil for roasting
190g of any short cut dry pasta
1/2 cup of grated Parmigiano Reggiano cheese
salt and pepper to taste
preheat the oven to 200C
Put the raw cauliflower in a bowl, add the olive oil and turn the couliflower over until the florets are well covered. Put the florets in a roasting pan that will take all the cauliflower in one level. Roast the florets until they are golden. The tips can be a little blackened because that enhances the nutty flavour
When the cauliflower has roasted, put the pasta on the stove to boil
Use a pot that can contain the florets and pasta together, put the 6 tablespoons of olive oil in the pot and add the garlic and all the anchovies. Turn the heat to low and brown the garlic, the anchovy will melt in to the oil
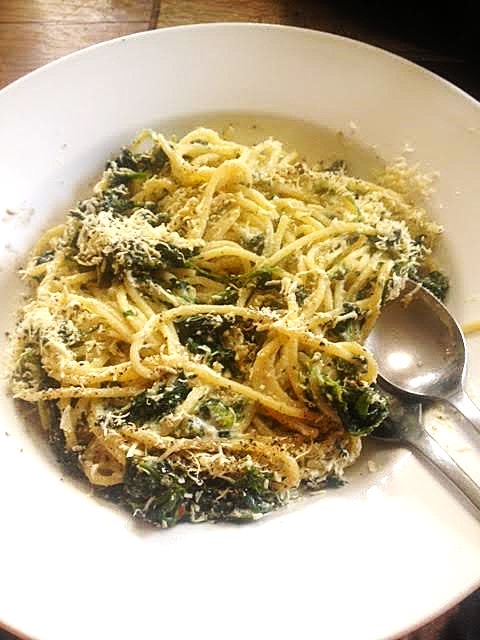
When the pasta has cooked, save 1/4 cup of the pasta water and drain the pasta. Pour the pasta directly into the anchovy and garlic sauce and mix well. Add a bit of the pasta water to the mix if needed. Serve immediately, put the cheese on the table so everyone can add cheese to taste