Broad Bean Pods

487EBABB-DAB7-4D88-AF29-3F6D2C131F03With temperatures rising and with possible water shortages looming we have to waste less food. What is viewed as food in today’s supermarket shopping culture is a good question. If you have your own garden and you don’t use insecticides, secondary harvests like beetroot and carrot tops, pumpkin and radish leaves and nettles are nutritious and delicious, doubling the harvest of greens in small veggie patches. The main harvest in my garden at present is broad beans and throwing away the lovely young fresh pods has rankled with Mrs BYF for ever.

What we did today was to remove the beans from the pods and save them for later. The pods were rinsed, cleaned and sliced sliced in about 3 mm thick pieces, much as one would slice green beans, to be used in a stew. The stew was so delicious that I had to share the recipe with you.

Broad Bean Pods Stew

500 g any meat, cubed or on the bone. Because I had to make room in my cages I butchered some birds and I used:

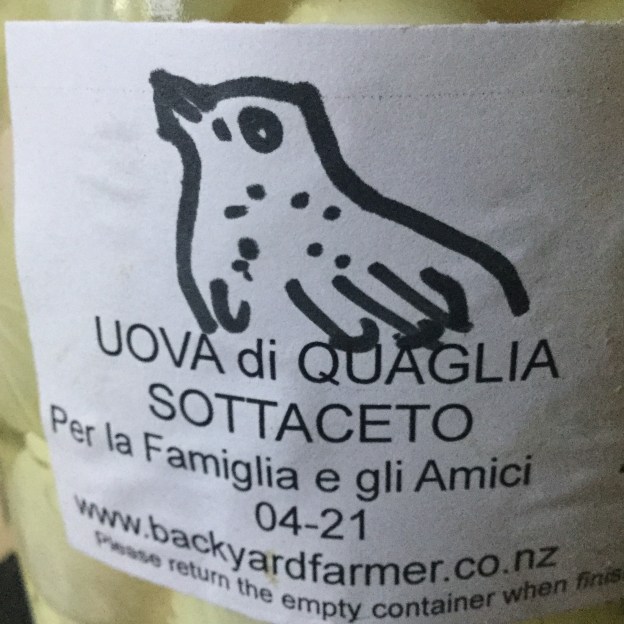
2 quails,  wings, neck and the backbone of a chicken. I also added all the livers.
1 onion diced
1 clove garlic chopped
1 tablespoon tomato puree
1 1/2 cups of white wine
5 cups sliced broad bean husks
1/2 cup stock, more if needed
6 tablespoon olive oil
pinch of chili flakes or one small chili
sage, about 1/2 cup sliced
salt
pepper

Large pan or dutch oven with a tight fitting lid that will take all the ingredients.

Soften the onion in the olive oil over low heat, do not let it change colour. Add the garlic and meat and lightly brown over medium heat. Turn the heat up and when bubbling add the wine, leaving it to boil the alcohol away.
Add the sage, chili and puree and turn the ingredients over in the pan until well covered. Add the husks and a few tablespoons of stock. Cover the pot tightly and leave to cook over slow heat. Check in 20 minutes for moisture and add salt and pepper. Cook for about 60 minutes or until the meat is tender, adding stock only if necessary. The dish should not be soupy.

Serve with polenta or rice to soak up all the lovely sauce, or enjoy with crusty home made bread and a glass of home made red wine.

UOVA di QUAGLIA SOTT’ACETO (Pickled Quail Eggs)

2019-05-11 - Pickled Quail Eggs

8C9EF137-DF7D-4641-8407-7B12EC7B70E4

Today I had my 8 year old Grandson to assist me in making Pickled Quail Eggs. He was also the Director, Photographer and Script Writer for this post.

Once you have peeled the eggs , pack them in a clean sterilised bottle mixed with your chosen fresh spices. In this case we used rosemary, garlic, chili, salt and black pepper.

Boil enough 80:20 White Wine Vinegar : Water for 10 minutes, including all the spices, to cover the eggs. Pour the hot wine vinegar mix over the eggs until the container is full. Seal immediately and leave to stand for at least one week before use. If you want to preserve these for longer periods, pasteurise the full containers by boiling them for 30 minutes in a pot with water covering the containers completely.

These are obviously very good for any antipasto plate, or a late night snack with a glass of wine  –  ENJOY!!!

Quails and Plastic Bottles

C7645EA0-6CC0-4D3C-91F8-AEB35A58AB66

During the Dunedin Science Festival my eye caught a title while briefing through the program “Quails and Plastic Bottles”. I obviously was immediately interested and booked my ticket for the 1 hour lecture. The talk was a big disappointment as it discussed quails for about 10 seconds, in which some very inaccurate and irrelevant information was conveyed. The talk about plastic bottles, which was not quail related at all, lasted for another 10 seconds. With this in mind, I am giving you another look at Quails and Plastic Bottles. Needless to say that recycling old plastic bottles is the correct thing to do and it makes me tremendously happy to do my bit in limiting the carbon footprint and plastic pollution of our dysfunctional world. The alternative is to purchase some poultry feeders. at exorbitant prices, from companies here in New Zealand that import vast quantities of more Chinese plastics and the irony is that these purchased feeders are by no means so effective as the home made ones.

I use 2 liter used plastic milk bottles to make my quail water drinkers and feeders. Once the quail chicks reach another stage of maturity and size I introduce a new drinker and feeder to suite their needs until fully grown.

E3A24ABB-5135-4A04-BAA2-A90BEB8FCBBC

I start off by giving them open feed and water covered by a wire mesh to teach them to eat and drink.

BD585F1B-40E3-4854-8172-8480E2DEC807

At 7 days of age I introduce the next drinkers and feeders. The water drinker with the 25 mm openings, 50 mm of the ground, on two sides of the bottle (it stands in a corner) allows them to investigate and mostly by accident have their first drink. For the first few hours I drip water in the drinkers from above so the little quails come and investigate the noise and water sound and find themselves drinking by surprise. It only takes them a few hours to be master the water drinkers. It is however important to not have these drinkers before 7 days of age as the little quails are too small and fit through the hole and drown. If the hole is exactly 25 mm and round , not oval, the chicks will not fit through at 7 days of age and you will have 100% success. The feeders have 40 mm holes and the quails can eat from the outside, or get themselves into the bottle and eat inside. This teaches them where the food is and soon enough they will be too big to fit through the hole and only eat from the outside, like the mature quails do.

I cut the tops of the bottles in the beginning stages so they can fit into the brooders which is only 200 mm high. It is important to cut the height such that their is very little space between the top of the drinker and the roof of the brooder so the little quails cannot jump into them, which is a trick they learn early in life.

C403216D-DD2C-4018-9364-D4C248186649

At 14 days of age, I change the water drinkers to a 35 mm hole and 60 mm of the ground as their heads are getting too large for the 25 mm hole. I now also switch to only one water hole which makes it easier to fill to the rim without water flowing out of one of the other holes. Use the 35 mm 70 mm off the ground if the bedding becomes too high. The feeder remains the same.

7CC23BFF-B389-4B43-B76A-A1787E6287E9

At 28 days of age I change to adult feeders and drinkers with 40 mm holes and 70 mm off the ground.

56C97A1A-9C43-49F9-94BD-7BA5BF778A37

At 49 days of age when I take them from the brooders to the breeding pens outside, they stay on 40 mm holes and 70 mm off the ground, but have a section at the top cut out to make feeding and washing of the feeders easier. I do not top up the feeders, but dump and refill. The water feeders are without the opening to prevent birds landing in the water as my cages are 600 mm high and they can fly and land in the water if open. These feeders hold about two days of feed and water for a breeding group of 5 females and a male which make it easy to go away for a weekend without having to feed.

65DCEFF3-C407-4E65-8761-0B5FDF51CABB

All the water drinkers you will require

05B6F97A-1DBE-4B39-A5C1-20B92865286F

All the feeders you would require