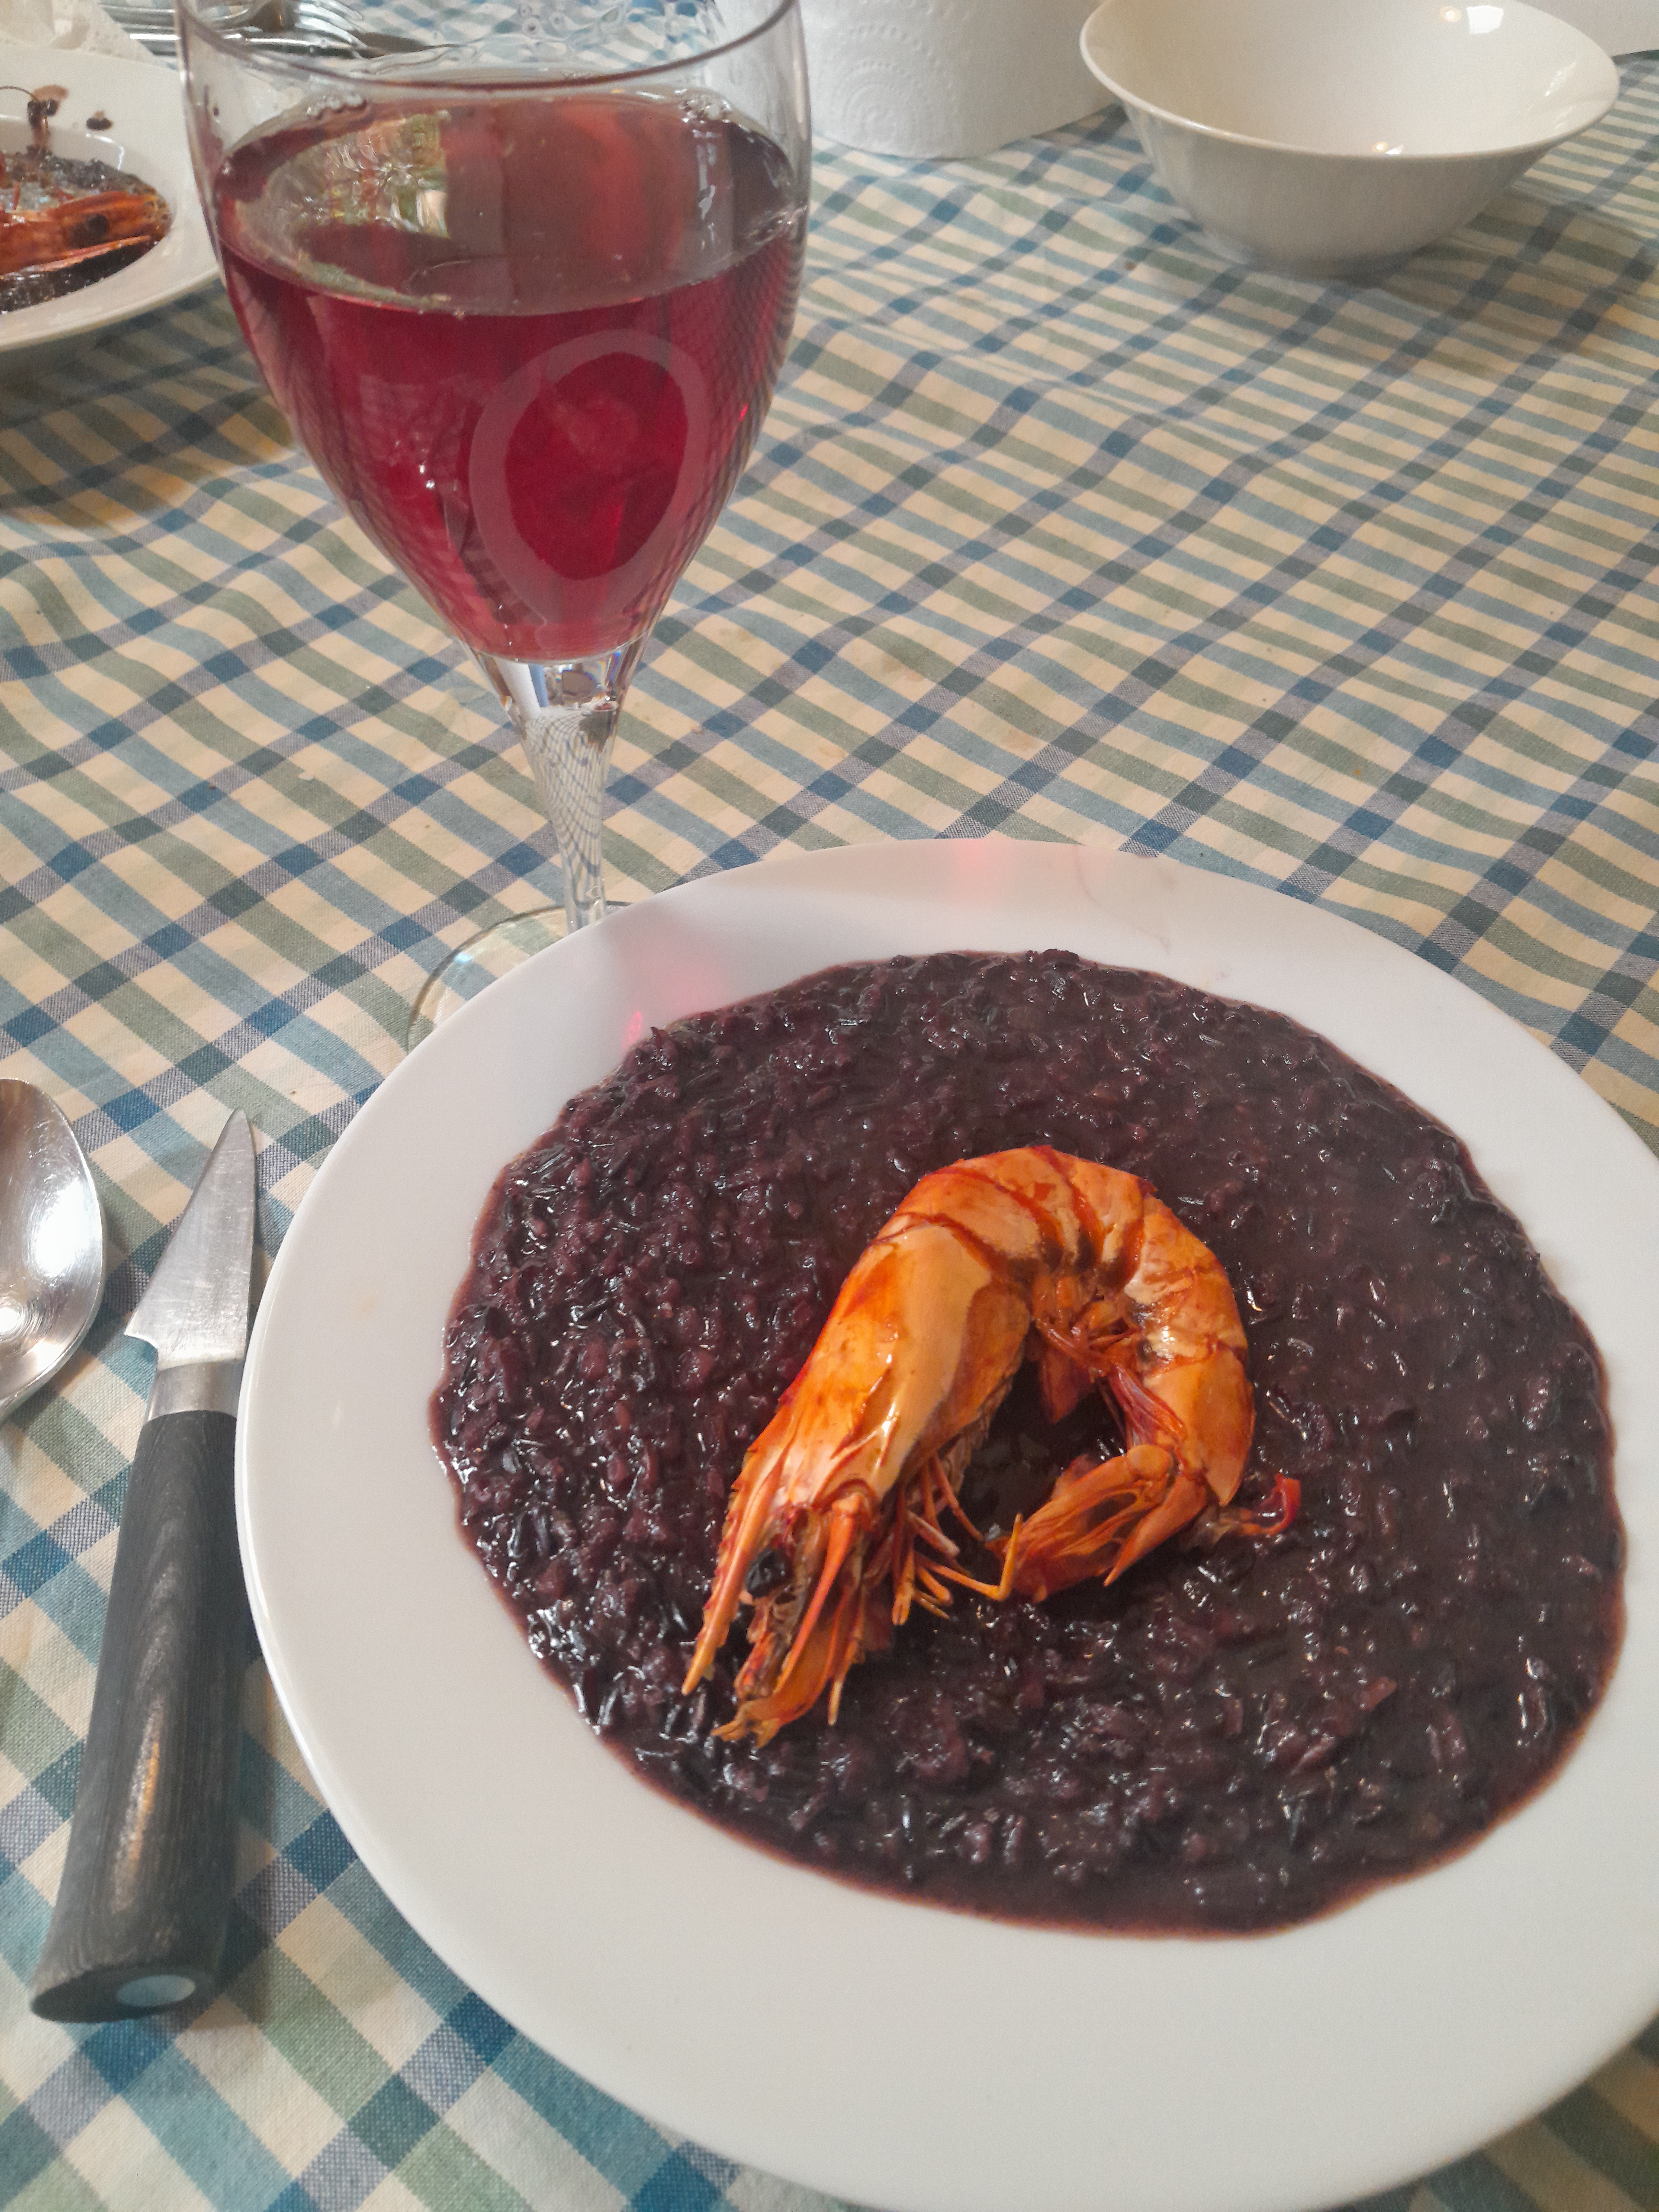
As Lombardia (my region) does not have any sea access, we always look up to Luguria when it comes to seafood recipes. In Liguria, seafood is treated with great respect : simple preparation, excellent olive oil, fresh herbs, and bright citrus. This version reflects the coastal cooking of the Italian Riviera — clean, aromatic, and elegant, with no heavy sauces.
Ingredients (Serves 4)
300 g Riso Venere (black rice)
400 g raw prawns (preferably whole, shell-on for best flavour)
3 tbsp high-quality Ligurian extra virgin olive oil
1 clove garlic, lightly crushed
½ glass dry white wine
Zest of 1 lemon
A few thin strips of lemon peel (no white pith)
Small handful fresh parsley, finely chopped
Small sprig fresh thyme or marjoram (optional but traditional)
Sea salt, to taste
Method
Cook the rice Boil the Venere rice in abundant salted water according to package instructions (20–40 minutes). Drain well and spread on a tray briefly to steam off excess moisture.
Prepare the prawns Peel and devein the prawns, keeping tails if desired. If using whole prawns, reserve shells to briefly flavour the oil.
Infuse the oil Warm the olive oil in a wide pan over medium heat with the crushed garlic and (optionally) the prawn shells. Cook gently for 1–2 minutes to release flavour, then remove shells and garlic before they brown.
Cook the prawns Increase heat to high, add the prawns, and sauté briefly — about 1–2 minutes per side.
Deglaze Add the white wine and allow it to evaporate quickly, concentrating the flavour.
Combine with rice Add the drained rice to the pan and toss gently so it absorbs the seafood juices and oil.
Finish in the Ligurian style Remove from heat and add:
Lemon zest
Lemon peel strips
Chopped parsley
Thyme or marjoram (if using) Adjust salt and drizzle with a final thread of excellent olive oil.
To Serve
Serve warm — not hot — as is typical of Ligurian seafood rice dishes. The aroma of citrus, herbs, and the natural perfume of Venere rice should remain delicate and fresh.
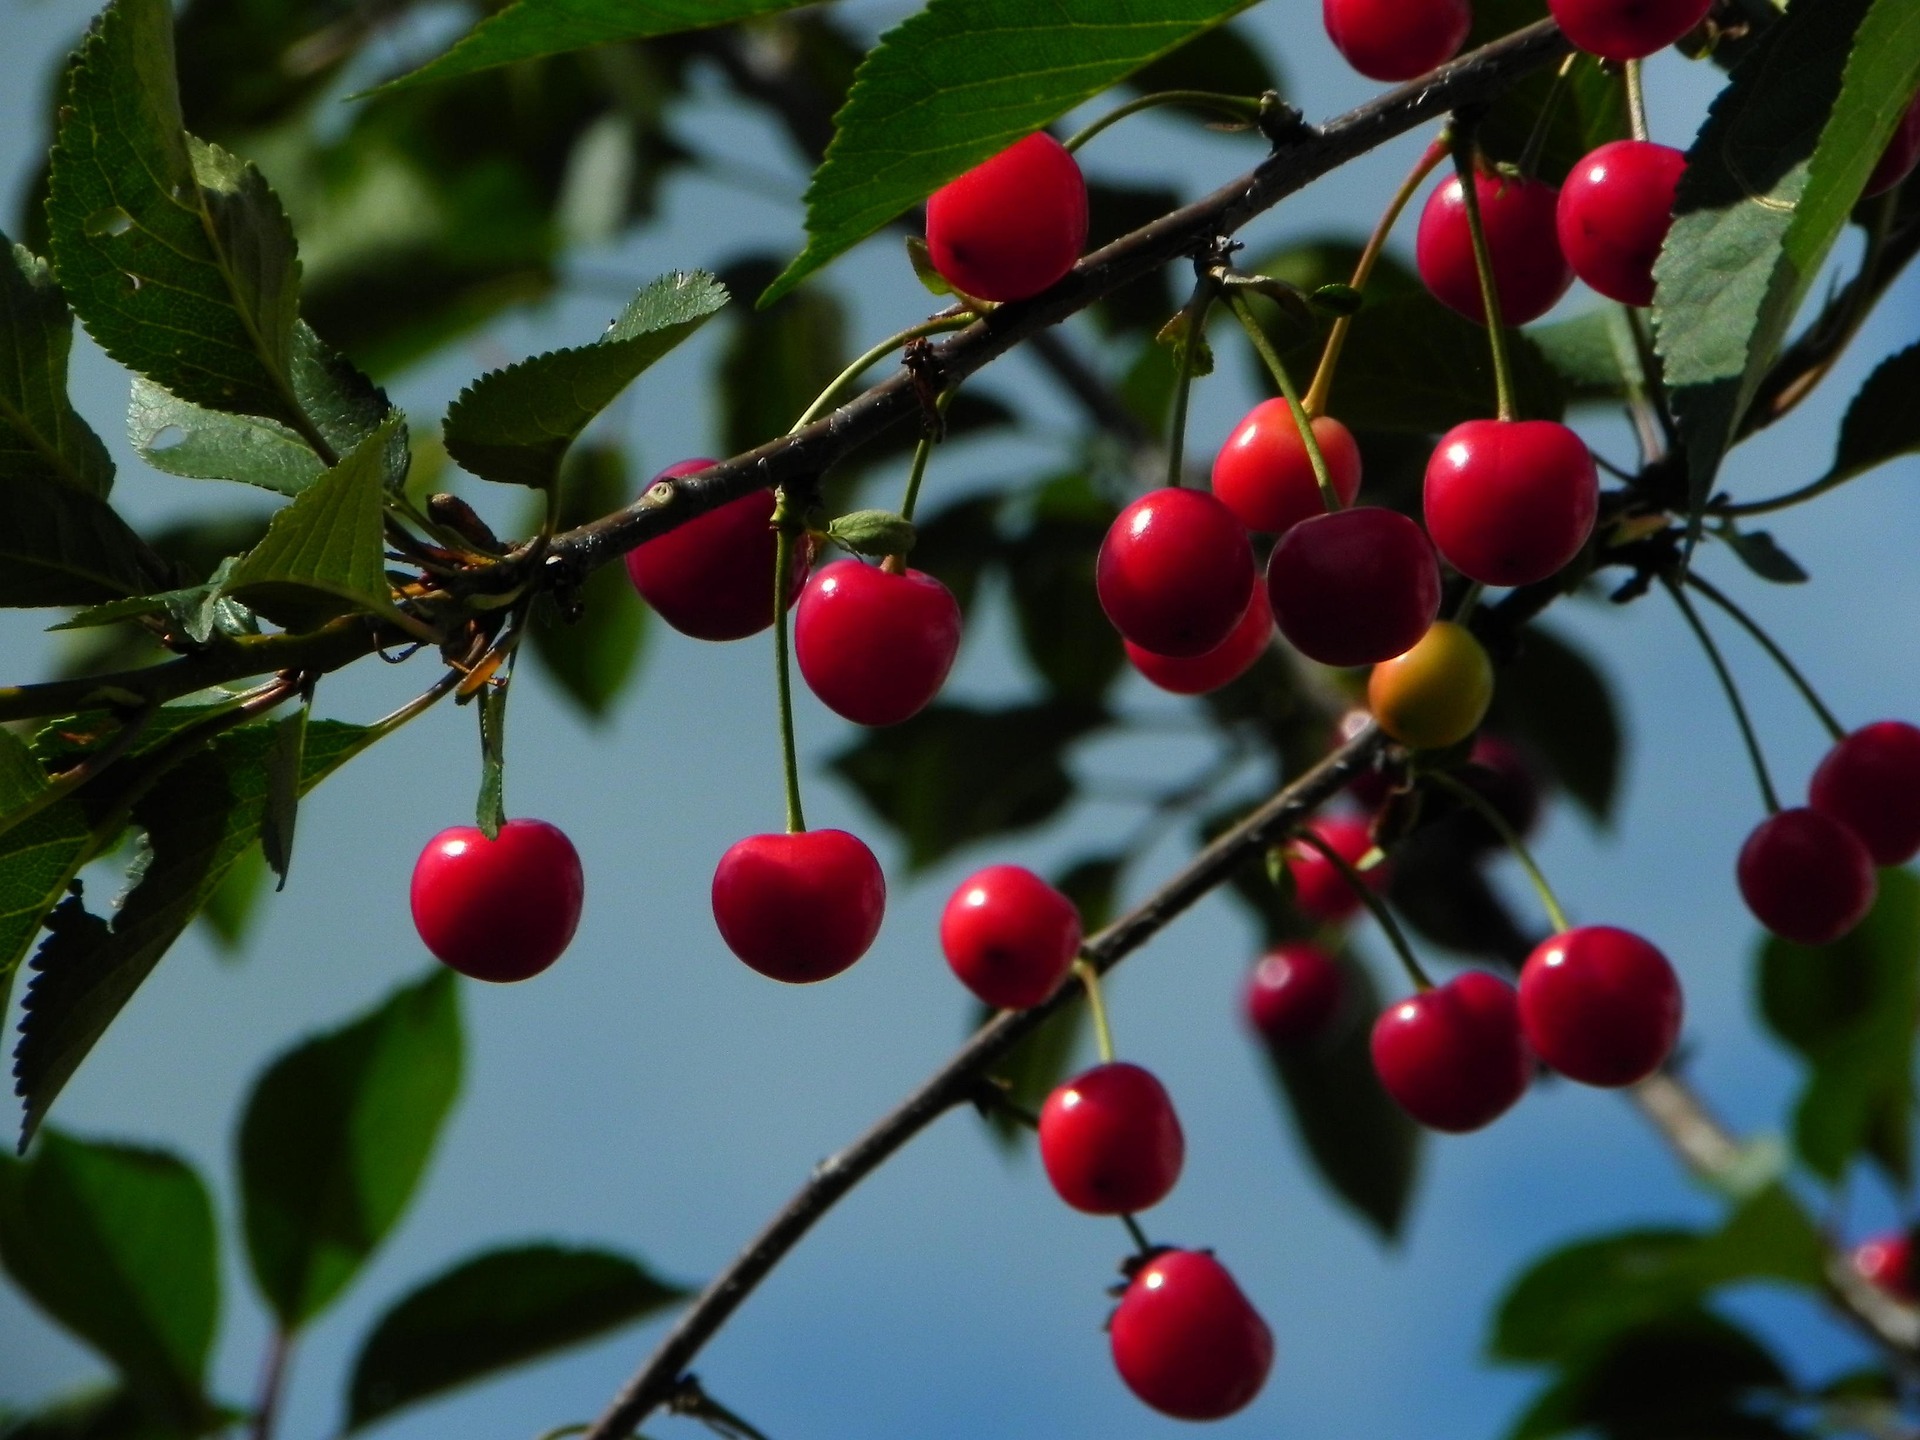
Just when the cherry harvest was at its peak – and my friend and I arrived from Cromwell with around 200 kg of Cherries – soon our trusted Cherry Pitter decided to take a break. A little rebellion in the kitchen for more pay and variety!
Still, the bounty of the season did not go to waste. In the warm, fragrant kitchen, we quickly transformed the cherries into Cherry Wine, Cherry Cordial, Cherry Jam, Cherry Preserve and Cherry Grappa – treasures to carry the taste of summer through the year
🍷 Vino di Ciliegie — Cherry Wine, La Fattoria Style
In true Italian farmhouse fashion, our cherry wine is simple, hands-on, and made with love:
Prepare the Fruit: Place pitted cherries in a clean fermentation vessel and cover them with boiling water
Sweeten & Balance: Once cooled to room temperature, add sugar to taste and adjust the acidity as needed
Add Life: Stir in wine yeast (Mangrove Jack’s MA33 and AW4) and yeast nutrients
Ferment on the Must: Let it sit for about a week, stirring daily, allowing the fruit and yeast to mingle and awaken
If the yeast seems hungry, a little more sugar or nutrients keeps it happily working
🍶 Secondary Fermentation
Strain and siphon the liquid into a clean demijohn (damigiana) with an airlock
Watch as it gently bubbles away, slowly transforming into wine over several weeks
When the fermenting slows, rack into a clean vessel and leave for about four weeks to ensure the wine is fully at rest
🍾 Bottiglia e Godimento — Bottling and Enjoying
Once the wine is clear and quiet, it is ready to:
Bottle – Seal – Label – Store
A simple, rustic cherry wine, carrying the warmth and charm of the Italian countryside – perfect for sharing with family, friends !!
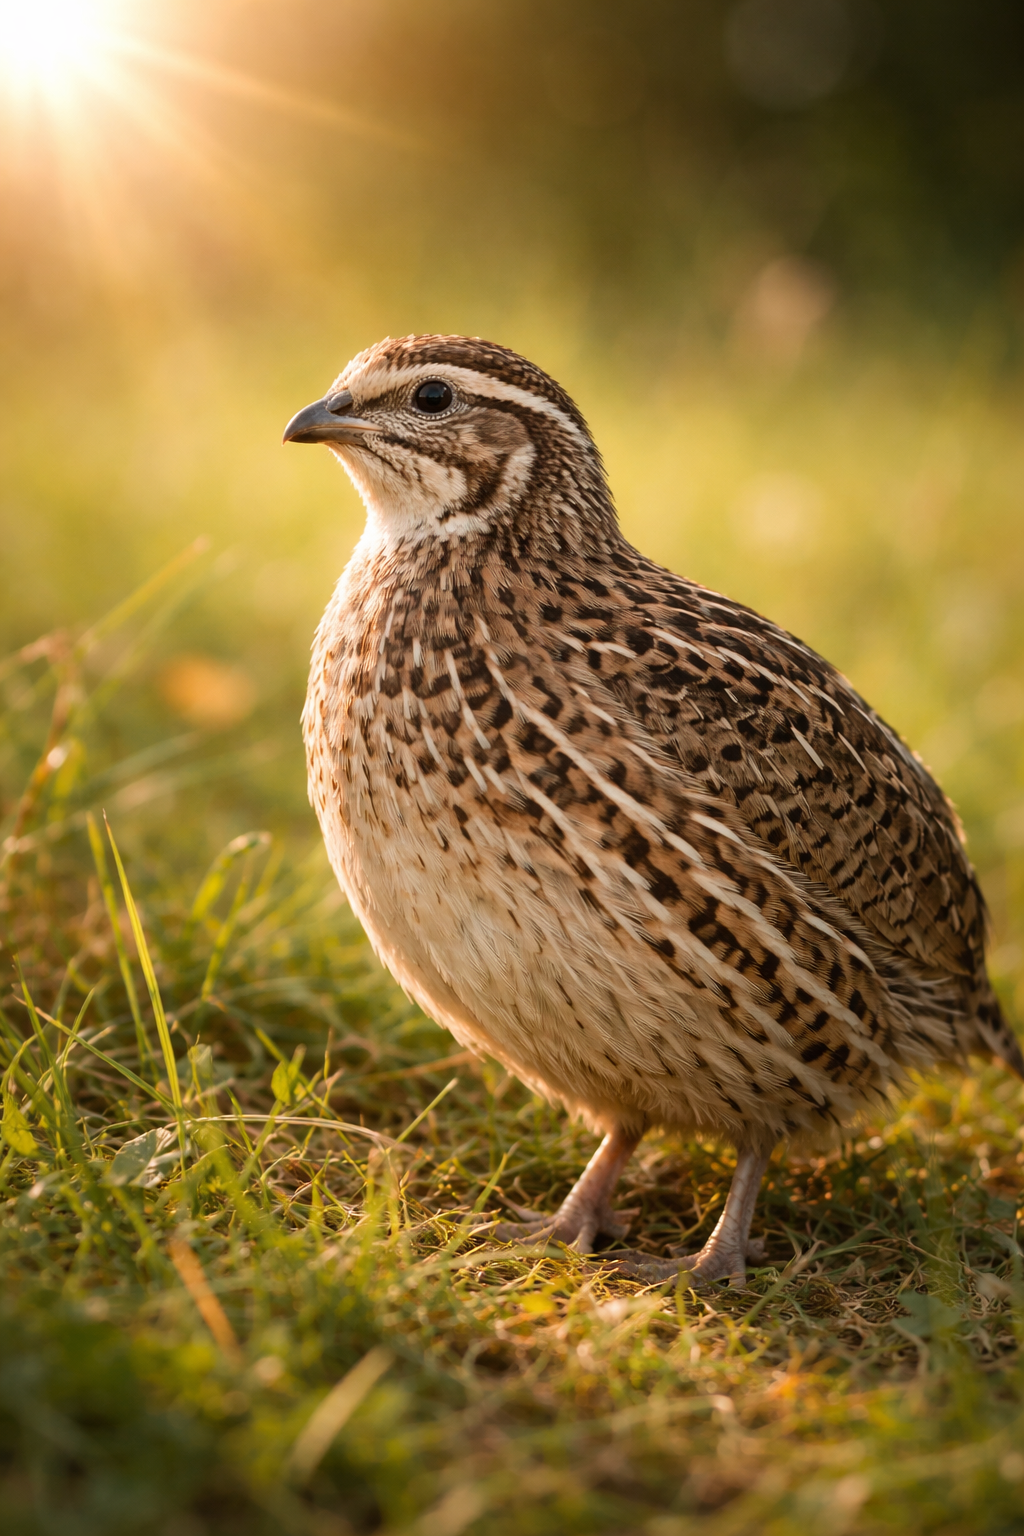
Lighting is one of the most important environmental controls in quail farming, particularly if you want hens to maintain a high and consistent level of egg production throughout the year
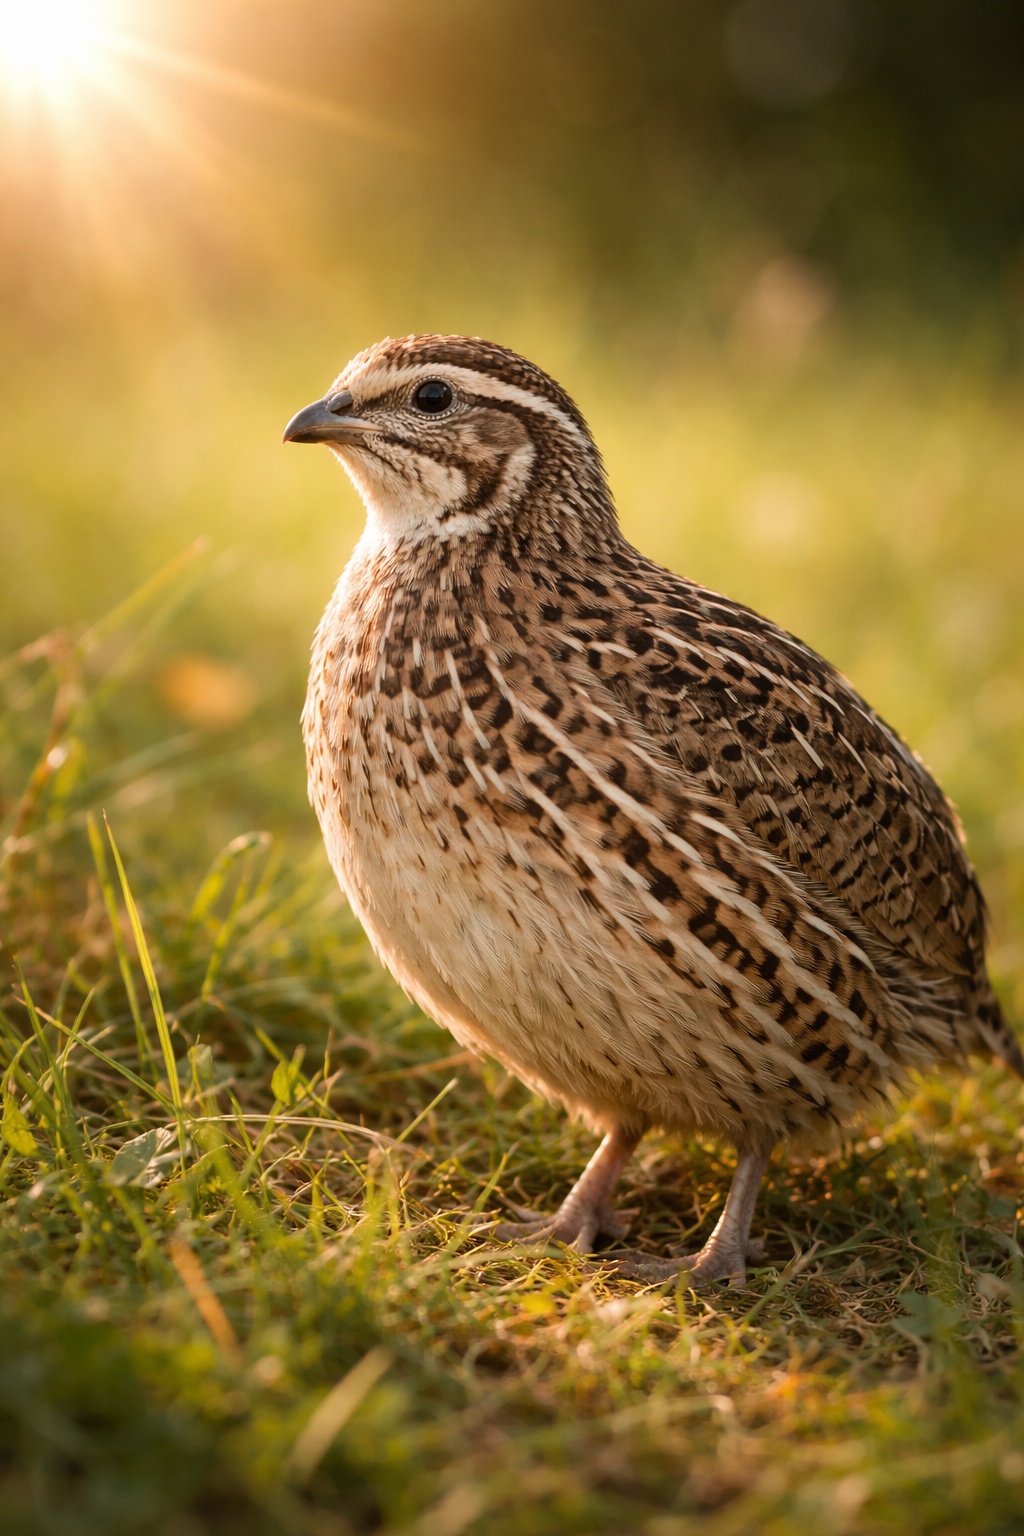
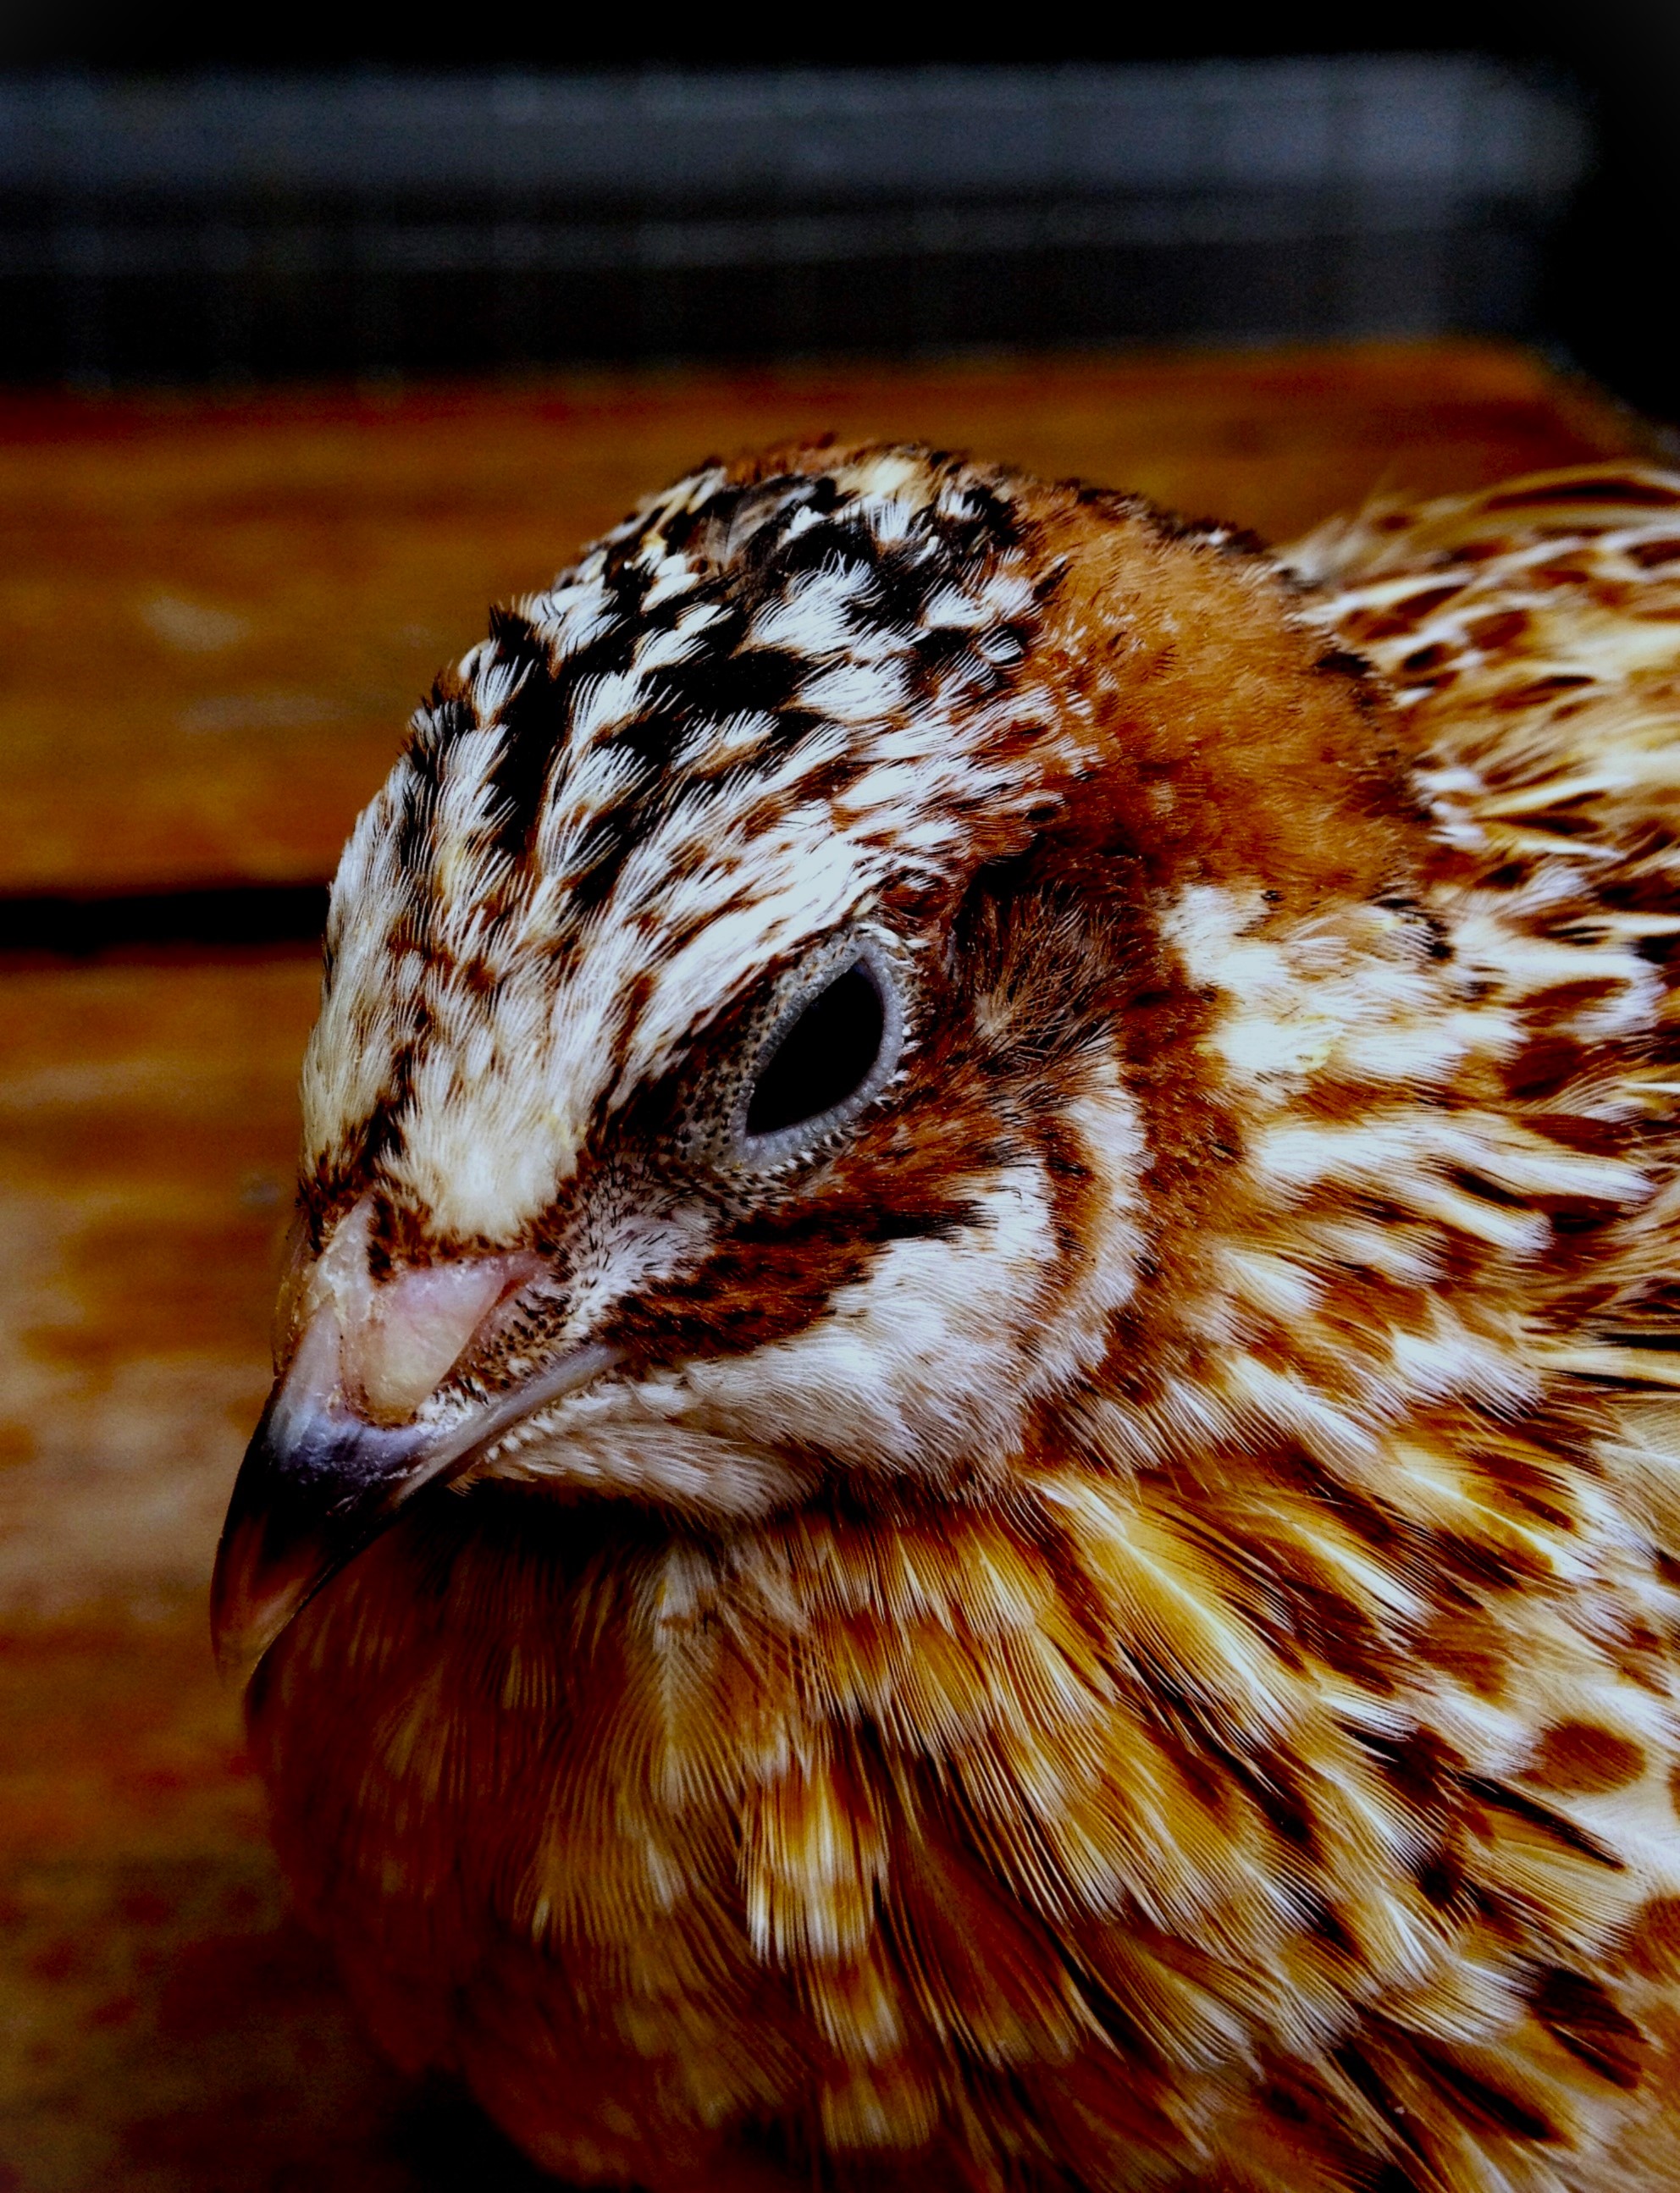
COTURNIX COTURNIX are strongly influenced by the length of the day In the wild, increasing day length in spring signals that conditions are becoming favourable for breeding The same biological response occurs in domesticated quail
Light is detected not only by the eyes Birds also have specialised photoreceptors within the brain that respond to light reaching the head Increasing day length stimulates the reproductive system through the hypothalamus and pituitary gland, ultimately promoting ovarian development and egg production
For the backyard farmer, however, you do not need to understand all of the reproductive physiology to manage lighting successfully The important principle is simple
If you want quail to continue laying well, give them a long and consistent day, followed by a proper period of darkness
1 – How Much Light Do Laying Quail Need?
For actively laying hens, I recommend a total photoperiod of approximately 15–16 hours of light per day, including both natural daylight and artificial light
For example, if natural daylight provides 10 hours, the timer can provide another 5–6 hours
I prefer 16 hours as the maximum, rather than trying to provide light for 17, 18 or more hours More light does not necessarily mean more eggs Once the birds have received sufficient stimulation, extending the photoperiod further provides little advantage and may interfere with their normal daily rhythm
Just as important as the light is the darkness
Give the birds a proper dark period
A laying flock should have approximately 8 hours of darkness every night
Darkness is not wasted time It is an essential part of the bird’s daily biological rhythm It allows the birds to rest and maintain their normal circadian cycle
Do not leave the lights on continuously
A lighting programme should therefore provide a clear distinction between day and night
2 – The Most Important Rule – Never Suddenly Reduce the Day Length
Once hens are established in lay, do not suddenly reduce their total daily light exposure
This is particularly important when artificial lighting is being used to maintain production through autumn and winter
A reduction in day length is interpreted by the bird as a seasonal signal In nature, shortening days indicate that winter is approaching The reproductive system responds accordingly and egg production can decline
Therefore, once a laying flock has been brought onto a long-day lighting programme, maintain that photoperiod consistently
For example, if your hens are receiving 16 hours of total light each day, do not suddenly change them to 12 hours simply because the natural daylight is changing
3 – Lighting Young Quail
Young quail have different lighting requirements from laying hens
The objective during the growing period is to encourage healthy growth without unnecessarily stimulating the reproductive system too early
During the first few weeks, the priority should be feeding, drinking, warmth, growth and normal activity, rather than maximum light exposure
A practical programme is
Age
Approximate Light
Main Objective
0–1 week
20–24 hours*
Ensure chicks can easily find feed and water
2–4 weeks
About 8–12 hours
Normal growth and development
5 weeks
About 12–14 hours
Begin preparing females for lay
6 weeks onward
15–16 hours
Maintain reproductive stimulation and egg production
*The very long lighting period sometimes used immediately after hatching is primarily a management tool to ensure newly hatched chicks readily find feed and water It is not necessary to maintain continuous lighting as the birds get older
There is no need to make the transition complicated The important thing is to increase day length gradually as the pullets approach maturity
4 – Increasing Light Before Lay
COTURNIX COTURNIX mature very quickly and can begin laying at around 6–8 weeks of age, depending on genetics, nutrition and management
As the pullets approach maturity, gradually increase their daily photoperiod
I prefer to increase the lighting by approximately 30–60 minutes per week, rather than making a sudden large increase
This does not have to be followed to the minute The purpose is to provide a gradual increase in day length as the birds approach sexual maturity
Once the hens are in production, maintain the chosen photoperiod consistently
5 – Natural Daylight Plus Artificial Light
For a backyard flock, there is no reason to ignore natural daylight
The total photoperiod is what matters
For example
Summer Natural daylight = 14 hours Artificial light = 1–2 hours Total = approximately 15–16 hours
Winter Natural daylight = 9 hours Artificial light = 6–7 hours Total = approximately 15–16 hours
A programmable timer makes this very easy
I prefer morning supplementation
Where possible, I prefer to add artificial light before sunrise rather than extending the evening
For example, if natural daylight begins at 7.00 am, the artificial lights can come on at 5.00 or 5.30 am
The lights then go off when natural daylight is established
In the evening, the birds can naturally settle down as daylight fades
This arrangement has another advantage If there is a power failure, the birds are less likely to be suddenly plunged into darkness while they are still active
6 – Avoid Sudden Darkness
One problem with artificial lighting is switching the lights off abruptly while the birds are still active
Quail naturally become accustomed to the gradual reduction in daylight at sunset If artificial lights are providing the entire evening, suddenly switching them off can leave the birds disorientated
Morning supplementation largely avoids this problem
If evening lighting must be used, a gradual dimming system can be useful
For most backyard farmers, however, morning supplementation is the simplest solution
7 – Light Intensity – Bright Is Not Better
The objective is not to make the quail house as bright as possible
Quail have excellent vision and can be uncomfortable under excessively bright lighting Very bright conditions can also contribute to unwanted activity, aggression and feather pecking
I prefer moderate, evenly distributed lighting rather than a very bright light concentrated in one area
A level around 15–20 lux at bird level is a useful practical target for a laying flock, although exact requirements can vary with housing design and the type of lighting used
The important thing for the backyard farmer is that
Feed and water can be easily found
All areas of the cage receive reasonably even light
There are no extremely bright spots
The birds are not constantly exposed to harsh, glaring light
A small LED light can provide surprisingly good illumination in a quail house You do not need powerful household lighting
8 – What Colour of Light Should You Use?
The colour or spectrum of artificial light can influence birds because different wavelengths penetrate the head and interact differently with the birds’ visual and non-visual photoreceptors
Research in poultry and quail has investigated red, green, blue, white and other light spectra, with results varying according to intensity, photoperiod, age and production system
For practical backyard farming, I would not become overly concerned about buying expensive specialised poultry lighting
A warm or neutral LED light, providing comfortable and reasonably even illumination, is a sensible choice
Red-spectrum lighting has received particular attention in poultry research because longer wavelengths can have effects on reproductive development and production However, photoperiod and consistency are considerably more important management factors than chasing a particular colour of light
9 – Winter Lighting
Winter is when artificial lighting becomes particularly valuable
In southern New Zealand, natural daylight becomes considerably shorter during autumn and winter If the flock is allowed to follow the natural day length, egg production will normally decline
This is not necessarily a problem
It is simply the natural reproductive response of the bird
If you want eggs throughout the year, however, artificial lighting can maintain the longer photoperiod required for continued production
The easiest method is to use a timer to top up natural daylight to approximately 15–16 hours
For example, if natural daylight provides only 9½ hours, the timer might provide approximately another 6 hours
As spring approaches and natural daylight increases, gradually reduce the artificial-light period so that the total remains around the same target
10 – What Happens If You Use No Artificial Light?
There is nothing inherently wrong with allowing quail to follow the natural seasonal cycle
In fact, this is the simplest and most natural system
Under natural daylight, you should expect
Spring: Egg production increases as day length increases
Summer: Production is generally high
Autumn: Production gradually declines as days become shorter
Winter: Production can fall substantially, and some hens may stop laying
This is a normal biological response rather than a disease or nutritional deficiency
The advantage of natural lighting is simplicity and allowing the flock to follow its natural seasonal rhythm
The disadvantage is that you will have less consistent egg production throughout the year
11 – Lighting and Feed Must Work Together
Light stimulates the reproductive system, but light alone cannot produce eggs
Once the hen is stimulated to lay, she needs adequate energy, protein, amino acids, minerals, vitamins and water to support egg production
This is particularly important with Coturnix coturnix because they are capable of remarkably high production
Do not use additional lighting to push birds into high production if their nutrition is inadequate
A well-balanced layer feed, constant access to clean water and appropriate housing must accompany the lighting programme
12 – Keep the Lighting Programme Consistent
Quail respond well to routine
I recommend using a reliable automatic timer rather than manually switching lights on and off
The timer should provide approximately the same
Time the lights come on
Total daily photoperiod
Time the lights go off
Dark period
every day
A difference of a few minutes is of no practical importance What should be avoided is regularly changing the lighting programme by several hours
The Bottom Line
Lighting is one of the simplest and cheapest ways of controlling quail production
You do not need complicated equipment or expensive lighting systems
For a productive Coturnix coturnix flock, the basic principles are
• Young birds need appropriate lighting for growth and development
• Increase day length gradually as pullets approach maturity
• Maintain approximately 15–16 hours of total light for laying hens
• Give the birds about 8 hours of proper darkness every night
• Keep the lighting programme consistent
• Use artificial light during the shorter days of autumn and winter if you want year-round egg production
• Morning supplementation is my preferred method because it allows the birds to settle naturally at sunset
• Bright light is not necessary – moderate, evenly distributed light is preferable
Most importantly, remember that lighting is a management tool, not a substitute for good genetics, good feed, clean water, suitable housing and good flock management
When these factors are combined, a well-managed Coturnix coturnix flock can maintain excellent egg production for a large part of the year**
At Back Yard Farmer, we reject one-size-fits-all feeds. Quail have precise, ever-changing nutritional demands through every life stage – and nailing those stages is what separates average flocks from exceptional performers with superior growth, vitality, fertility, and longevity. That is exactly why we developed and proudly offer a complete, life-stage-specific quail feeding system:
Starter → Grower → Breeder → Mature Maintenance
These four feeds are engineered to transition smoothly, eliminating nutritional stress, digestive upset, and guesswork. When used as a coordinated system, you get predictable outcomes: rapid, uniform growth • robust skeletal development • healthy, long-lasting breeders • exceptional shell quality • high fertility • and reliable, high hatchability.
Why the BYF System Delivers Superior Results
Smart, progressive balance of protein and energy – perfectly matched to each phase
Precise mineral control — avoiding dangerous over, or under supplementation
Consistent ingredients and formulation across all feeds for steady performance
Breeder-focused design — prioritising longevity and sustained productivity over short term burnout
This isn’t just a loose collection of feeds – it is a proven, integrated program born from real world quail breeding experience. Feed is not mere “fuel” It is the precise combination of proteins, fats, fibres, minerals, vitamins, and carbohydrates that drives health, reproduction, and hatch success.
Feed Stages at a Glance
Starter Feed
For chicks from hatch to 21 days Kick-starts explosive early growth with high digestibility, optimal gut development, strong immunity, and rapid muscle formation. Produces uniform, well-framed juveniles without over-stressing tiny systems
Grower Feed
For birds from 22 days to 7 weeks Moderates growth rate while building strong bones, solid structure, and lean body condition Prepares quail perfectly for maturity — avoiding excess fat or oversized/poor-quality eggs down the line
Breeder Feed
For all actively producing mature birds. Optimised for peak fertility, outstanding shell strength, and top-tier hatchability. Supports consistent egg quality and long-term breeder health — maximizing production without sacrificing bird welfare
Mature Maintenance Feed
For non-laying mature birds Promotes healthy molting, restores vital reserves, and conditions birds for peak performance in the next breeding cycle. Engineered for Exceptional Hatchability
When quail are fed exclusively on the BYF system and eggs are handled properly, nutrition-related hatch failures become extremely rare. Balanced amino acids, carefully calibrated minerals, and stable energy sources work in harmony to develop strong embryos and hatch vigorous, lively chicks
The Simple Rule for Success
Feed the right diet at the right stage and let your birds deliver outstanding results.
Ready to unlock consistent, high-performance quail breeding?
Choose the BYF Complete Quail Nutrition System, where precision feeding meets real world reliability