Blackcurrant and Apple Rose Wine – Dry

2014-05-04 - Wine Fermenting

Today I started making a batch of about 23 Liters (32 bottles of wine) of  a blackcurrant and apple rose wine. It is the intention to ferment all the sugars and produce a dry Rose.  The juice was extracted from the fruit, filtered and purified with potassium metabisulphite and then fermented, not on must, but directly with the juice. The PH was adjusted to 3.1 by adding a combination of citric and tartaric acids, using the titration method to determine PH as it is more accurate. After measuring the specific gravity with a hydrometer, it was adjusted to a level of 1090 by adding sugar, which, if all fermented, should produce a wine of about 12 % alcohol. Starting with 2 to 3 liters more than the main vat can take gives you product to top up with, from time to time, after racking and filtering. This smaller quantity is fermented in a separate smaller jar (5 Liters) until used.  Red wine yeast and nutrients were added and fermentation traps fitted and the long process of fermenting, racking, clearing and filtering started, to hopefully bottle in about four months time when the specific gravity has reached a level of less than 1000. I rack and filter more frequent than normal, as I like a clear clean drinking wine. This should be a very palatable dry table wine, light red or rose in colour with very little sweetness, a good nose, clean taste and medium body, which is the way I like my lunch time wine.


Beeswax Furniture Polish and Mum’s Table

2014-05-05 12.48.272014-05-05 12.49.432014-05-05 12.51.38

About 30 years ago my mother made me a coffee table. It turned out to be magnificent and was to be one of several made by her. It had later traveled to Australia (I packed it personally), it moved about to several rental properties before we bought a house, and then it survived another voyage to New Zealand. It is rather fragile and it is a miracle that it survived all the moves. It has also been used as a play surface by the grand kids, one who learnt to walk by holding on and going round and round. The baby also produces copious amounts of drool since he is teething and manages to drool under the glass top (another miracle), staining the wooden rim. It was looking a bit neglected. I wanted op restore it to its former natural glow but I hate varnish and oils would change the colour so left it alone for years and years. Last week I made some beeswax polish and tested it on a small part of the table – I was delighted with the result. I applied the polish with a dishcloth and buffed it up as I went along and the table looks wonderful. The pictures show the table without the glass top. Another good thing was that the table smelled good and I did not have to have to clean the wax from my hands since it is the same as the cream I put on my face.

My mother was /is an artist and in her nineties now. She went from painting to sculpting, in wood eventually, ending up making bedsteads, doors , tables and huge full length mirrors in wood. The designs were her own and as a child I remember admiring her  doodles which covered every bit of paper, the phone book, napkins, every thing that was at hand. This table reminds me of those doodles, always full of curves and swirls and flowers and as I polished, I enjoyed tracing the forms with my cloth and fingers, a three dimensional doodle, almost, a wonderful gift from  my mother.

PS – As you can see by the writing style, this was written by Mrs Back Yard Farmer

Quail Brooding and Feeding

2014-05-05 - Brooding Quails 14

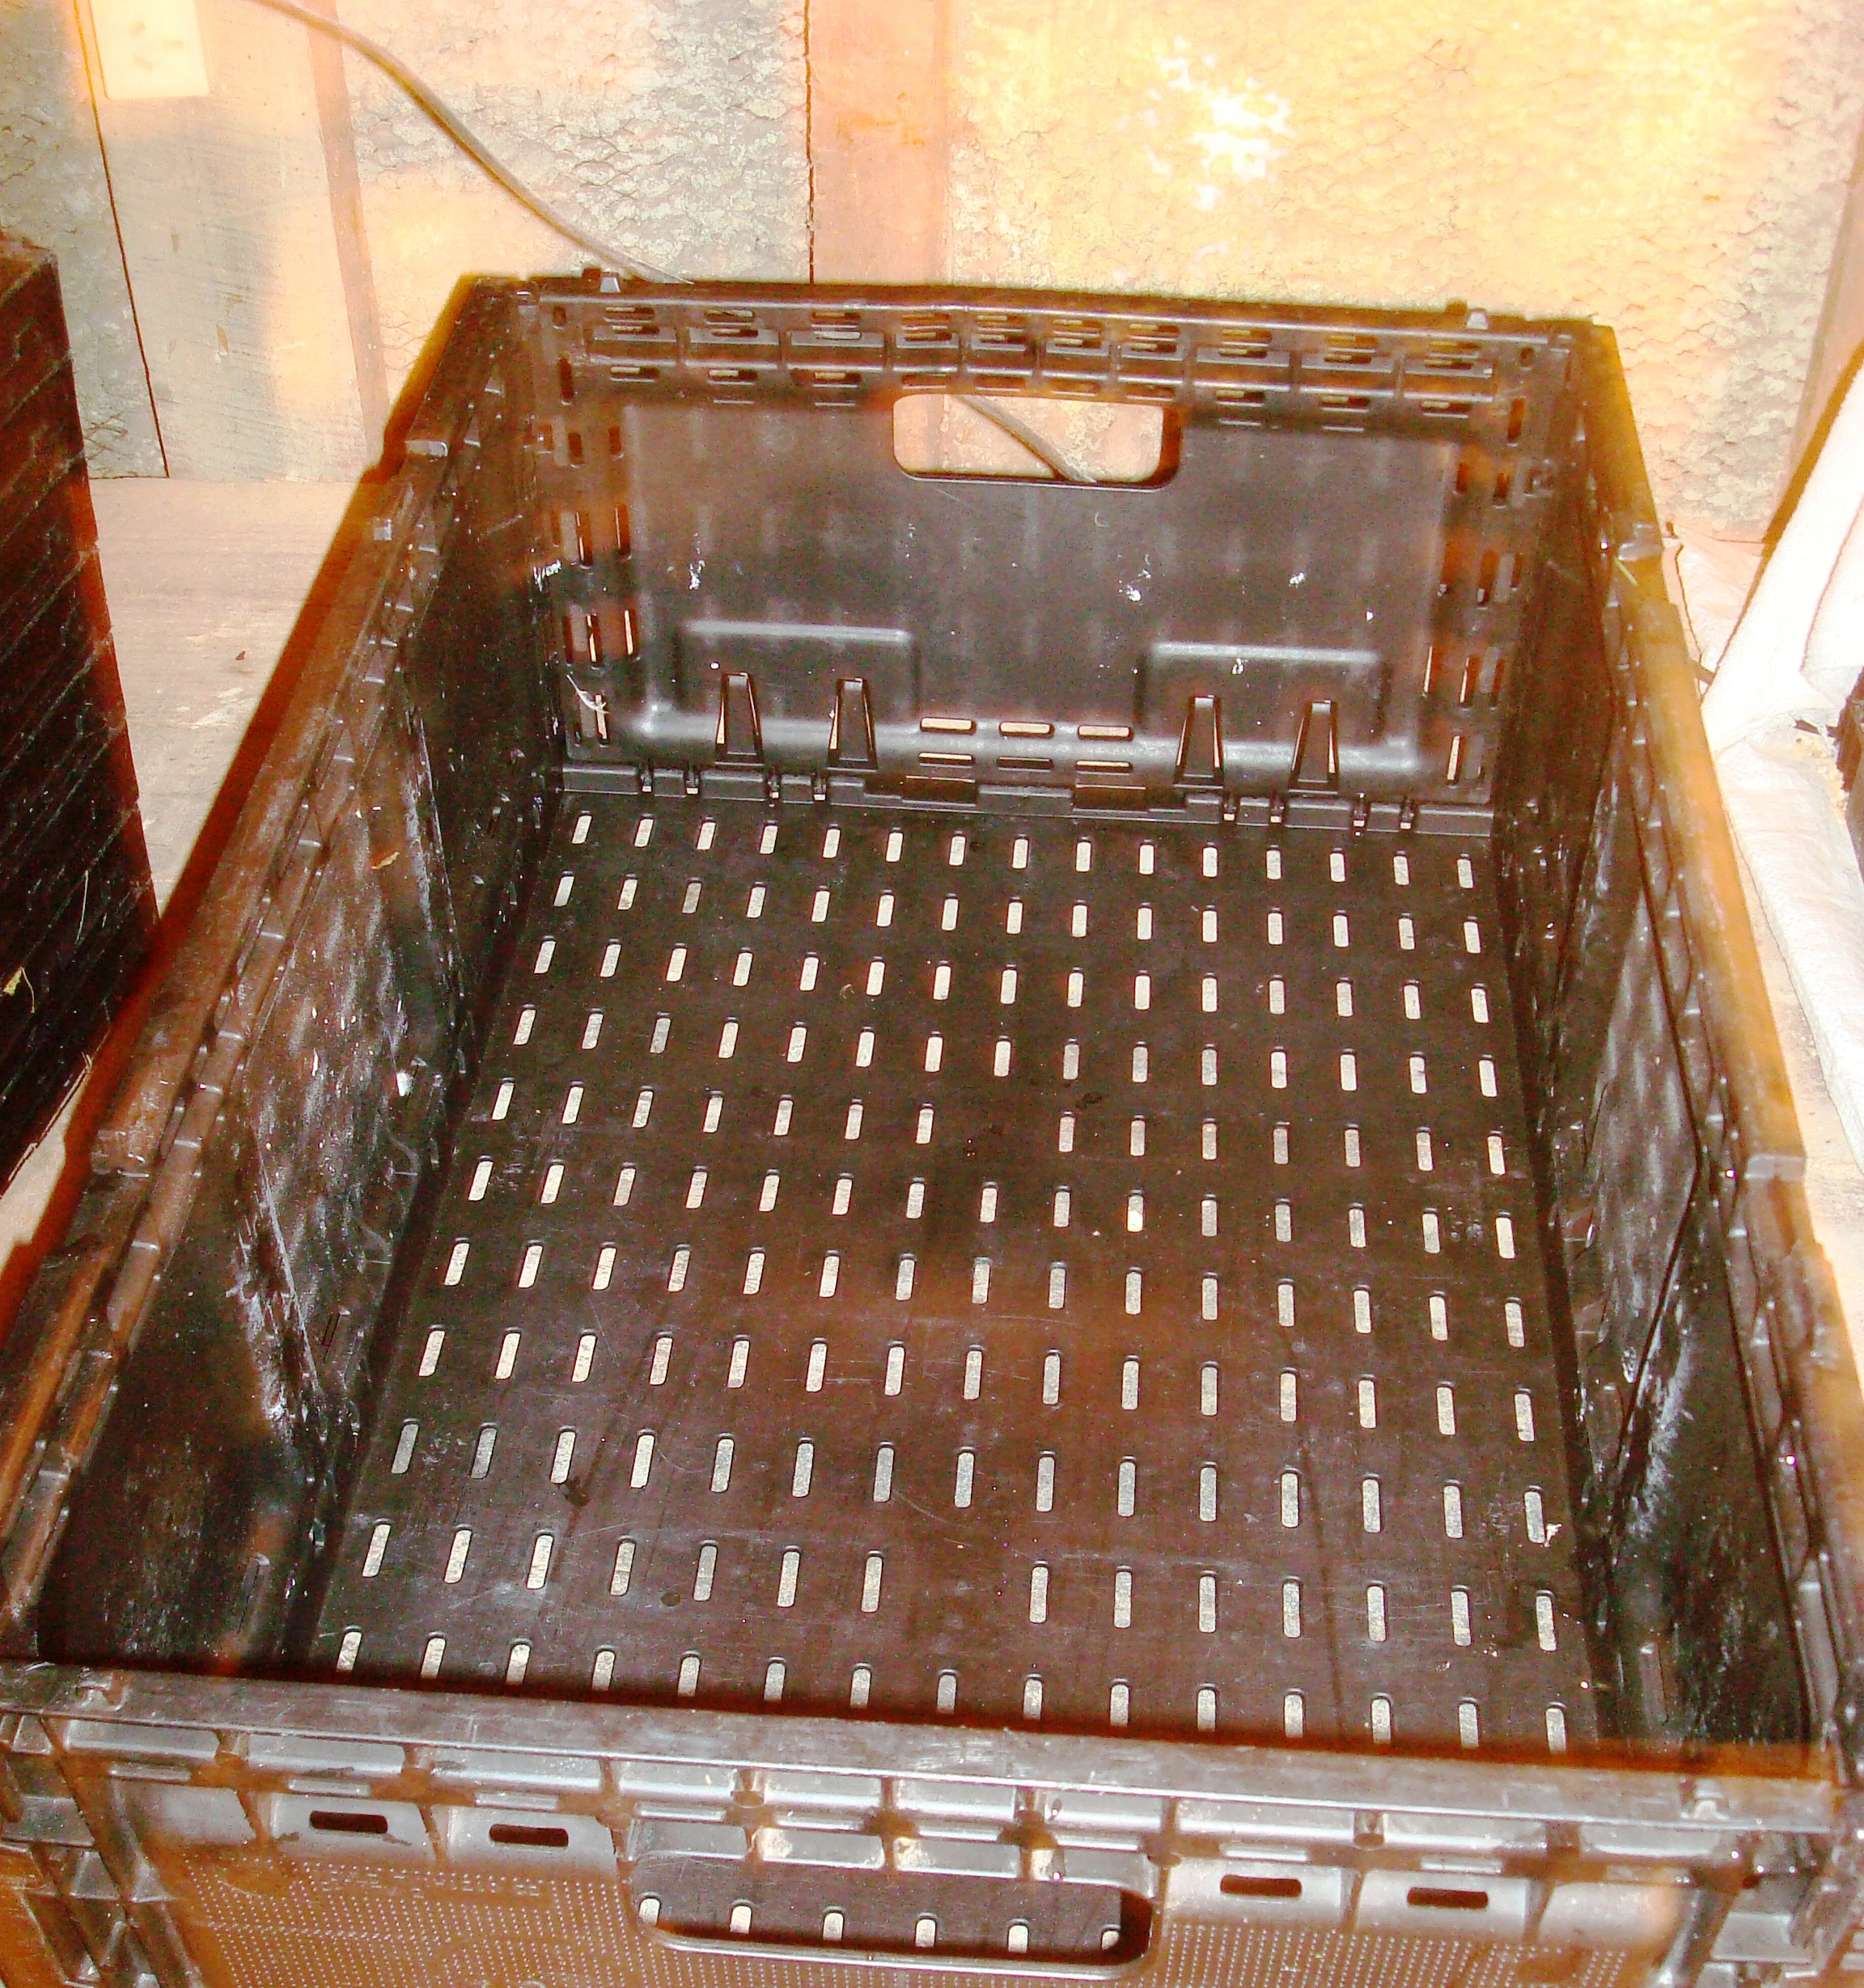
At some stage in my life I obtained some plastic collapsible storage crates, which were very handy when moving to New Zealand and I always knew that I would find a good use for them at some stage . When I arrived in New Zealand and started quail farming and was looking for a brooder system, immediately the storage crates came to mind – dimensions 600 X 400 X 200 mm.

2014-05-05 16.35.32

These are easy to clean and sterilise as I use an all in all out system. My breeding batches are always about 30, 60 or 120 chicks, so I commence with 20 chicks per crate. I split them at two weeks of age into two crates, where I then leave ten in each crate until about six weeks of age. As I sell many birds at five weeks of age as well as slaughter many of the males at five weeks of age, I normally end up with six to seven birds per cage at six weeks, even though ten is still comfortable.

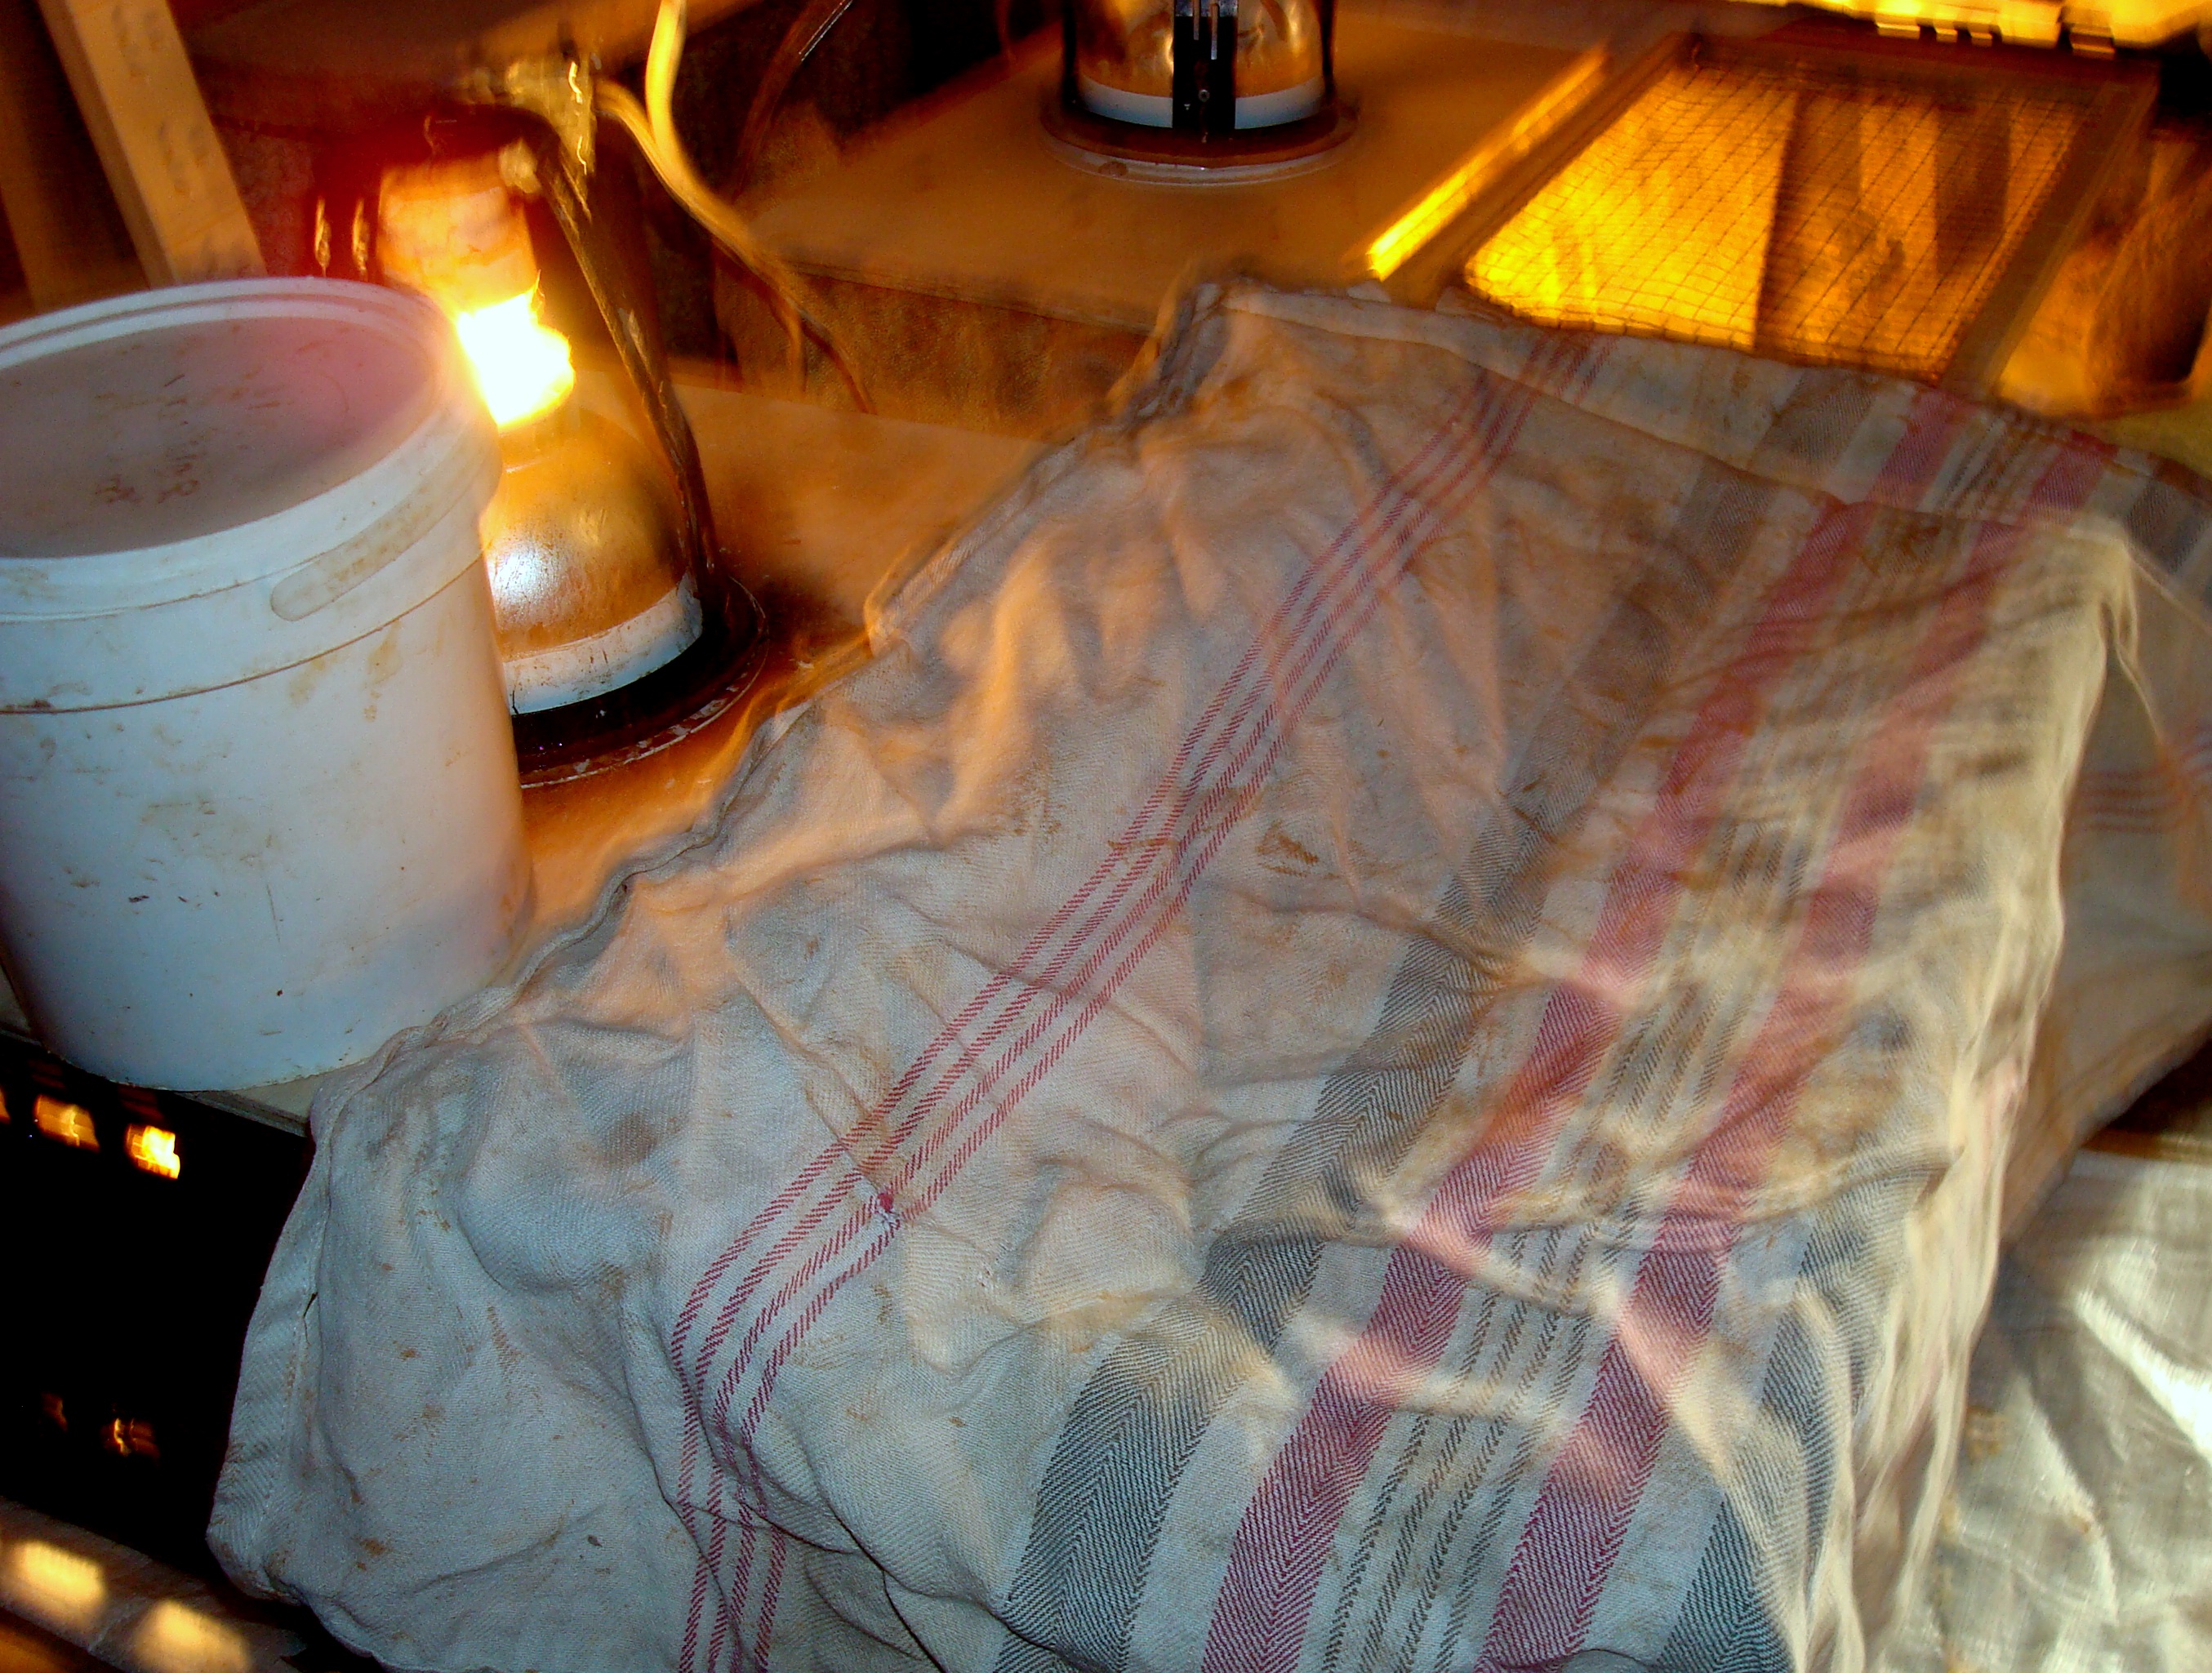
I begin by lining the crate with an old towel, of which I have plenty (my wife chucks them out, when I think they are still perfect).

2014-05-05 16.42.05


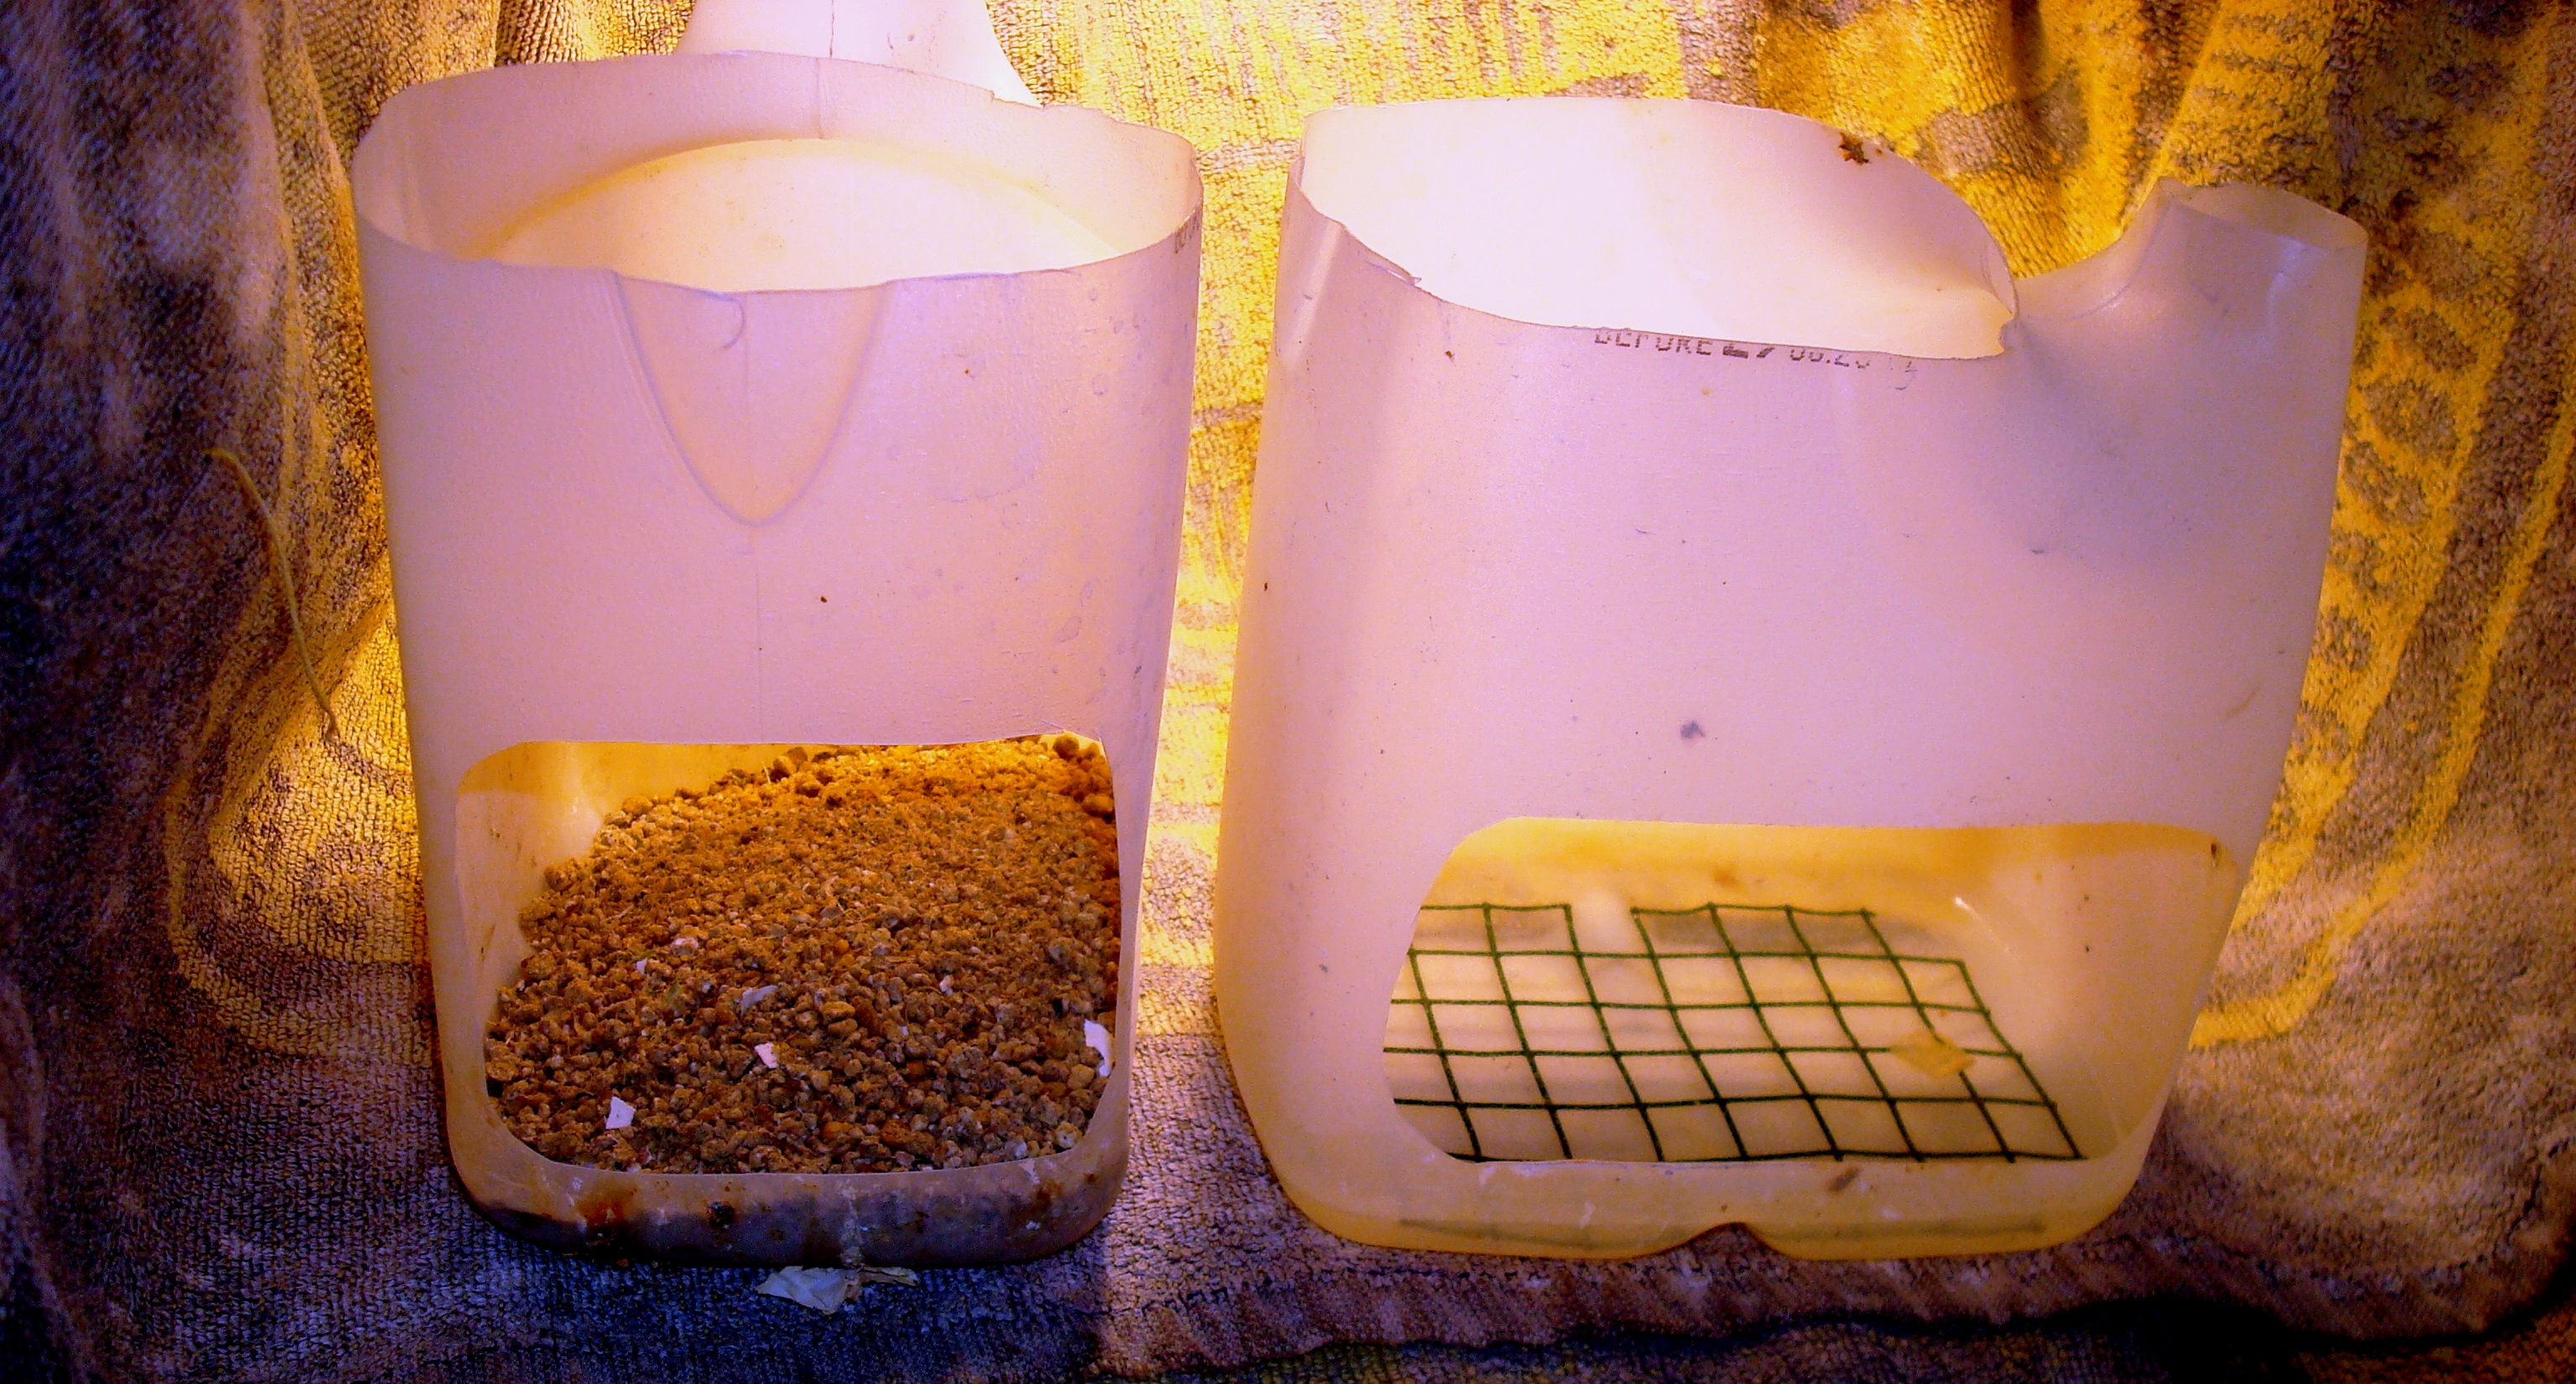
Then ad my food and water drinkers made from used plastic milk bottles

2014-05-05 - Brooding Quails 3 B2014-05-05 16.46.07

The lamps, I purchased from a second hand shop $20 for 20, including 100 W globes, and used off cut plywood from cages I build to mount the lamps.

2014-05-05 - Brooding Quails 4

Then add a frame, made from off cut wire netting and pieces of wood

2014-05-05 - Brooding Quaiz 5

The last two items just lie on top of the crate and are easily removed to inspect and work with the quails. Now add you babies

2014-05-05 - Brooding Quails 5

When too cold, I drape an old tea towel (discarded by my wife) over the netting part

2014-05-05 - Brooding Quails 7

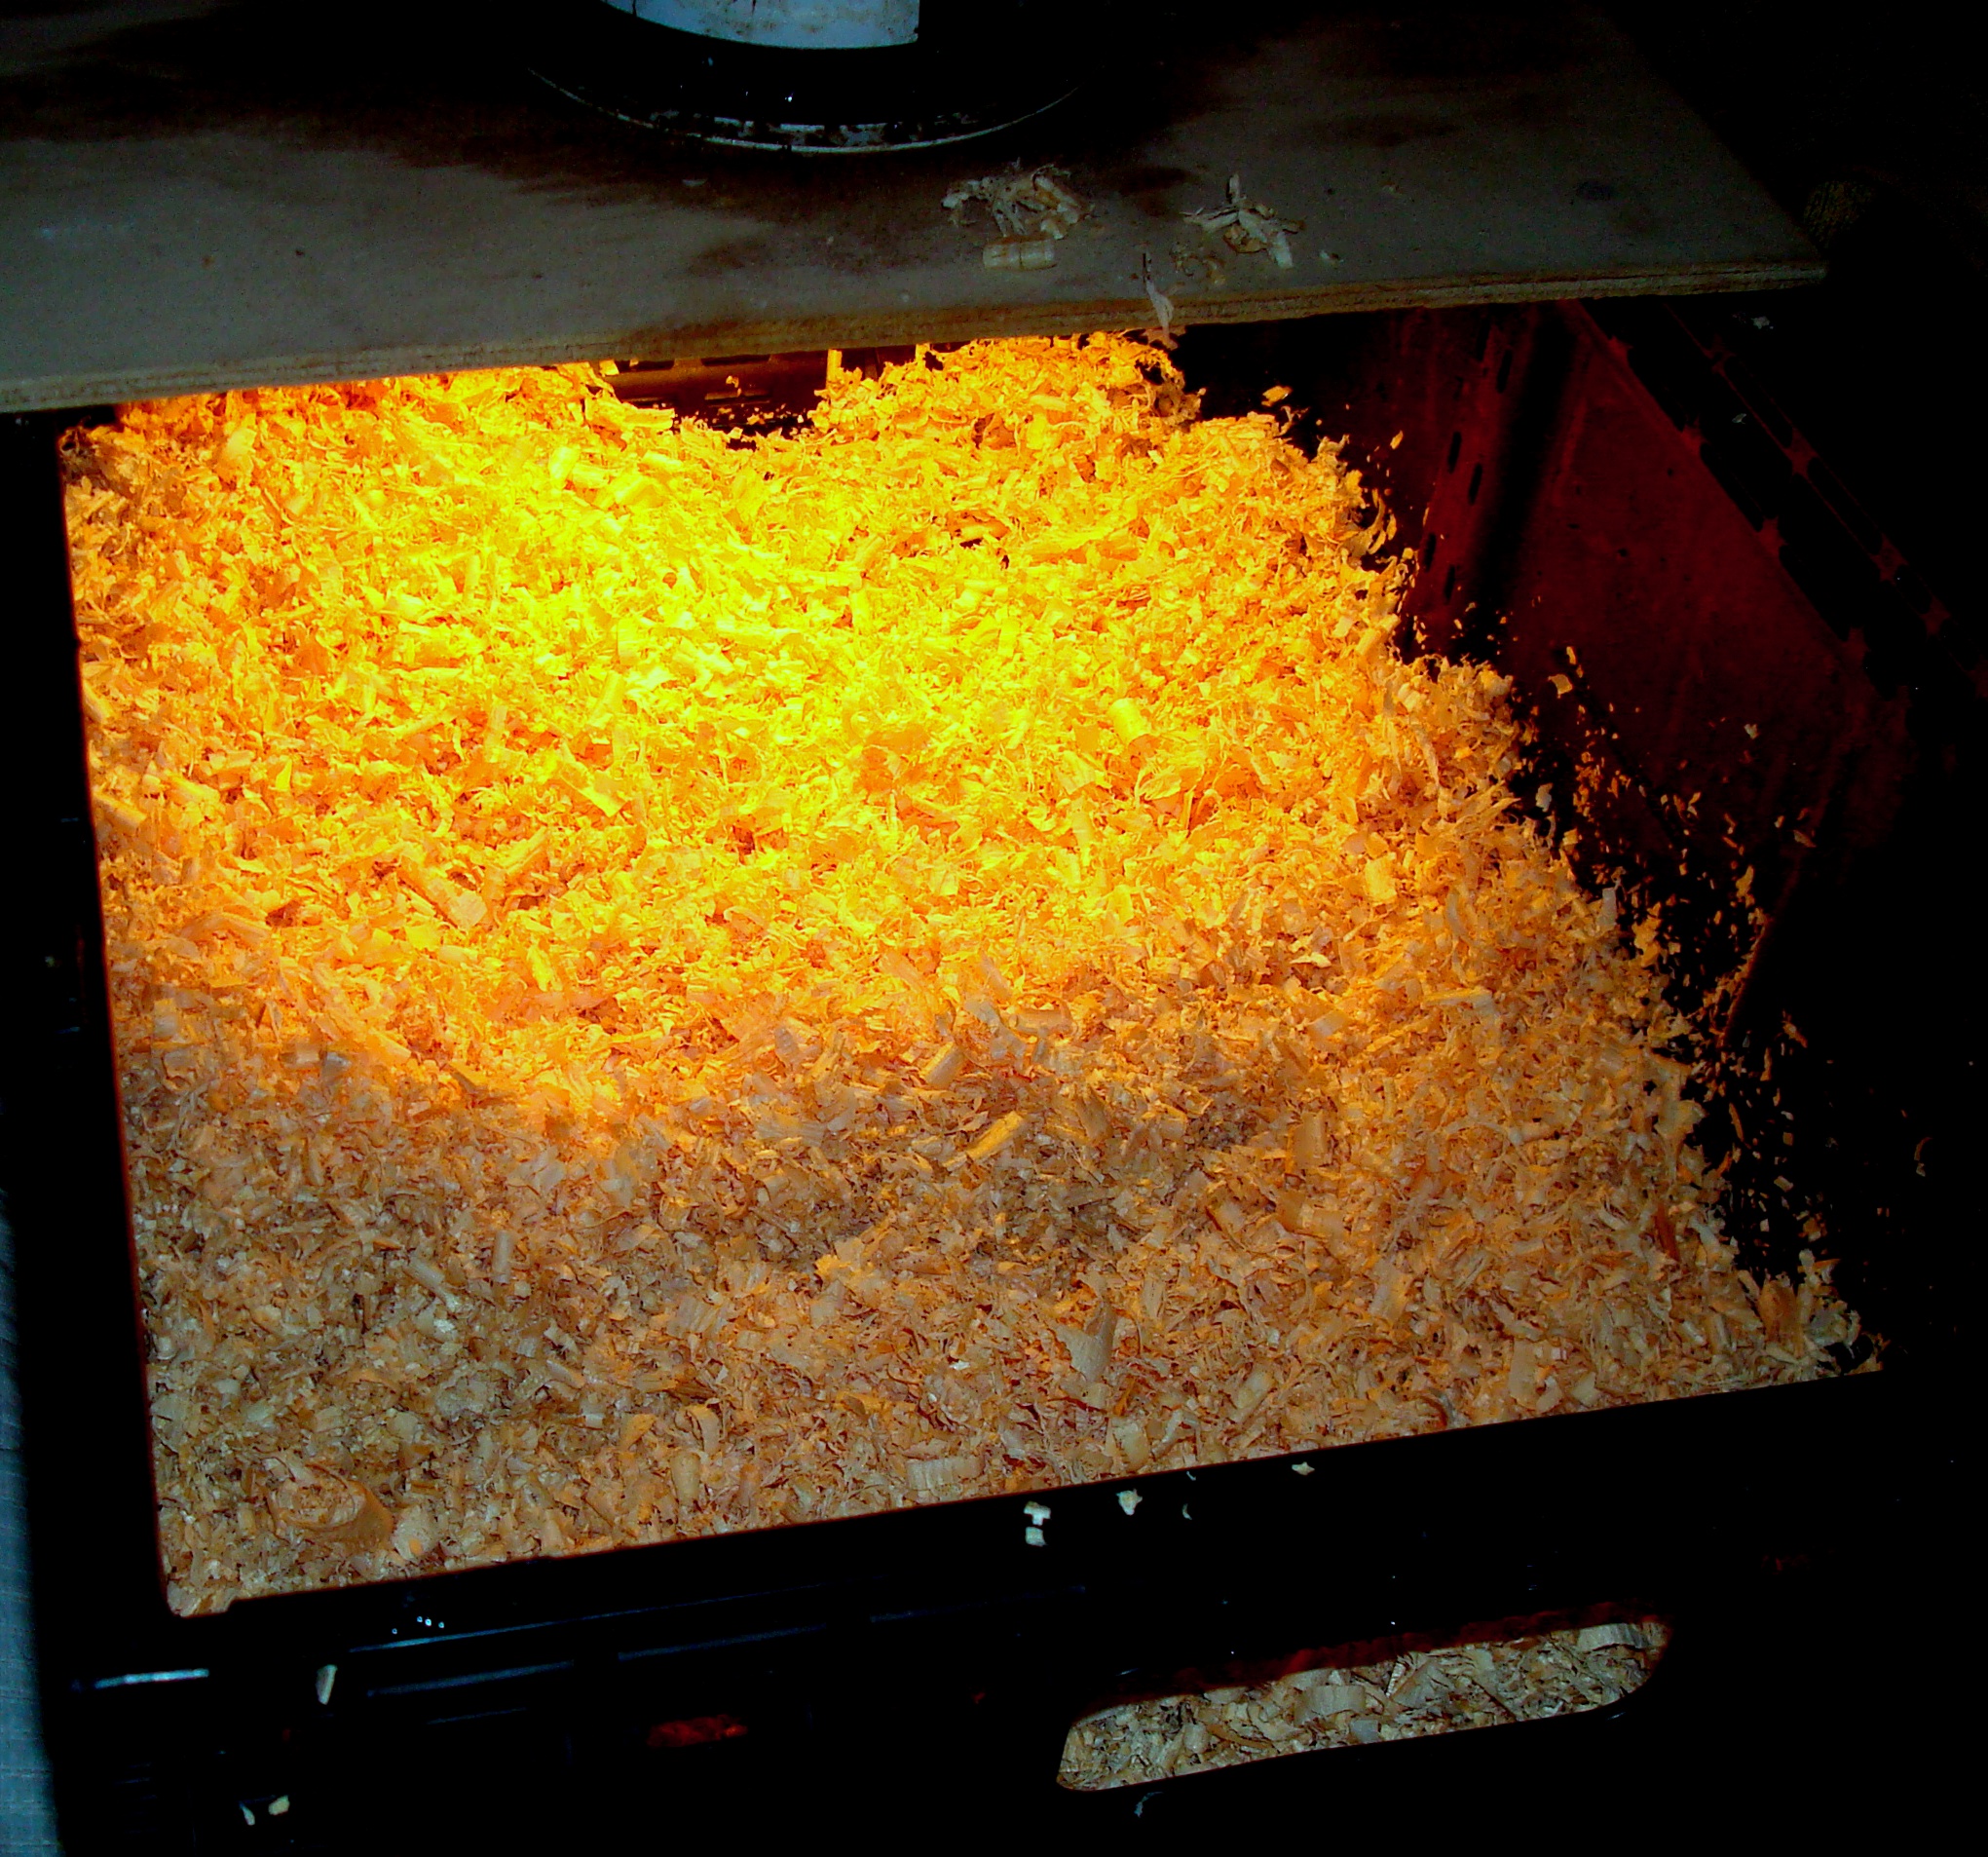
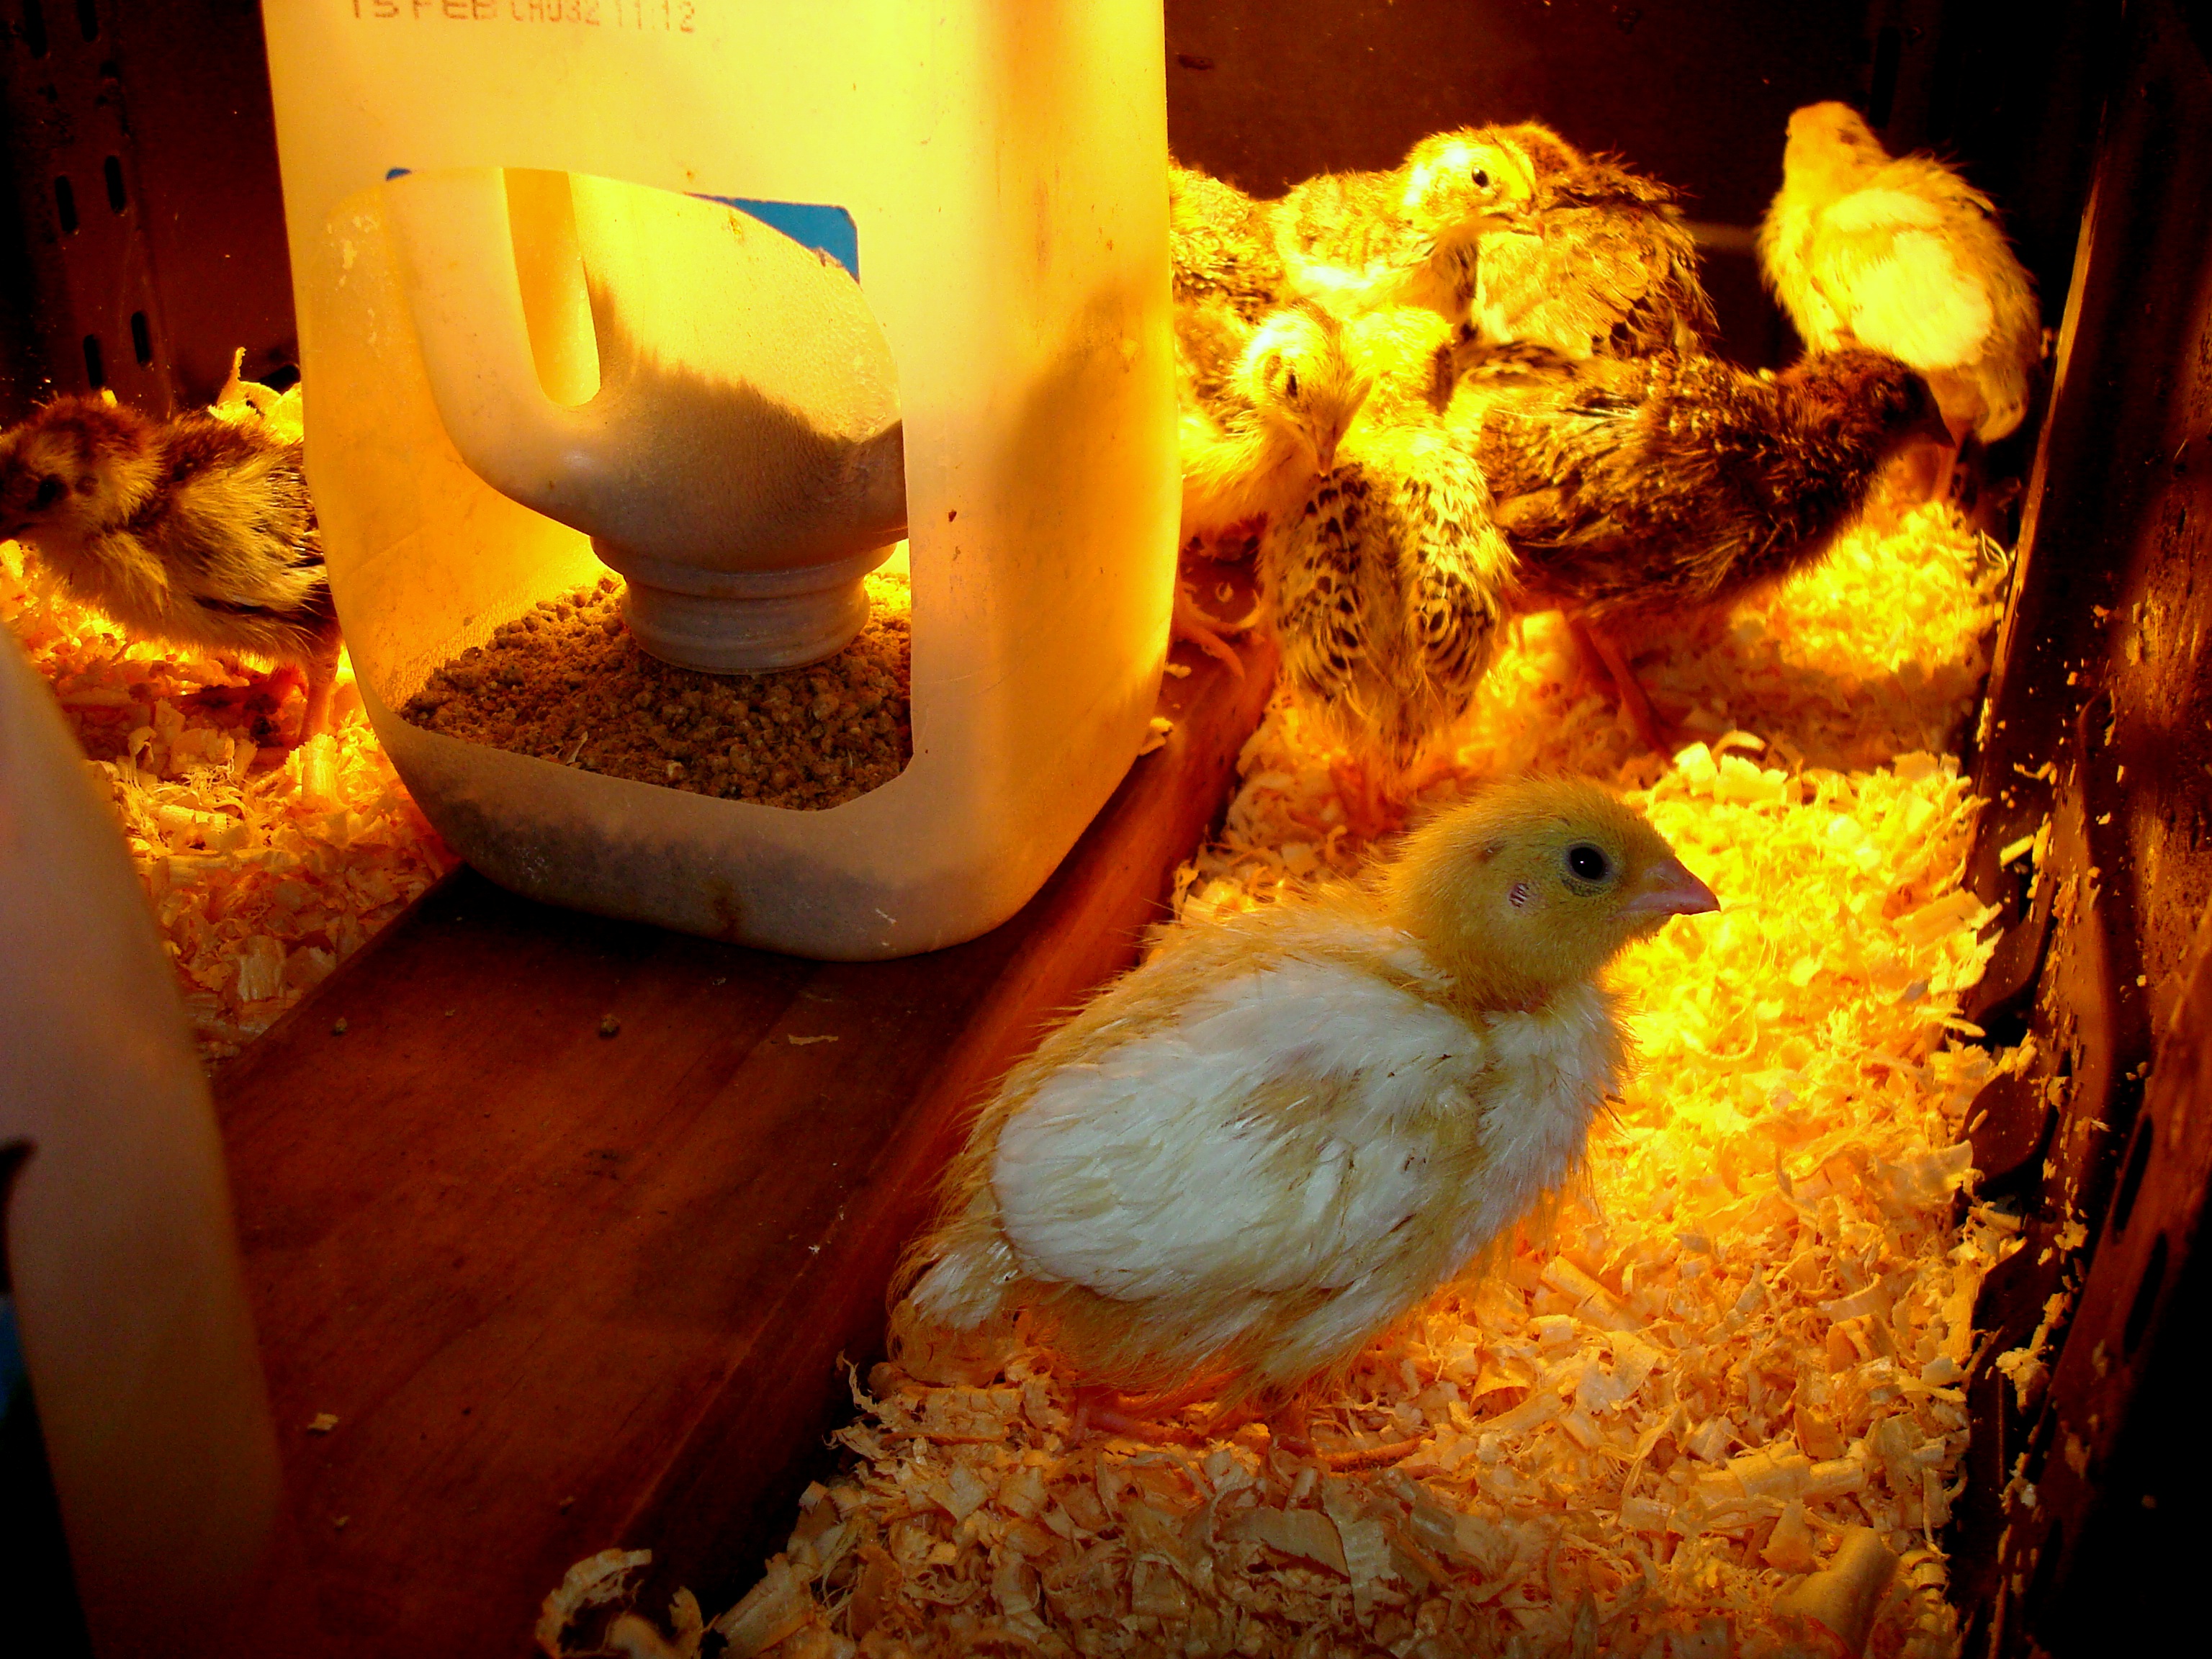
At two weeks of age, when I split the groups in two, I put them on wood shavings

2014-05-05 - Brooding Quails 8

The other difference is that for the first two weeks, when the babies are still learning to eat and drink, the feeders are designed in such a way to encourage them to walk into the feeding area. Now at two weeks when they are clever enough, the feeders are designed in such a way as to encourage them to eat from the outside and not enter the feeders any more, as they start scratching now and waste food and dirty the water too much. I also raise the feeders by putting it on a piece of wood, to prevent them scratching the shavings into the feeders. Self feeders and drinkers are again used plastic milk bottles

2014-05-05 - Brooding Quails 9 2014-05-05  - Brooding Quails 10 2014-05-05 - Brooding Quails 11


Now ad you babies

2014-05-05 - Brooding Quails 12 2014-05-05 - Brooding Quails 13

Managing up to 20 crates in this way, I find very easy. Each Brooder can be accessed easily by lifting the top and inspecting each chick. Feeders and drinkers last for days in the beginning and about once every two days towards the end.

Lastly the feeding. I mix a 28% Chick Starter Mash to which I add 1 boiled egg per 100 g for the first week and increase the mash by 100 g each week for one boiled egg, i.e. 100 g mash per egg for week one, 200 g mash per egg for week two, etc until 700 g mash per one egg for week seven, where after I switch to a 22 % Layers Mash. I also always add some cod liver oil at a rate of 5 g per Kg to all feeds, over and above the normal vitamin – mineral premix.

Exactly the same system is used for my chickens, partridges, pheasants and guinea fowl – I only move them out a bit faster, as the become too tall for the 200 mm crates.