To achieve the best possible hatch rate, please follow these guidelines carefully

1 – Resting the Eggs
- Upon arrival, allow eggs to rest at room temperature for 12–24 hours before incubation
- Place them pointed end down during this time
- Do not wash or clean the eggs, as this removes the natural protective coating
2 – Egg Positioning (Important)
- For incubation, place eggs pointed end down, blunt end up
- This ensures the developing chick can access the air cell correctly before hatching

Alternative method (manual turning):
- Eggs may be laid on their sides if turning by hand
- Turn gently and consistently at least twice daily
3 – Hand-Turning Tip
- When turning by hand, alternate the direction each time (back and forth)
- Avoid rotating eggs continuously in one direction only
- Simple method: mark one side “X” and the other “O”, then flip X → O → X → O each turn
- This keeps the embryo properly centred and developing evenly
4 – Incubation (Days 1–14)
- Preheat your incubator before setting the eggs
- Temperature: 37.7°C
- Humidity: 45–60%
- Turn eggs at least twice daily (or use an automatic turner)
5 – Lockdown & Hatching (Days 15–17)
- At the end of Day 14, stop turning the eggs (“lockdown”)
- Adjust incubator settings:
- Temperature: 37.5°C
- Humidity: 80–90%
- Do not open the incubator during this period
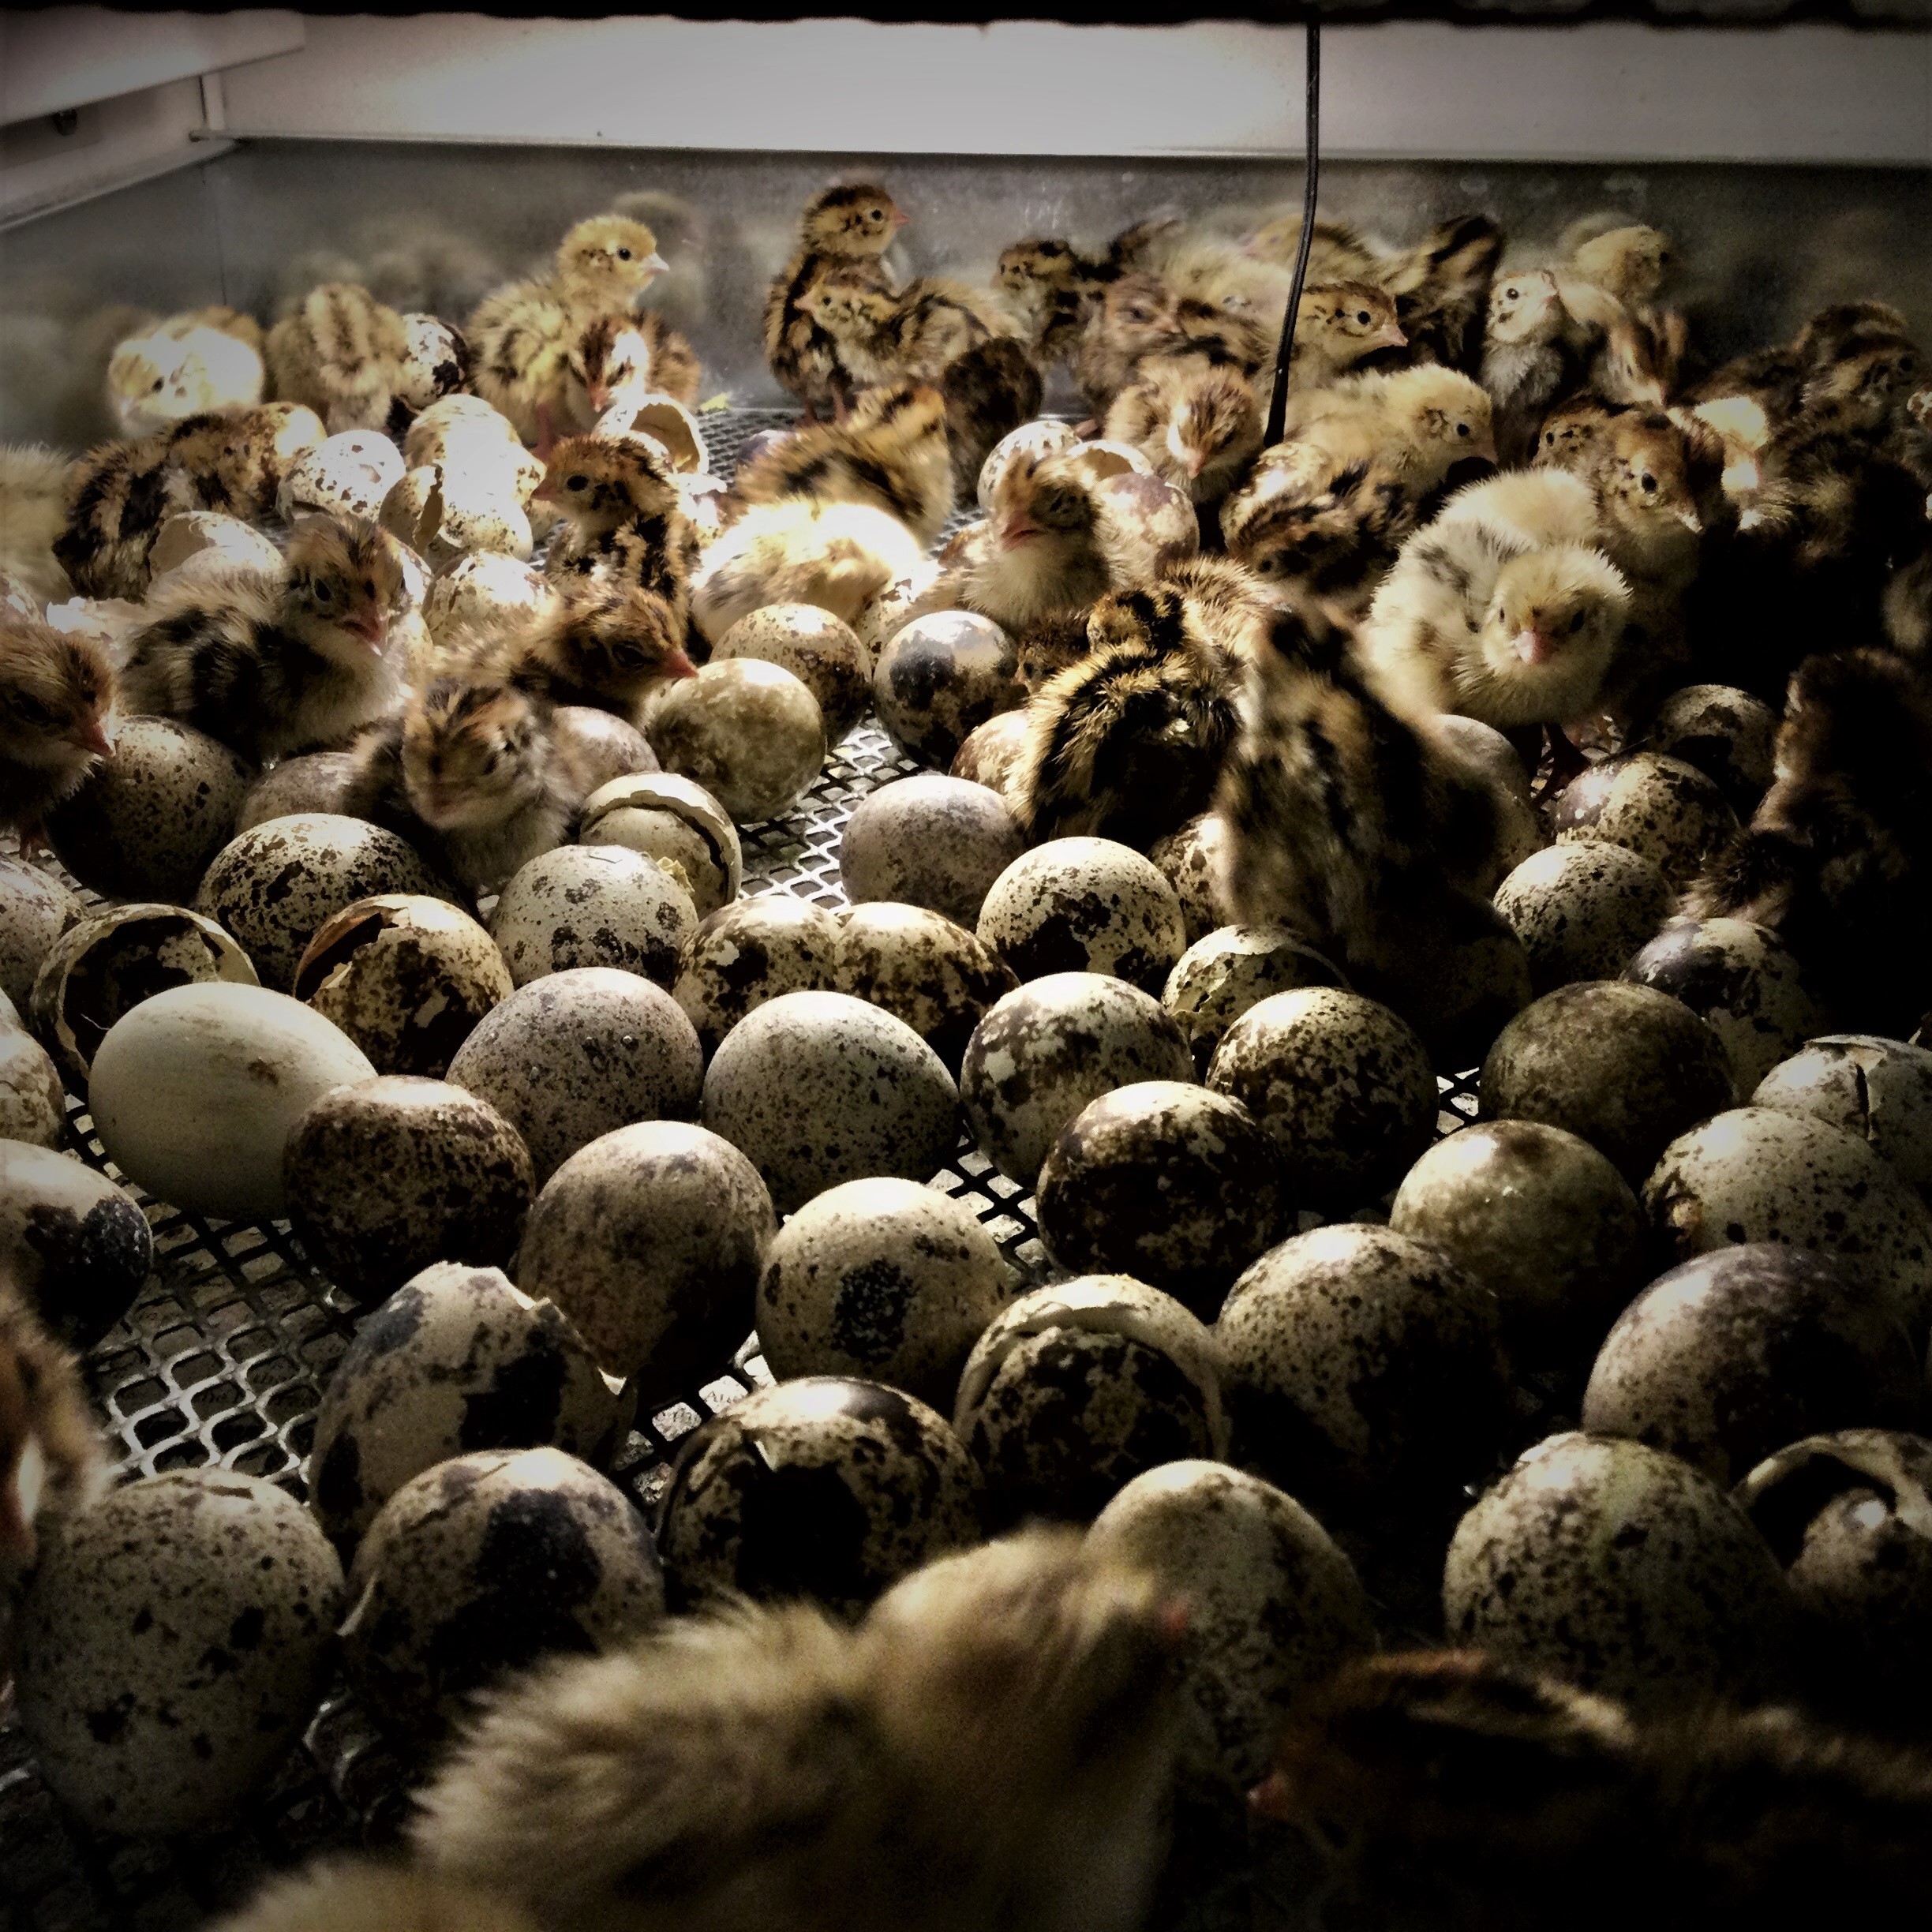
- Chicks should begin hatching around Day 17
6 – During Hatch
- Avoid opening the incubator while chicks are actively hatching
- After the first chicks hatch, wait approximately 24 hours, then:
- Remove only fully dry chicks
- Close the incubator promptly to maintain humidity
- Allow remaining eggs to complete hatching undisturbed
7 – Brooder Setup
- Preheat brooder to 36°C before introducing chicks
- Ensure chicks can move freely between warm and cooler areas
- Reduce temperature by approximately 1°C every 2 days
- Observe chick behaviour:
- Too cold: chicks huddle tightly
- Too hot: chicks spread out and pant
8 – Feeding
- Feed 28% protein BYF Quail Starter Feed from day one
- Provide feed ad lib (always available) for the first 3 weeks
- Ensure constant access to clean, fresh water (use shallow drinkers to prevent drowning)

Additional Notes
- Consistency is key — avoid fluctuations in temperature and humidity
- Avoid unnecessary handling or opening of the incubator
- Hatch rates may vary due to transport and incubation conditions
 Back Yard Farmer
Could I call in tomorrow Tuesday late morning and get a 5kg bag of your quail food please. Regards Gordon Jannink
Get Outlook for iOShttps://aka.ms/o0ukef
Yes – You are welcome
I think this was sent to me in error as I haven’t purchased hatching quail eggs.
Thanks KIm
Hello Domenico,Your email references a purchase. I haven’t ordered anything from you within the last few weeks since the last delivery.Just confirming that an order wasn’t placed by mistake.Best regards,Carlo SimoniSent from my iPhoneOn Aug 1, 2026,
Carlo, Thanks for the email. No, I do not have an order from you. Best regards
Do you know anyone in Auckland wanting to return females no longer in their prime to the wild? We have a wild bevy of about 12 males and 4 females we’d like to balance out if we can.
Ron
>