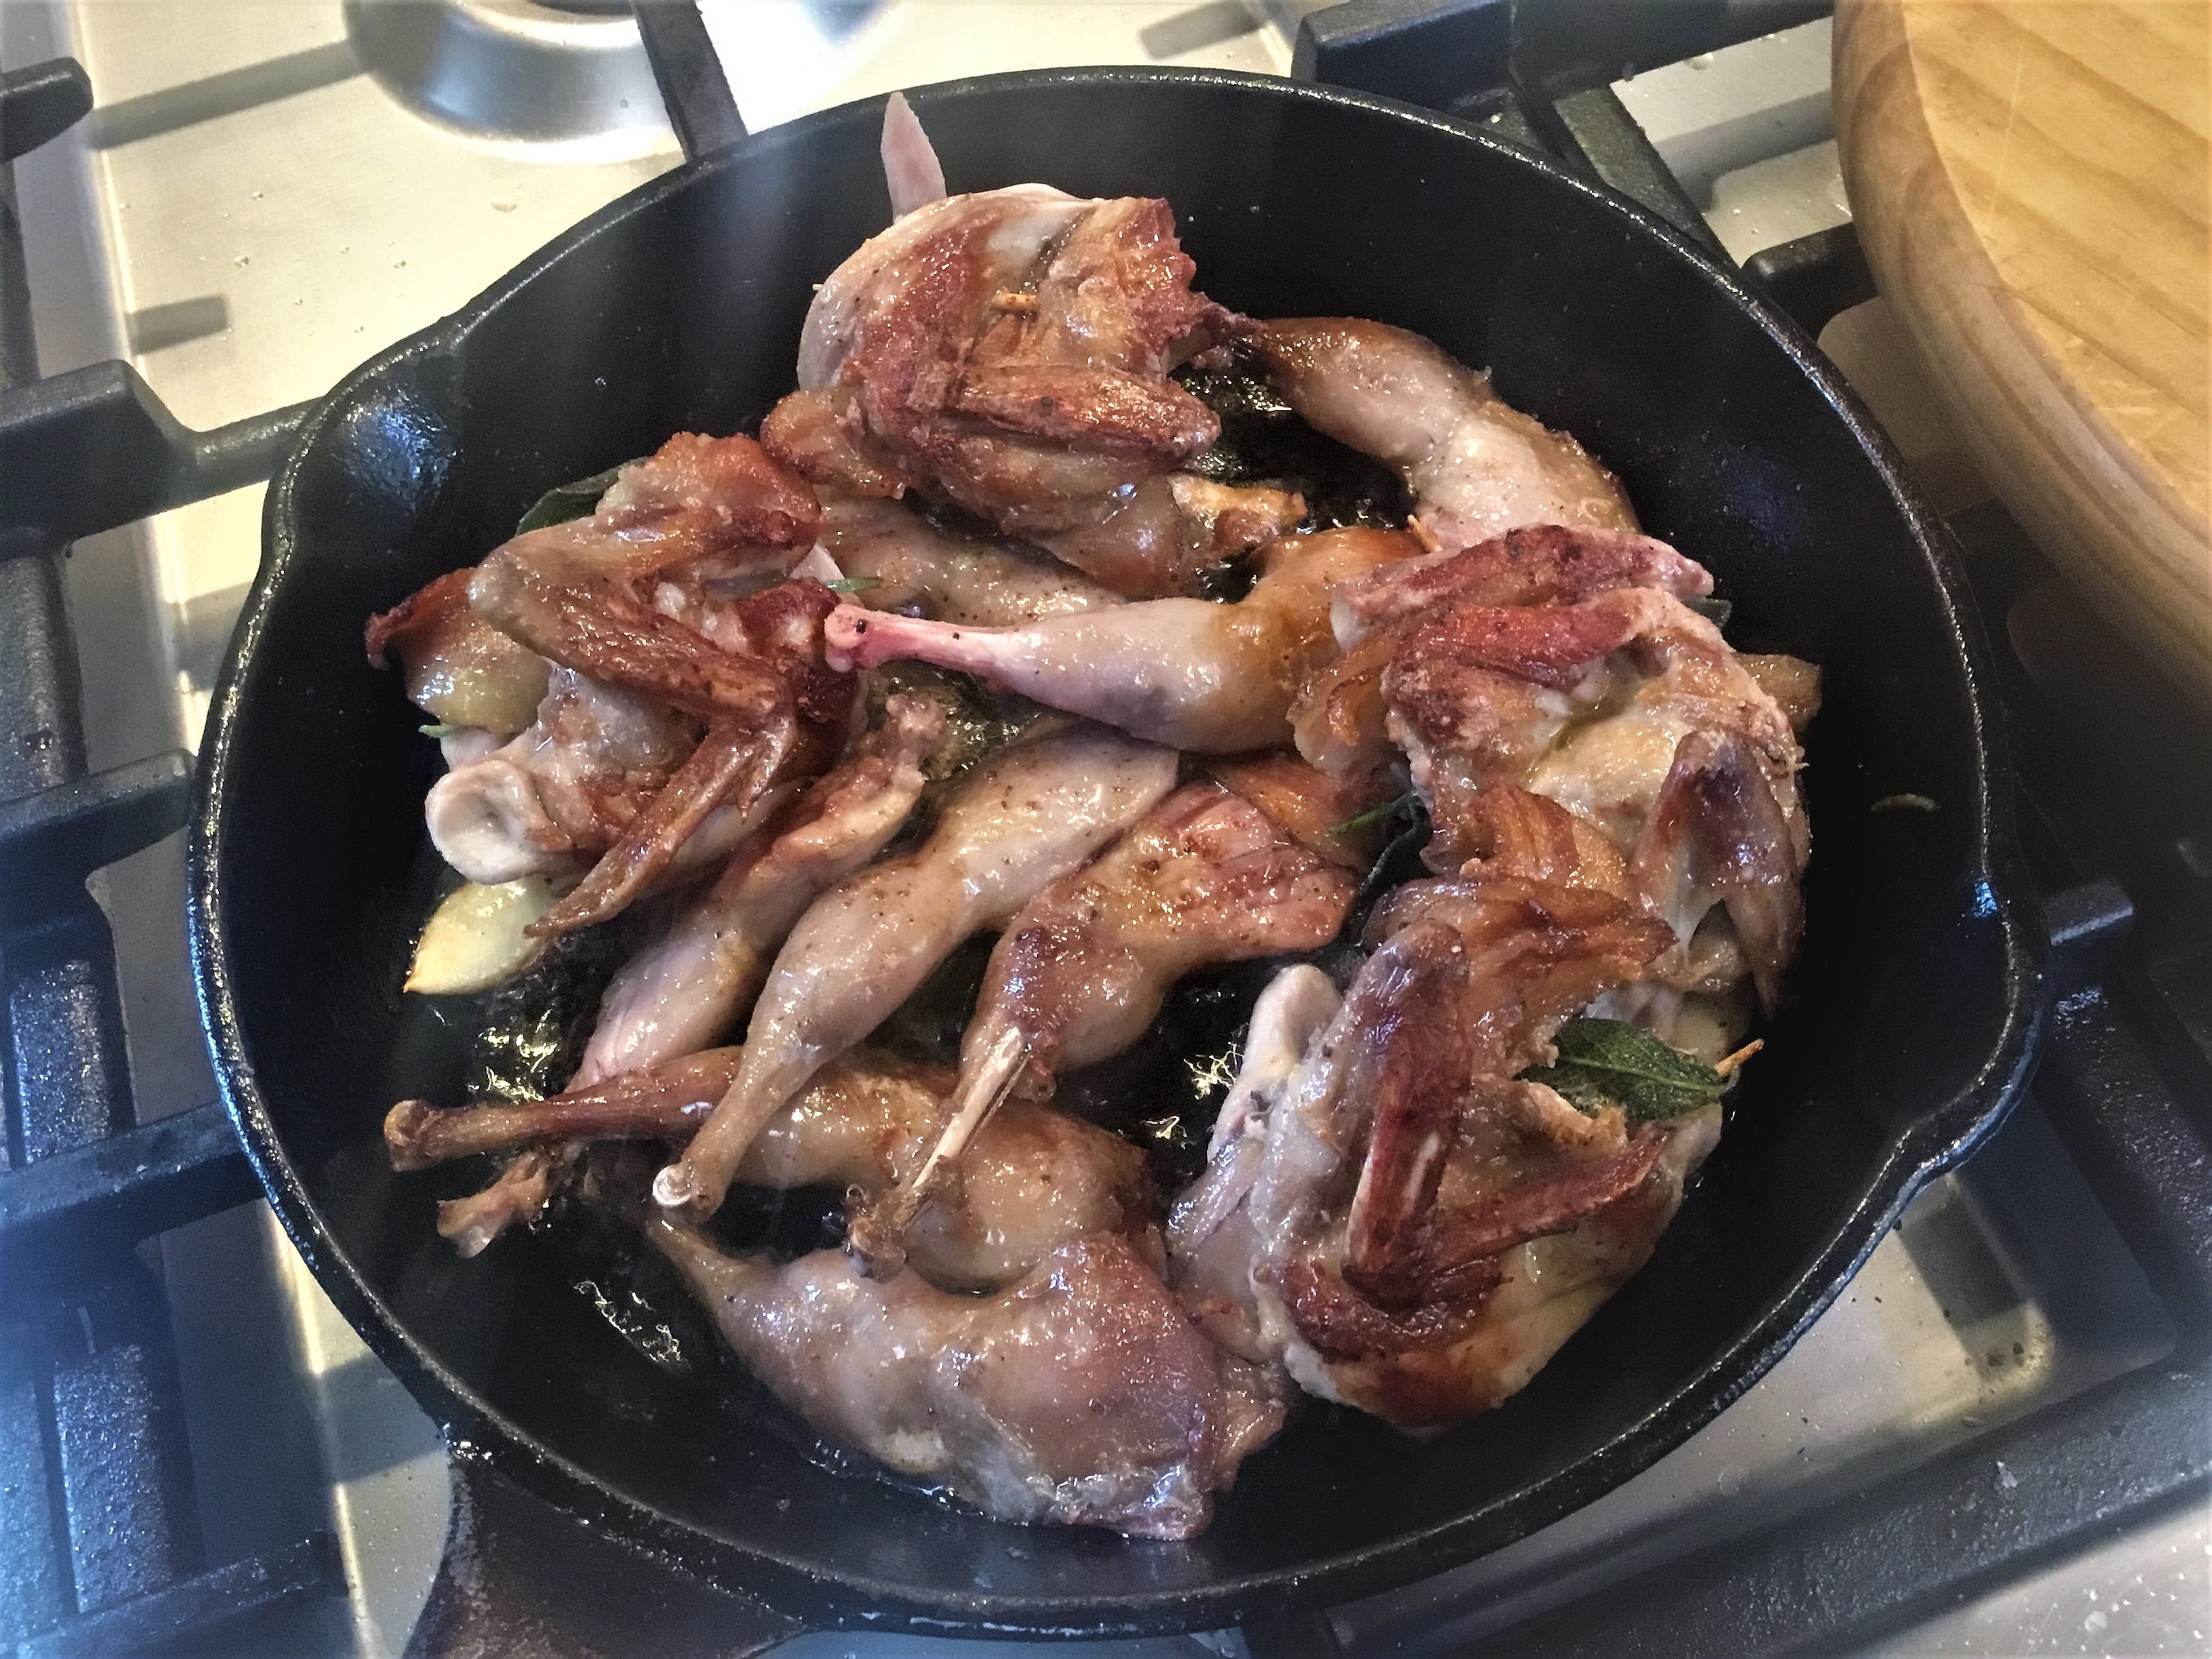
Oven-roasted quail is one of our favourite ways to prepare quail. It is simple, quick, and exceptionally delicious.
Use as many deboned quails as required. Season them generously all over with salt and freshly ground black pepper. Place a sage leaf, some coarsely chopped rosemary, and a few thin slices of pancetta inside the cavity of each quail. Secure the birds by stitching the sides together with skewers or tying them neatly with kitchen string.
Arrange the quails in a well-oiled roasting pan and place them in a hot oven. Start by browning them on both sides under a high grill setting. Once nicely coloured, reduce the oven temperature to 140 °C and allow the meat to cook gently and evenly.
The entire cooking process should take 5–6 minutes. If in doubt, check the internal temperature: when it reaches 80 °C, the quail is perfectly cooked.
To finish, sprinkle with freshly chopped parsley and a little more ground black pepper. Drizzle generously with high-quality extra virgin olive oil and serve immediately on creamy polenta.
Enjoy — and remember to finish it off with a glass of good homemade red wine.
Every so often the freezer fills up with mature, processed quails, and the best solution is to turn them into something truly special : a slow-cooked ragù. On this occasion, I pulled 40 frozen quails from the freezer and spent most of Sunday afternoon transforming them into a rich, deeply flavoured sauce that can be enjoyed for months to come.
This is a labour of love, but one that rewards you generously. This is not just a sauce – it’s a celebration of North Italian tradition, where time, patience, and respect for every ingredient create something unforgettable. Cooked slowly, bottled carefully, and served with fresh pasta, it brings the warmth of our kitchen straight to your table.
Ingredients
40 deboned quails
2 kg finely chopped onions (50% brown, 50% red)
250 g extra virgin olive oil
250 g butter
200 g finely chopped celery
200 g finely chopped carrot
50 g salt (adjust to taste)
50 g freshly ground black pepper (adjust to taste)
250 ml full-cream milk
500 ml white wine
500 ml stock (quail stock preferred)
500 g tomato purée
1 kg tinned tomato passata
100 g finely chopped garlic
50 g finely chopped fresh hot chilli (optional)
5 g freshly grated nutmeg
A handful of hand-shredded fresh basil
2 Cups Grated Parmigiano Reggiano Cheese
Method
In a very large, heavy-based pot (large enough to hold all the ingredients), add the olive oil, butter, and chopped onions. Sauté gently over medium heat until the onions are soft and translucent, but not browned.
Add the celery and carrot and cook gently for a further 5 minutes.
Add the quail meat, season with salt and pepper, and cook until lightly browned. Stir in the tomato purée and cook for a few minutes to deepen the flavour.
Pour in the white wine and cook until it has completely evaporated. Add a portion of the stock and stir frequently.
Reduce the heat to medium, then add the garlic, chilli (if using), milk, and nutmeg. Cook until the milk has fully evaporated, stirring regularly.
Stir in all the tomato passata. Once the ragù begins to bubble, reduce the heat to low and cook uncovered for 4–5 hours. Stir often and do not let it burn. As the ragù thickens, add more stock, as needed to maintain a rich, slow-simmering consistency.
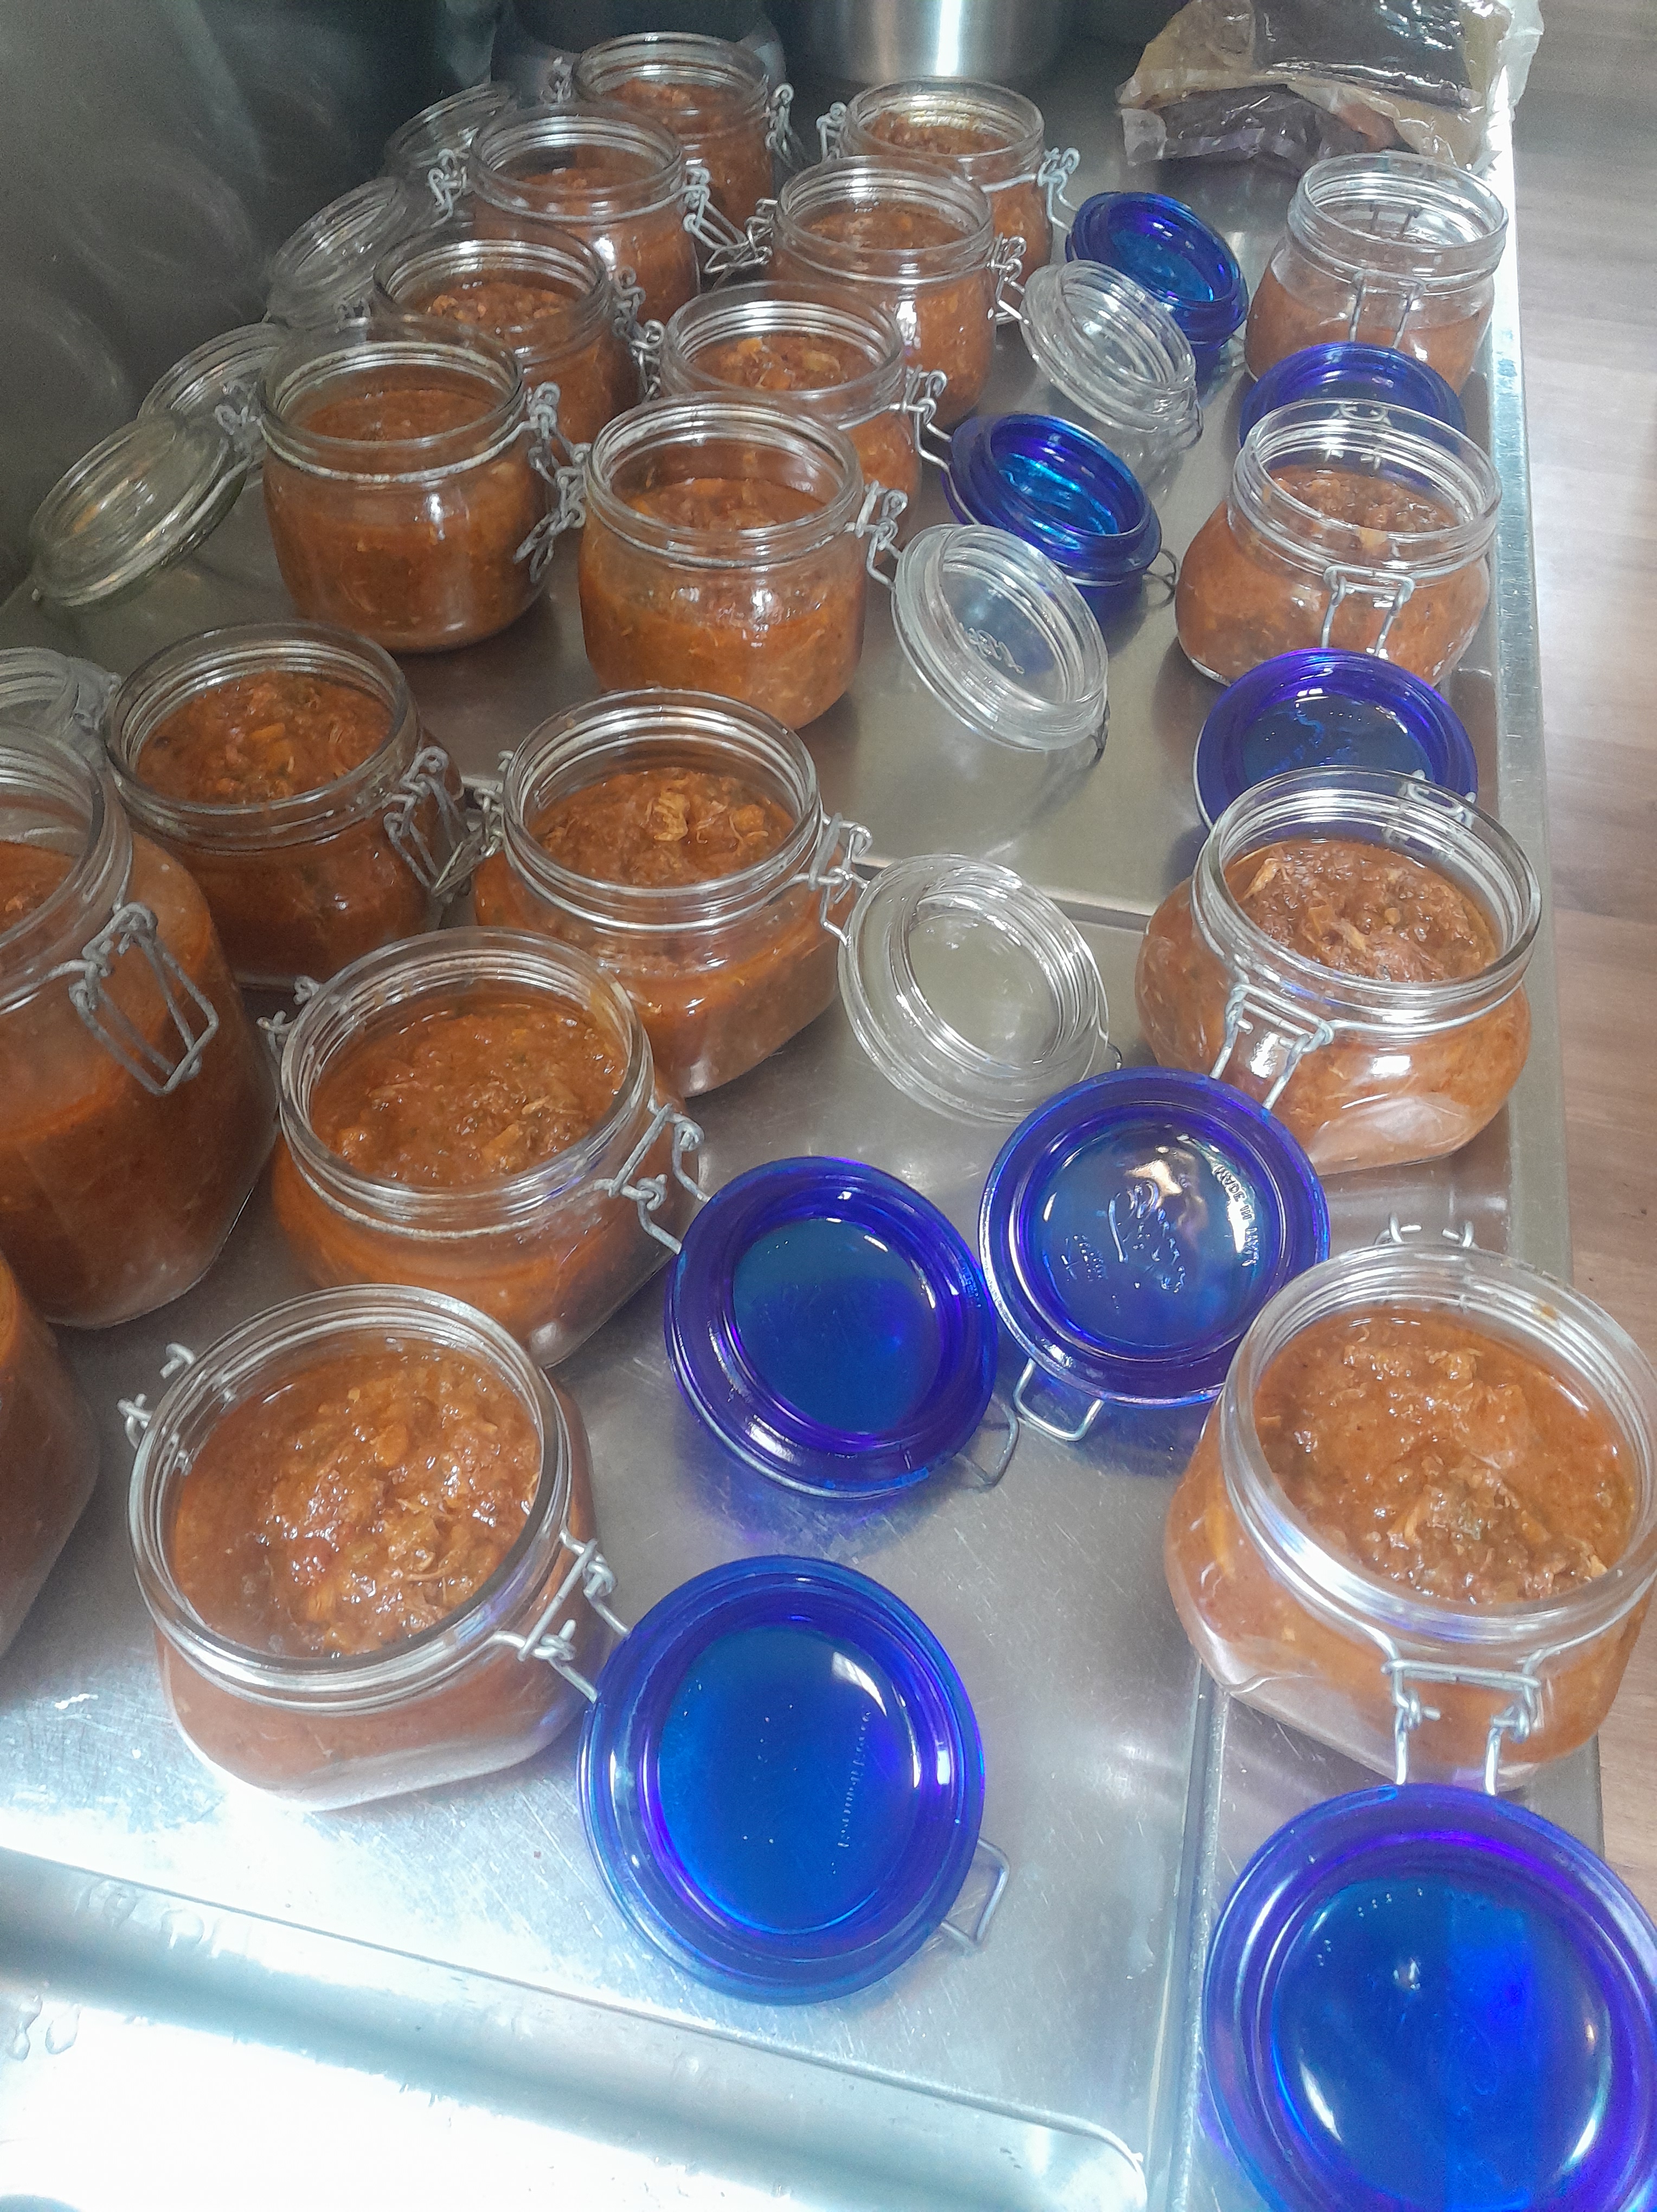
Once cooked, bottle the ragù, seal, and pasteurise.
Storage & Yield
The great advantage of this method is longevity : the bottled ragù can be stored in the pantry for a very long time and provides an exceptional, ready-to-use meal at any time.
This batch yielded approximately 50–60 meal portions. For a family-sized version, simply divide all quantities by ten.
If quail is not available, a combination of beef and pork makes an excellent alternative.
Pasta al Ragù di Quaglia
While the pasta cooks in ample salted water – fresh pappardelle is my preference – open a bottle of ragù and transfer it to a pan large enough to accommodate both the pasta and sauce.
Gently heat the ragù. Drain the pasta while it is just shy of al dente and add it directly to the pan. Toss the pasta and ragù together over low heat until fully cooked, stirring and lifting constantly (Mantecare).
If the sauce becomes too thick, add a little stock, or some of the salted boiling pasta water. Finish with fresh basil, give it one final toss, and serve immediately topped with ample grated Parmigiano Reggiano Cheese.
Pasta al Ragù di Quaglia should be served piping hot – and enjoyed without haste.
Do not forget the bottle of home made red wine to finish it all !
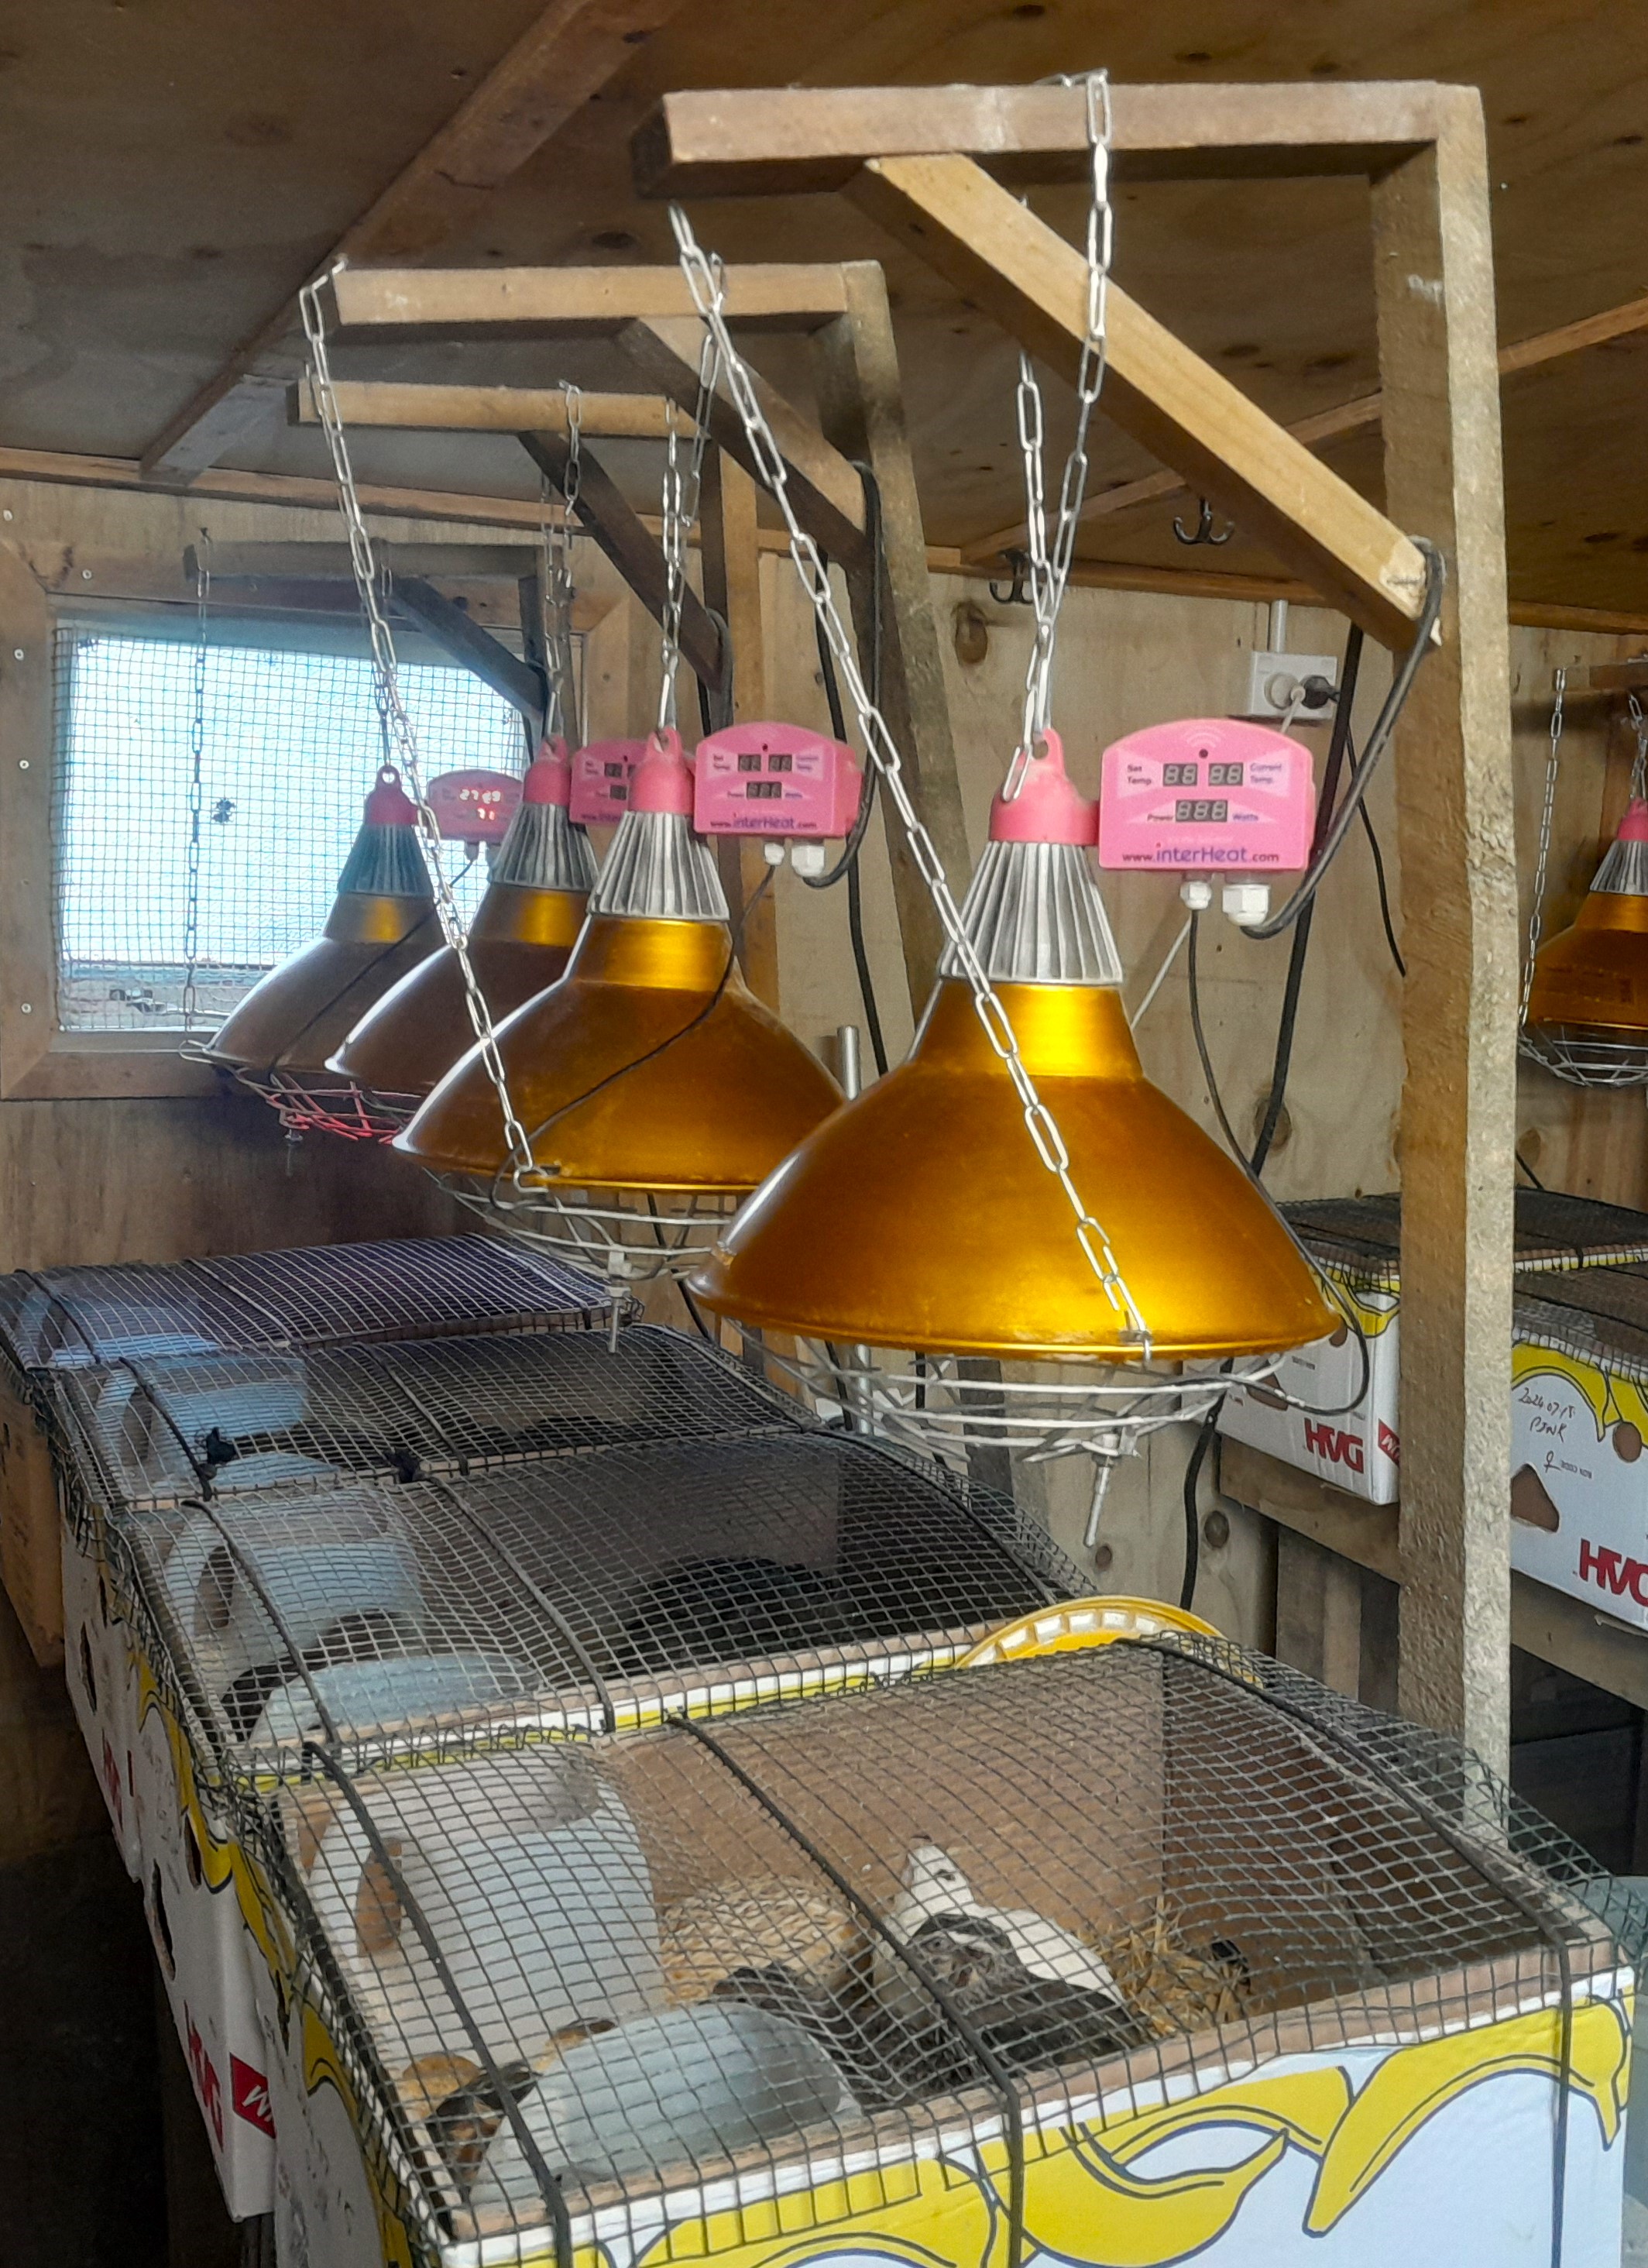
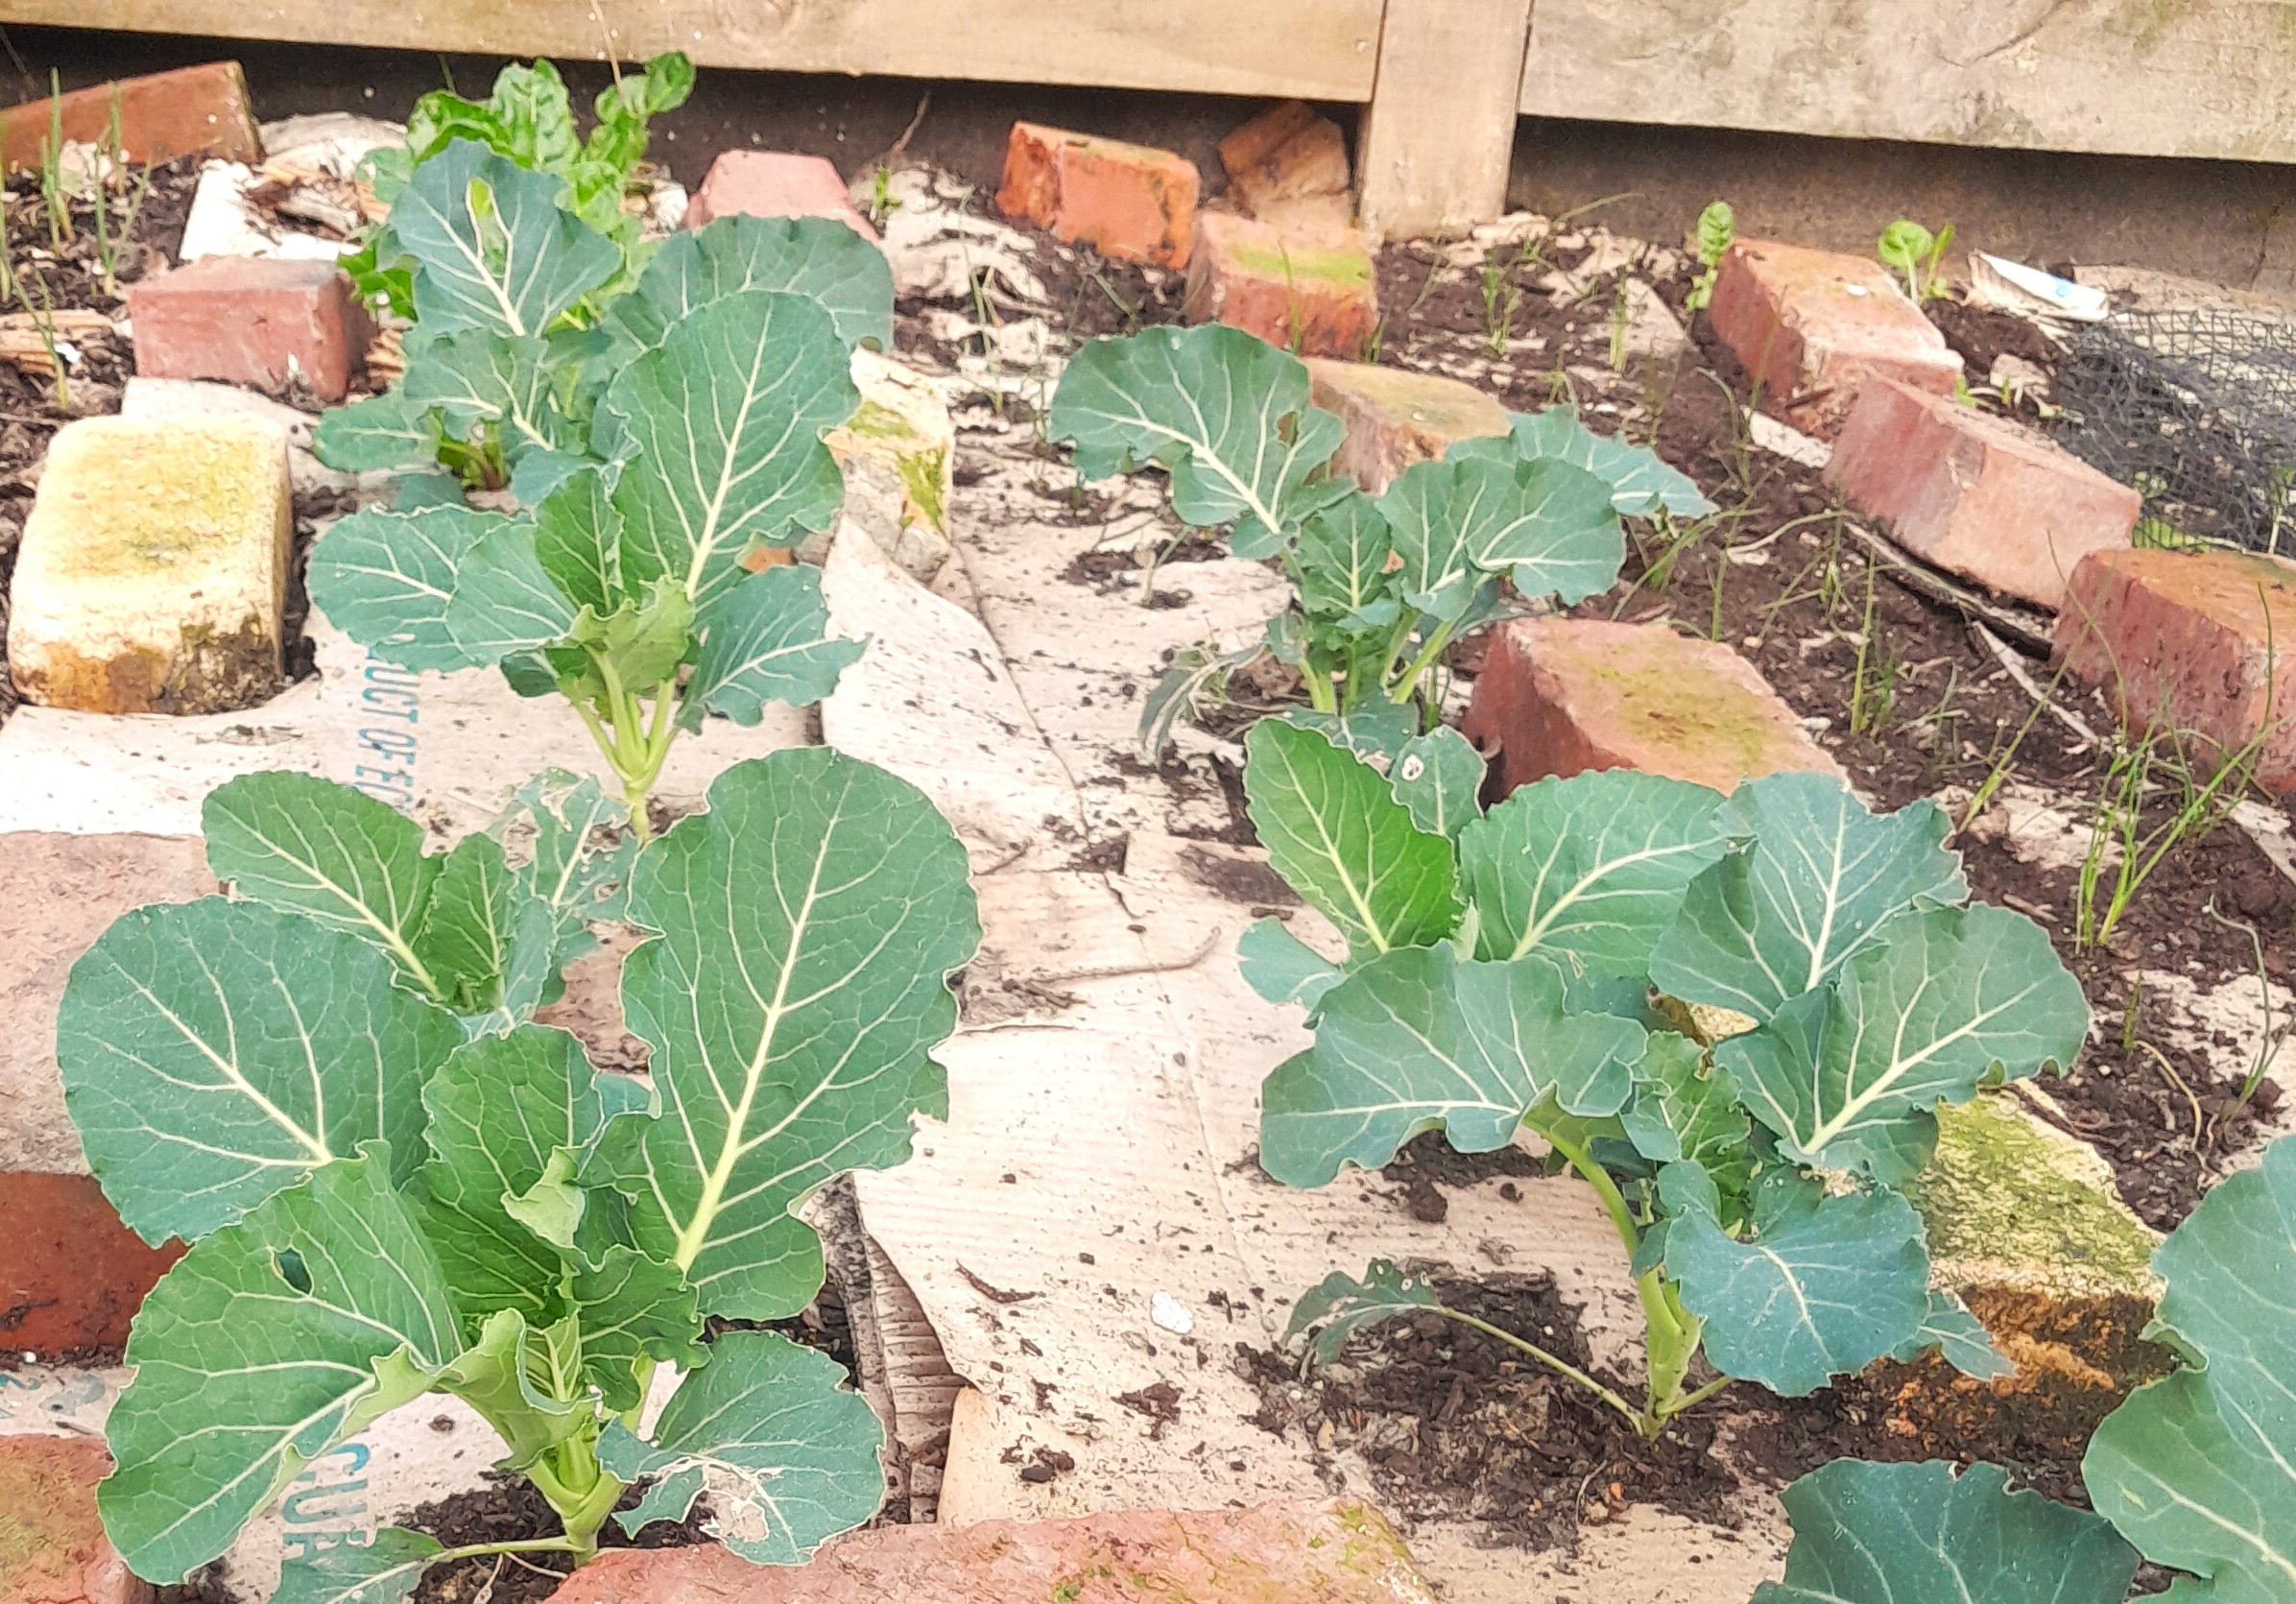
For many years I used plastic brooders to grow my small quails in and it worked very well. The problem came having to clean these all the time and since I replace about 10 of these in my hatchery every week, it became a very laborious and unpleasant task. A water blaster was the only way to clean them properly which created a lot of effluent as well. Alternatives were investigated and I settled on Banana Boxes. The advantage is that there is no cleaning as I just replace the used box with a new and clean one. The downside was that I had 10 manure and bedding “soiled” banana boxes every week. I solved this by flattening the boxes and turn them upside down in my garden with the manure and bedding underneath and the box on top. This makes a wonderful source of nutrients fertilising the soil and also an excellent weed mat.
The results are excellent from a plant growth point of view and I have also not seen that many earthworms in all my live. I normally leave the boxes, well watered, for a couple of months before drilling a 40 mm hole about 200 mm deep through the box into the ground, fill it with good quality soil and plant the new plants or seeds it the hole. One needs to pack the boxes down in the beginning (I use old bricks) until the plants are stronger, otherwise the boxes move too much and the hole is not over the seed any more, or the small plants get damaged. After about 1 month the boxes have disintegrated and the bricks can be removed. The plants are now strong enough, weed free and well fertilised.
for Coturnix coturnix Quail and all other Wild Birds such as Pheasants, Partridge, etc
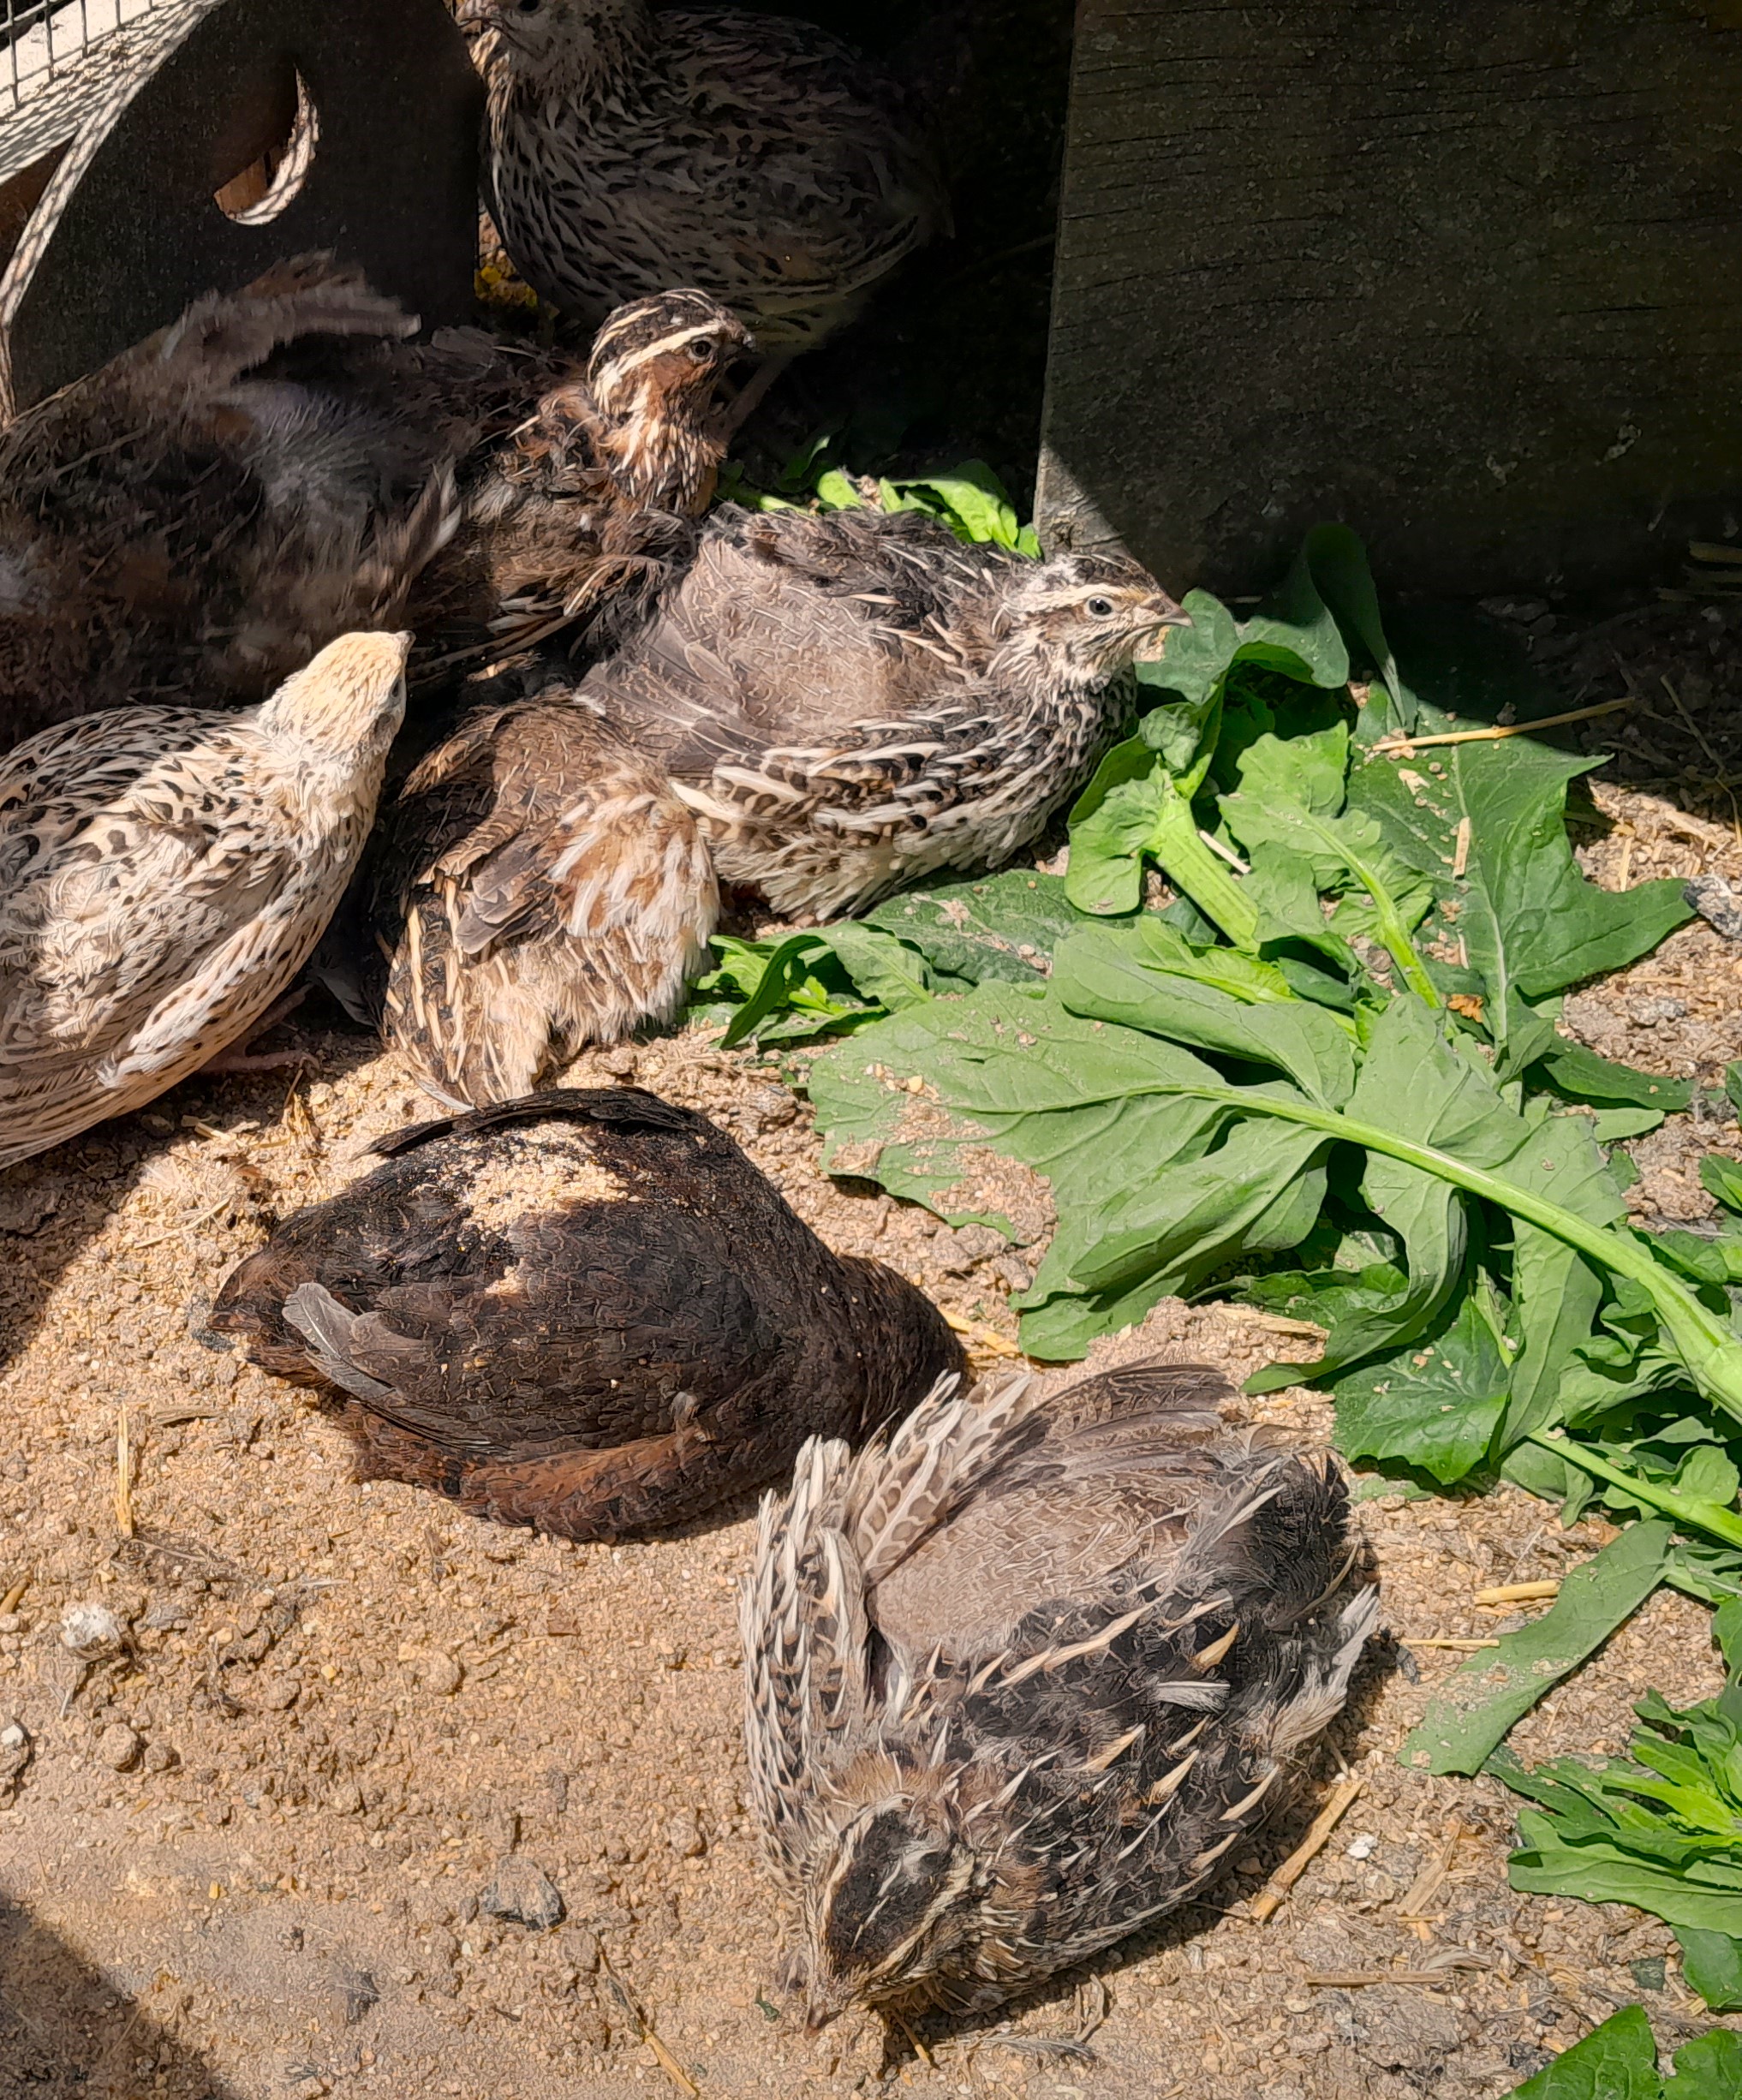
Combining my experience in animal nutrition and husbandry with extensive reading regarding the latest nutritional developments I am now manufacturing feeds that are very advanced in approach. These feeds benefit high performing quails and other wild birds such as pheasants and partridge. My birds are performing so well on these new feed formulations that I have included these formulae in all the feeds I offer for sale.
My strategy is to maximise digestibility using the simplest and best combination of materials and feed additives. I also utilise proven probiotics / prebiotics to stimulate and enhance the naive gut, creating a favourable environment for good gut flora to proliferate and keep cell junctions tight. The rations also assist gut enterocytes with function and repair, while there are some elements in the feeds that help the modulation of immune responses.
I formulate to specifications for a 28 % Protein BYF Quail Starter Feed, 26 % Protein BYF Quail Grower Feed, 24 % Protein BYF Quail Maintenance Feed and a 22 % Protein BYF Layer Feed as the top of the range diets by introducing new additives in addition to the present Vitamin and Mineral Pre Mix. These additives contain extra Lysine, Methionine, Threonine, Isoleucine and Valine which is intended to fully balance all the digestible amino acid ratios. These additions also lift the protein and energy digestibility beyond their stated levels on paper by using 4 separate and specific feed enzyme activities. The extra additives contain bioactive Vitamin D (Hy-D), Vitamin C, and Calcium Carbonate for bone modelling and antioxidant properties. Kelp meal, minerals, electrolytes and some sources of protected Butyrate, Carvacrol and Thymol steer good flora and discourage overgrowth of pathogenic bacteria and organisms. These new additions also contain a Mannosidase enzyme to aid the digestibility of various materials with proven Phytase, beta Glucanase, Xylanase and Protease enzymes.
My new feed formulations are the ultimate diets for quail and wild birds. All the above inclusions are essential and unique and take care of all amino acid balances using standard materials, supercharging the opportunity across all fronts for the birds to start well, grow well and produce well. There is plenty here to give bumble bee sized chicks, as well as mature birds, every chance to thrive without antibiotics, which is a big plus. These feeds are not only essential for wild birds, but give all poultry that extra boost when under stressful conditions.
I hatch between 30 and 40 eggs every week and keep meticulous records (ex scientist) and hatching percentage at present is about 78% (chicks alive at 3 days of age of eggs placed). This is for all eggs placed over at least a 12 month period. It also includes some batches from much older birds as well as batches of very young birds, as I may sometimes collect eggs from these before they are either sold or slaughtered. Very young and very old birds obviously have lower egg viability and hence affect the records. It is not uncommon to get 90%+ hatchings from the commercial flocks. My records also include hatchings from Male lines and Female lines, Breeding Parent Stock, where I have lower Male to Female ratios and different ages in the same cages, where hatching percentages are not always that good
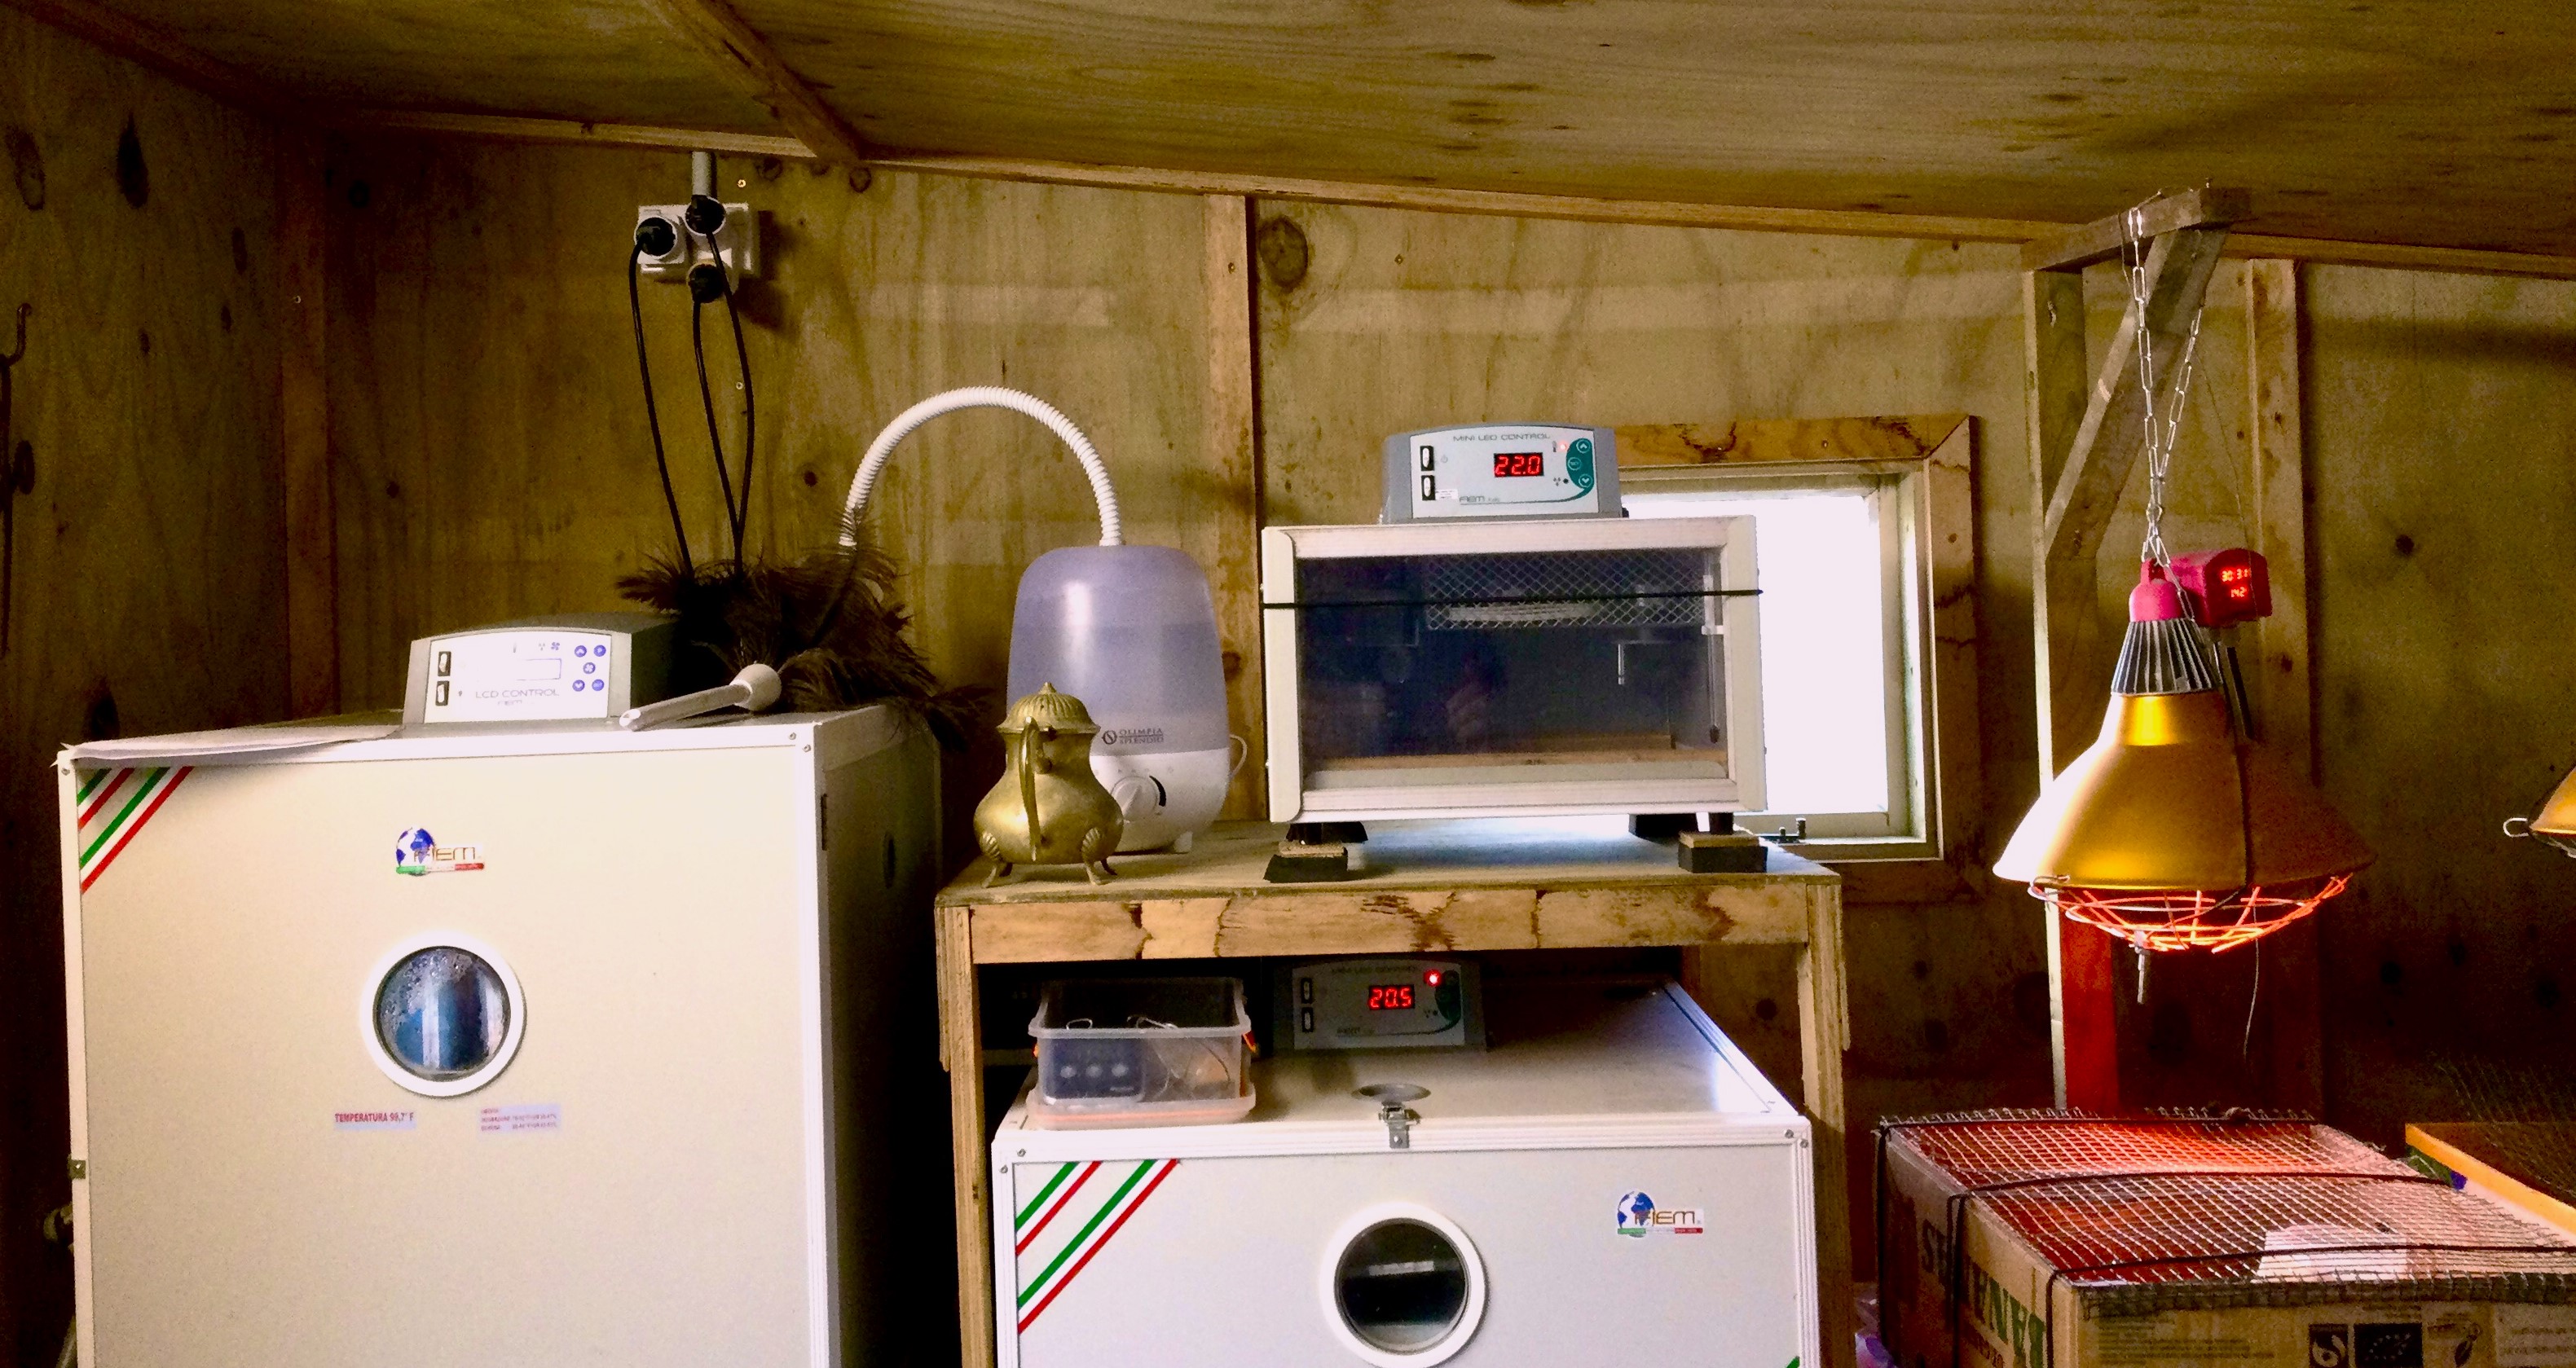
I must emphasise that these results are obtained by using very good commercial incubators and hatchers (FIEM) and it is not possible to achieve these results over an extended period with most of the cheap equipment on offer nowadays. Even with my equipment, the monitors in the incubators and hatchers are not always 100 % accurate and I have seperate calibrated thermometers and wet bulb thermometers to compare all the time, making sure settings are actually achieved inside the machines.
Quail Eggs are much more sensitive / difficult to hatch compared to chicken, or most other specie, eggs
The ideal settings for my conditions for Coturnix coturnix are :
Day 1 to day 14 – RH (%) – 60
Day 1 to day 14 – Temperature (C) – 37.7
Day 15 to hatch – RH (%) – 80
Day 15 to hatch – Temperature (C) – 37.5
The following hatching conditions I have found over the years are giving the best hatching and survival rates for Coturnix coturnix quails
I collect eggs for up to 3 days, depending on how many I want to incubate, then class them for hatching.
1. Do not clean or wash the eggs at all
2. Remove any odd colours and shapes of eggs
3. Candle all eggs for fine cracks and discard cracked eggs
4. Weigh the eggs and only incubate eggs that are between 12 and 15 grams. Smaller eggs result in weaker chicks, while larger eggs (15 g plus) is not preferred since it becomes too large for the hens. The incidence of double yolks are not always detectable and is more frequent in larger eggs. I select hens for about 280 – 300 g body mass and do not breed from larger birds. This is the most economical bird and eggs size.
5. Incubators are set at 37.7 Celsius and 60% (RH) Humidity. Hatchers are set at 37.5 C and 80 % (RH) Humidity. I monitor and adjust incubators and hatchers for both these two parameters with independent monitors as incubator measuring and displays are not always that accurate, even with my FIEM commercial, sophisticated and well proven machines. I use calibrated thermometers and wet bulb thermometers. Preheat incubators and hatchers for a couple of hours before setting.
I am always trying to simulate nature during incubation and hatching and therefore keep the inside of the machines dark, as if under a hen. Furthermore there are some research published lately suggesting to have better hatching results if the incubators and hatchers are switched off for about 30 minutes every day, again simulating the hen getting up to eat. I have not tried it, but will experiment with this soon.
Keep hatchers and incubators in an environment as close as possible to the setting parameters. Also avoid fluctuations in conditions and make sure there are no drafts, but it should be very well ventilated.
6. Coturnix coturnix eggs are incubated for 14 days (37.7 Celsius and 60 % (RH) Humidity) while automatically turned every 2 hours. Then they go into the hatcher (37.5 C and 80 % (RH) Humidity) until hatching at about 17 days. I leave the chicks undisturbed for 24 – 36 hours after the first chick hatched and then move all the hatched chicks to the brooders and stop hatching. I do not assist any chicks that struggle to hatch, or still in the eggs.
HATCHING TIMES
I use the same incubation and hatching parameters for many other species as well. All are moved to the hatchers 3 days prior to hatching and are just left in the incubators until 3 days before hatching, whatever time that may be.




 Back Yard Farmer