KENTUCKY FRIED RABBIT

New Zealand has far too many rabbits. They are eating their way through the countryside ruining the pastures so we decided, as payback, that we would eat them! There are many ways to cook this lovely, lean meat and ‘Kentucky Fried Rabbit’ is the best when one has had too many stews or roasts

Even though I am not a loyal KFC customer, I know lots of people who are (Obviously not close friends of mine). When I stumbled upon an Italian food site claiming to have “acquired” the famous KFC recipe (tongue in cheek off course from the Italians) and disclosed it all on their page, I was interested. I am often asked how to cook rabbit as I have AMPLE supplies in my freezer, my standard answer always is that you can cook it in any way you cook chicken. Having made the connection between chicken and rabbit and having the secret recipe at hand, I was determined to try some KFR (Kentucky Fried Rabbit) or DFR (Dunedin Fried Rabbit) in my mission to eat every one of these NZ PESTS!!!

It was my turn to cook Saturday lunch and I thought I may as well try my new adventurous recipe on Mrs BYF. Weighing out the ingredients to the closest gram and carefully following the intricate steps of the recipe, I had some food on the plates about two hours later and to my BIG SURPRISE it was very good. Some of my regular KFC muncher “friends” even seriously commented it to be better than the famous KFC!!! Watch out Colonel here comes New Zealand!!

Recipe

1 large wild rabbit

Cut the rabbit up in portions

Use a pan big enough to fit all the rabbit pieces in a single layer

2 cups of vegetable oil for frying

1 cup potato flour for the first drenching

2 cups flour for the second drenching

1 tablespoon of smoked paprika

1 teaspoon cardamom

1 teaspoon salt or more to taste

1 teaspoon powdered ginger

1 tablespoon powdered garlic

3 eggs beaten

Method

Because one can never be sure of the age of the rabbit I steam it until it is soft but still firmly on the bone. It takes about 20 – 30 minutes for an old rabbit. This step is not required if you know it to be a young rabbit and the results are always better than cooking an older rabbit

When the steamed rabbit has cooled, pat dry and drench with the potato flour. Whisk all the dry ingredients together. Dip the rabbit pieces individually first in the egg and then in the flour mix, then dip the pieces in the egg and flour again. Heat the oil in the pan. Slip the pieces into the hot oil (the rabbit should sizzle) and fry for about 10 minutes on a side, controlling the heat so that the rabbit becomes golden brown and not burnt

One probably should have this with mashed potato and gravy but I served it with steamed broccolini and polenta.

ENJOY with a glass of GOOD HOME MADE RED WINE
CALAMARI RIPIENI (Stuffed Squid)

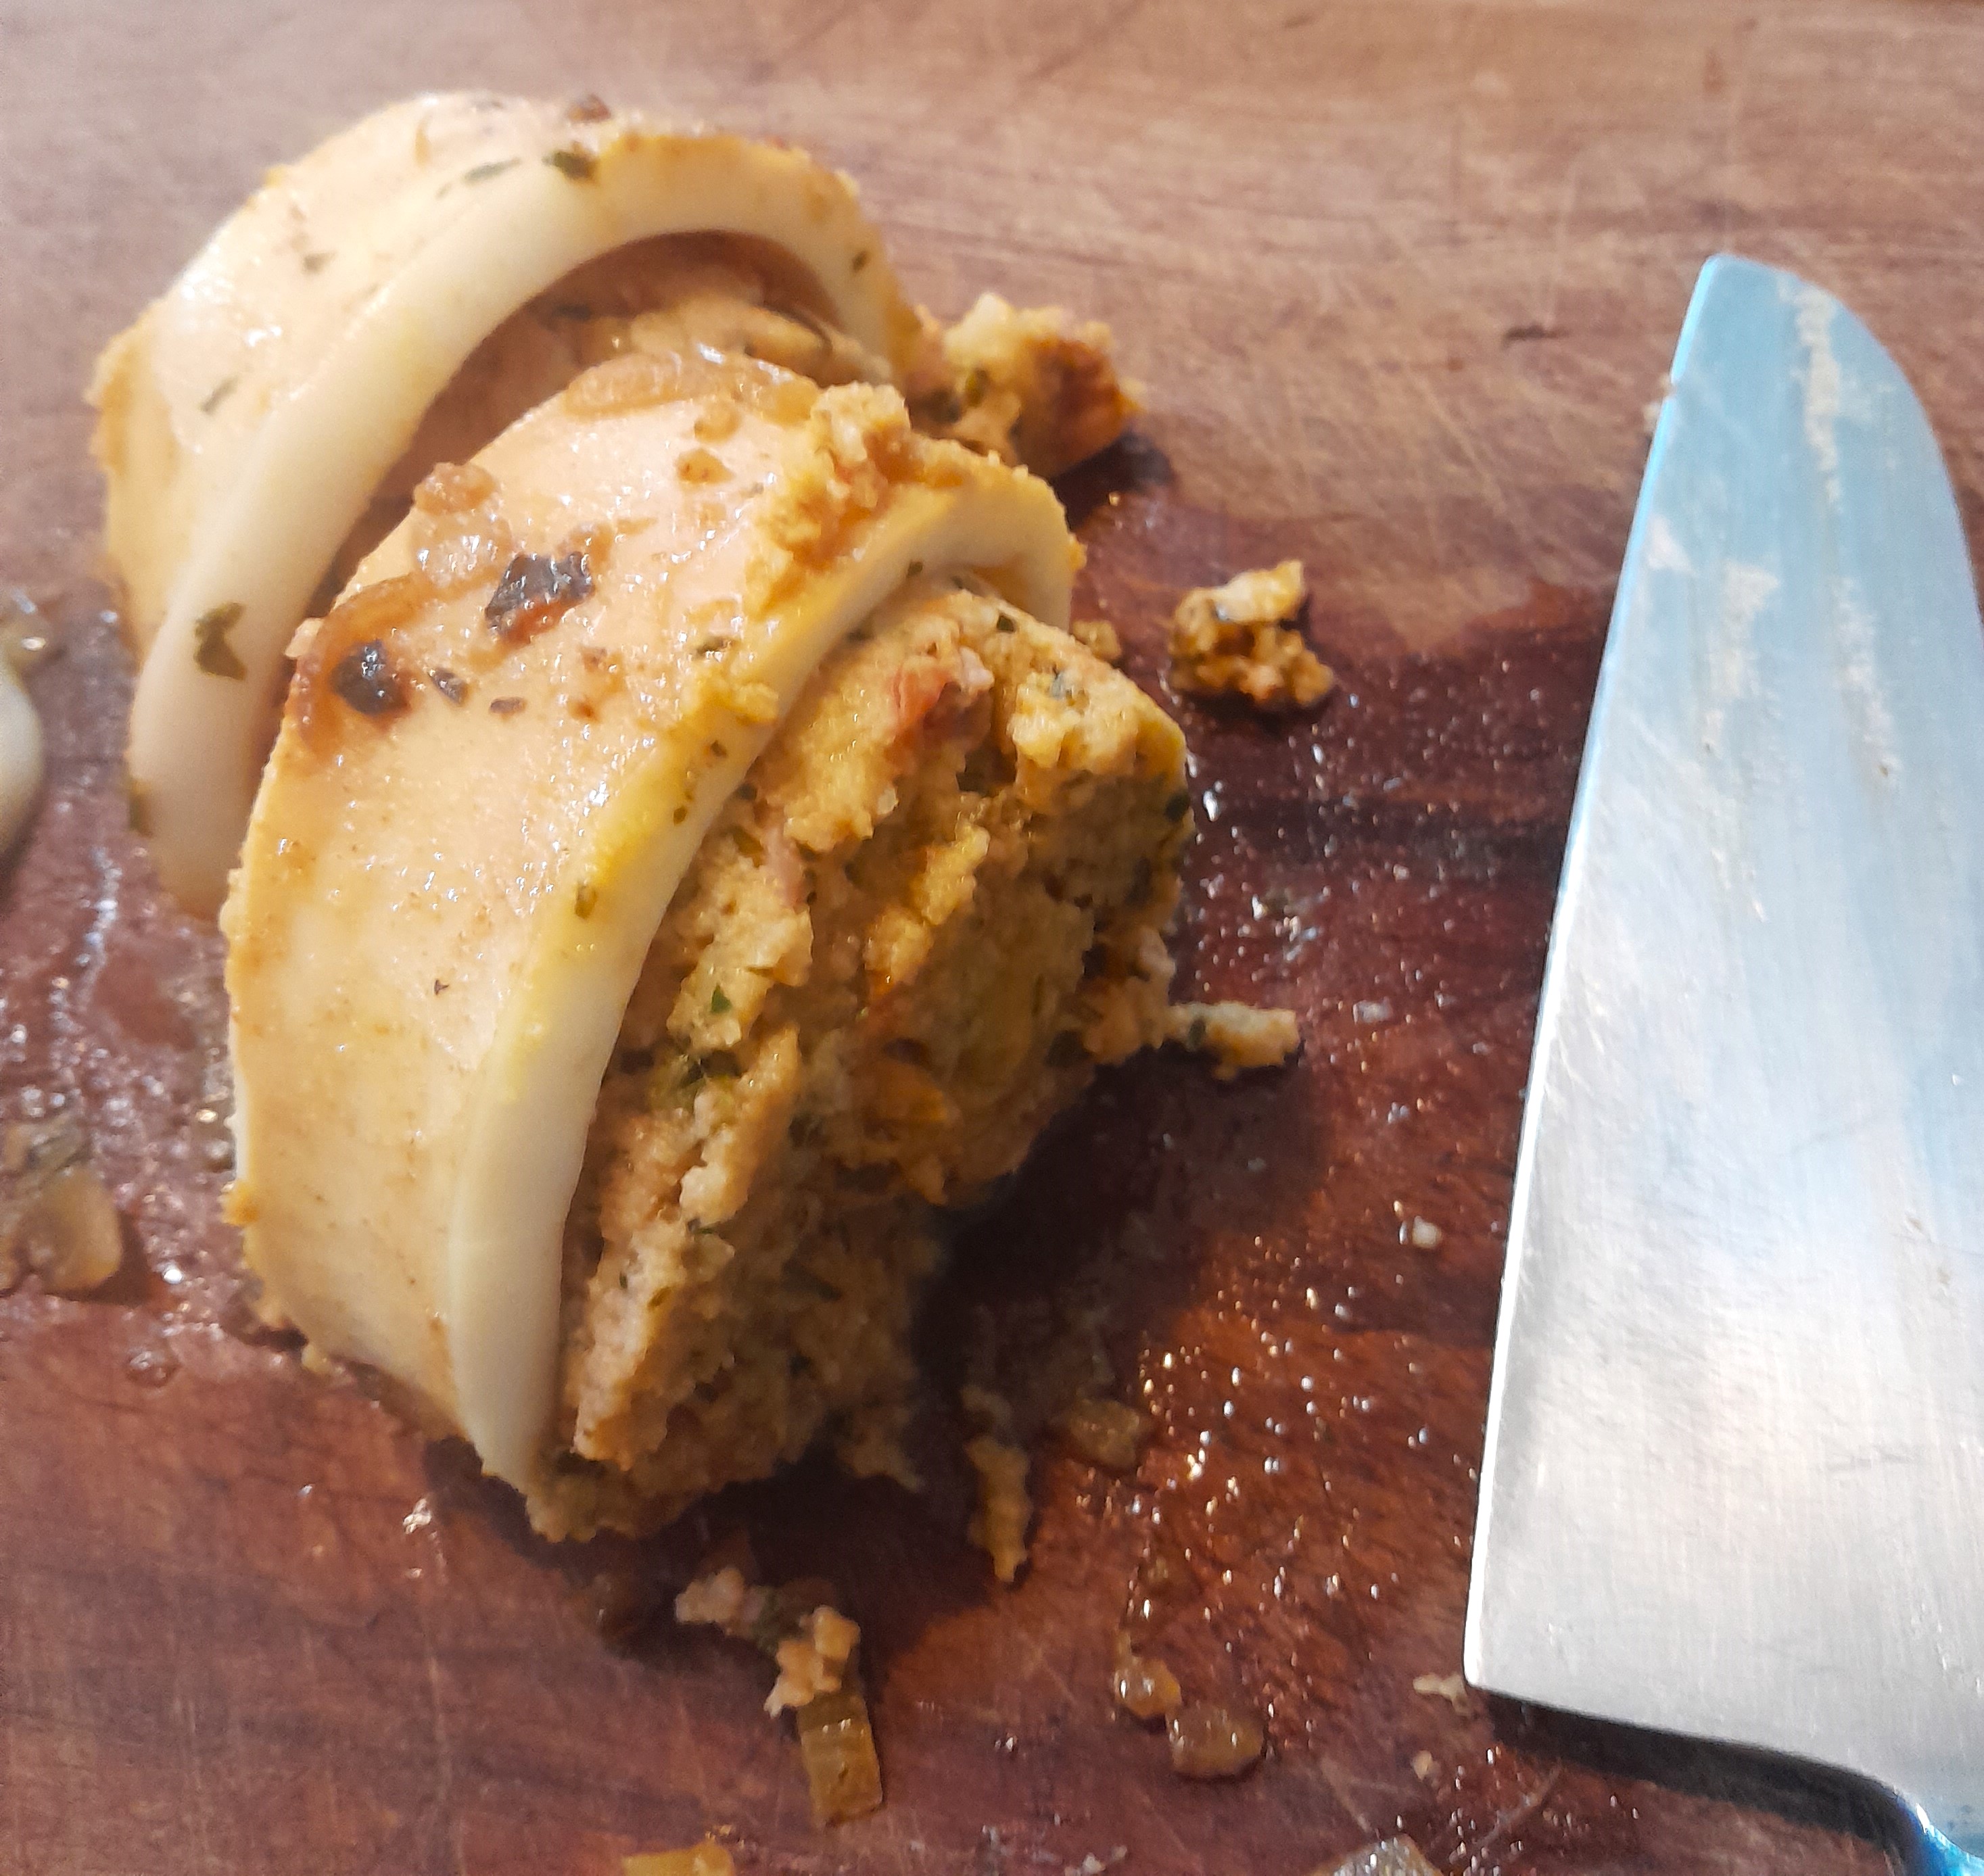
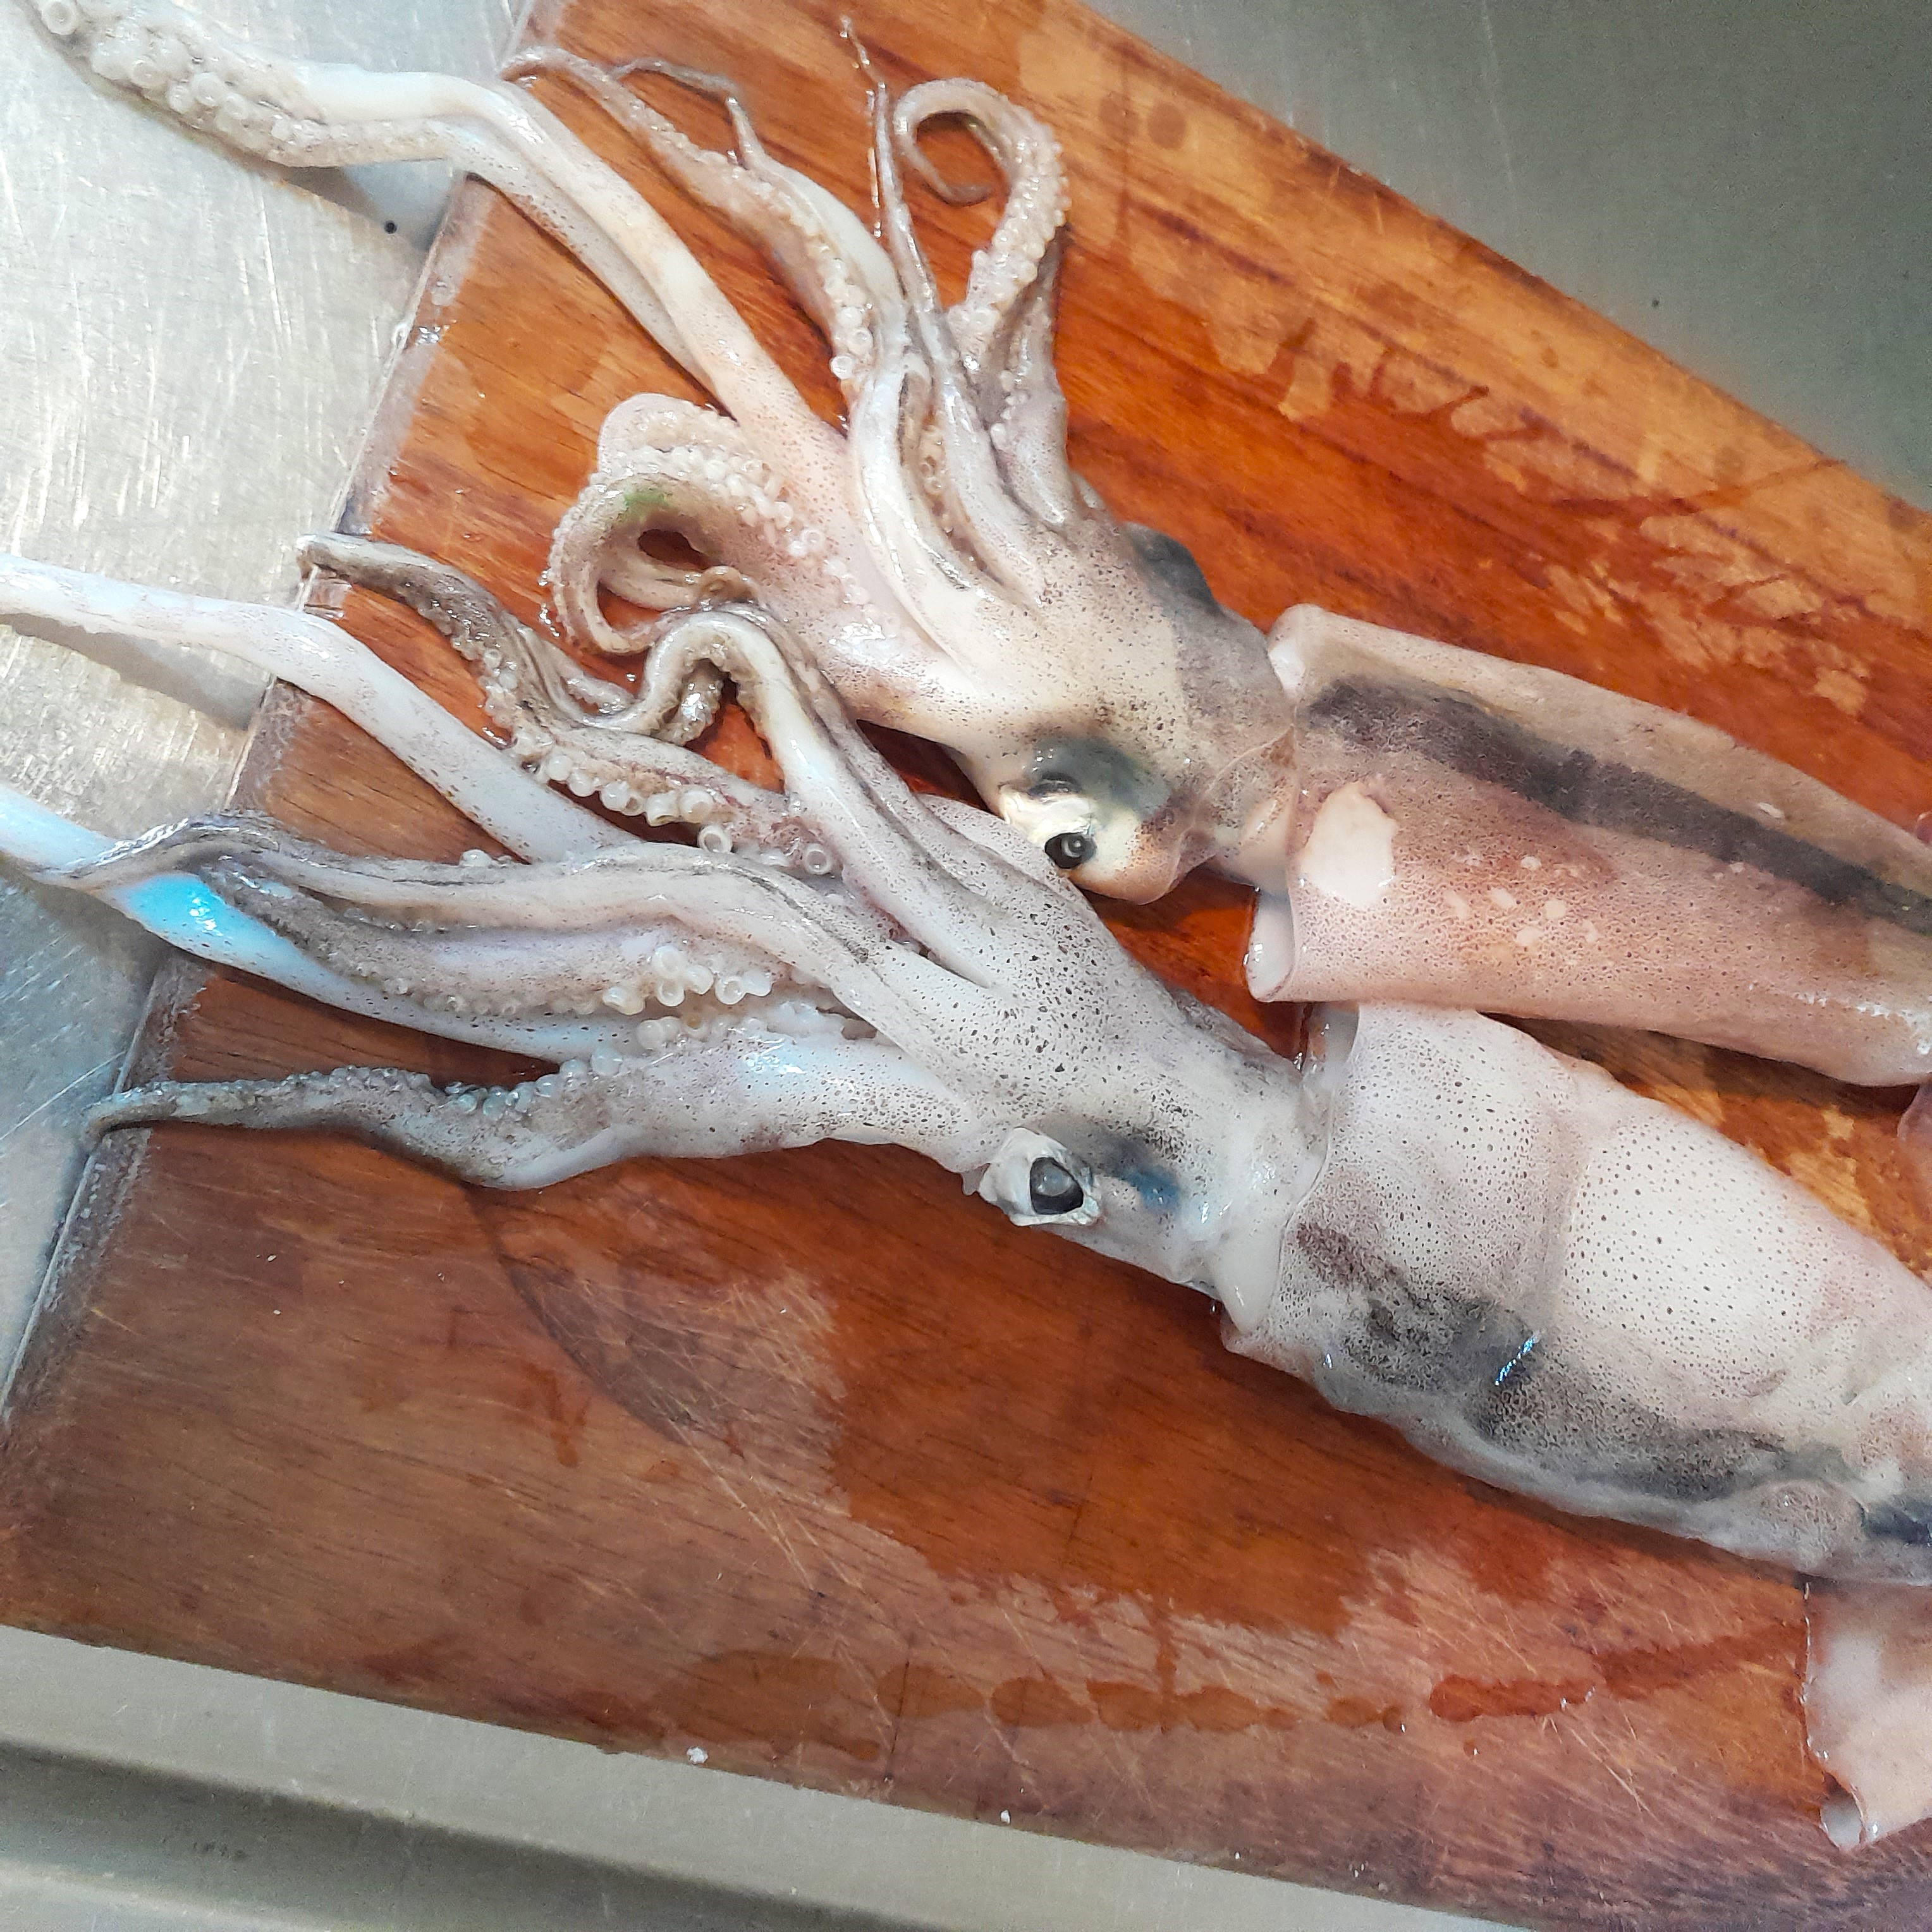
We got our hands on probably the best squid we have ever had. Fresh, large, tasting of the sea. We immediately started discussing our many options, determined to make the most of it.  The recipe we settled on was a tender, flavourful dish of squid. I cleaned as much as we need and froze the rest. After making a tender and tasty squid  with wine and spinach, Mrs BYF decided to put stuffed squid on the menu for lunch.

To serve six, or two with some very nice leftovers for the rest of the week 

6  whole Squid cleaned, tentacles and fins cut off leaving the sac intact

4  tablespoons extra-virgin Olive Oil

4  Garlic cloves or more

2  tablespoons chopped Italian Parsley 

140g fresh Tomatoes.

Salt to taste

chopped Chilli or chilli flakes to taste

1 Egg yolk

15g dry Bread crumbs. White bread unflavoured.

170g thinly sliced brown Onion 

100ml dry white Wine

Toothpicks the large strong ones

Method

Chop up the fins and tentacles

To make the stuffing, cook the garlic in the 1 1/2 tablespoons of oil until slightly coloured. Add the parsley and stir a few times before adding the tentacles and fins, cook for a few minutes stirring well. Add the tomatoes and let the stuffing simmer for  about 30 minutes until the tomatoes are dense and have lost the waterlines.  When done, transfer the stuffing to a bowl and let it cool completely. Add the egg and the breadcrumbs and mix well. Mrs BYF was using quail eggs and could not be bothered to seperate the whites from the yolks. The result was still very good. 

While the tomato mix cooks, cook the chopped onion in 11/2  tablespoons of oil until golden. Meanwhile divide the stuffing in to 6 equal portions and stuff the squid sacs, secure the openings with the toothpick.

Add 1 tablespoon of olive oil to the onion and turn up the heat, cook the squid turning it until all the sides of the sacs are golden brown. Add the white wine, let it bubble away completely, put the lid on the pan and turn the heat to a very gentle simmer for 45 minutes. Add a bit of water only when there is a danger of the squid sticking to the pan. When tender, slice the sacs in to 1 or 2 cm thick slices. Return to the pan and dribble whatever juices there are over the slices. Serve immediately.

The entire process was worth while because the end result was delicious! 

ENJOY and do not forget a glass of good home made red wine

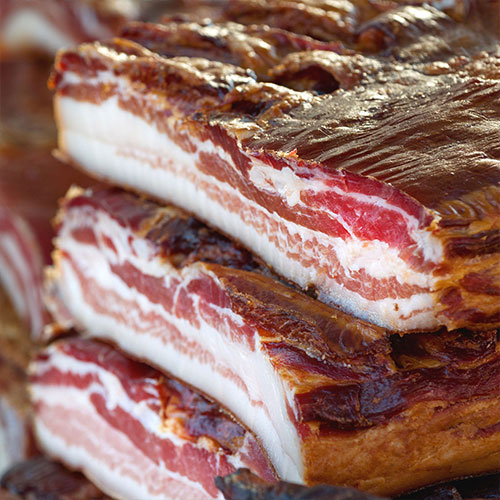
PANCETTA

By this time of the year Pancetta stocks are almost depleted in the BYF pantry and the wheater being kind, new stock will be made soon

Get some nice thick pork belly (skin off and fat on!) hopefully raised free range and chemical free, or you may be lucky enough to shoot a nice young and fat wild pig

Trim the edges so as to have an almost uniform, in thickness, belly. Now cut the belly in managable sizes of about 300 mm X 200 mm

Mix the following ingredients per Kg of meat

2 Cloves Garlic – finely chopped

1 small sprig of Rosemary – finely chopped

3 g grated Nutmeg

3 g ground Black Pepper

1 g fresh Chilli (optional) – finely chopped

Mix the spices well and thoroughly rub it into the belly, covering all the cracks and crevices

Get a container large enough to lay out the pieces of meat in a single layer. Spread a thin layer of sea salt covering the bottom of the container, then lay the pieces of meat onto the salt and cover them completely with more salt in such a way that no meat is exposed. Place the container with meat in the fridge at about 3 – 5 C for 2 days. After 2 days, remove the salt, turn the meat over, drain off any fluid and cover with the same salt and return it to the fridge. If the belly is thin (about 25 – 30 mm) remove from the fridge and discard the salt after day 3. If the belly is thicker than 30 mm, leave for another day and remover from the fridge and discard the salt after day 4

Now rinse the bellies very well with cold running water and then wash with good red or white wine

Your Pancetta are ready to commence the curing process now by hanging them in such a way that they do not touch each other. Conditions must be about 15 C for the first week and then about 7 – 10 C until ready to use. Make sure the area is well ventilated, but NO DRAFT on the meat. The Pancetta should be rotated in such a way that uniform drying is achieved

After about 30 days, depending on the thickness, ventilation and temperatures of the Pancetta, they should be ready to taste and eat when you think they are ready and of the correct consistency – no harm in eating them too soon. Always remember to slice your Pancetta VERY thin. An old hand can tell when the Pancetta is ready by just feeling them

Once the consistency and moisture content is acceptable, vacuum pack and store in the pantry

The Pancetta can be enjoyed as is or in any cooking or fried, like bacon

Another version of pancetta can be made with the skin on and the pancetta rolled and tied

ENJOY and do not forget the home red wine to compliment the good Pancetta

CAPOCOLLO (COPPA)

If your Capocollo looks, smells and tastes like this, you know you have done something right!

COPPA

Capocollo (Coppa) is made from the whole neck muscle of a young pig to the fourth rib. Cut a round section of about 200 – 250 mm in diameter and 400 – 500 mm long. Trim and clean the section properly so it does not have any loose pieces of meat and fat.

For every Kg of meat, mix the following ingredients:

35 g Salt

6 g Black Pepper (Ground)

50 g Garlic (Finely crushed)

50 Rosemary (Finely chopped)

20 g Sage (Finely chopped)

10 g Nutmeg (Fine)

5 Bay Leaves (Finely chopped)

6 Cloves (Finely chopped)

Mix all the spices well together and make sure it is all very fine, then rub well into all surfaces of the meat

Put in the fridge at 3 C for 4 – 6 days, depending on the size of the meat. Turn and rub daily

Scrape loose spices from the meat and cover with sausage skin – Natural is best, but synthetic works as well

Tie the meat down with natural twine, then put into Butchers Netting, tightly fit, to keep it all together

Hang at room temperature (17 C is ideal) for 4 days, then hang in the pantry / cellar at maximum 10 C until ready. Make sure the room is well ventilated, but NO DRAFT. This may take up to 24 months, but normally rready in 100 days, depending on temperature, ventilation and meat size. Feel the consistency for readiness every so often and also rotate the meat position in the pantry, as well as top to bottom turnover (hang on the other side)

This is a dry cured SALUMI and needs to be sliced very thinly

Enjoy as antipasto with home-made bread and home-made red wine !!

Frittata di Uova di quaglia, Cardi e Asparagi

Quail Egg Frittata with Cardoon and Asparagus

Clean and dice a handful of the cardoon and boil in salted water for about 5 minutes. Dice a handful of Pancetta and fry in a pan large enough for all the ingredients. Ad the Cardoon to the pan and fry with the Pancetta for about 5 minutes. Ad pepper to taste (salt is already in the Pancetta)

Crack about 30 Quail Eggs and ad a handful of grated Parmigiano Reggiano, two tablespoons of water and ground Black Pepper. Beat the eggs slightly with a fork and ad to the Pancetta and Cardoon. Fry slowly until almost set. Now place the pan in the oven with the grill turned to high.

Cut the tips of the Asparagus and fry in another pan with butter and Black Pepper for about 2 -3 minutes.

When the Frittata has set in the oven, decorate with the fried Asparagus and return to the oven until brown. Remove and drizzle with Extra Virgin Olive Oil, Black Pepper and fresh Basil leaves

Eat with toasted Wholemeal Organic Bread and wash it down with a good wine – Today I tried my Honey Wine, which I make to be dry and it was all GOOD!!