Who needs the Waste?

2014-02-10 - Garbage2014-02-10 - Garbage 3

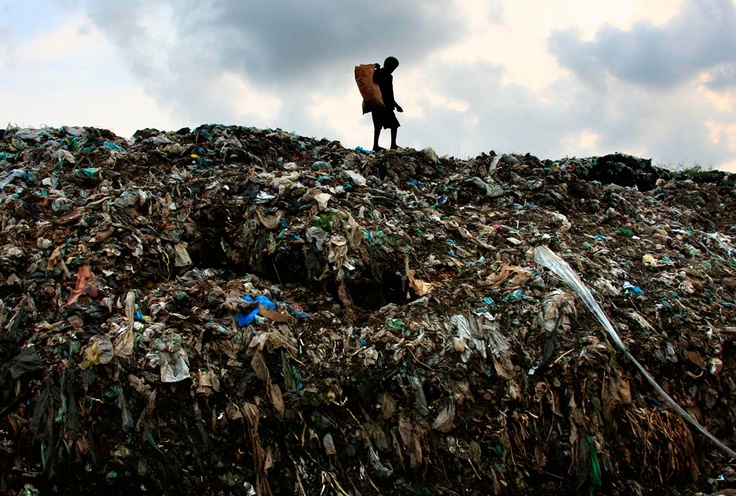
A WASTE REDUCTION PROGRAME (to be followed by all in New Zealand?)

The Council is supplying households with a YELLOW BIN and a BLUE BIN for paper and glass recycling respectively. Then you could either purchase black rubbish bags or rent a RED BIN for all your rubbish. This is for Dunedin, but probably similar elsewhere.

The object of garbage management in your household should be such that you should strive to have as little as possible to put in THE YELLOW, BLUE and RED BINS at all times. How do you achieve this? Firstly you keep an additional four containers under your sink (I keep 2 litre plastic buckets) and come into the habit when you work in the kitchen to have these bins readily available and sort offal into these in the sequence described underneath, as much as possible.

The BLUE BINS are used for unbroken glass bottles and jars

The YELLOW BINS are for paper and cardboard, clean rigid plastic, tins, cans, aluminium trays, foil, aerosol cans, plastic bottles, containers and lids

The other four bins are :

The GARDEN COMPOST BIN (If you do not make garden, it is now the time to start 😉 ) What goes into this bin?
• Citrus off cuts and peels
• Onion off cuts and skins
• Coffee Grinds
• Tea Bags
• Egg shells
• Newspapers and other light paper materials

The POULTRY BIN (Chickens are a delight!) – What goes into this bin?
• All off cuts and left overs that a human being will normally eat and benefit from if stranded in the desert and starving. Remember chickens love meat and meat products. Cut these in bite size bits for the chickens, ducks, quails or what ever.

The RABBIT BIN (Bunnies are so cute!) – What goes into this bin?
• The same principle applies as for chickens, but only the vegetarian foods – if you can eat it, so can the rabbits. Depending on rabbit and chicken numbers and animal preferences, divide food between these two groups.

The WORM BIN (Get worms ;-))
• Anything vegetarian that the chickens and rabbits wont eat or do not like, goes to the worms, like banana peels, apple cores, hard or wilted outer leaves of vegetables, poisonous plants for animals like rhubarb leaves, etc. Do not put meat into this bin as it attracts vermin

The GARDEN COMPOST BIN – You should have a compost bin already if you are a gardener
• Any product that will ferment in one to two months if composted and did not fit into any of the above. Do not put meat into this bin as it attracts vermin

The RED RUBBISH BIN – The odd product may go into this, which is unavoidable
• Bones
• Plastic Bags

The idea is to have as little as possible to put into BLUE, YELLOW and RED BINS.

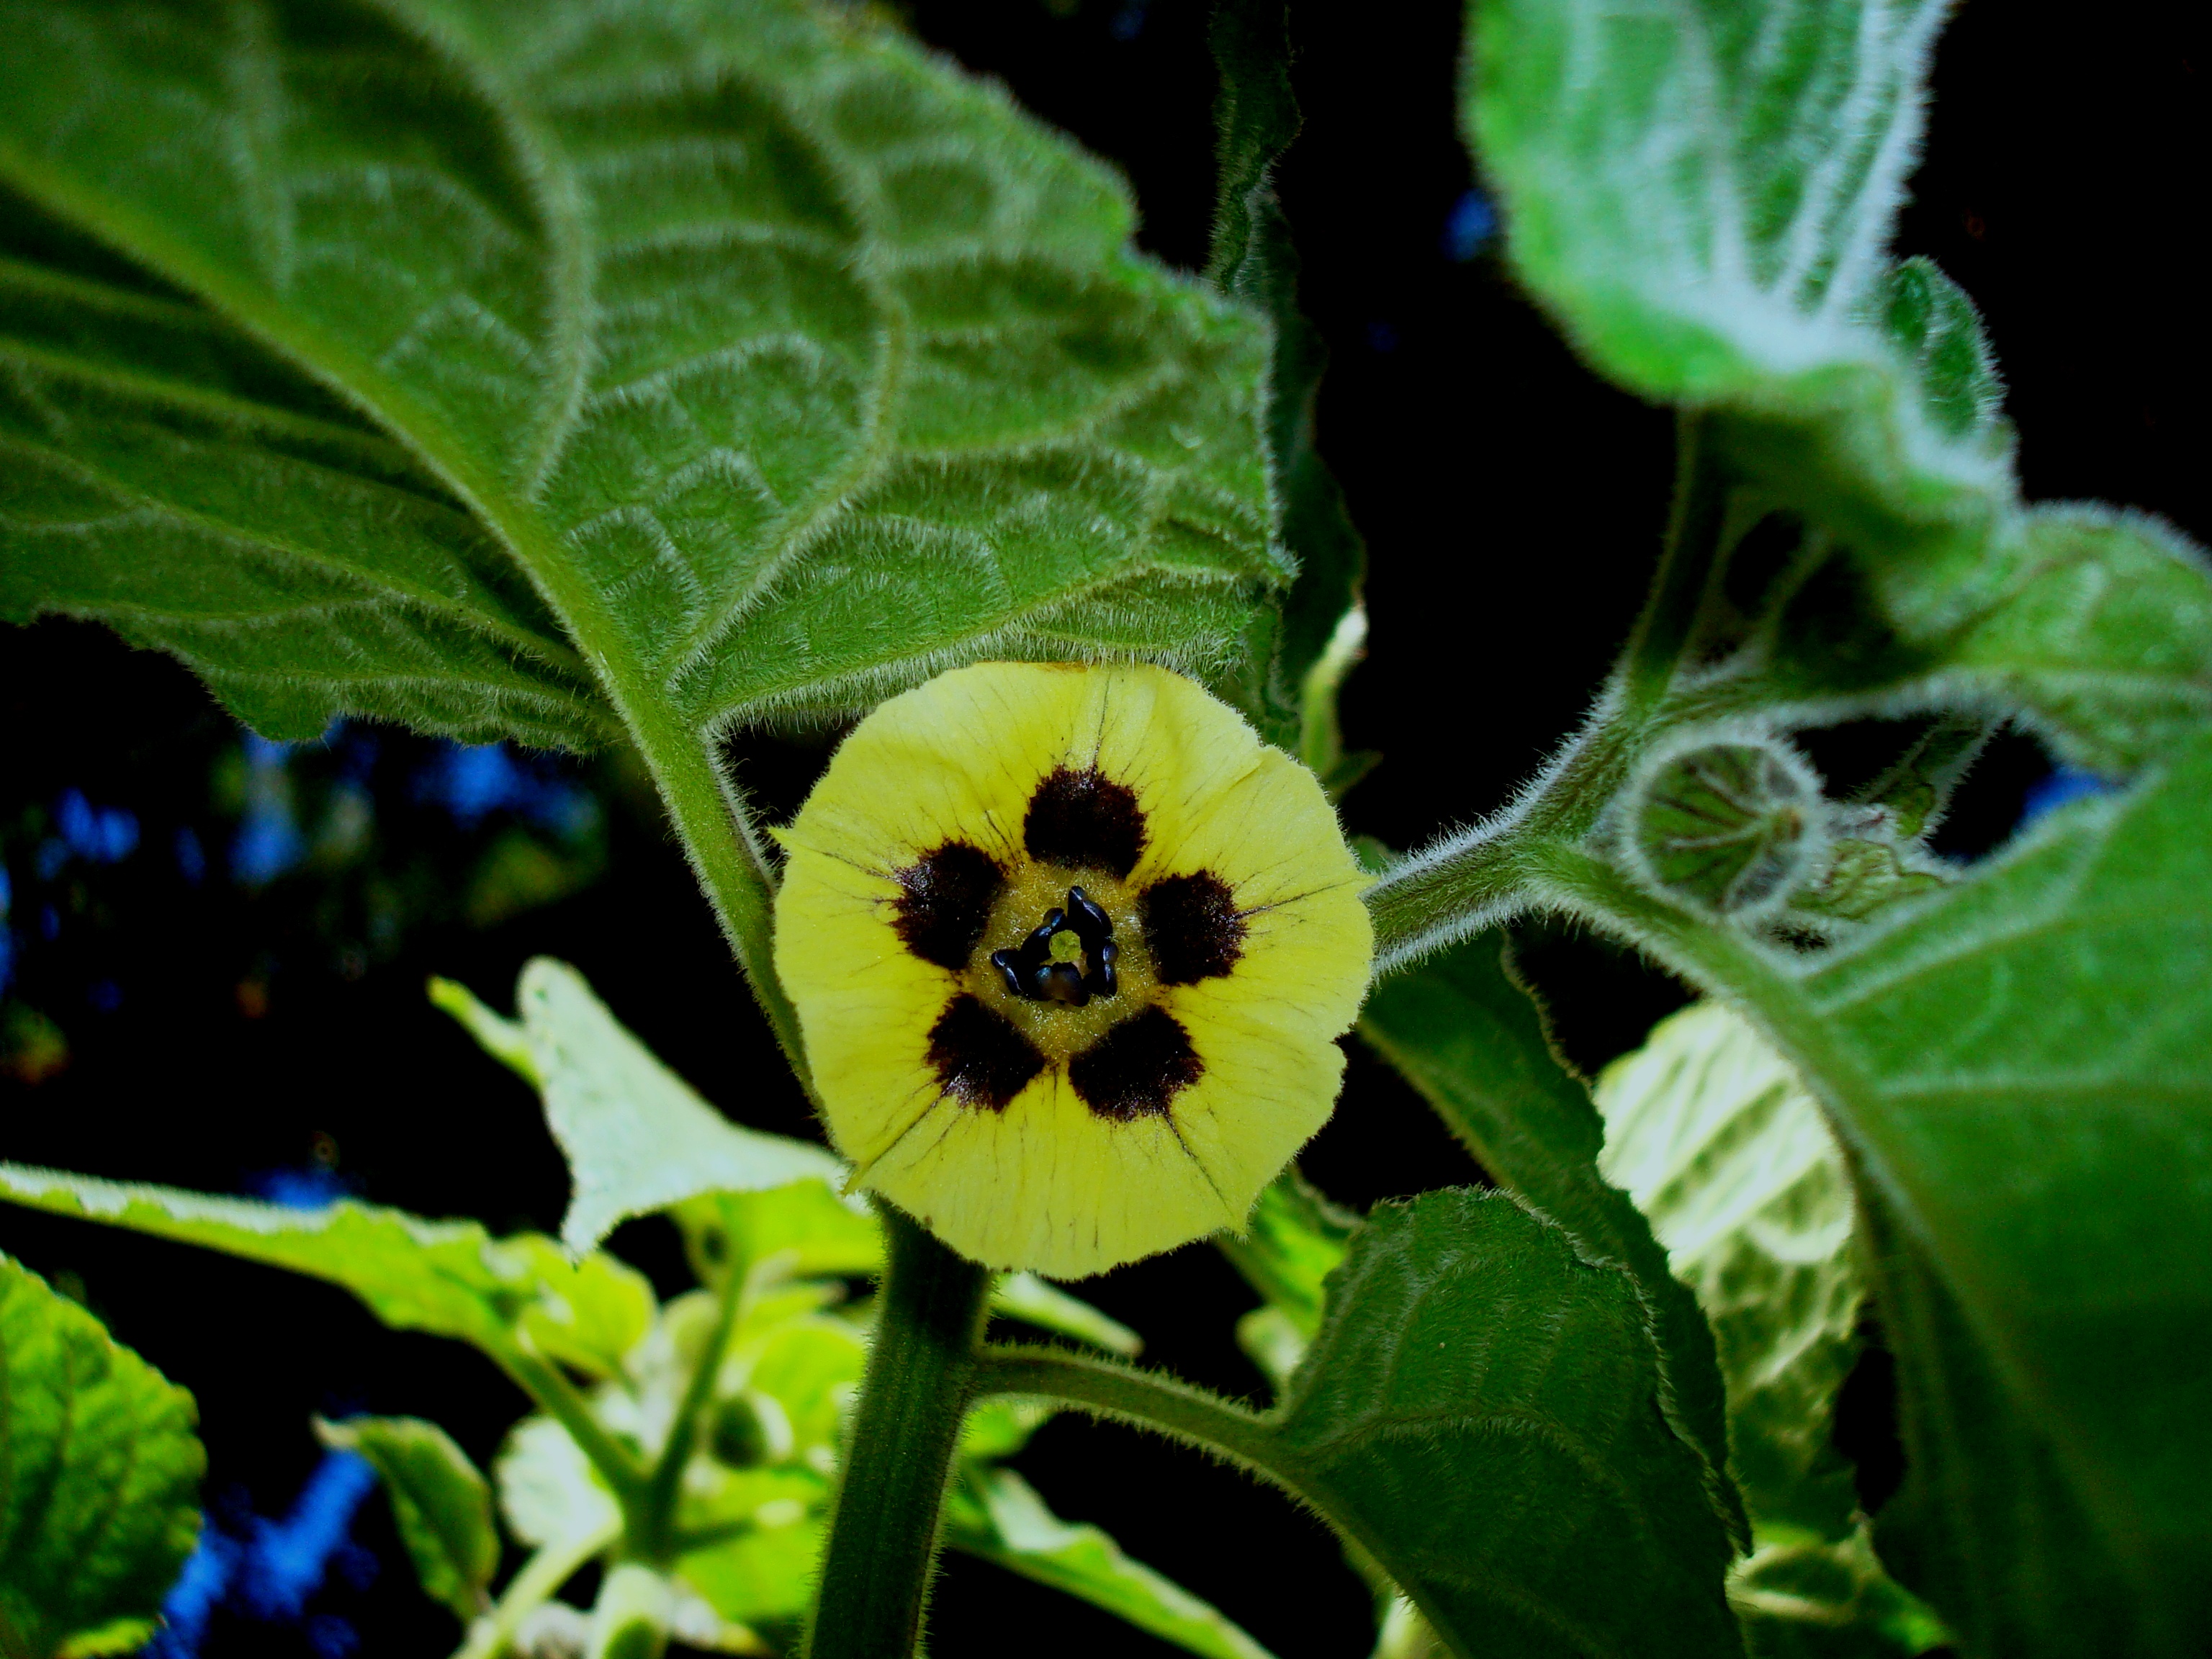
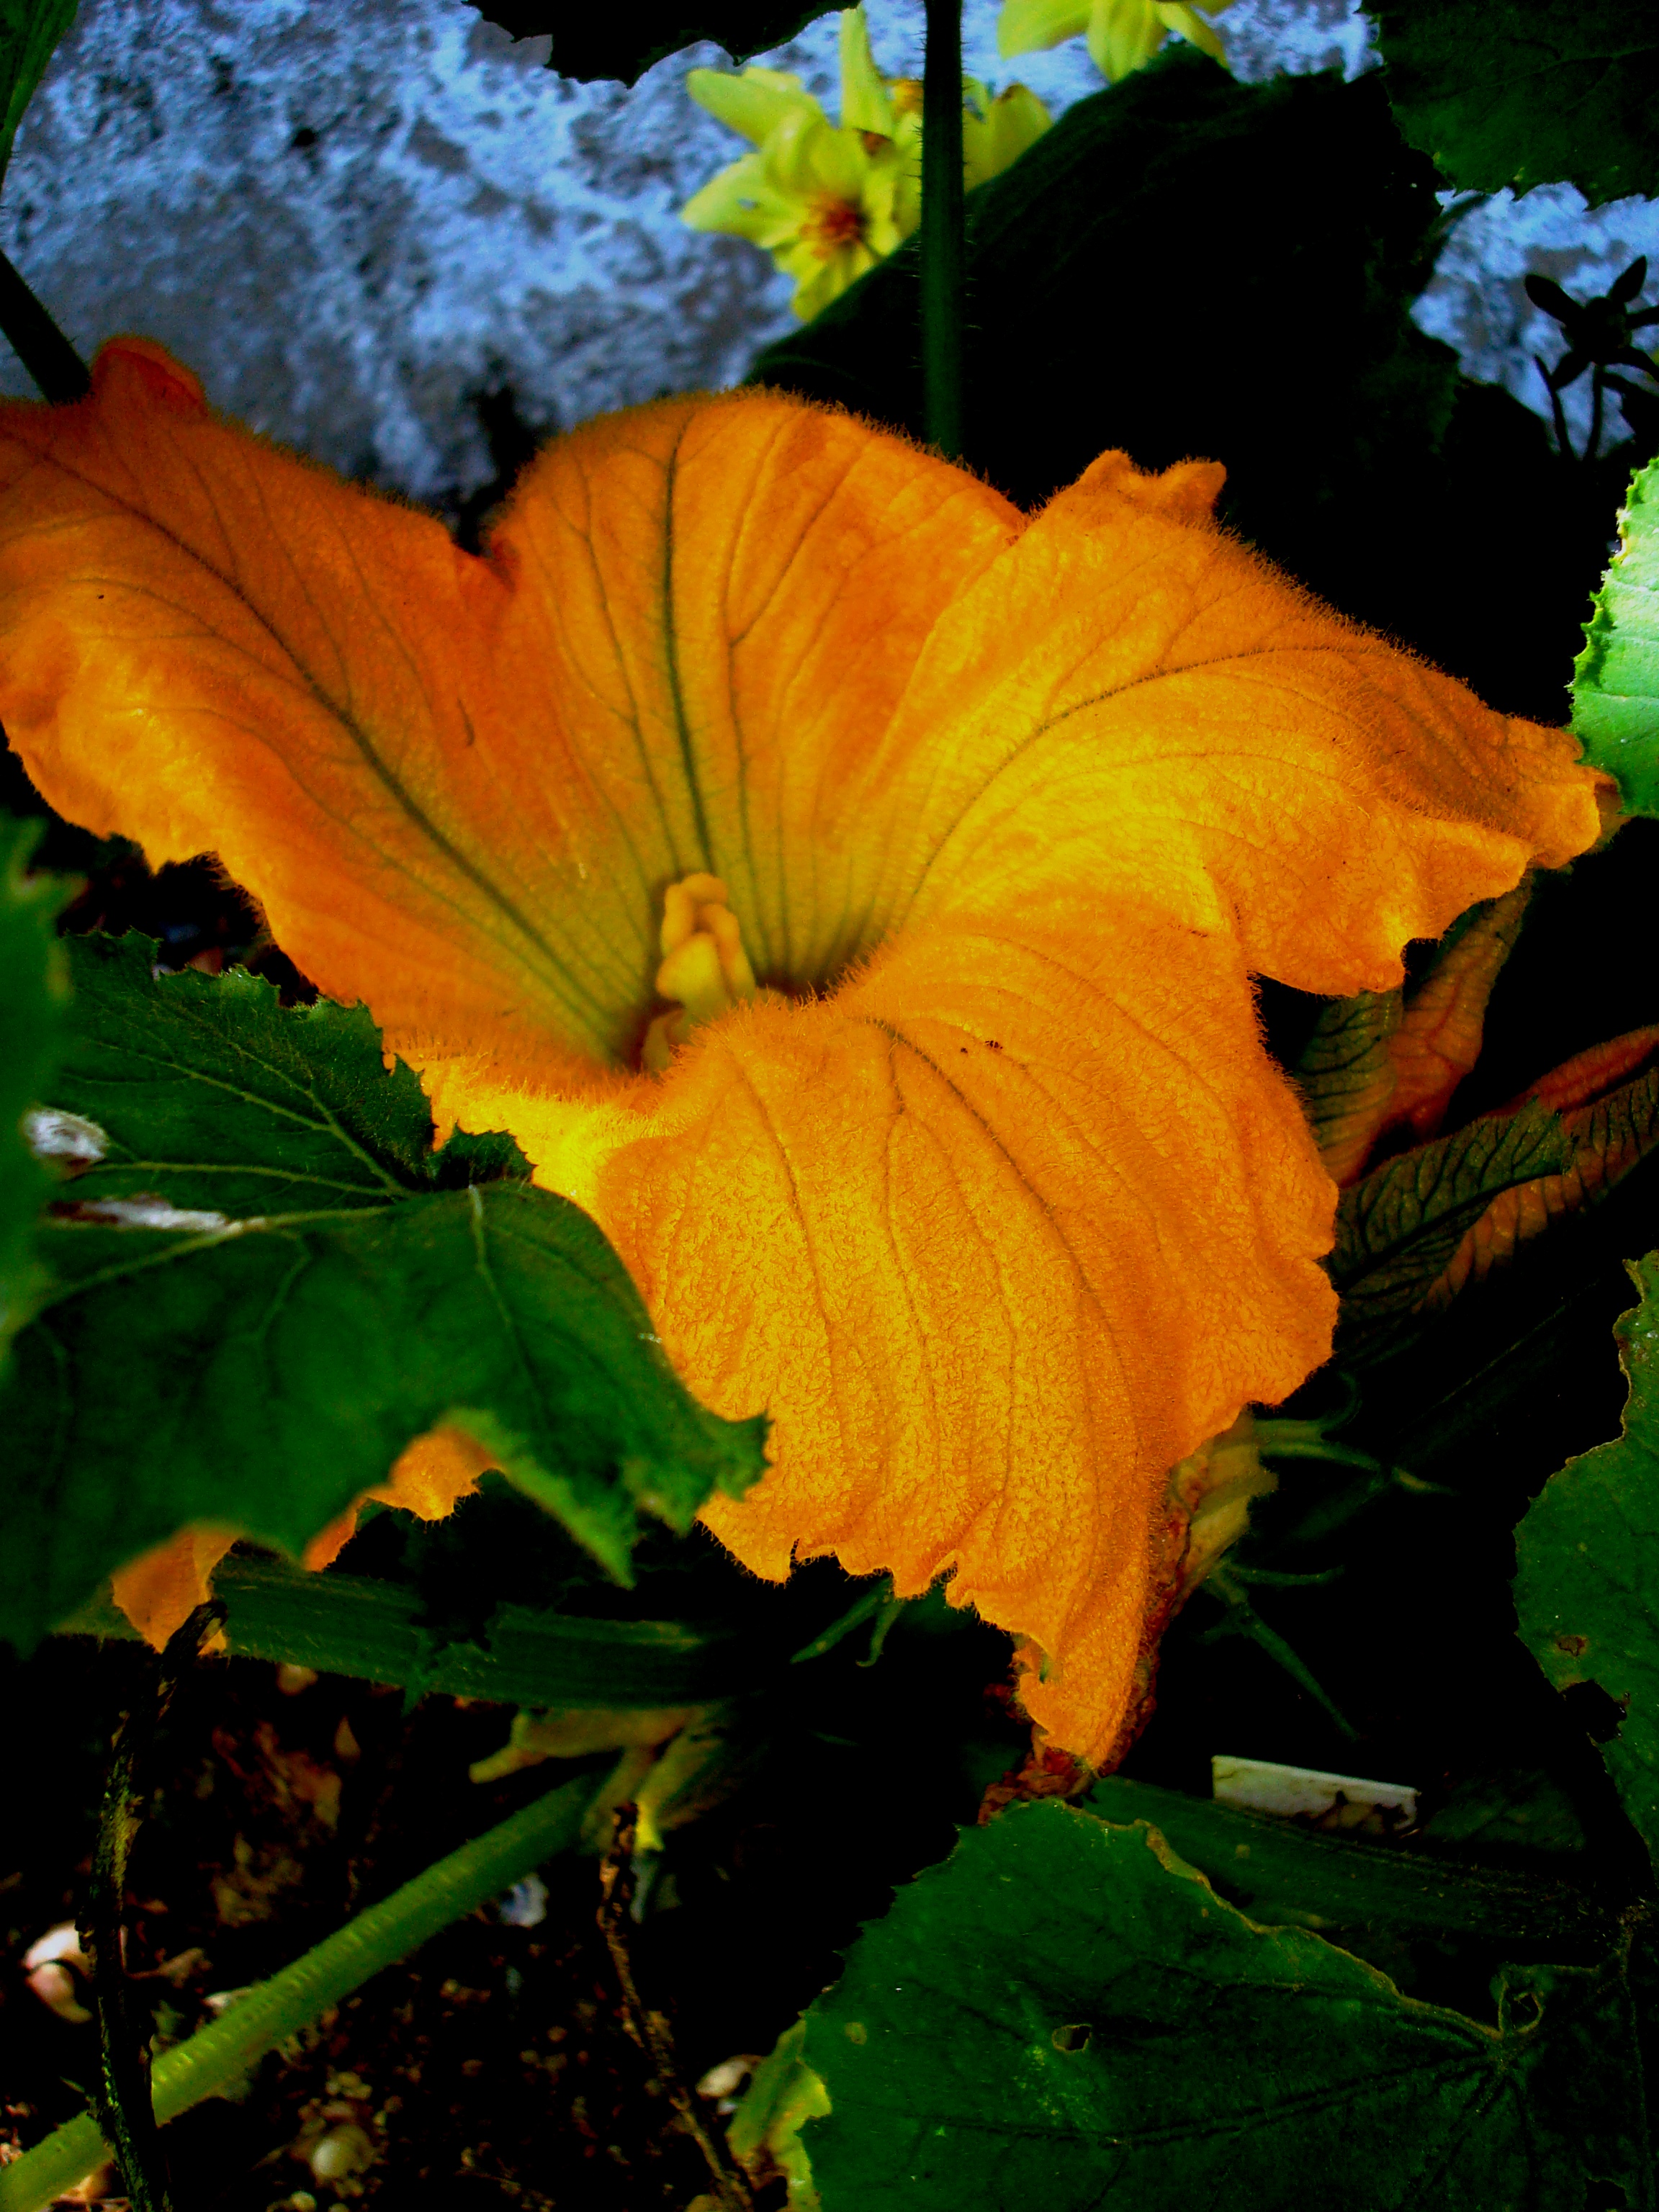
For those of us who are fortunate enough to have a working vegetable and fruit tree garden the problem is so much smaller and easier to handle. Try to buy as little as possible processed, tinned and bottled food – buy fresh and unprocessed if you do not produce it yourself. Should we follow the above simple steps,  vast amounts of money will be saved, the human   carbon footprint will be dramatically reduced  with all the accompanying benefits. Last week was the National Day Against Waste in Italy. A project supported by the worldwide SLOWFOOD organisation.  If it is in Italian, click “TRANSLATE” on the top of the page for English


Picking and Cooking a Cardoon (Cardi)

2014-02-08 11.11.20

Above is the cardoon, complete with ‘ Cardoon Goblin’, in my garden before harvesting.

I could not decide when to pick my cardoon, but following wide consultations, decided to pick it today. I have 2 more mature plants growing so I could have afforded to experiment.

2014-02-08 11.22.46

The harvested cardoon on my kitchen table – looking huge!

After cleaning and cooking the cardoon I decided that it was picked too early as the thicker stems, though hard and tough looking, were soft and tasty when cooked. If I left it to grow more there may have been more of the thicker stems, resulting in more to eat.

You need lots of time for a cardoon dish and I did not time myself but it took about half an hour from start to finish in preparation plus cooking time. There are many recipes to choose from and I went for the anchovie sauce which was a great success and enjoyed by four adults, who had it as a side to the main, in no time at all!

2014-02-07 - Cardoon and anchovie

Cardoon with Anchovie Sauce 

Pre heat the oven to 200 degrees C

1 large cardoon, leaves and stringy bits removed, sliced in 50 mm pieces kept in a bowl of water with the juice of a lemon mixed in. This prevents discoloring.

1 clove garlic, chopped

4 tablespoons butter

10 anchovies – the salty preserved kind, drained and chopped

1/2 cup grated Parmigiano cheese

Bring a large pot of water to the boil. Cook the cardoon pieces for about 30 minutes until  tender. In the mean time butter an oven proof dish that will hold all of the cardoon pieces. Melt the rest of the butter in a pan and add the anchovies and garlic and stir gently until the anchovies dissolve. Put the cardoon into the prepared dish, pour the anchovie sauce over and sprinkle with the Parmigiano cheese. Now bake it in the oven for 30 minutes. Serve immediately.

Potato Harvest and Hasselback Potatoes

2014-02-04 18.48.04

The potato yield was unbelievable. I have harvested 45 kg of potatoes from only 2.1 meters square – this equates to a whopping 215 Tons per hectare compared to the average for all developed countries in the world of 38 Tonnes per hectare and in New Zealand about 70 Tonnes per hectare. (I am now waiting a call from the CEO of the NZ Potato Council offering me a Seat on the Board)   The potatoes were practically the first things I planted after arriving in New Zealand following mulching and composting of the vegetable patch which was pure clay when I started.  Digging up the potatoes and then removing clay for another 500 mm and then putting compost down the trenches and covering it all with a mix of clay and soil wore me out and I had to stop halfway through the job to only finish it after two days in the patch. Above is a picture of  some of the harvest.

2014-02-04 20.22.19

I could not resist putting a few of the potatoes in the oven. I have been reading about these Hasselback Potatoes and they taste as good as they look!

Hasselback Potatoes

Preheat the oven to 250 degrees

Potatoes washed, keep the skins on

Rosemary chopped 

garlic minced or chopped fine

olive oil and melted  butter mixed for basting

salt  

Slice each potato in slices about 5 mm thick. Do not slice the potato right through, keep just enough at the bottom to keep the potato intact.  Mix the garlic and rosemary in to the butter and oil and toss the potatoes in the mix. Put in oven and when the slices start separating a little baste the potatoes with the left over basting mix. When golden brown test for tenderness and enjoy.

An Artichoke, a Pumpkin Flower, some Sage Leaves = Lunch

2014-02-04 12.10.06

I cleaned up the garden and brought in one small artichoke, one pumpkin flower and some sage leaves. I did not know what to do with my meager harvest so I decided to deep fry

every thing.  I added some fast home made bread, (pane veloce) put out the last of the carrot top pesto and ricotta cheese. Poured a bit of red and had a great meal.

Flour and Water Batter

1 cup plain white flour

Pinch of salt

water

Mix flour and salt add water a little at a time while whisking until you have a thick creamy consistency. Set aside 

Frying the Veg 

If you have a very young fresh artichoke, boil it in water for about 20 min or until tender but not falling apart. Set aside on kitchen paper, allow the retained water to drain and cut in half or, if it is a large artichoke, quarter and remove the choke.

Heat about 6 cm of vegetable oil in a pan, when the oil is hot,  dip the vegetables in the batter and slip them in to the pan. Do not overcrowd.. When crisp remove the veg, drain on kitchen paper and put in a new batch. Serve immediately, if you wait the batter loses its crispness.  Â