
THE BYF COMPLETE QUAIL NUTRITION SYSTEM

FOUR PRECISION FEEDS
One Seamless Program – Proven, Consistent Results

At Back Yard Farmer, we reject one-size-fits-all feeds. Quail have precise, ever-changing nutritional demands through every life stage – and nailing those stages is what separates average flocks from exceptional performers with superior growth, vitality, fertility, and longevity. That is exactly why we developed and proudly offer a complete, life-stage-specific quail feeding system:

Starter → Grower → Breeder → Mature Maintenance

These four feeds are engineered to transition smoothly, eliminating nutritional stress, digestive upset, and guesswork. When used as a coordinated system, you get predictable outcomes: rapid, uniform growth • robust skeletal development • healthy, long-lasting breeders • exceptional shell quality • high fertility • and reliable, high hatchability.

Why the BYF System Delivers Superior Results

  • Smart, progressive balance of protein and energy – perfectly matched to each phase
  • Precise mineral control — avoiding dangerous over, or under supplementation
  • Consistent ingredients and formulation across all feeds for steady performance
  • Breeder-focused design — prioritising longevity and sustained productivity over short term burnout

This isn’t just a loose collection of feeds – it is a proven, integrated program born from real world quail breeding experience. Feed is not mere “fuel” It is the precise combination of proteins, fats, fibres, minerals, vitamins, and carbohydrates that drives health, reproduction, and hatch success.

Feed Stages at a Glance

Starter Feed

For chicks from hatch to 21 days
Kick-starts explosive early growth with high digestibility, optimal gut development, strong immunity, and rapid muscle formation. Produces uniform, well-framed juveniles without over-stressing tiny systems

Grower Feed


For birds from 22 days to 7 weeks
Moderates growth rate while building strong bones, solid structure, and lean body condition Prepares quail perfectly for maturity — avoiding excess fat or oversized/poor-quality eggs down the line

Breeder Feed


For all actively producing mature birds.
Optimised for peak fertility, outstanding shell strength, and top-tier hatchability. Supports consistent egg quality and long-term breeder health — maximizing production without sacrificing bird welfare

Mature Maintenance Feed


For non-laying mature birds
Promotes healthy molting, restores vital reserves, and conditions birds for peak performance in the next breeding cycle. Engineered for Exceptional Hatchability


When quail are fed exclusively on the BYF system and eggs are handled properly, nutrition-related hatch failures become extremely rare. Balanced amino acids, carefully calibrated minerals, and stable energy sources work in harmony to develop strong embryos and hatch vigorous, lively chicks

The Simple Rule for Success


Feed the right diet at the right stage and let your birds deliver outstanding results.

Ready to unlock consistent, high-performance quail breeding?

Choose the BYF Complete Quail Nutrition System, where precision feeding meets real world reliability
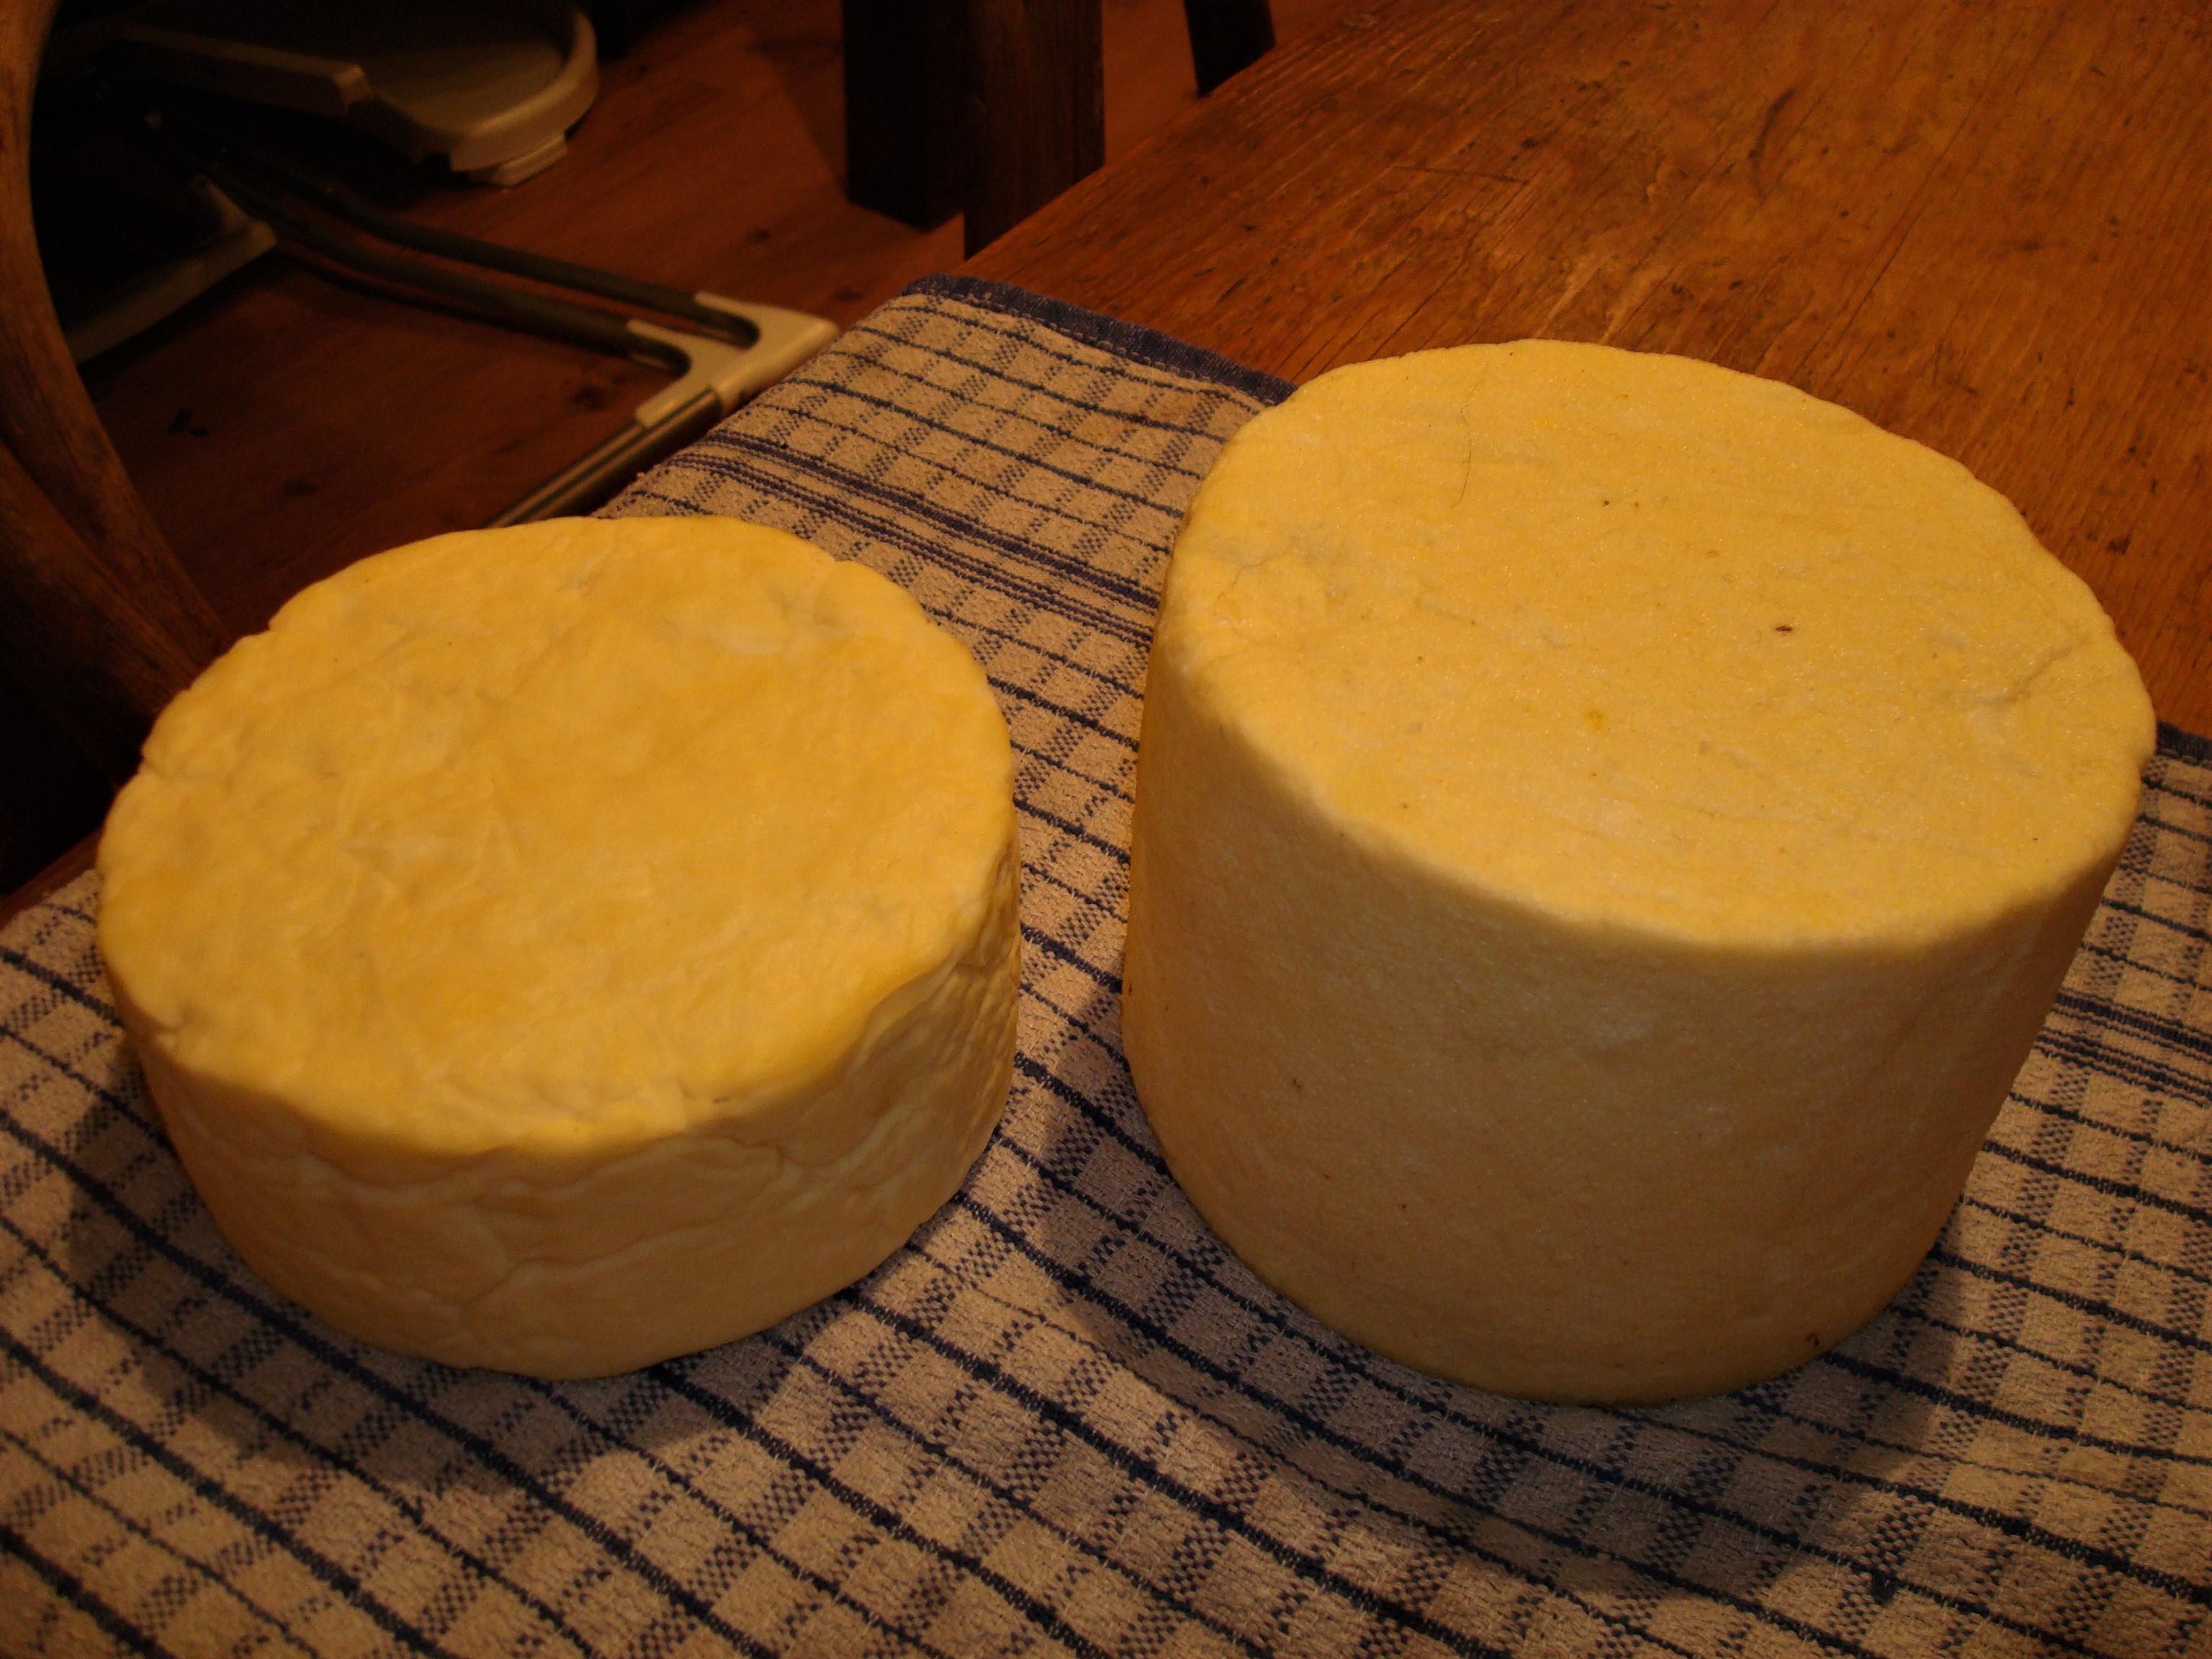
FORMAGGIO di CONTADINI – Italian Farmhouse Cheese

Traditional Peasant Cheese

Formaggio di Contadini is a rustic farmhouse cheese inspired by traditional Italian country dairies. Made with rich Jersey milk, it develops a smooth, supple texture and a gently savoury flavour that improves with natural ageing.


Ingredients

  • Fresh Full-cream Jersey cow’s milk (Not pasteurised) – 6 Liters
  • Thermophilic starter culture – ¼ teaspoon
  • Goat lipase – 2 g
  • Liquid rennet (RENCO) – 7 ml
  • Non-iodised salt

Method

1. Warm and Culture the Milk

Gently heat the milk to 32 °C.
Sprinkle the starter culture over the surface, allow it to rehydrate for 2 minutes, then stir well

Cover and keep at 32 °C for 60 – 90 minutes to allow the milk to ripen and develop flavour


2. Add Lipase

Dissolve 2g goat lipase in a small amount of milk and let it stand for 10 – 15 minutes
Stir thoroughly into the milk


3. Add Rennet

Add 7 ml liquid rennet, stirring gently in an up-and-down motion for 1 minute.
Cover and hold at 32 °C for 45 – 60 minutes, or until a clean break is achieved


4. Cut the Curd

Cut the curd into 6 mm cubes

When cutting to 6mm, use a long knife or harp for uniform cubes. Stir very gently during cooking to avoid matting too early — this preserves moisture for a more supple final texture.


Allow the curds to rest for 5 minutes to release whey


5. Cook the Curds

Slowly heat the curds and whey in a double boiler from 32 °C to 38 °C over about 30 minutes, stirring gently to prevent the curds from sticking together

Once the target temperature is reached, cover and hold at 38 °C for a further 10 – 15 minutes


6. Drain the Curds

Pour the curds into a cheesecloth-lined colander.
Gather the cloth and hang to drain for 1 – 2 hours, keeping the curds warm and out of drafts.


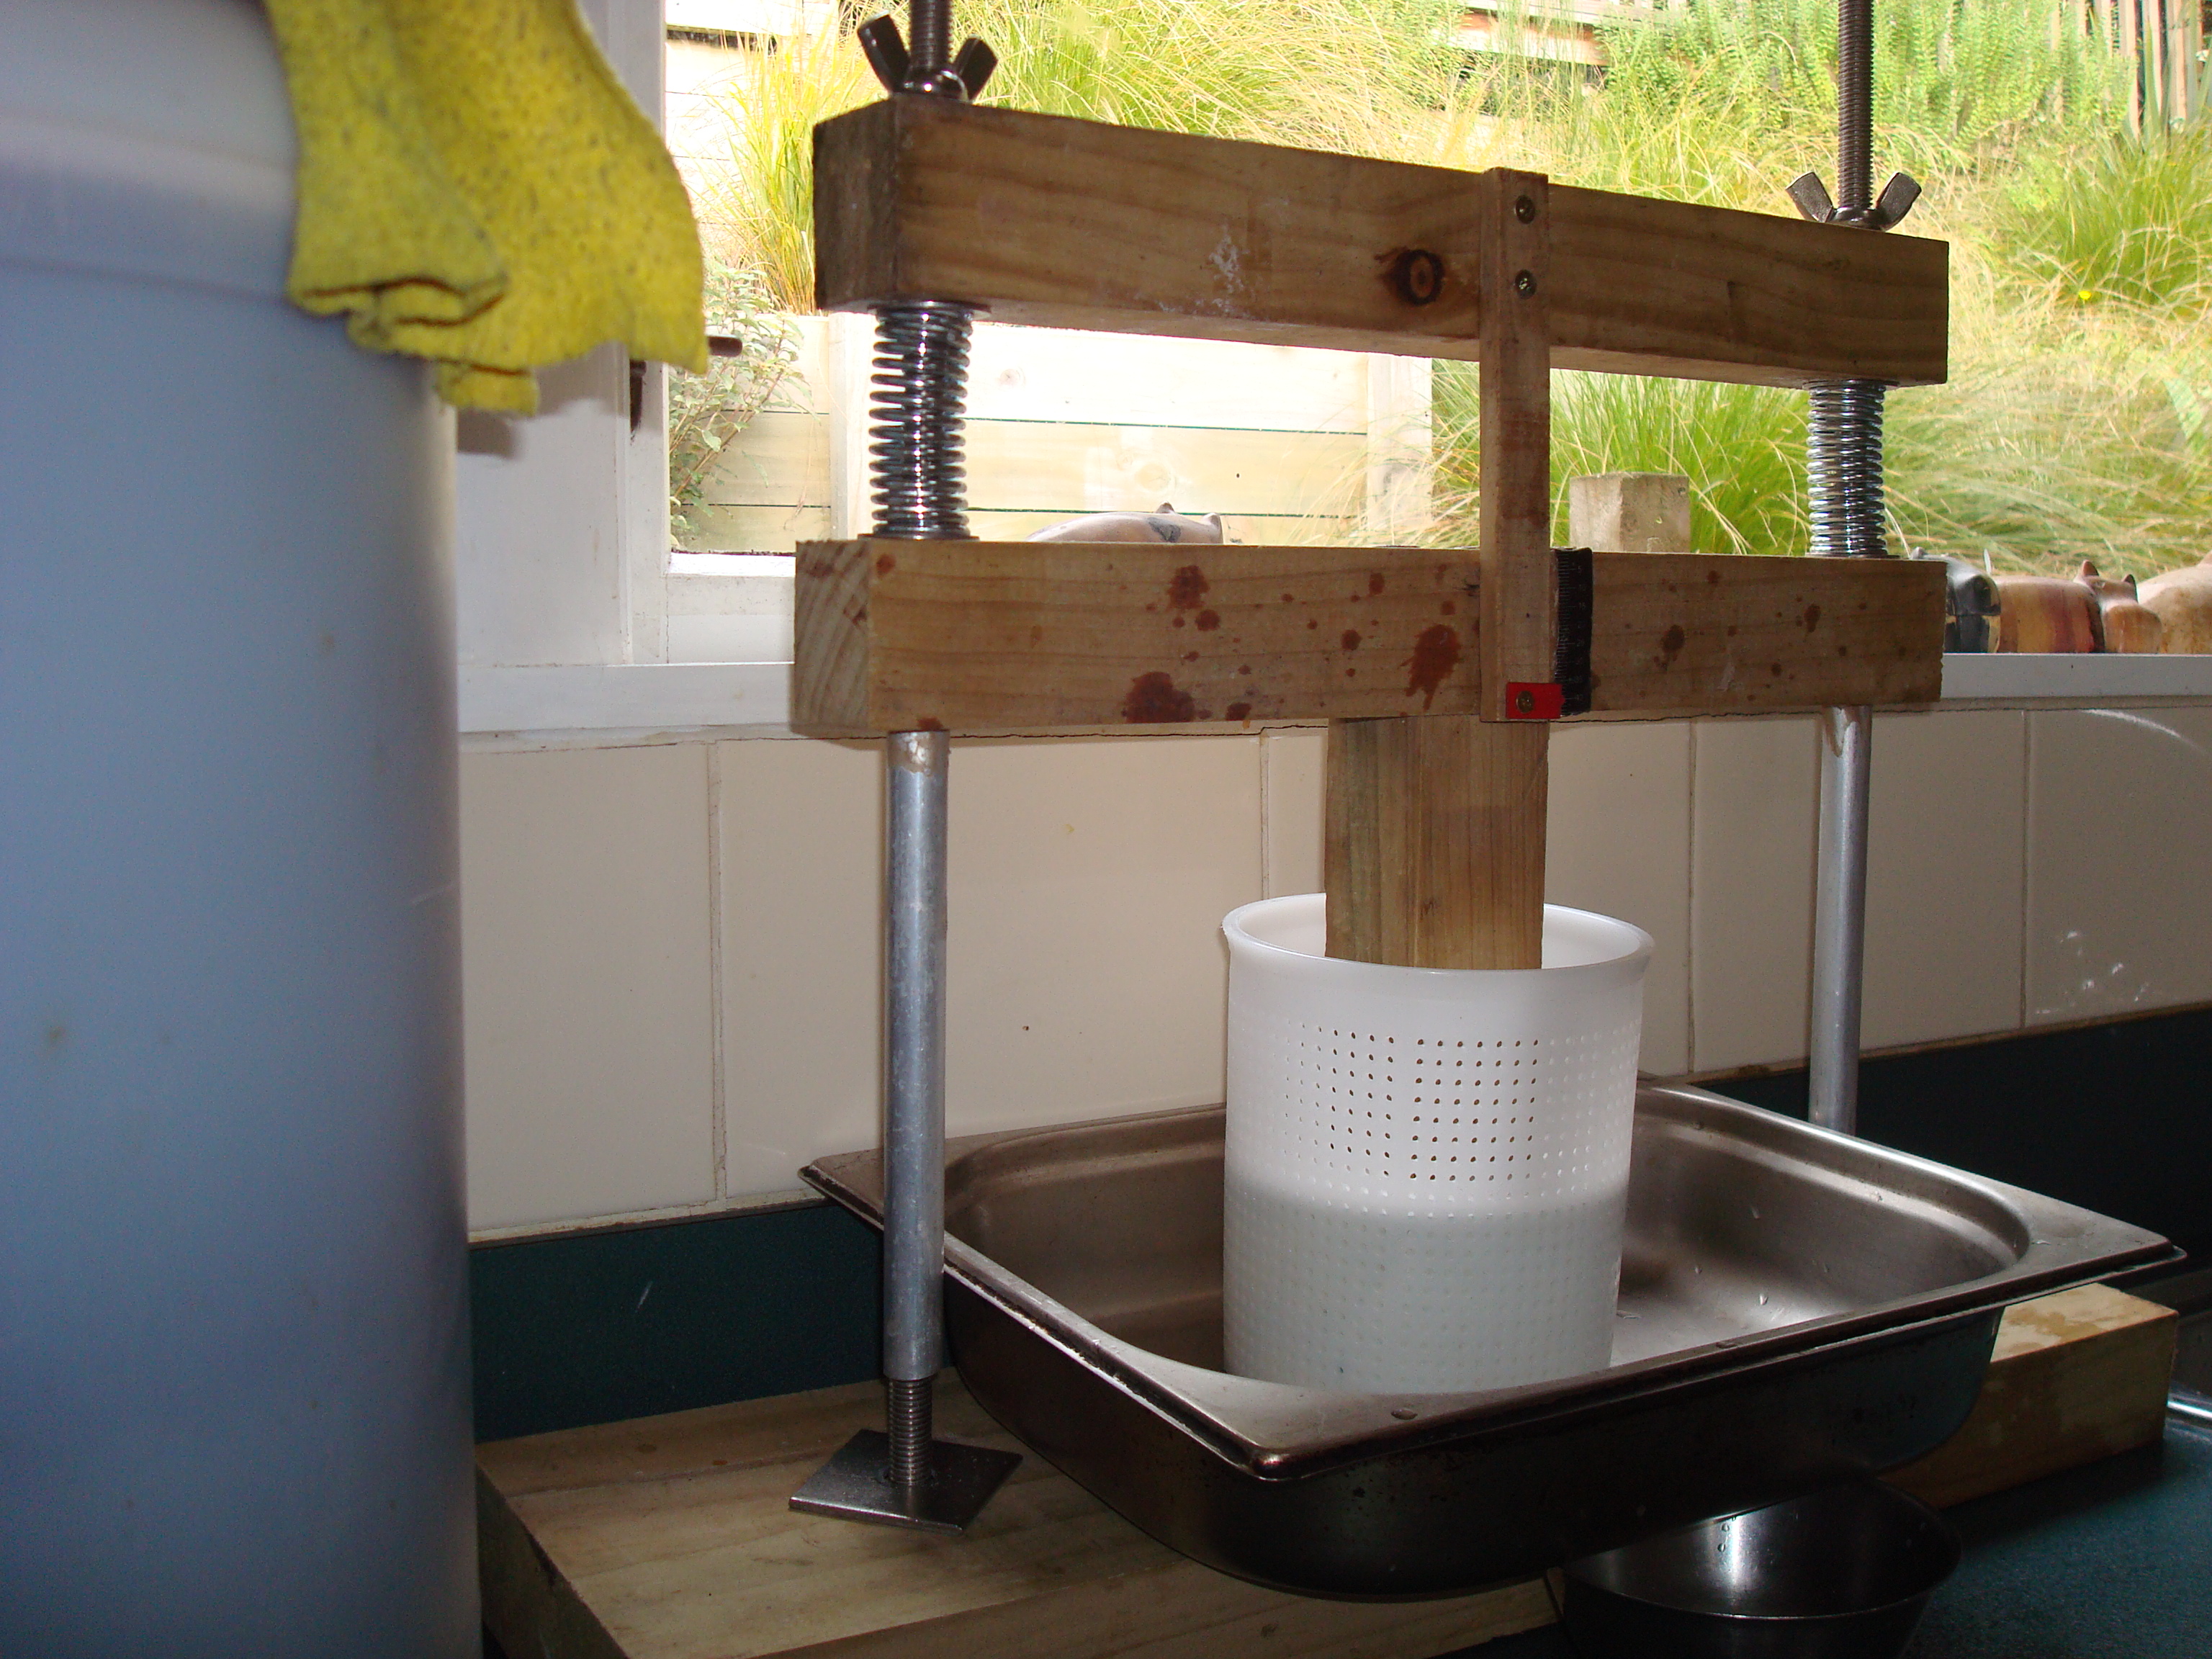
7. Mould and Press

Pack the drained curds firmly into a cheesecloth-lined mould

Press in stages :

  • 5 kg pressure for 10 minutes
  • Remove, turn, rewrap, then press at 10 kg for 10 hours
  • Remove, turn again, rewrap, then press at 20 kg for 4 – 6 hours

8. Brining

Prepare an 18% brine (180 g salt per litre of water)

Submerge the cheese in the brine for 40 – 60 minutes per kilogram of cheese, turning halfway through. Ensure brine is chilled (10°C) and cheese is fully submerged

Remove and allow the surface to dry


9. Natural Rind Drying

Place the cheese on a wooden board at room temperature
Air-dry for 2–3 days, turning several times daily, until the rind feels dry and firm to the touch


10. Natural Ageing

Move the cheese to an ageing space at 10–12 °C with 85–90% humidity

  • Turn the cheese daily for the first week, then 2 – 3x weekly
  • If surface mould develops, wipe lightly with brine. Ensure brine is chilled (10°C) and cheese is fully submerged

Age for at least 4 weeks. Longer ageing will produce a deeper, more complex flavour. Try 8–12 weeks for noticeably deeper, nuttier, more “gently savory” flavor as proteins/lipids break down.

For a smoother rind, rub with olive oil after drying and once the rind is fully set (5–7 days), or brush with lard / herbs for traditional rustic look. If waxing, do so after 2–3 weeks when rind is set