Raising Quails -Two Weeks to Five Weeks

2014-04-26 - No 18 - 5


It is of the utmost importance for any living organism to have a good start in life. Because of the many questions relating to Quail rearing and feeding, I have decided to post a series on the subject, mostly reflecting my own point of view and experience over a long period of time, backed by scientific facts.  The series will consist of  three chapters, i.e. 1 – Hatch to Two weeks ; 2 – Two weeks to Five weeks and 3 – Five weeks to Eight weeks.

2 – TWO WEEKS TO FIVE WEEKS

The birds, at two weeks of age, are old enough to have resolved all the genetic, hatching and birth defects and mortality should almost be zero from this point onward. Keep the brooder at 38 C and make sure the bedding is dry and clean. If there were to be any spillage of water or dirt, remove the soiled bedding and top up with clean dry bedding at all times.  Dont overcrowd them, keep them dry, warm,well fed and watered.

2007-01-03 21.54.30


As they are growing at a phenomenal rate and are due to reach 90 – 95 % of their final body weight at five weeks of age, it is good to split the groups into two now. This will give every 10 birds about 0.25 meters square – enough to make them comfortable. Remember, we are trying to give our birds OPTIMUM conditions so as to allow them the opportunity to express their genetic ability to the maximum. Five week old birds are almost mature and it is a good time for selection on phenotype and measured production parameters to be able  to eliminate sub standard birds early.

Remove and dispose immediately of any animal that has any defect, being it a hereditary defect or otherwise, or is in the bottom 30 % of measured production parameters.

2014-04-29 12.32.522014-04-26 - No 33 - 12013-12-26 10.26.542014-05-13 18.00.182013-12-23 15.48.452013-10-24 - Tibetan Coturnix 10

The mass of the birds are increasing rapidly during this stage so always ensure that the birds have enough space and that the feeders and drinkers are positioned in such a way as to allow free movement and not cause dead traffic spots inside the brooder.

The time has also arrived to teach the young birds not to enter the feeding and drinking areas, which is exactly the opposite to what has been thought up to now.  Any change in feeding and drinking routine should happen over a period of time. Leave the old feeders in place and introduce the new systems in parallel, then after two days, remove the old ones. This should minimise stress and assure continuous optimum performance.  Allow 30 mm slots, at an appropriate height, for the birds to poke their heads through to eat or drink – this will also be small enough to not allow them to enter the feeders.

2014-05-13 17.14.282014-05-09 - Keep them comfortable and happy2014-05-09 - Clean Food and Clean environment

Feed should be a well formulated 28 % protein Quail Starter diet containing the correct ratio of amino acids and other macro elements, supplemented with the correct trace minerals and vitamins. Mix one chicken or four quail eggs (without shell) per 2 Kg of feed for the age groups two weeks to five weeks. Raw egg is beneficial if correctly and well mixed, alternatively mix in boiled eggs. Feed consistency must be fine and uniform bite sizes, but not dusty.  If using a commercial diet, it is more often than not beneficial to supplement the diet with a trace mineral and vitamin pre-mix over and above what is supposedly already in the diet. It is virtually impossible to over dose with these nutrients, but deficiencies often occur effecting vitality, fecundity, mortality, disease resistance and production negatively.  Trace mineral and vitamin deficiencies are very difficult to detect or measure under normal conditions, unless their is a severe shortage, but will always effect the animal negatively.

Lighting intensity is still the same as for the juveniles and still at 24 hours per day. allowing them maximum time to feed

Should you adhere to these few simple guidelines, you will not only have happy Quails, but also raise Quails successfully that will perform to their ability when mature

2014-05-25 17.59.492014-04-29 12.36.302014-04-26 - No 18 - 32013-10-24 - Italian Coturnix 9


Raising Quails – Hatch to Two Weeks

1 - 2014-01-30 - Coturnix Juvenile Group

It is of the utmost importance for any living organism to have a good start in life. Because of the many questions relating to Quail rearing and feeding, I have decided to post a series on the subject, mostly reflecting my own point of view and experience over a long period of time, backed by scientific facts.  The series will consist of  three chapters, i.e. 1 – Hatch to Two weeks ; 2 – Two weeks to Five weeks and 3 – Five weeks to Eight weeks.

1 – HATCH TO TWO WEEKS

Remove the incubated quails as soon as possible after hatching and transfer them to a pre-heated brooder at 38 C. This is to eliminate possible unfavorable conditions that may exist inside the incubator, such as high humidity, lack  of proper walking surfaces, competition with other hatchlings in and amongst other  hatching eggs, lack of  assistance and attention for needy individuals, etc.

Baby Quails 021

The bad thing about this practice is that it may create unfavorable conditions for  the incubation of the rest of the eggs, as the incubator is being opened and closed often. This can be negated by doing it quickly and having the incubator in a favorable environment like a warm room.  Fast removal of  hatchlings  means that the incubator is not open long enough to change the egg temperature and moisture content significantly and does not have an effect on hatchability.  When hatching is at its peak, remove the chicks from the incubator about once every 60 minutes.

Remove and dispose immediately of any animal that has any defect, being it a hereditary defect or otherwise.

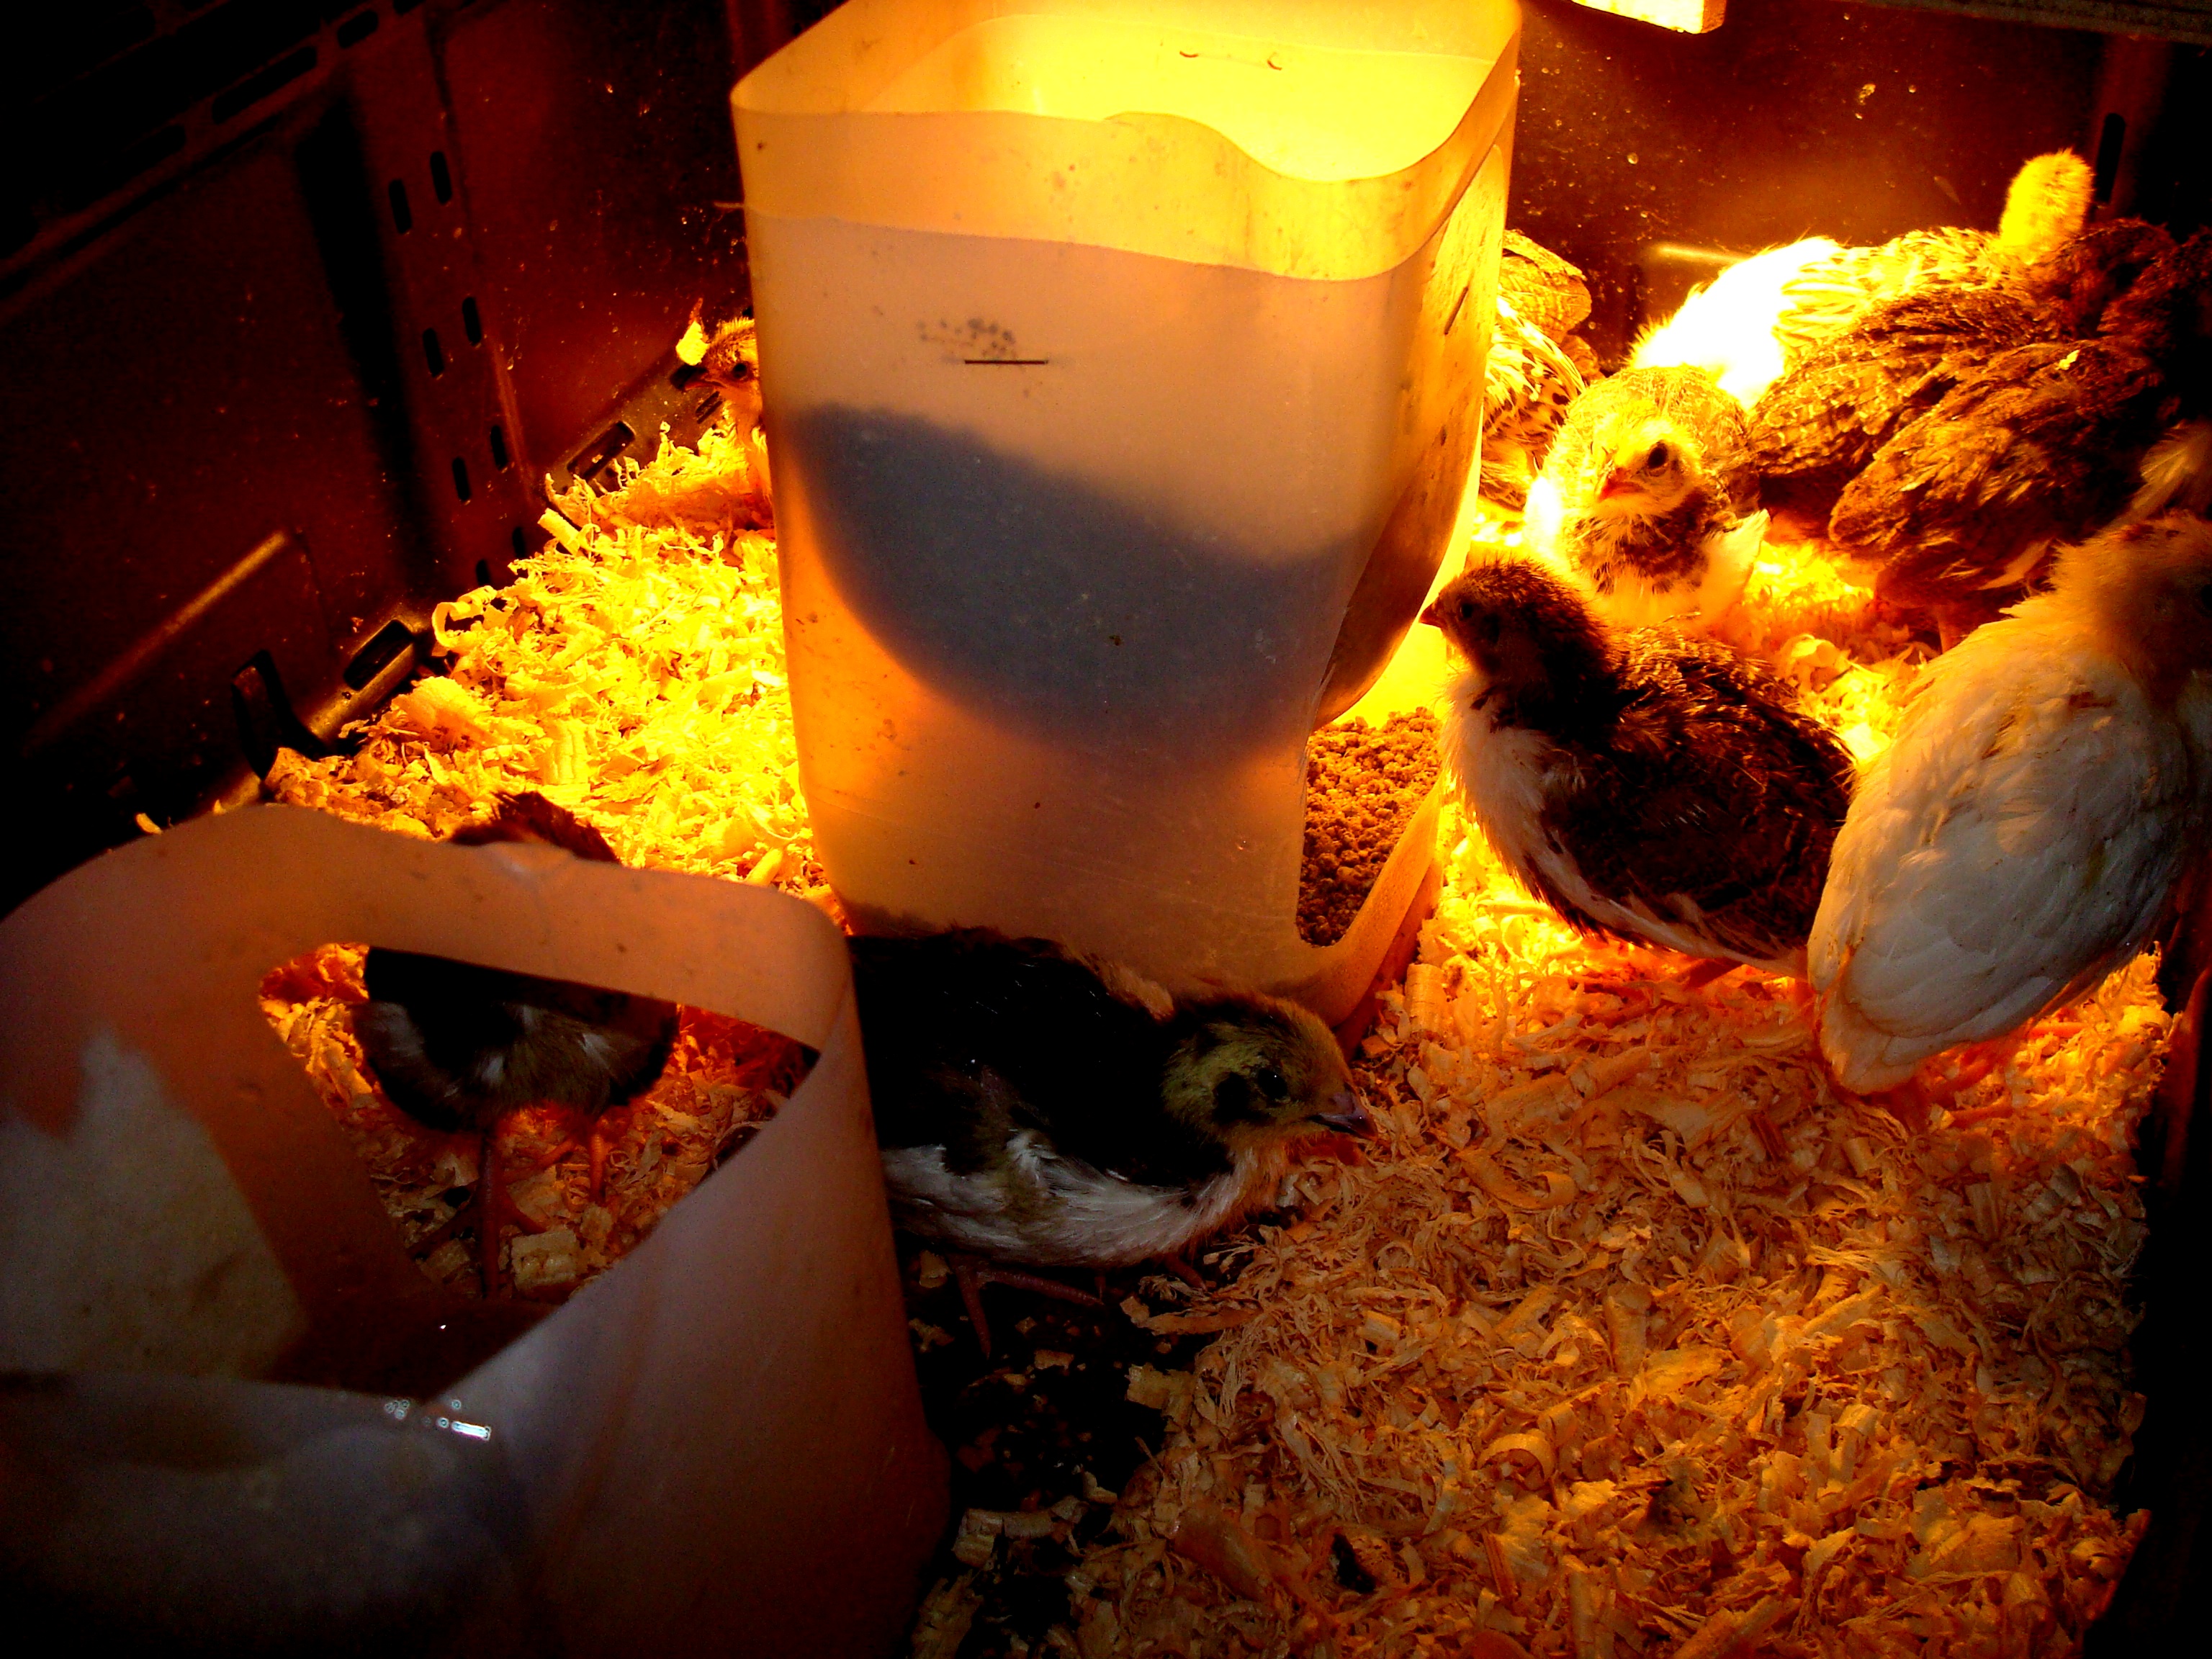
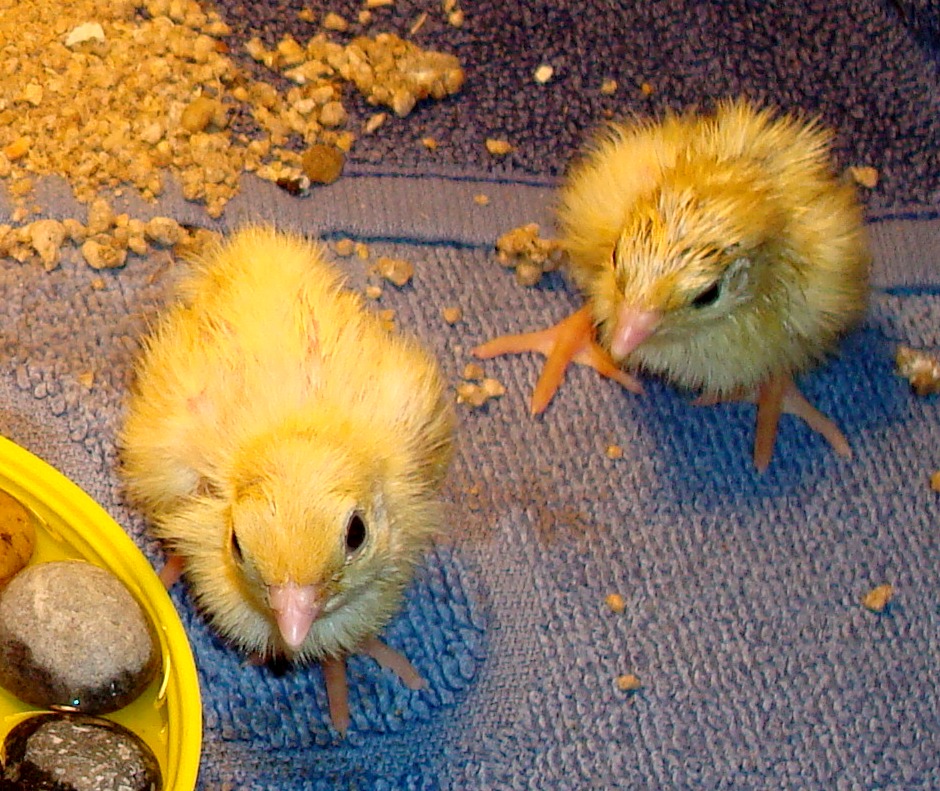
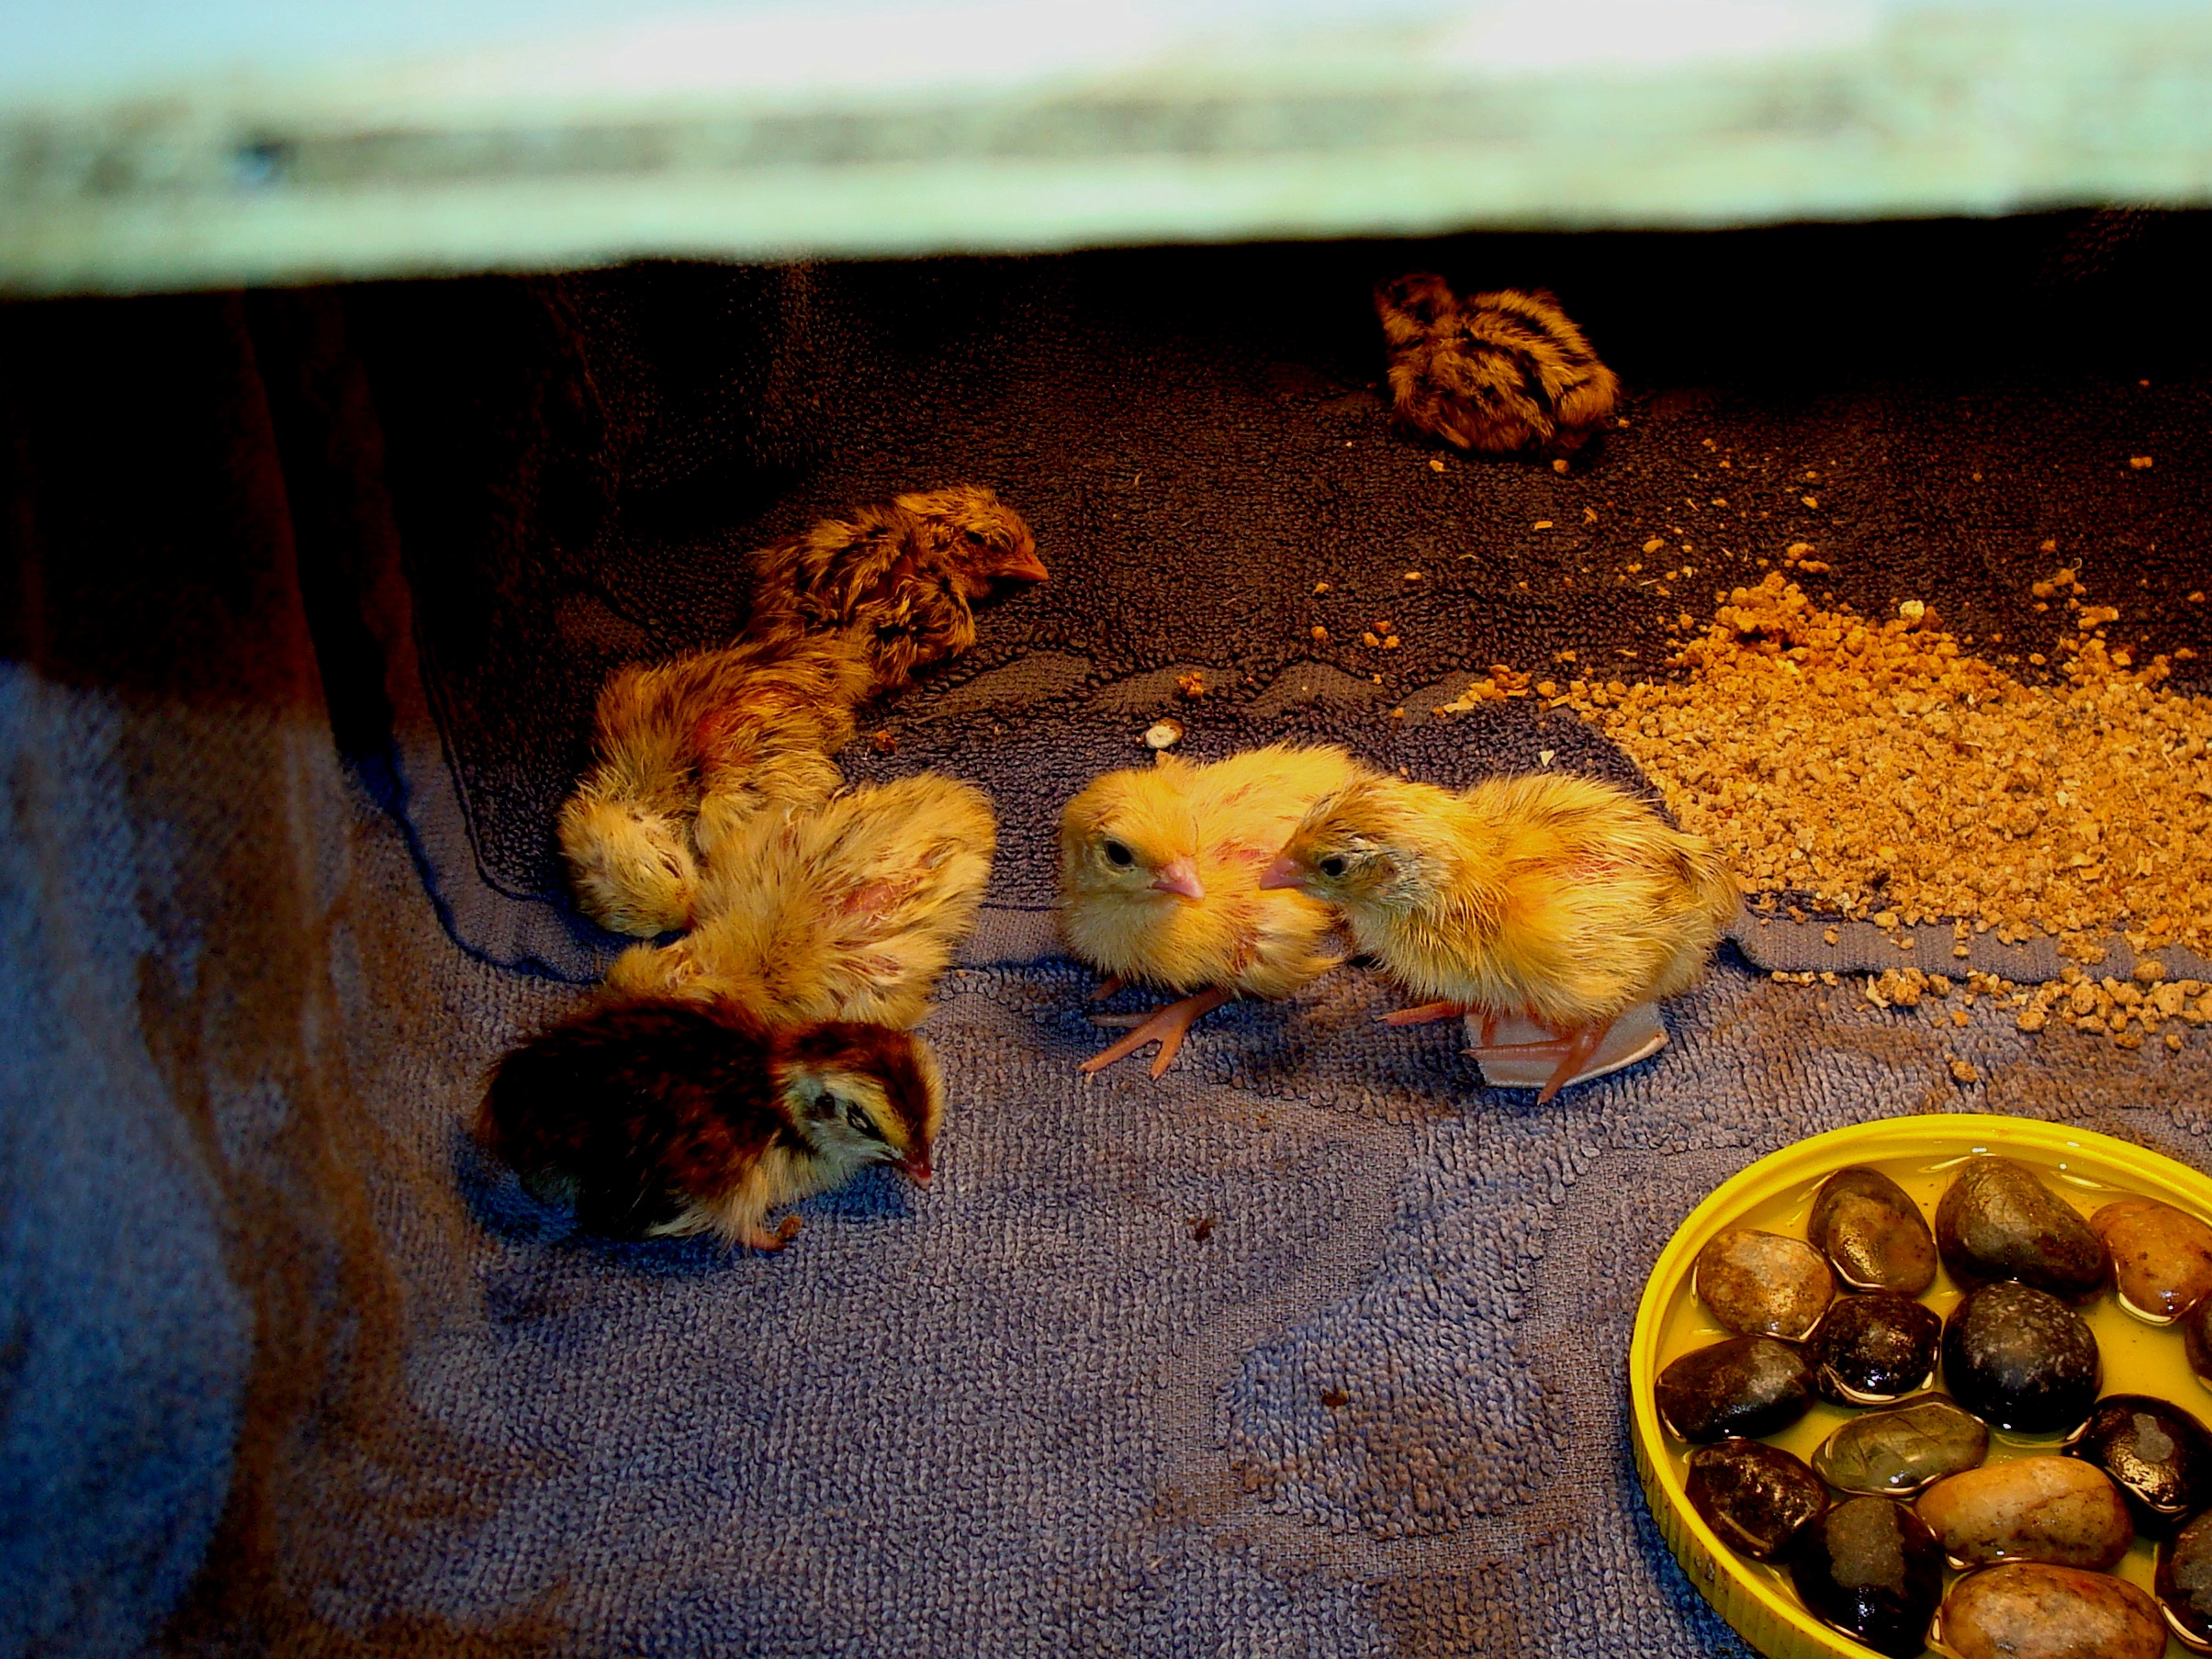
The brooder should be lined with a soft material like an old towel which will provide enough traction for the young birds to get onto their feet, without  slipping, sliding and stumbling. Make sure the surface is not slippery, or too rough as to entangle their small feet and toes. The weak hatchlings need to get onto their feet as soon as possible to exercise their muscles and respiratory system, without being exhausted.


2014-05-09 - Traction

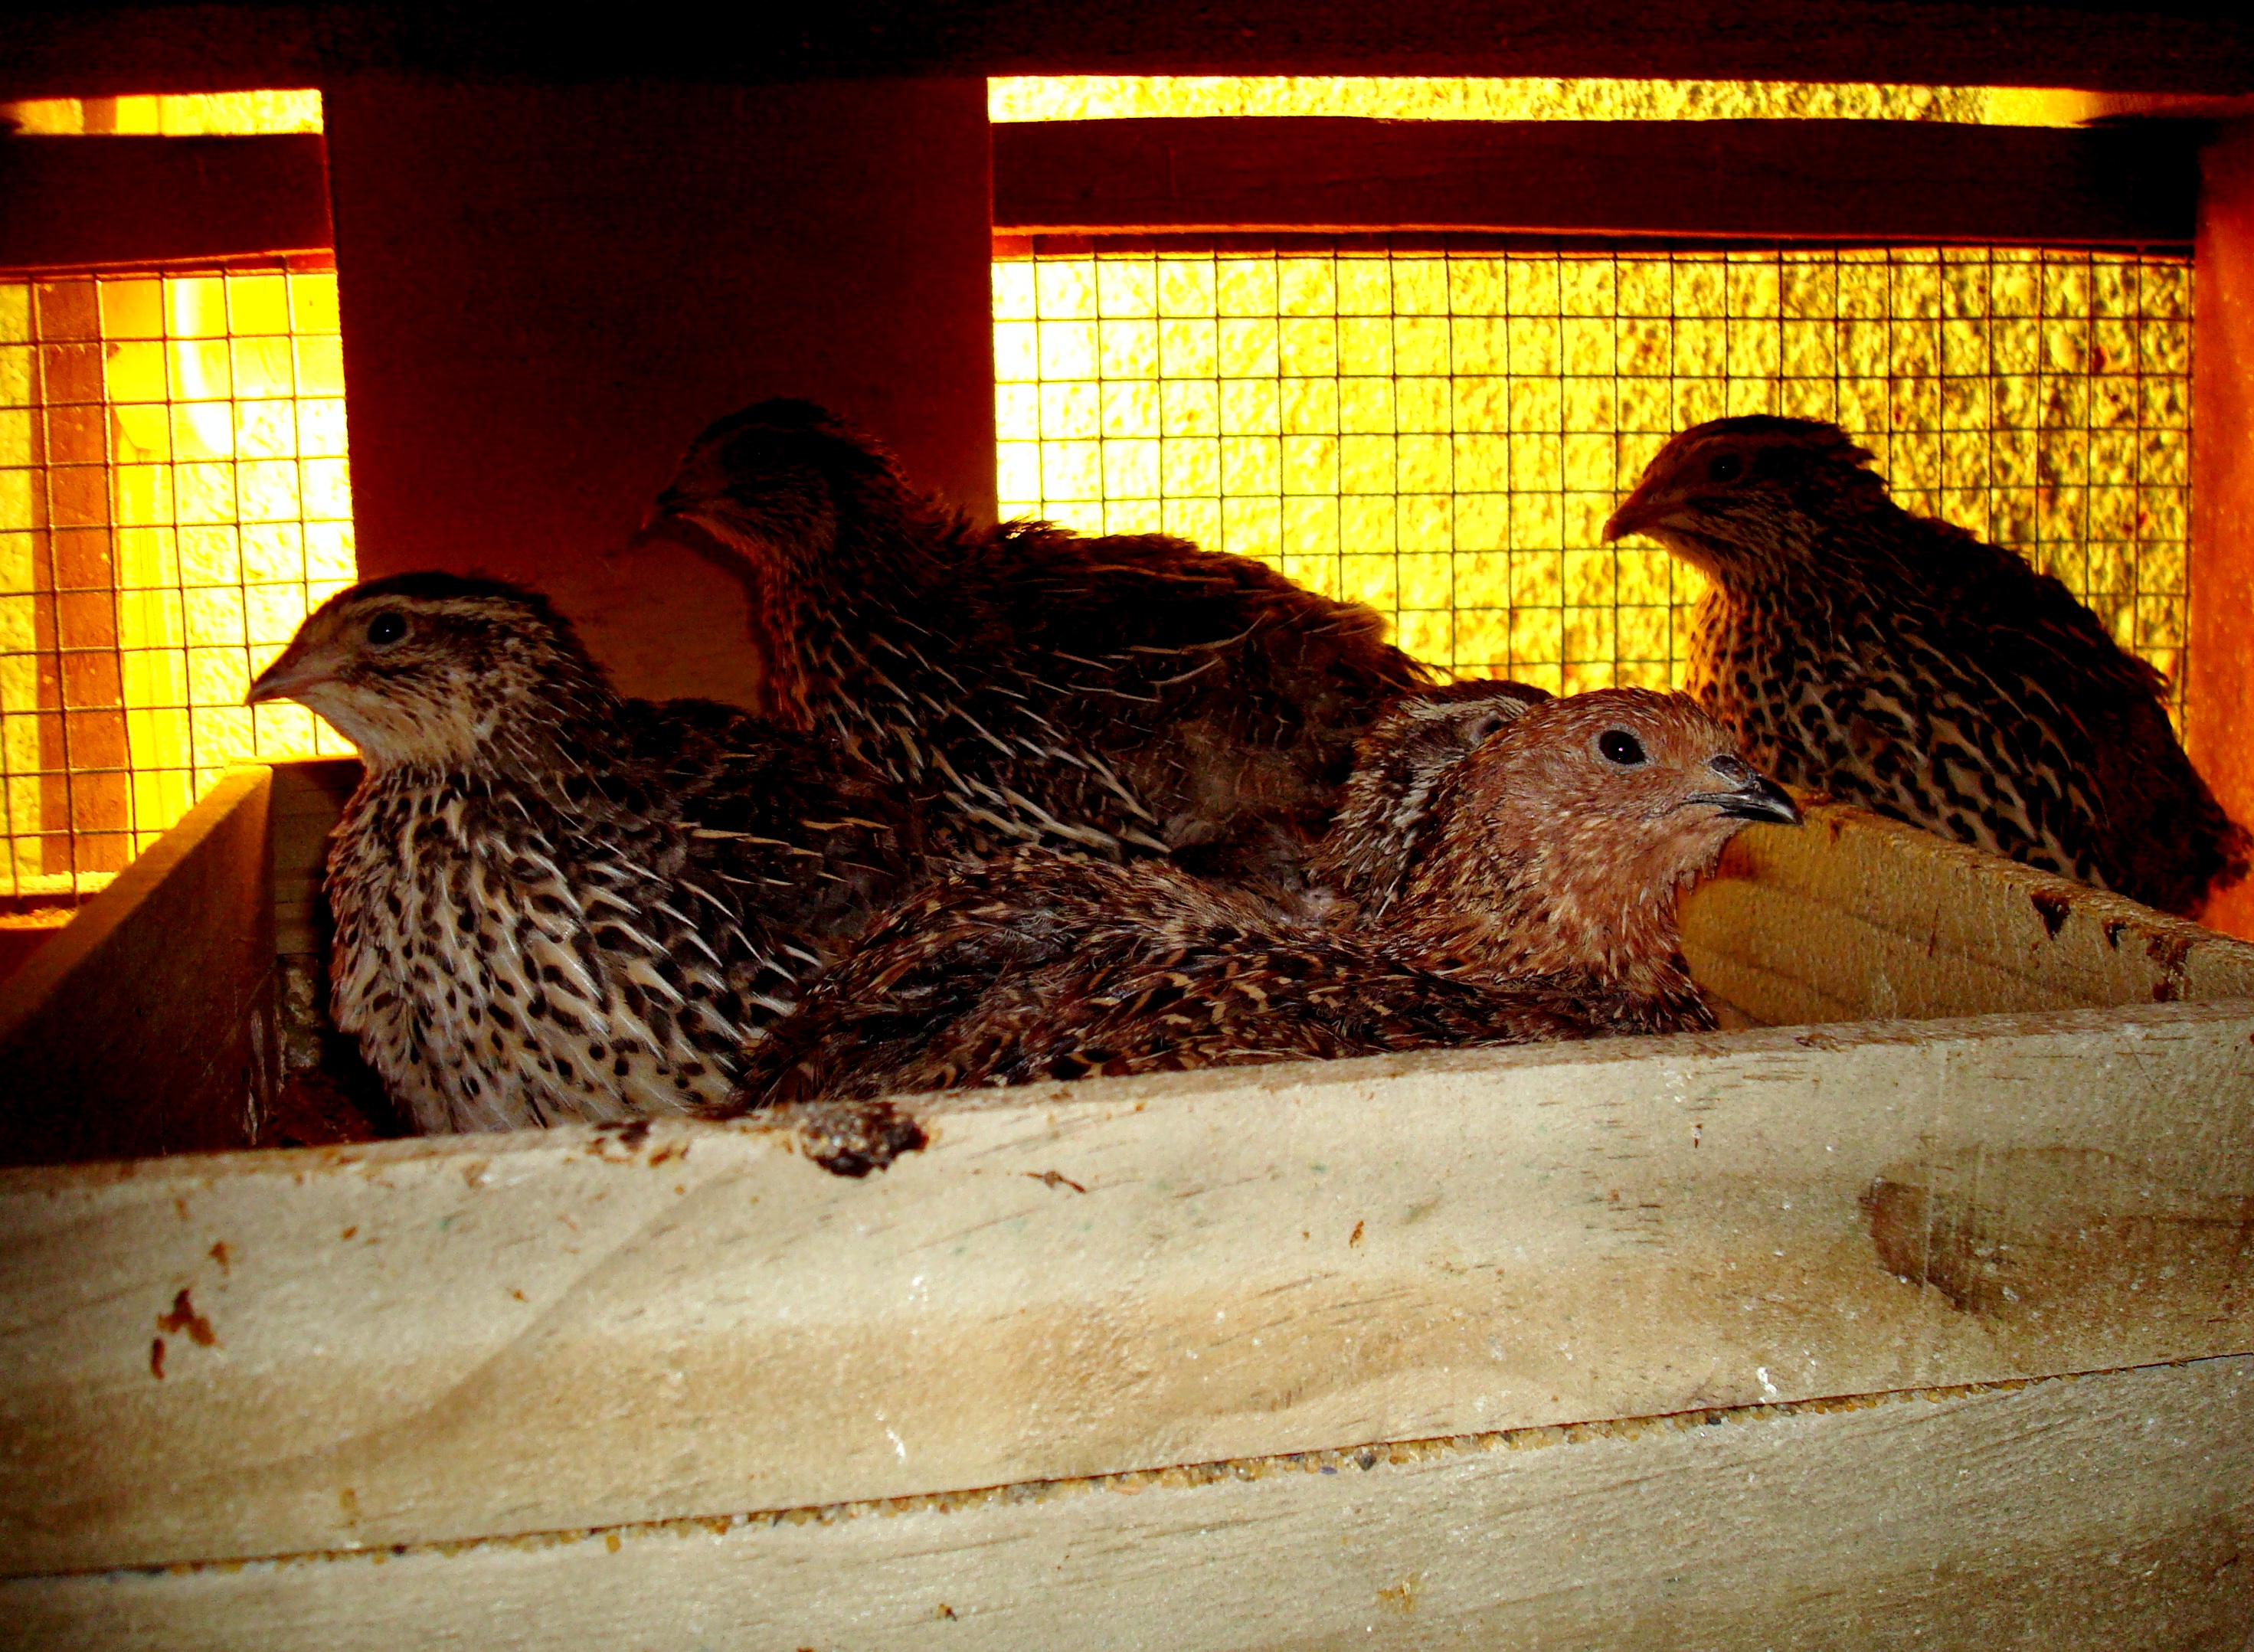
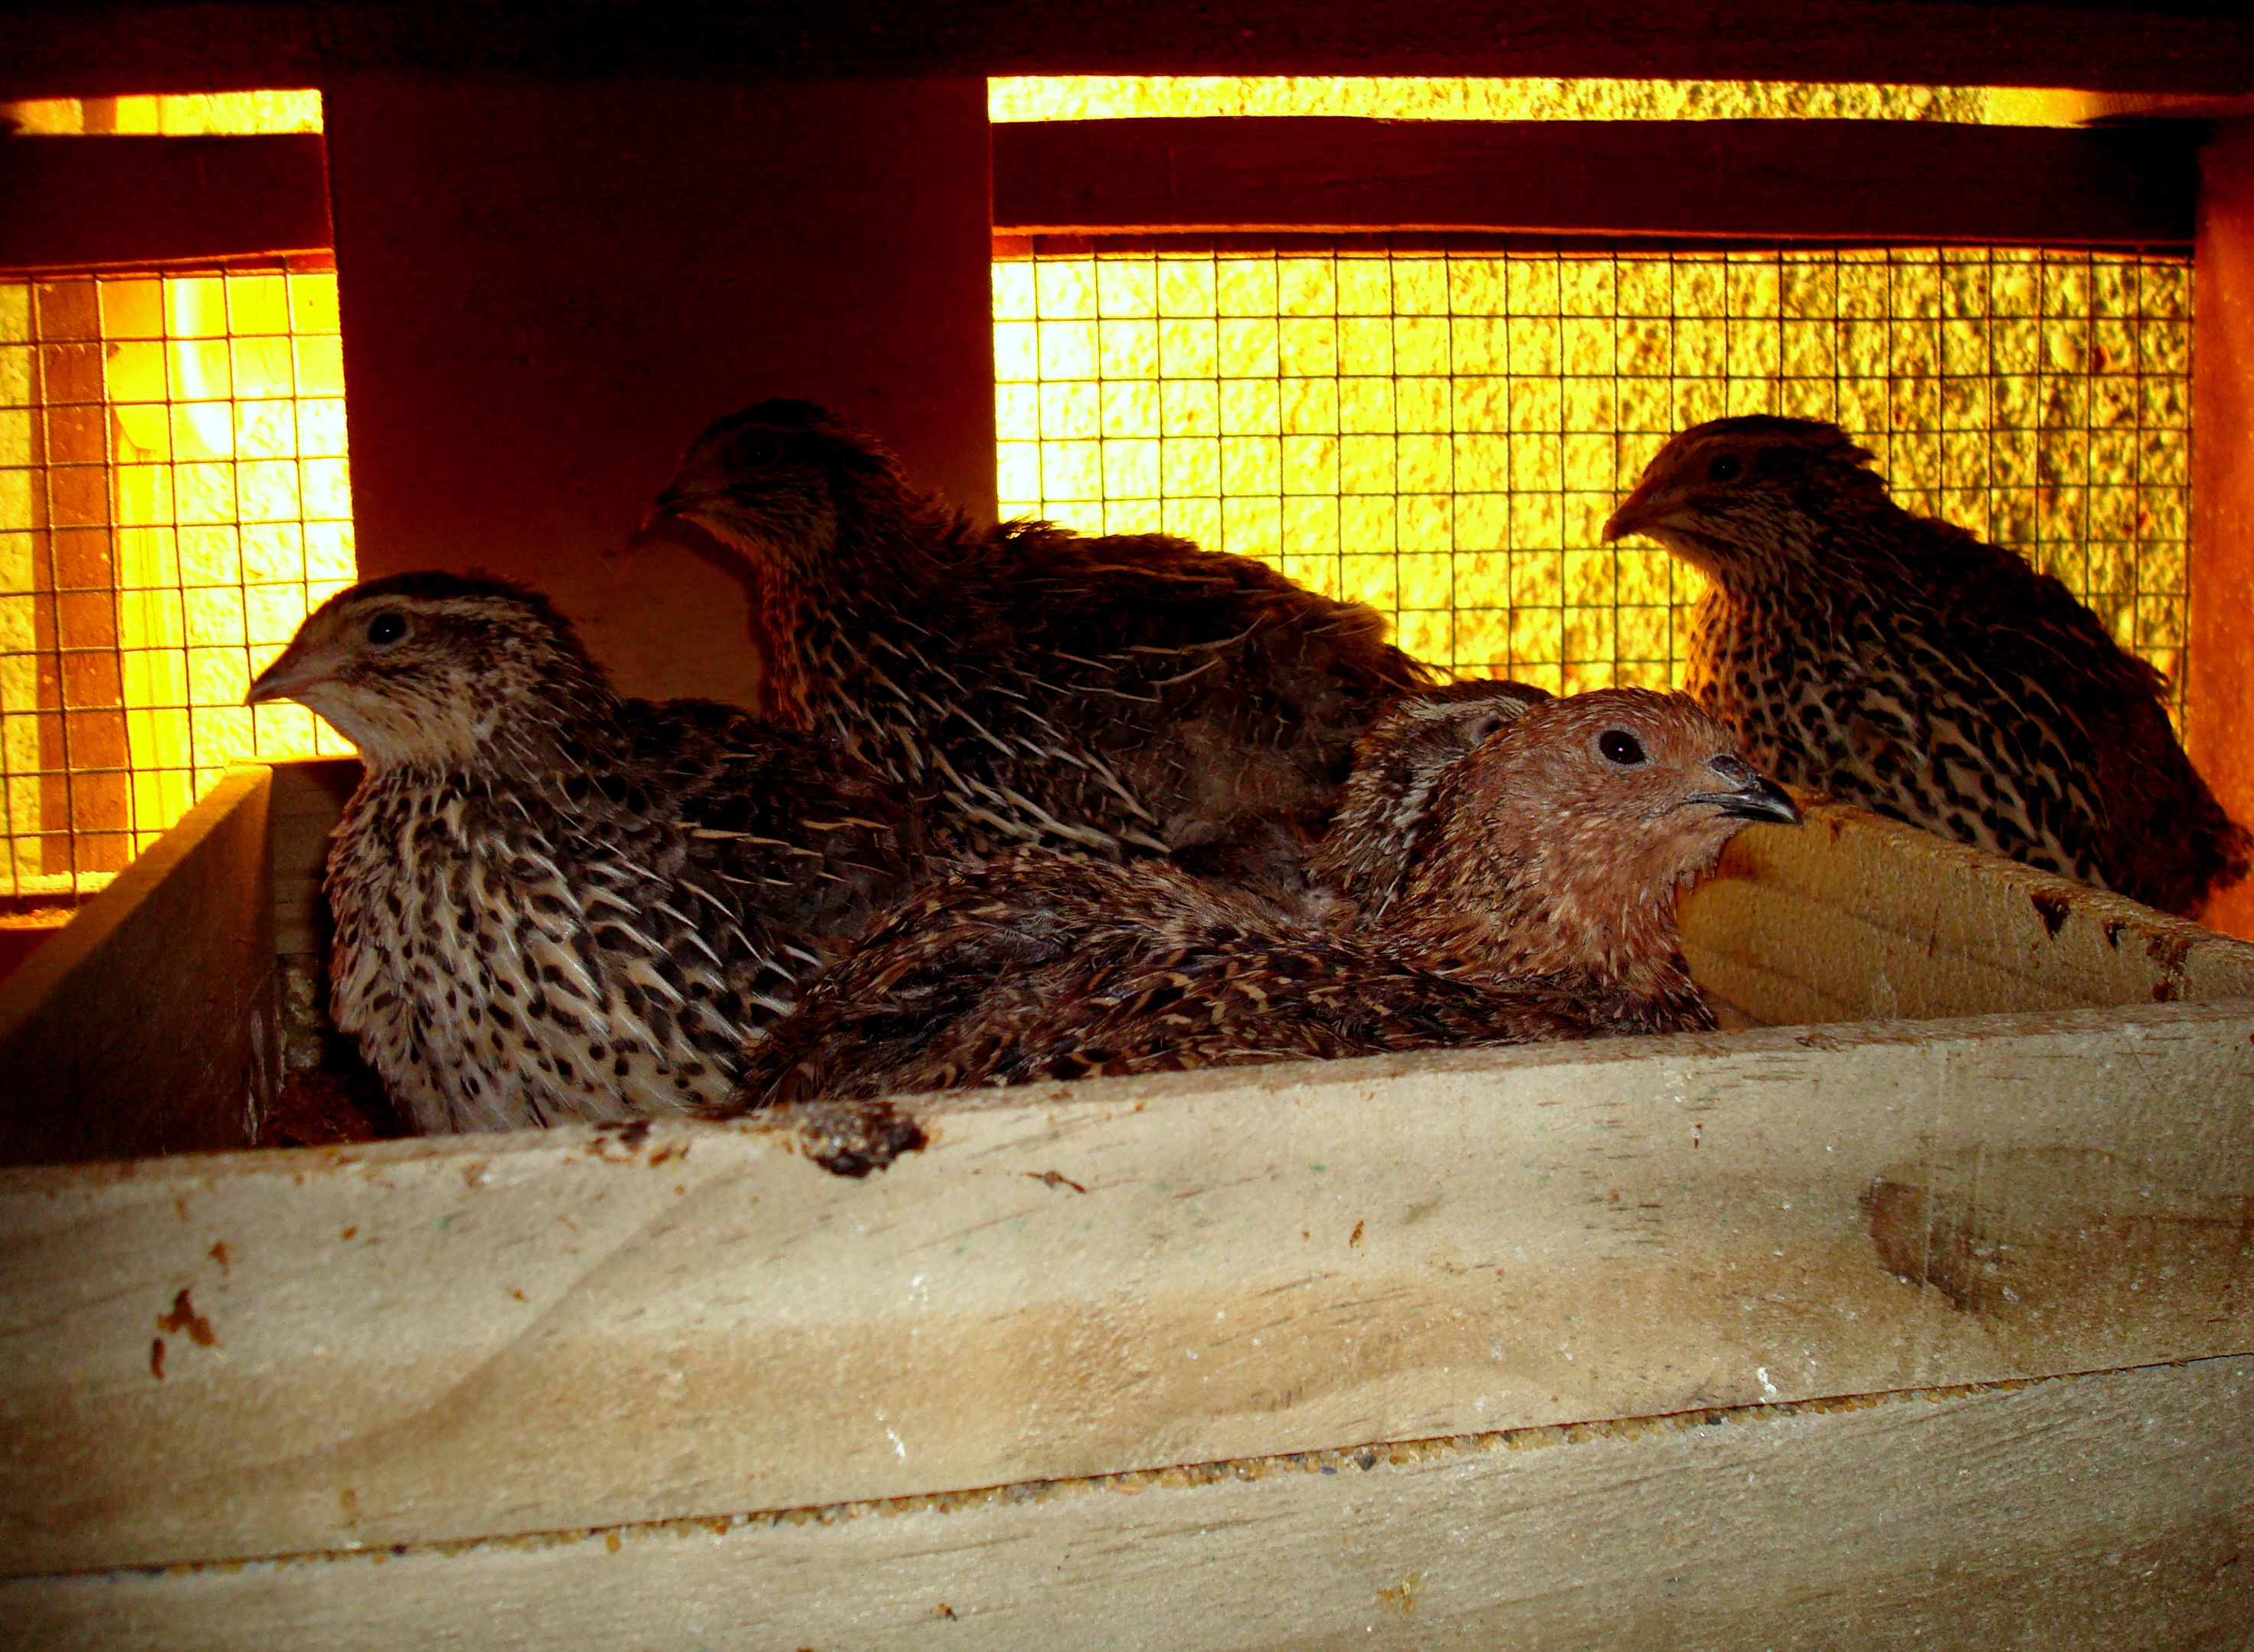
The heat source must be of such an intensity that the chicks do not hover on the perimeter of the glow of the lamp, or form a nervous pile at the point of highest temperature right under the lamp. If the temperature is correct, the chicks will spread themselves out evenly under the heat and be calm, if this does not happen adjust the temperature until they are happy. This steady temperature must be retained 24 hours per day for at least the first five weeks. It is a good practice to have more than one heat source per brooder, should one fail, the temperature would not drop too low nor too fast to cause hypothermia and death. Young quails at this stage are very vulnerable and die very quickly should the temperature fluctuate too much. Adjust temperatures, by changing to different strengths of globes and changing the distance between the birds and the heat source. It can also be done by having one heat source supplying about 70% of the required heat and a second connected to a thermocouple set at 38C.

2014-03-22 - Day 1

Population density for the first two weeks should be about 80 – 100 birds per meter square. It is beneficial to have them in smaller groups of about 20 per 0.25 meters square,which enables easy access for the chicks to feed and water. during their learning period.  It also makes bird observation and management much easier.

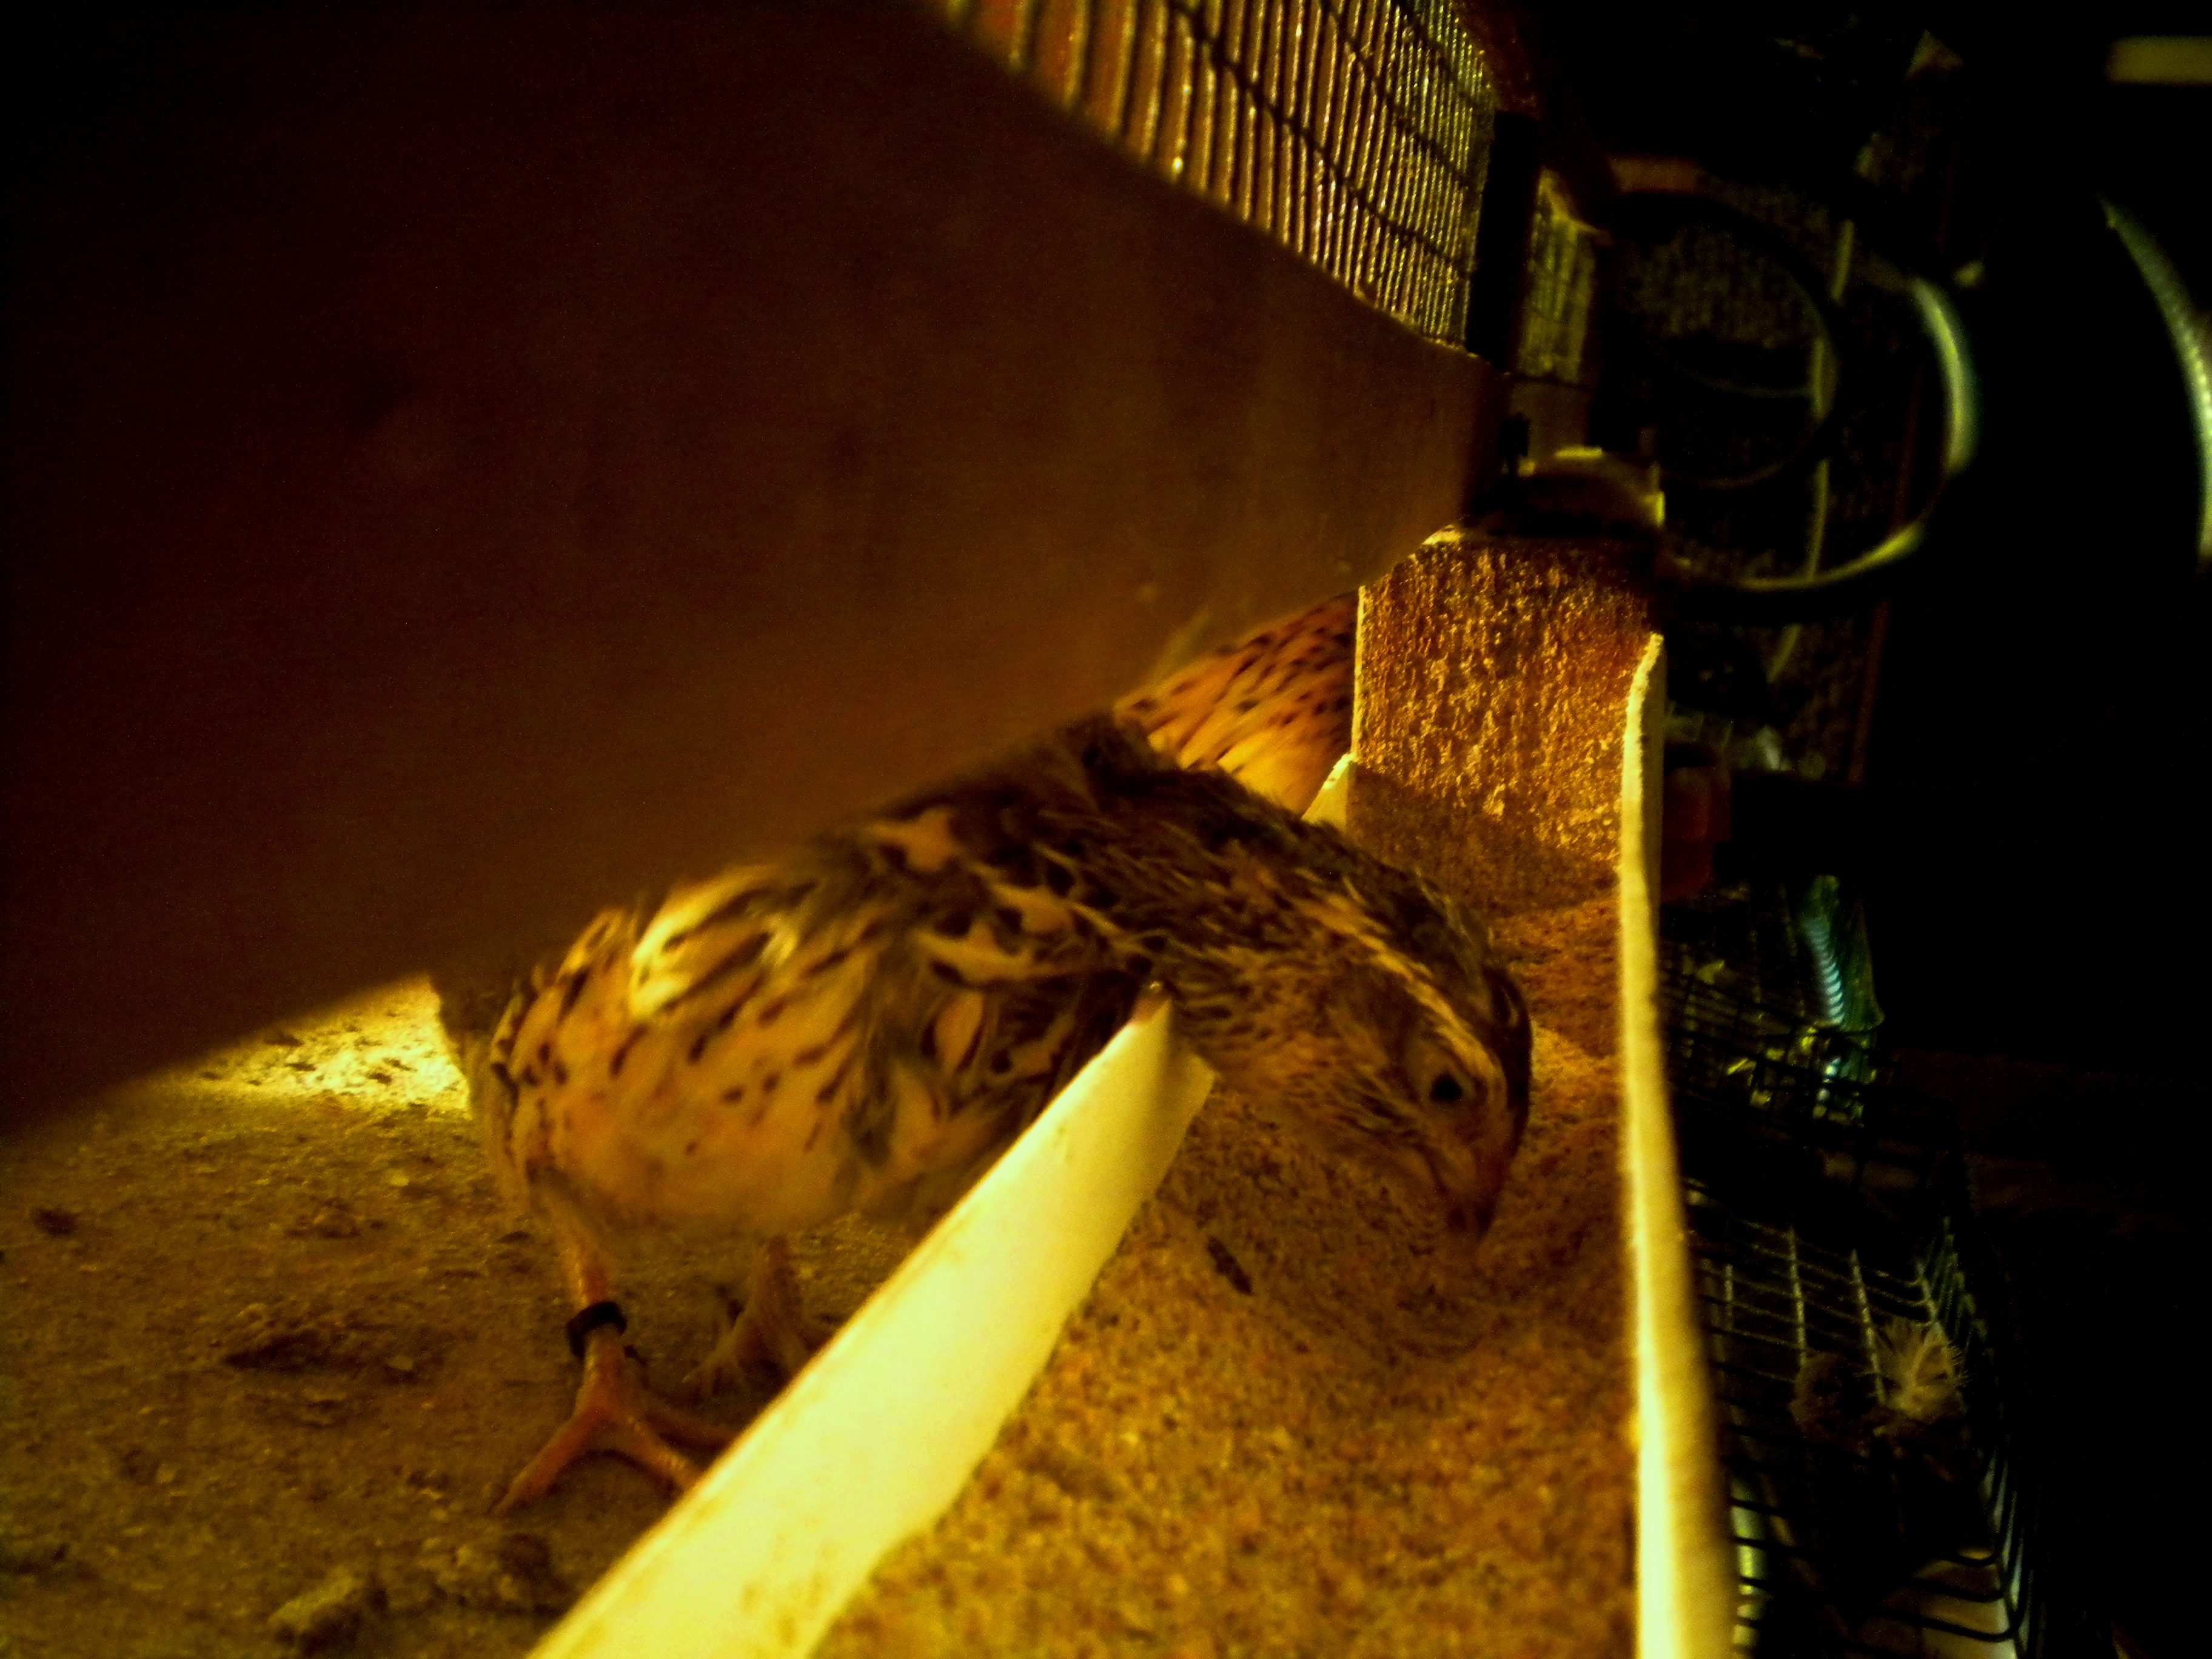
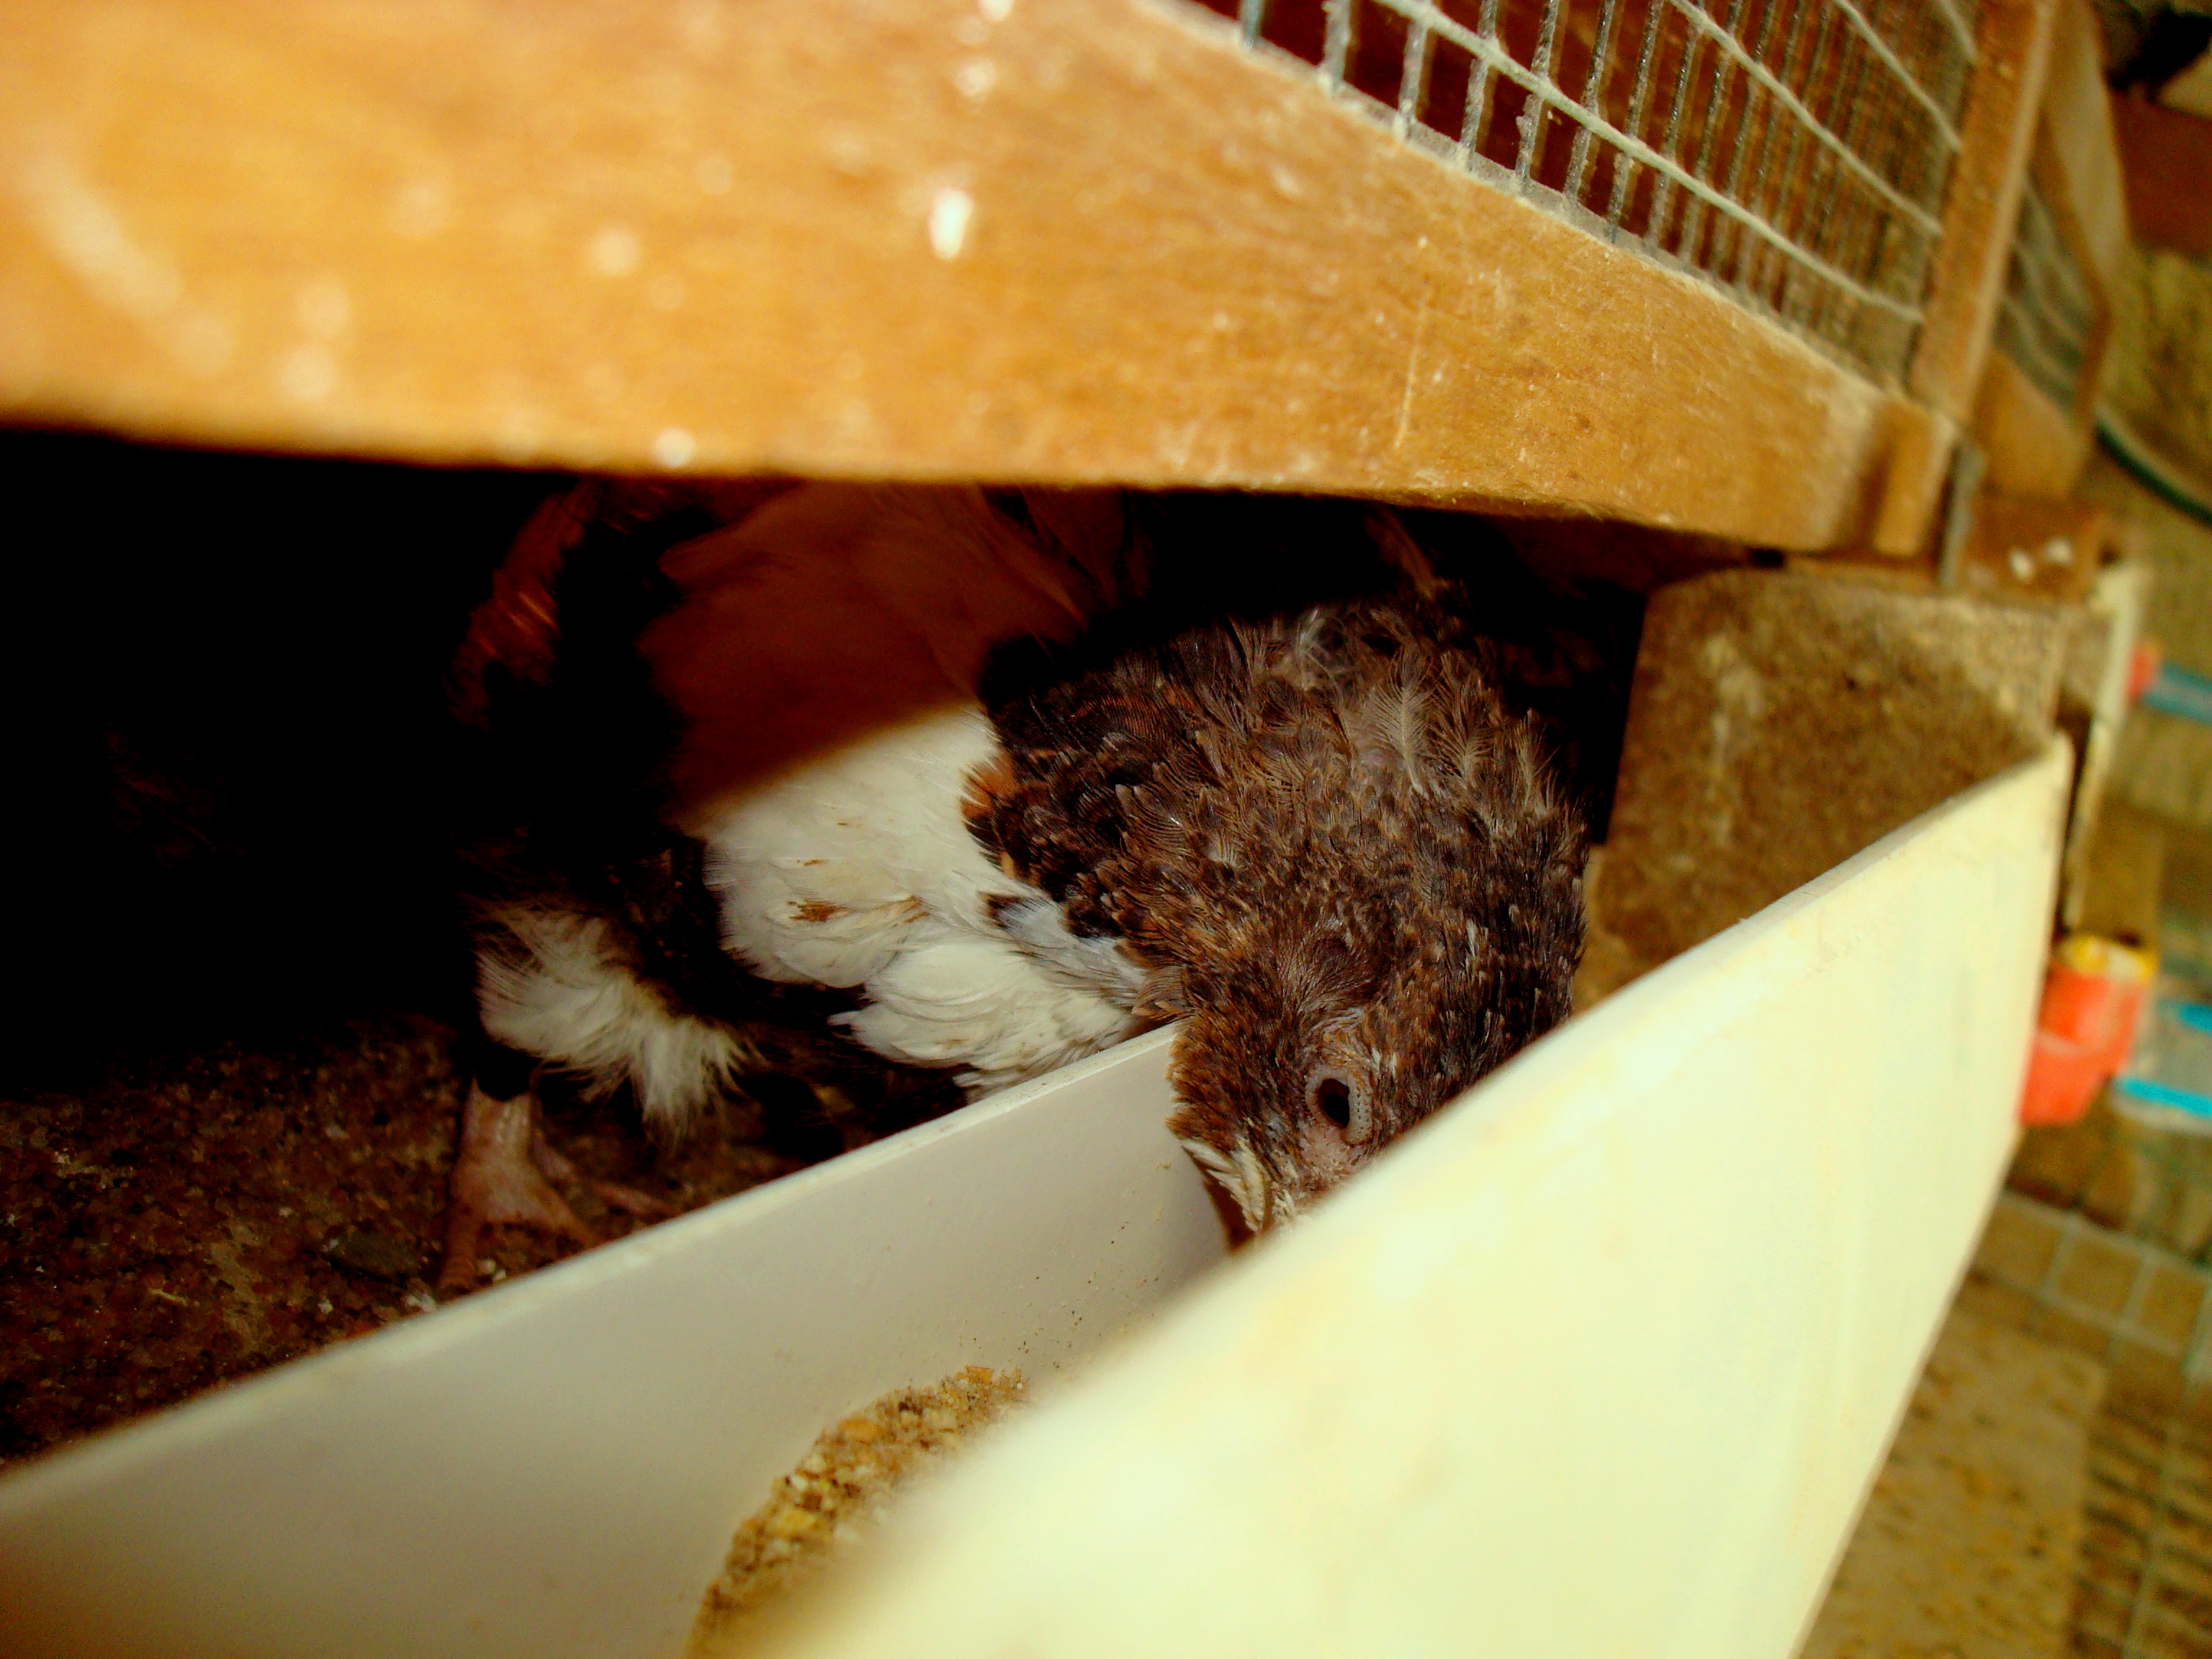
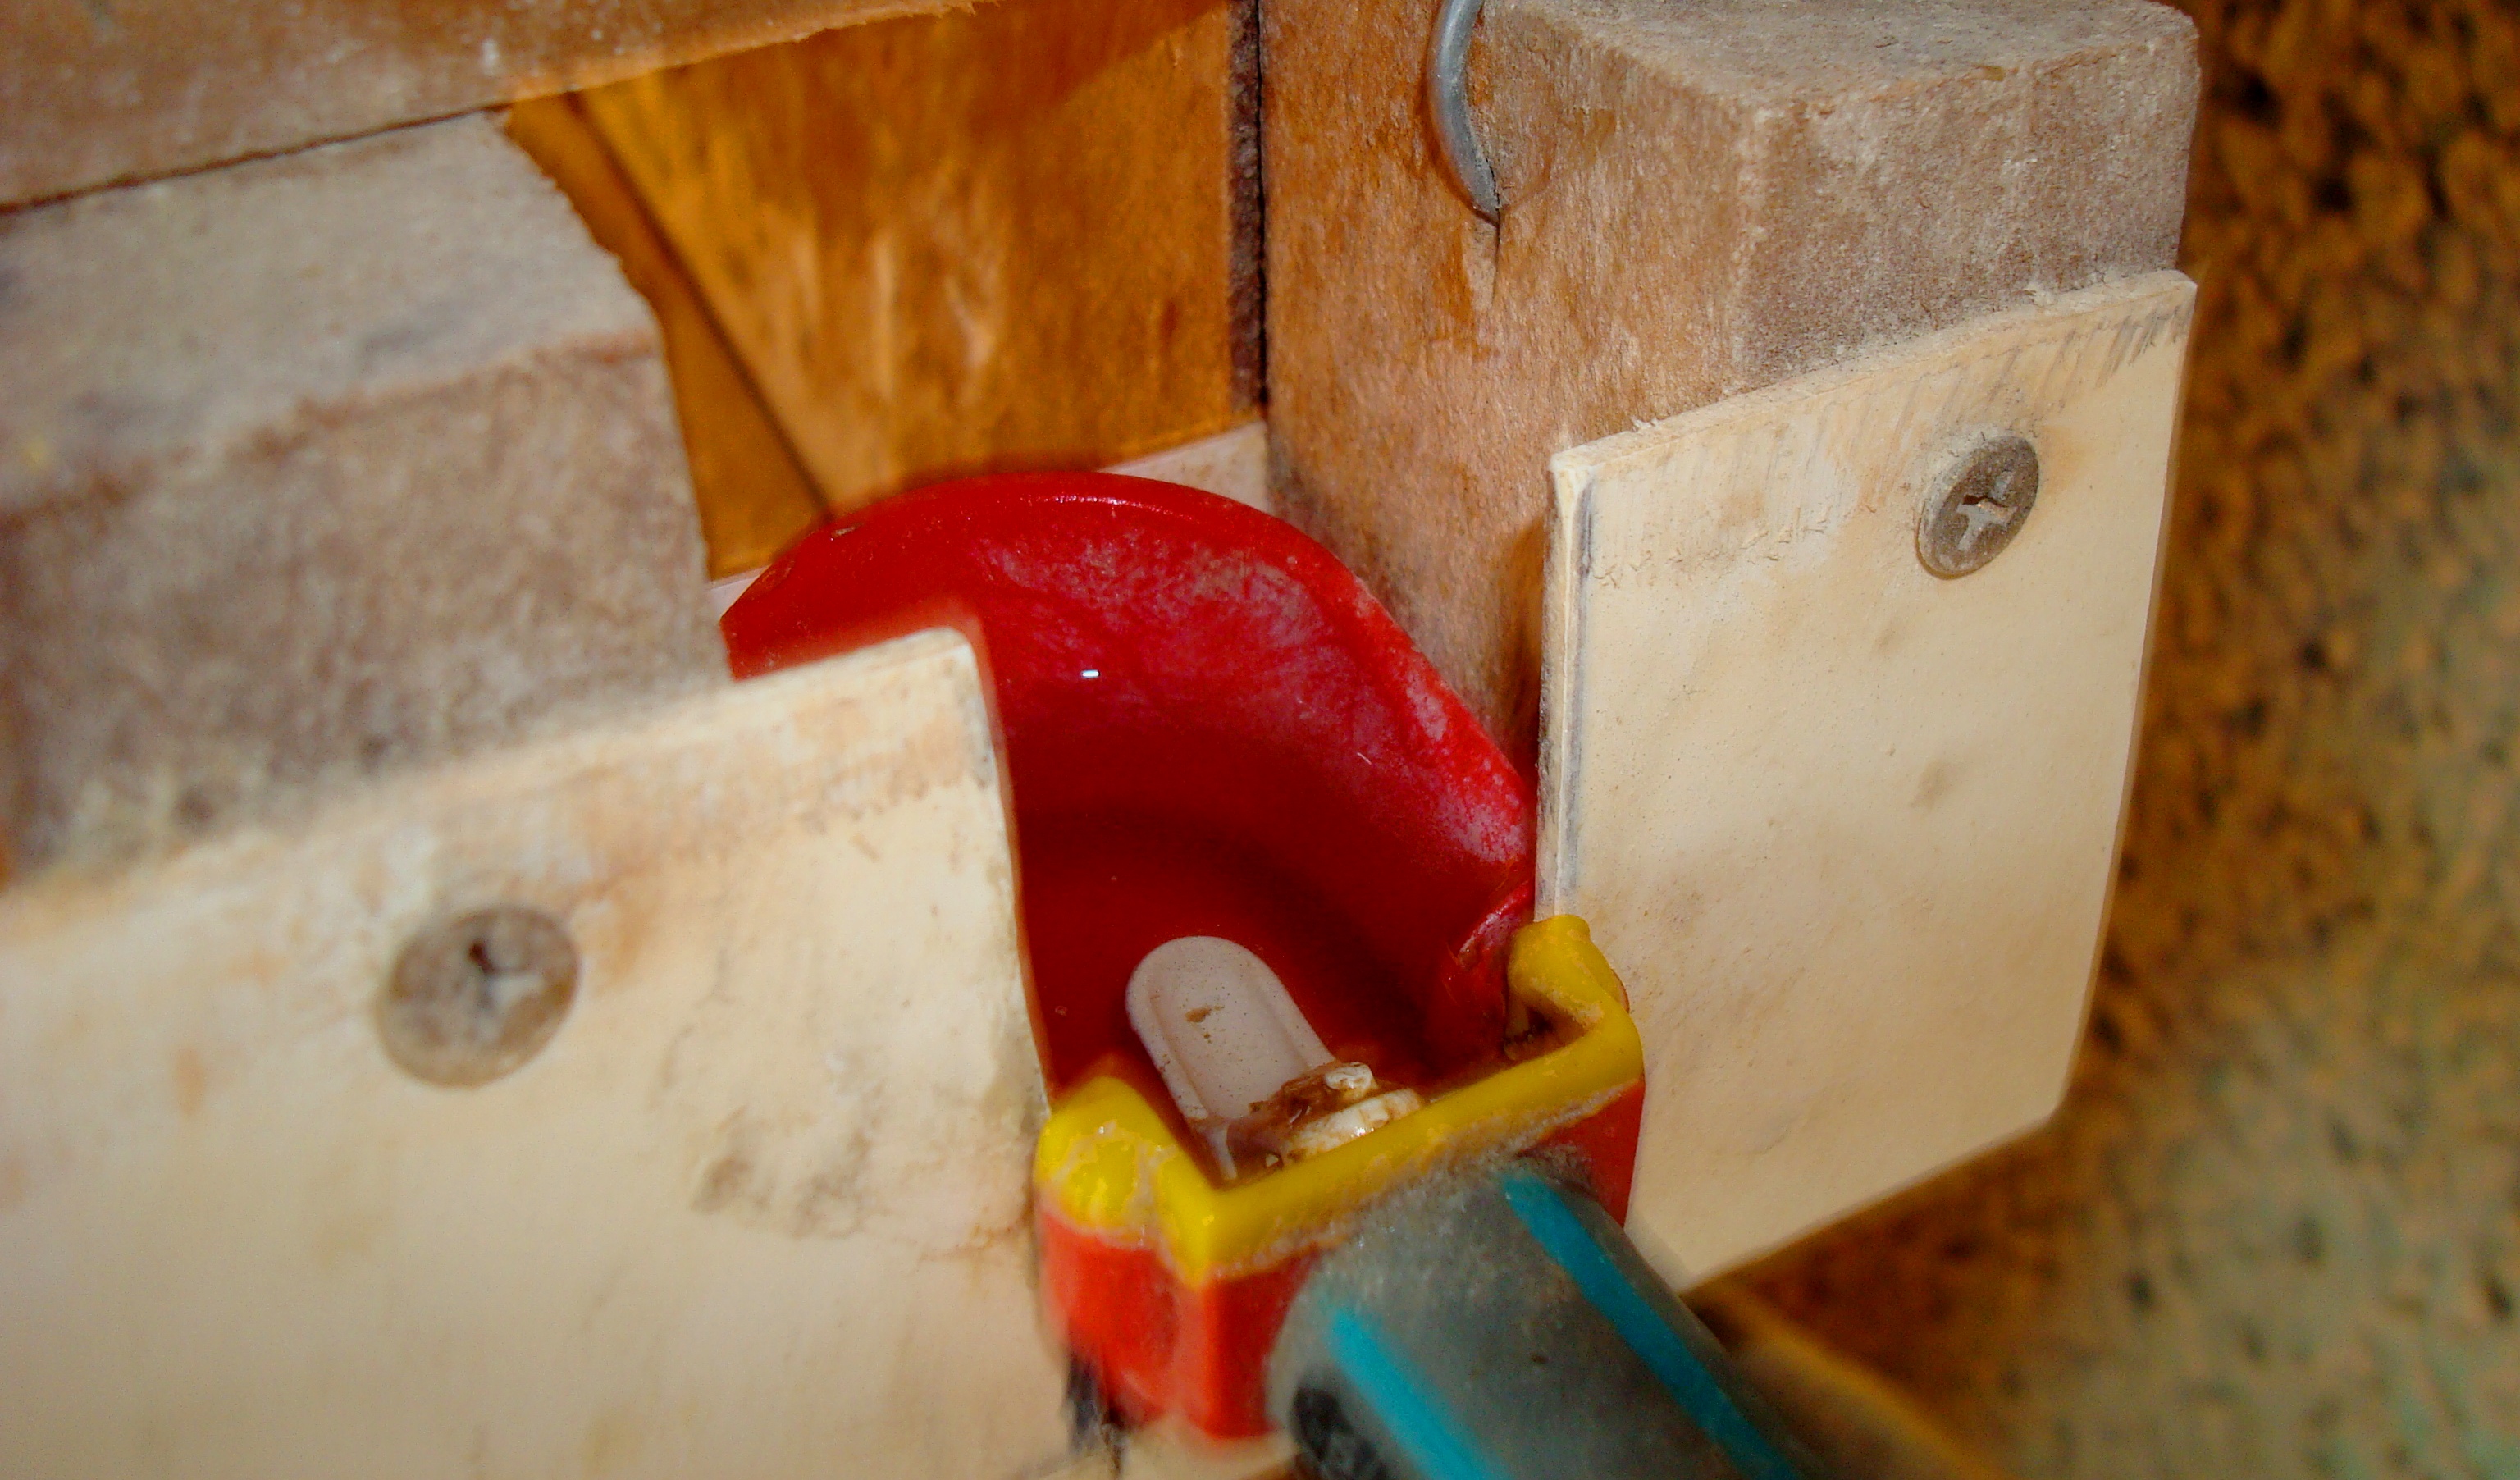
Once the chicks are stable and dry, clean fresh food and water should be introduced and be available at all times. The food and water must both be easily accessible to the young chicks which will tend to congregate under the heat source. The food and water must be presented in such a way that the young birds can enter both the feed and water areas. Put the feed on the floor just outside the center of the heat source and the water a few inches away, but in the main traffic area of the quails. Make sure there are no blind corners where the youngsters can get stuck.

2014-05-09 - Day 1


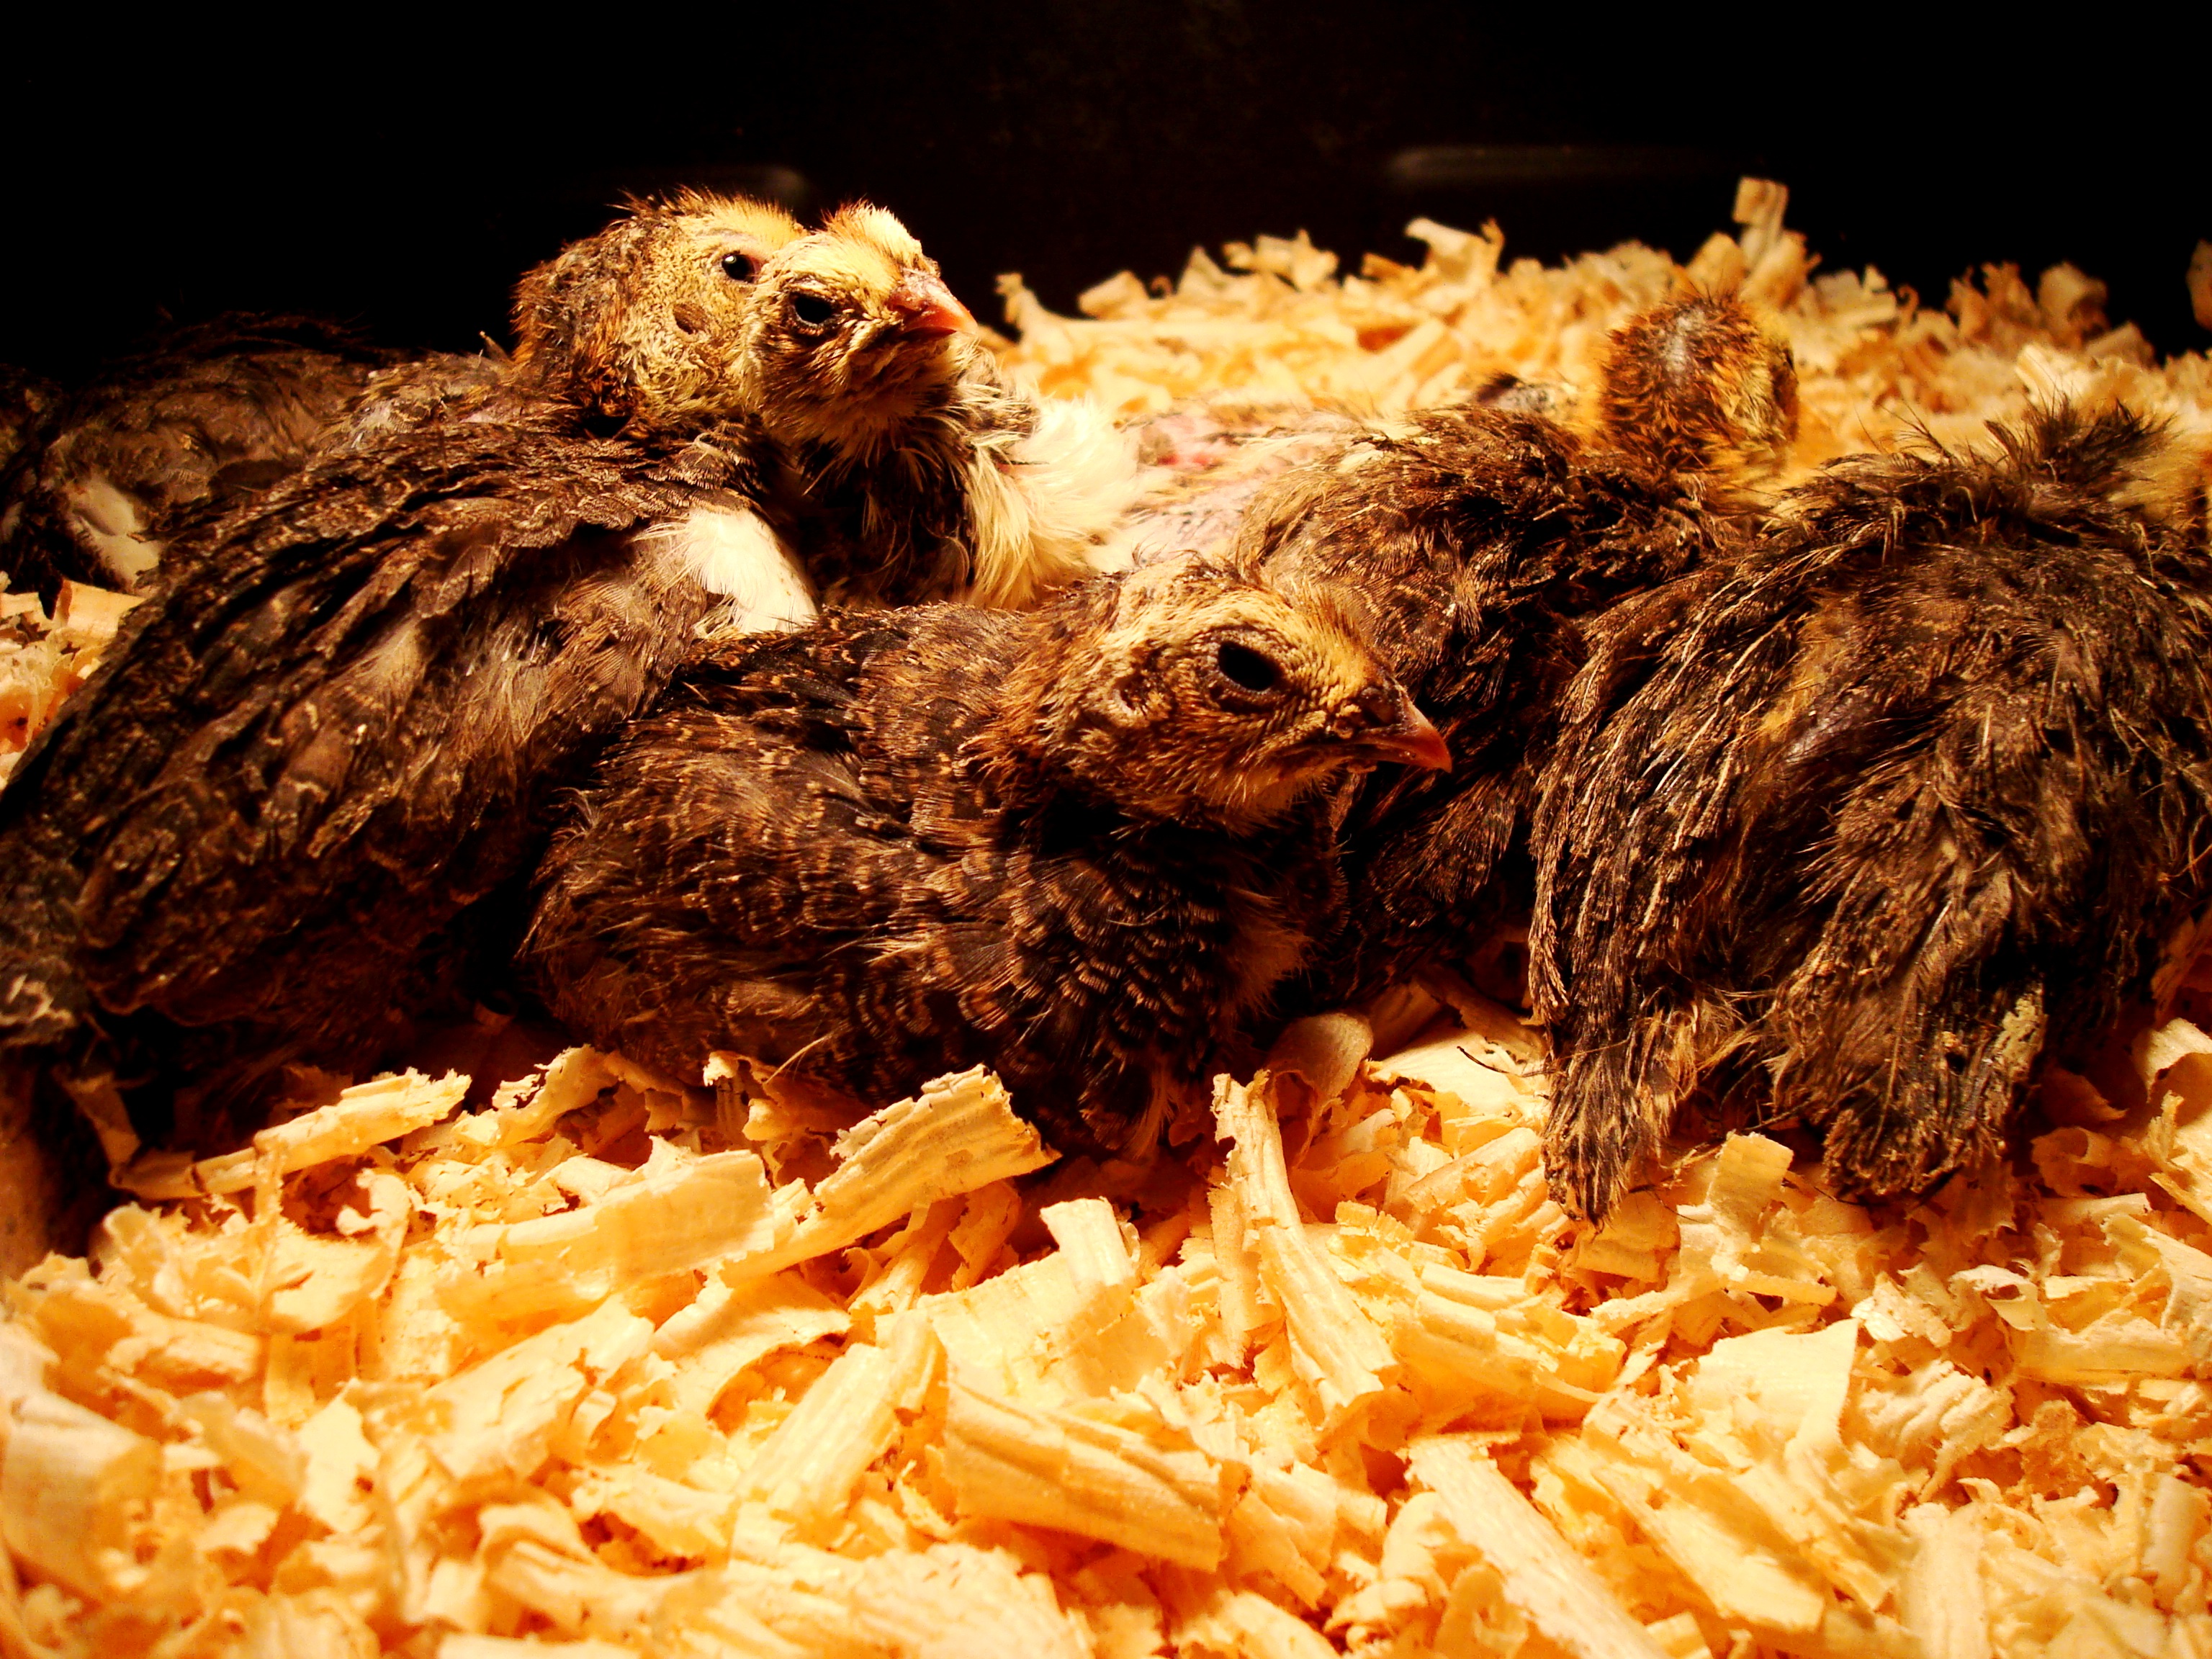
After two days, exchange the cloth for wood shavings.  Keep the wood shavings until the quails are removed from the brooder at about seven weeks of age. Keep the brooder dry and fresh at all times by adding fresh shavings when needed.

2014-05-25 - Relaxing


Now also introduce feeders and larger water drinkers, as the chick should have learned to eat and drink by now, which still allow the chicks direct access to the feed and water

2014-01-07 - Water Access2014-05-25 - Water asnd Feed2014-05-25 - Feed Access

Feed should be a well formulated 28 % protein Quail Starter diet containing the correct ratio of amino acids and other macro elements, supplemented with the correct trace minerals and vitamins. Mix one chicken or four quail eggs (without shell) per Kg of feed for the first two weeks. Raw egg is beneficial if correctly and well mixed, alternatively mix in boiled eggs. Feed consistency must be fine and uniform bite sizes, but not dusty.  If using a commercial diet, it is more often than not beneficial to supplement the diet with a trace mineral and vitamin pre-mix over and above what is supposedly already in the diet. It is virtually impossible to over dose with these nutrients, but deficiencies often occur effecting vitality, fecundity, mortality, disease resistance and production negatively.  Trace mineral and vitamin deficiencies are very difficult to detect or measure under normal conditions, unless their is a severe shortage, but will always effect the animal negatively.

Should you adhere to these few simple guidelines, you will not only have happy Quails, but also raise Quails successfully that will perform to their ability when mature

2014-01-30 - Italian Female Juvinile - Copy


The SIX golden RULES of keeping quail and other poultry

2014-05-13 - Baby Quail 2014-05-09 - Clean Food and Clean environment2014-01-21 - Happy Quails

Treat them well and they would reward you for your efforts !

Give your birds :

1. A balanced and specie specific correctly formulated diet

2. Clean water and fresh feed at all times

3. Optimal environmental conditions with correct temperatures, dry and drafts free with correct lighting patterns and intensity

4. Enough space with clean dry bedding in well designed cages providing proper ventilation

5. Well bred animals housed in the correct male to female ratio

6. An owner that enjoys keeping and attending to poultry

It is easy and enjoyable to breed and keep poultry


6. Free of insects and other vermin


Hereditary Wry Neck in Coturnix coturnix

2014-05-13 17.33.09

I have been breeding six different breeds of Coturnix in New Zealand over the past 12 months and with my scientific background, recordkeeping is one of my passions. I am of the opinion that Wry Neck is hereditary in Coturnix coturnix as I have a ten times larger occurences in my Tuxedo breed than any of the other five breeds. The incidence of Wry Neck in the my breeds are as follows  –   Tuxedo – 3.2 % : Goolden Italians – 0.0% : Whites – 0.1% : Tibetans – o.9% : Pharoah – 0.3% and Rosettas 0.0%. These figures were collected from at least 200 birds for each breed, except for the Rosettas where information is for 38 birds only. The other interesting fact is that after just four generations of heavy culling against defective traits, the wry neck occurance has declined in the Tuxedo breed from over 6 % to less than 2 % in the last batches. The decline is not statisticayl significant even though definate, but the diffference beteen breeds is.

Quail Brooding and Feeding

2014-05-05 - Brooding Quails 14

At some stage in my life I obtained some plastic collapsible storage crates, which were very handy when moving to New Zealand and I always knew that I would find a good use for them at some stage . When I arrived in New Zealand and started quail farming and was looking for a brooder system, immediately the storage crates came to mind – dimensions 600 X 400 X 200 mm.

2014-05-05 16.35.32

These are easy to clean and sterilise as I use an all in all out system. My breeding batches are always about 30, 60 or 120 chicks, so I commence with 20 chicks per crate. I split them at two weeks of age into two crates, where I then leave ten in each crate until about six weeks of age. As I sell many birds at five weeks of age as well as slaughter many of the males at five weeks of age, I normally end up with six to seven birds per cage at six weeks, even though ten is still comfortable.

I begin by lining the crate with an old towel, of which I have plenty (my wife chucks them out, when I think they are still perfect).

2014-05-05 16.42.05


Then ad my food and water drinkers made from used plastic milk bottles

2014-05-05 - Brooding Quails 3 B2014-05-05 16.46.07

The lamps, I purchased from a second hand shop $20 for 20, including 100 W globes, and used off cut plywood from cages I build to mount the lamps.

2014-05-05 - Brooding Quails 4

Then add a frame, made from off cut wire netting and pieces of wood

2014-05-05 - Brooding Quaiz 5

The last two items just lie on top of the crate and are easily removed to inspect and work with the quails. Now add you babies

2014-05-05 - Brooding Quails 5

When too cold, I drape an old tea towel (discarded by my wife) over the netting part

2014-05-05 - Brooding Quails 7

At two weeks of age, when I split the groups in two, I put them on wood shavings

2014-05-05 - Brooding Quails 8

The other difference is that for the first two weeks, when the babies are still learning to eat and drink, the feeders are designed in such a way to encourage them to walk into the feeding area. Now at two weeks when they are clever enough, the feeders are designed in such a way as to encourage them to eat from the outside and not enter the feeders any more, as they start scratching now and waste food and dirty the water too much. I also raise the feeders by putting it on a piece of wood, to prevent them scratching the shavings into the feeders. Self feeders and drinkers are again used plastic milk bottles

2014-05-05 - Brooding Quails 9 2014-05-05  - Brooding Quails 10 2014-05-05 - Brooding Quails 11


Now ad you babies

2014-05-05 - Brooding Quails 12 2014-05-05 - Brooding Quails 13

Managing up to 20 crates in this way, I find very easy. Each Brooder can be accessed easily by lifting the top and inspecting each chick. Feeders and drinkers last for days in the beginning and about once every two days towards the end.

Lastly the feeding. I mix a 28% Chick Starter Mash to which I add 1 boiled egg per 100 g for the first week and increase the mash by 100 g each week for one boiled egg, i.e. 100 g mash per egg for week one, 200 g mash per egg for week two, etc until 700 g mash per one egg for week seven, where after I switch to a 22 % Layers Mash. I also always add some cod liver oil at a rate of 5 g per Kg to all feeds, over and above the normal vitamin – mineral premix.

Exactly the same system is used for my chickens, partridges, pheasants and guinea fowl – I only move them out a bit faster, as the become too tall for the 200 mm crates.