
Raw Milk from the Loveliest Dairy Farm

2014-02-22 09.44.042014-02-22 10.05.232014-02-22 09.46.06

We got up bright and early to be in time for the morning milking. The beauty of the scenery around Dunedin is astounding, driving high up the hill behind Port Chalmers through dense trees and shrubs (that seemed to be natural bush to us ) overlooking the blue harbour is  thrilling. The intimate scale of the landscape , the green of the hills   accross the blue harbour and the pretty town below us made us feel lucky to live in New Zealand. We turned off on to a narrow gravel road, so narrow and winding through dense growth,   that we are still wondering what would have happened should we have met an oncoming car. We passed a delightful, shingled, ‘gingerbread ‘ house with a spectacular view of the harbour and parked beside the milking parlour, with, of course, a spectacular view of the harbour!

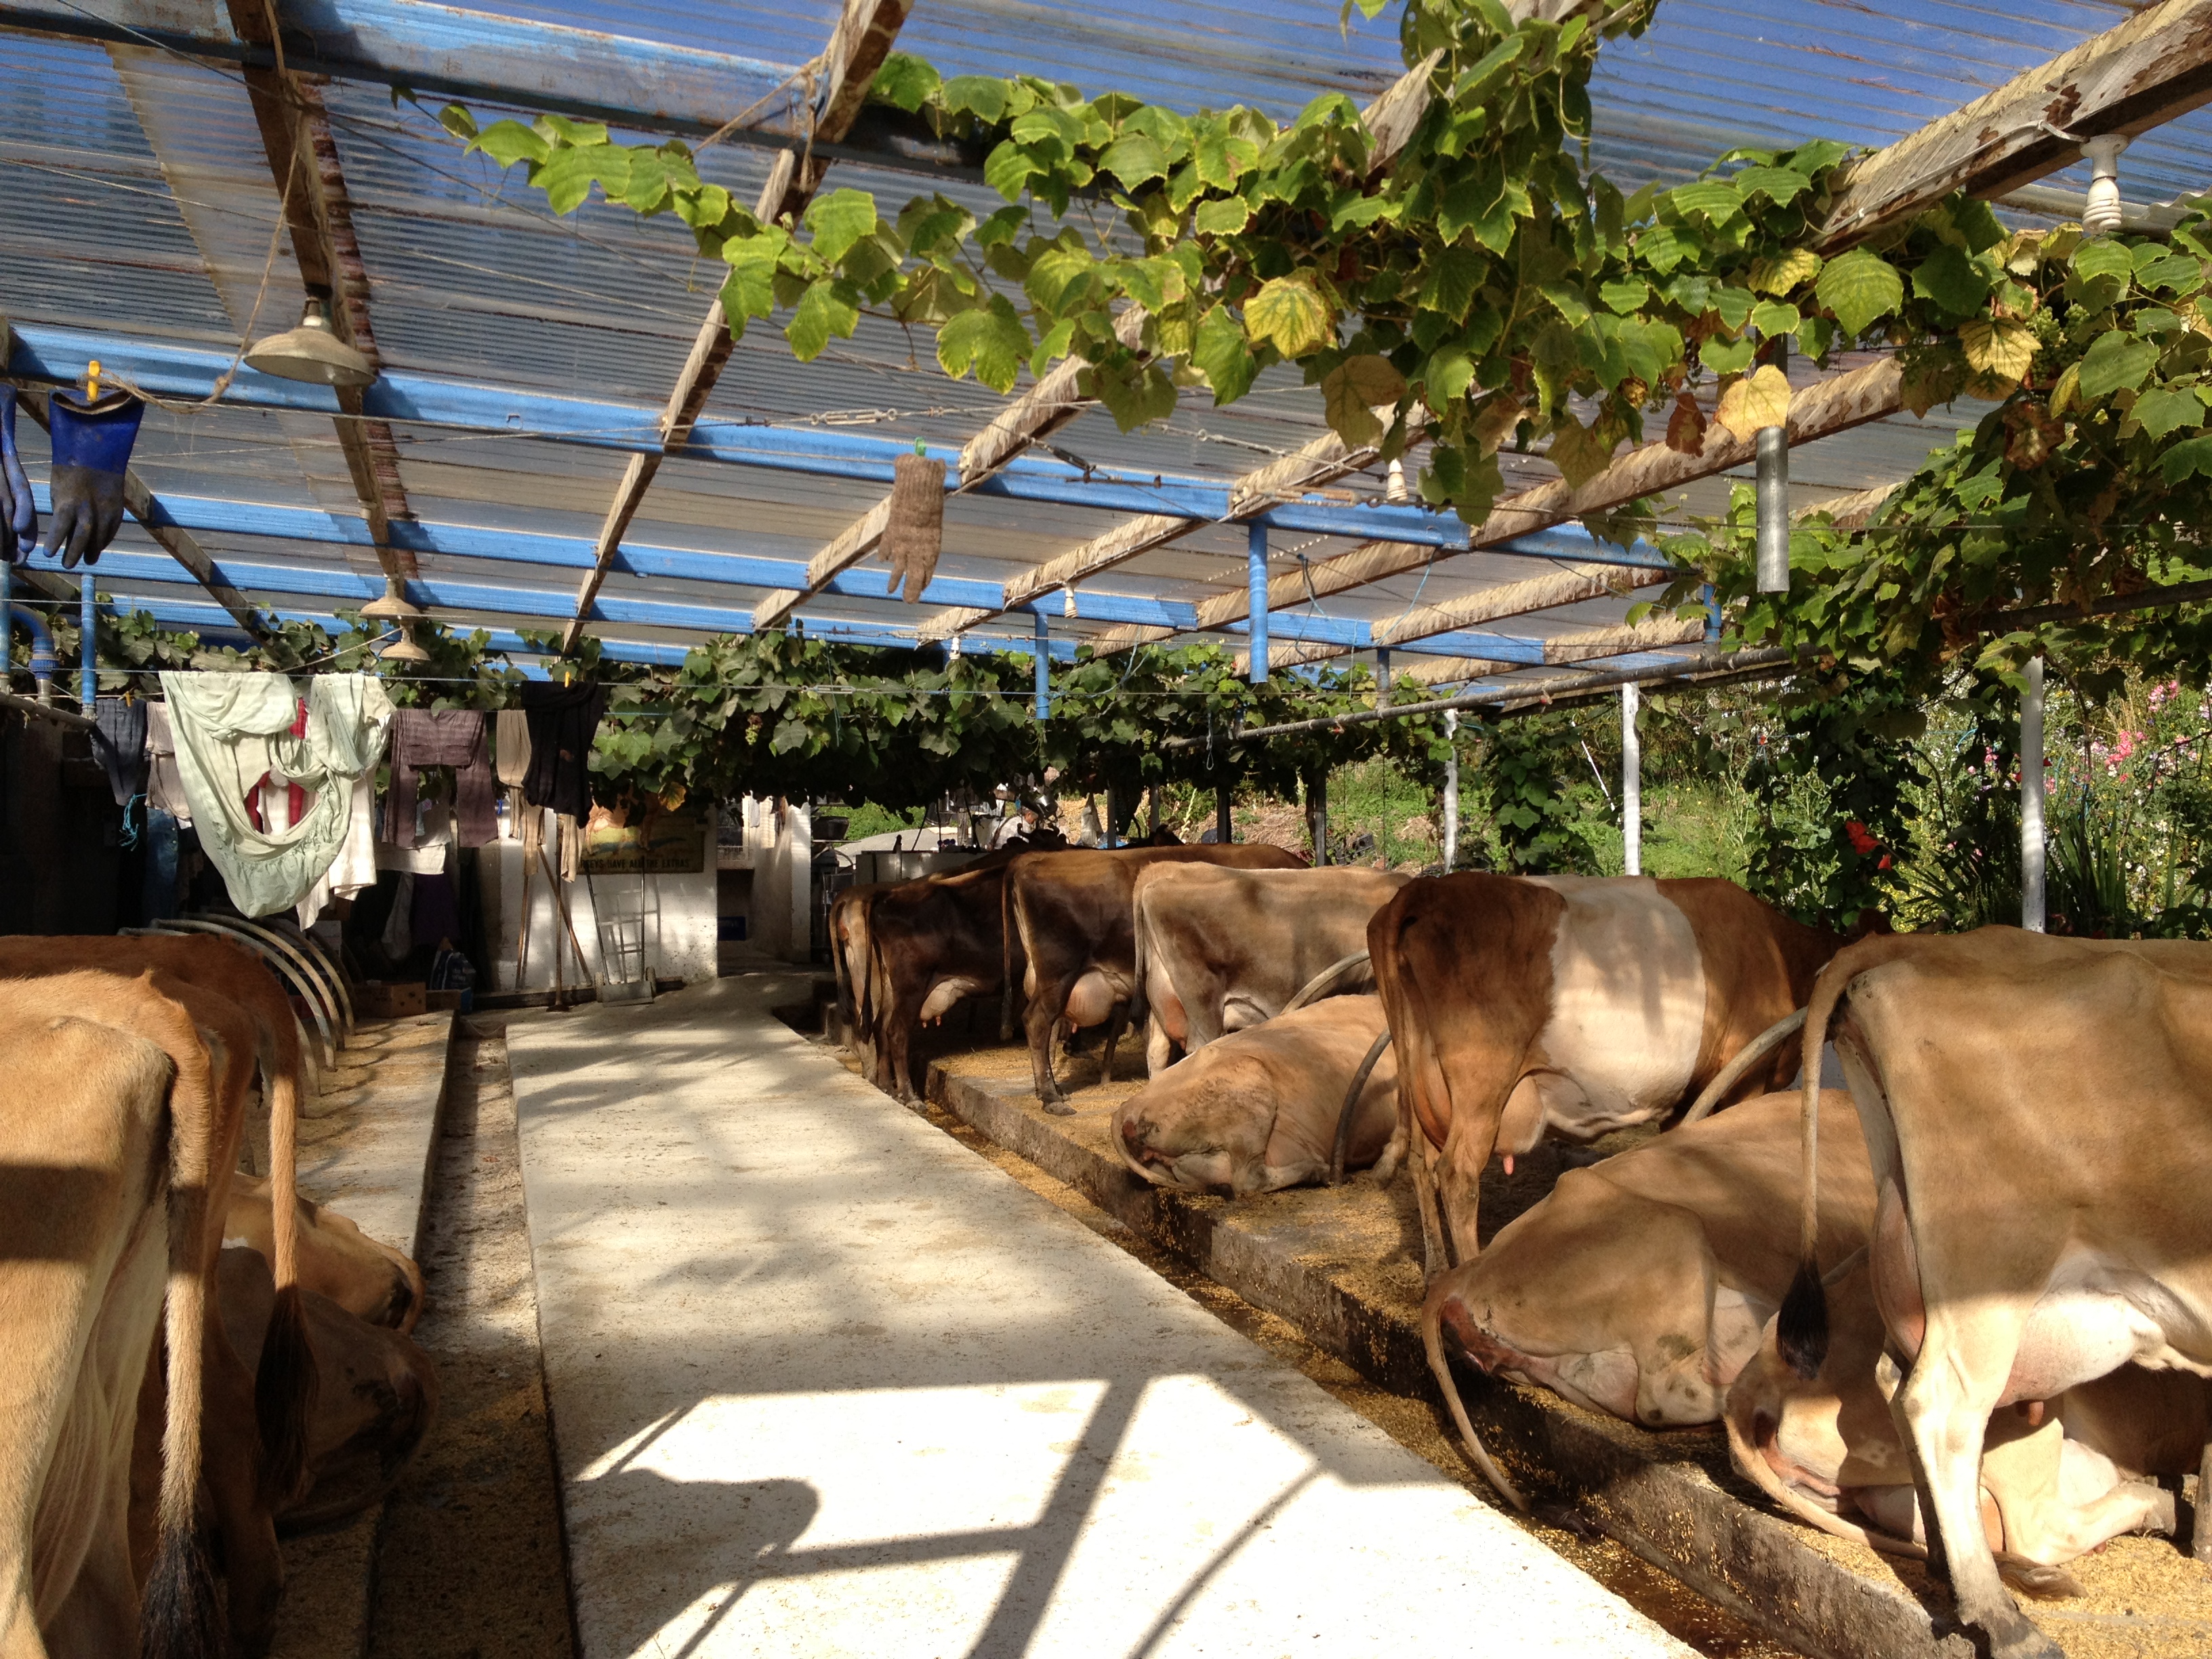
Milking was over and placid Jersey cows stood or lay in the stalls relaxing to soft classical music. The parlour has vines with ripening grapes trailing along the rafters over the heads of the cows.  There is a magnificent wild looking veg garden close by with roses and  what a friend calls  English Garden Flowers on all sides of the parlour.  As an unexpected bonus we were given some artichokes since the owners were not eating them anymore ( getting sick of artichokes  –  unimaginable) !

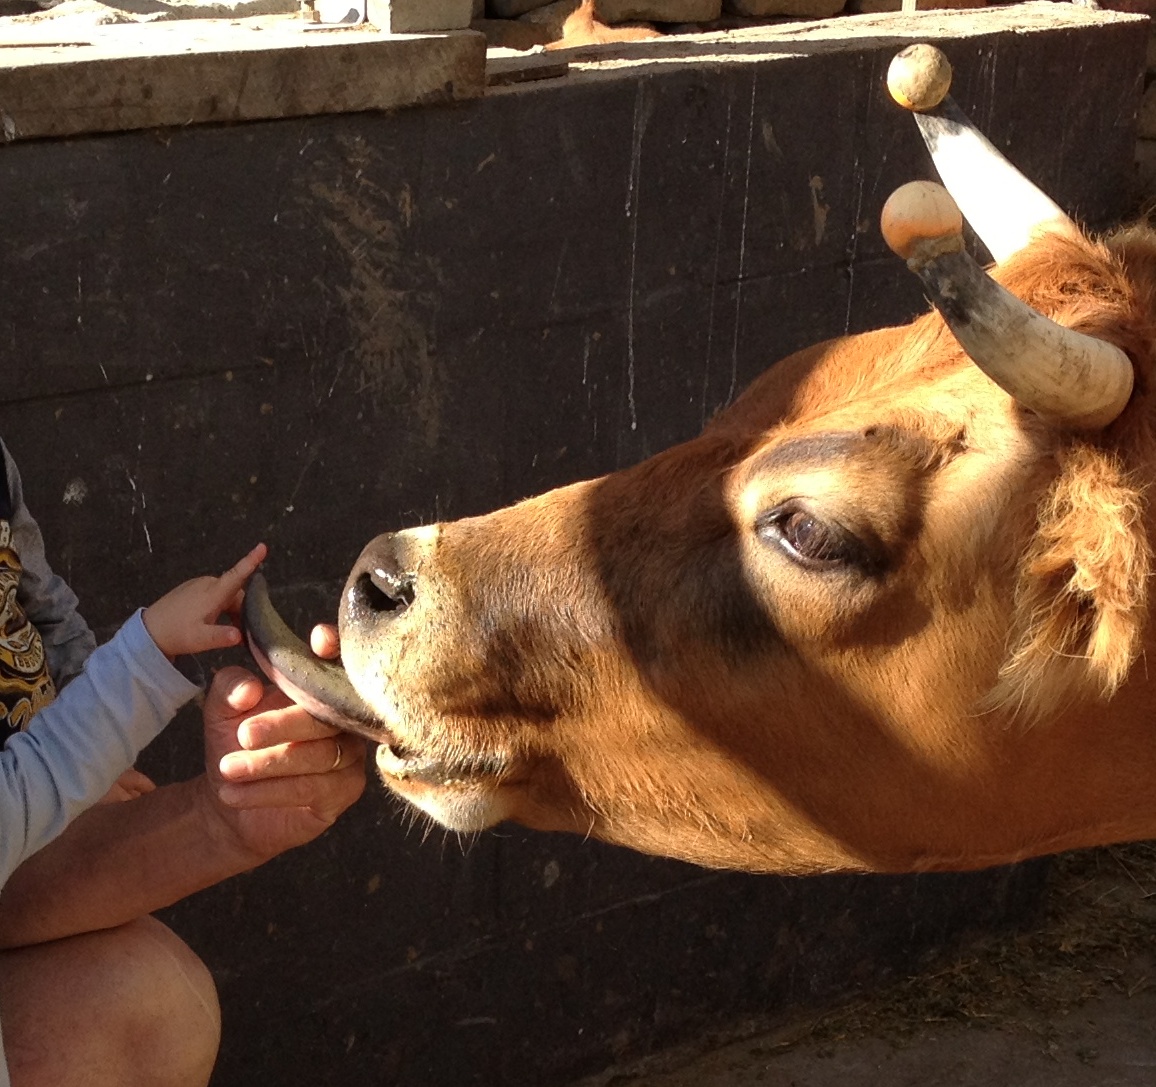
We fell in love  with the place and the kids fell in love with the cows. The cows were willing to be petted and ate hay from gingerly offered little hands. The magic ended when the smallest child was given a long lick through the face by a doe eyed but raspy tongued cow.  The resulting hysterical wailing and crying shattered the peace and we beat a hasty retreat so as not to disturb the tranquil mood.

Back in Port Chalmers we had the best French Toast ever. A huge cruise ship was docked, dwarfing the town, and the streets were filled with  uniformly dressed passengers enjoying a shore visit in glorious Dunedin summer weather (do the ships distribute shore leave uniforms to passengers, we wondered).

Once we got home, I immediately started making ricotta, mainly because I had no room in the fridge for 20 L of milk.
Cheesy Breads and Panini using Yeast

2014-02-17 11.08.05-2

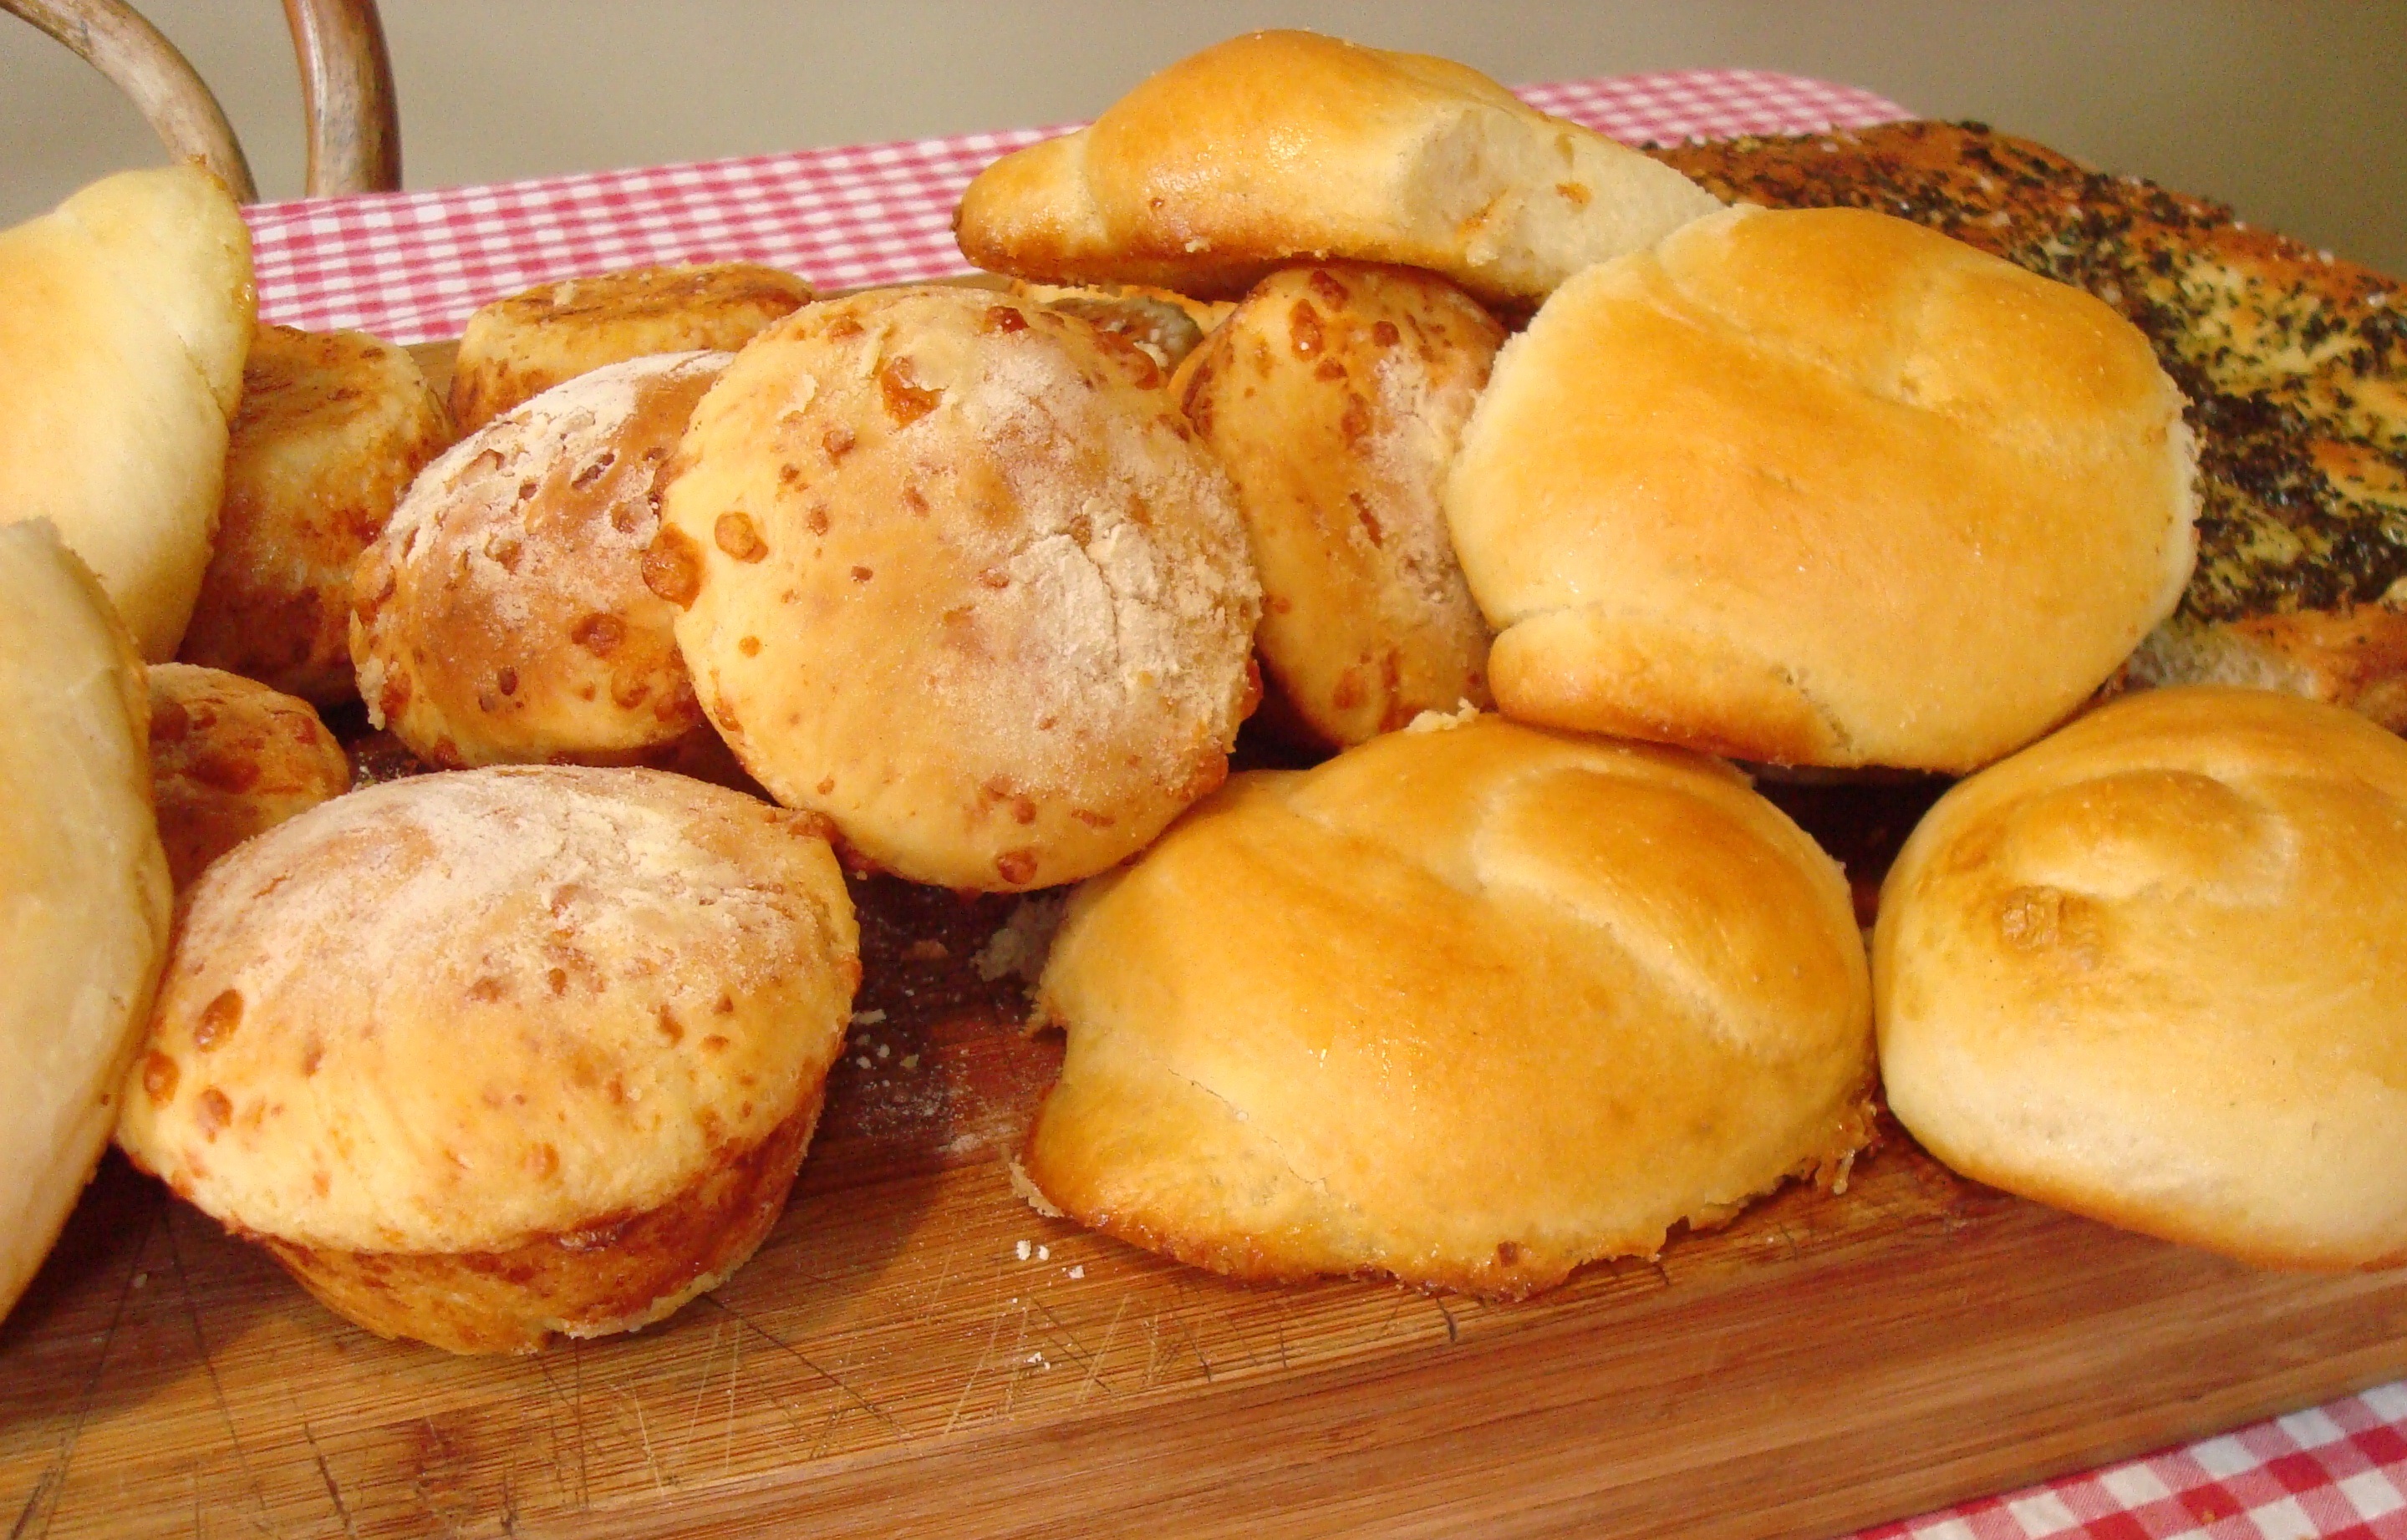
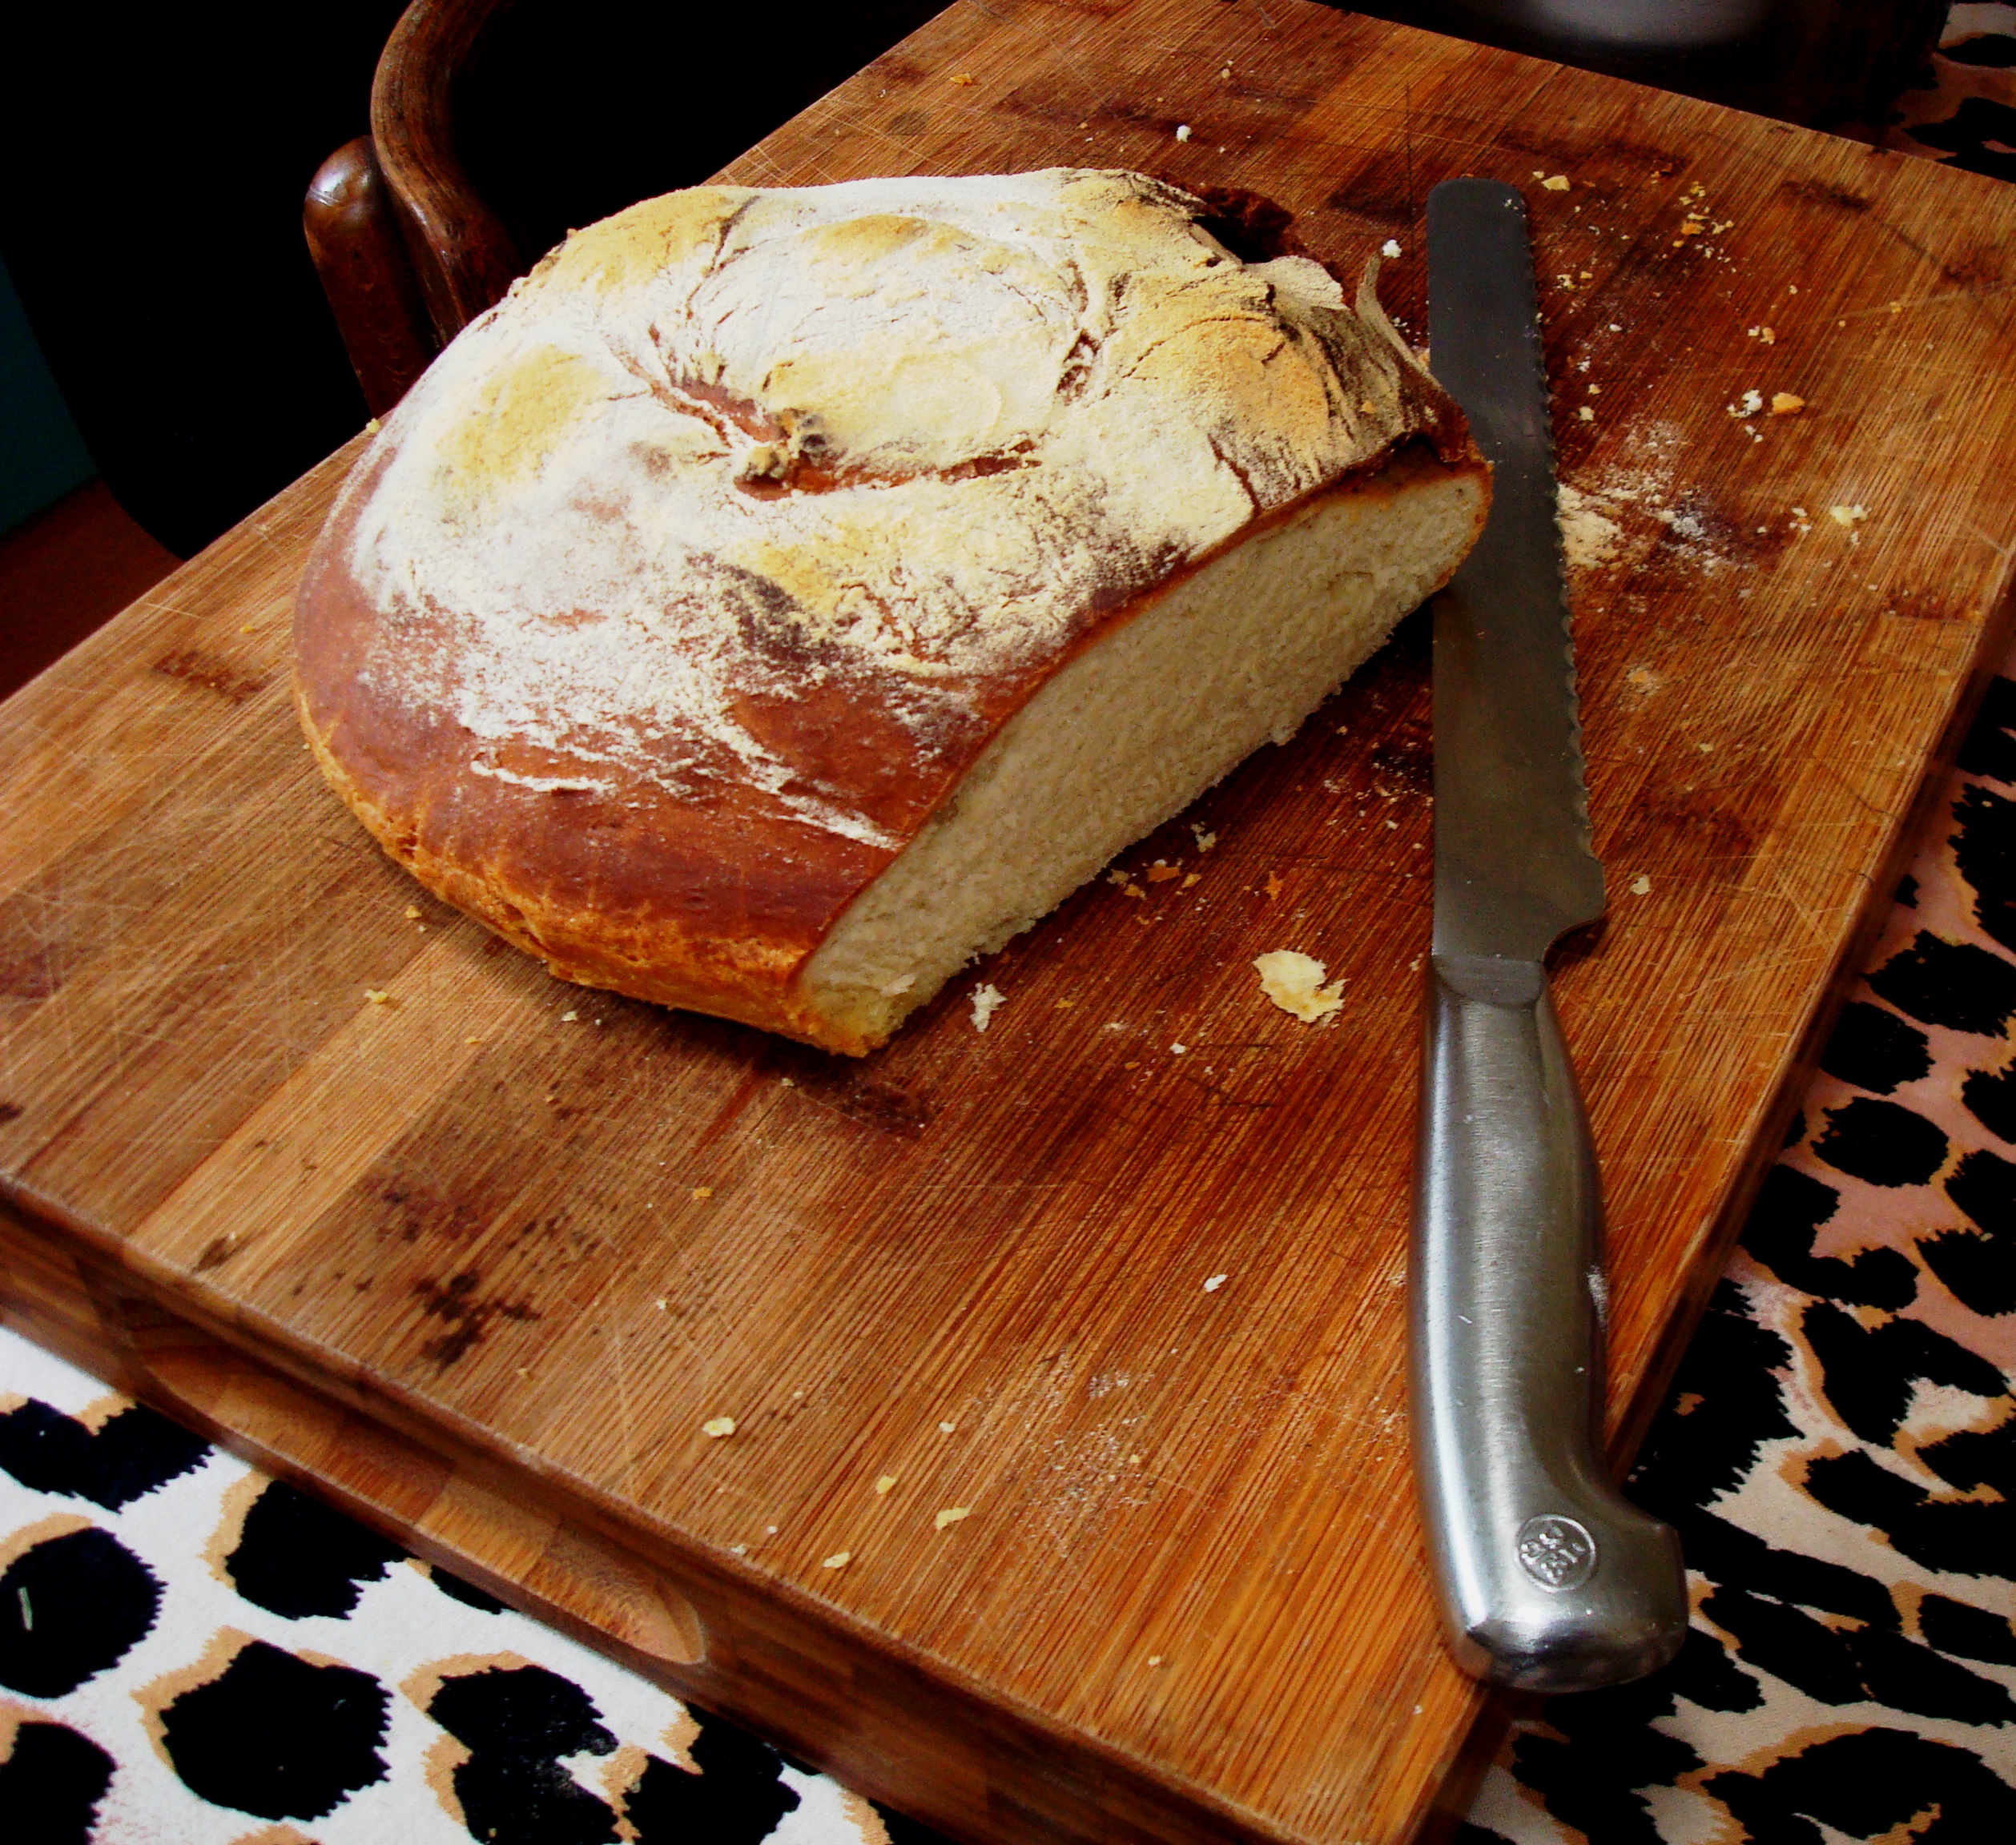
After a day of no bread in the house I had to provide bread by breakfast time or face a riot  in the kitchen.  To appease everyone I made Cheesy Buns, Panini, Pane di Casa and Foccacia.

I love baking with Biga and it remains my first preference.  Sometimes I have very little time for baking and  because I would rather go without than buy commercial bread, yeast is a fast option. The yeast product is lighter and softer whereas the Biga products are denser and a bit heavier and chewier.  There is no difference in the speed with which both types of breads are devoured by my household!

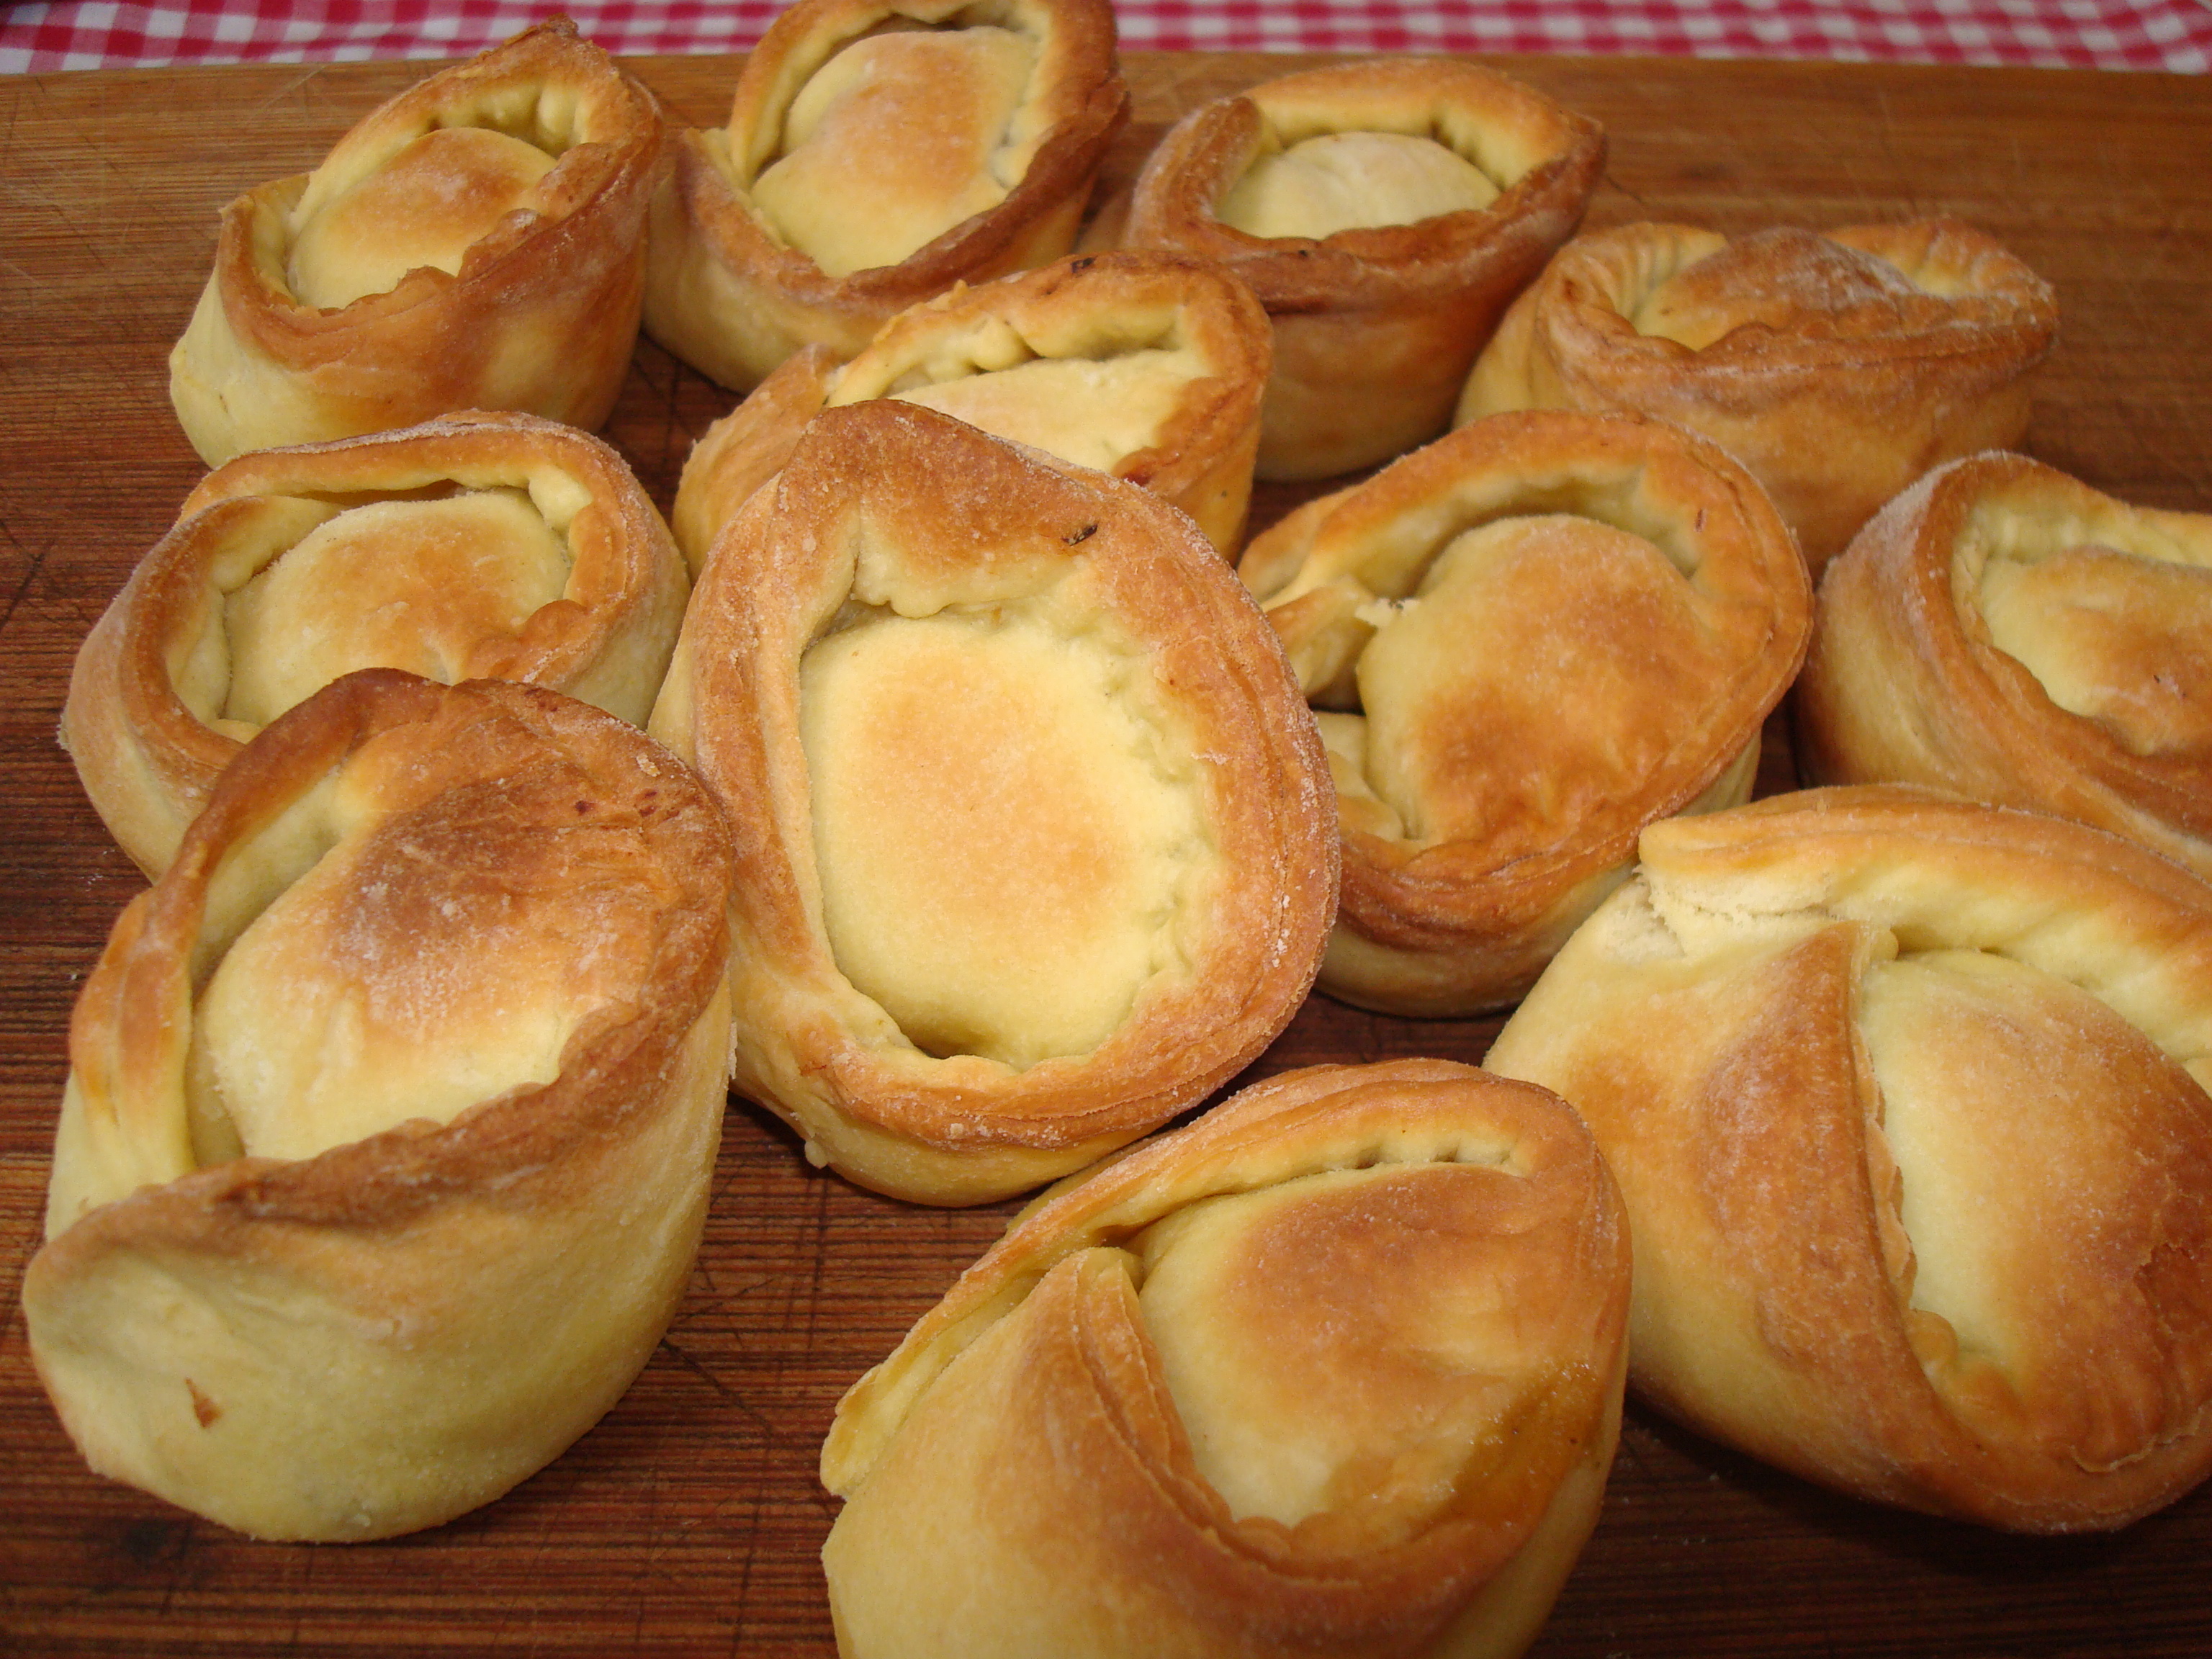
Cheesy Buns with Yeast

Mix 10 g Sugar and 10 g Dry Yeast with a little temperate water, wisk occasionally and let stand until frothy. This should take only a few minutes.

Mix 500 g Flour, 10 g Salt, 30 ml Olive Oil and the Yeast mix with 320 ml temperate water (taking into consideration the water already used for the yeast mix). Mix and knead well. This will give you a soft dough which should be of a consistency that just clings to your hands when kneading (makes it difficult to knead well). Place it in a warm place until double in size. I use my dehydrator / drier and set it at 38 C for about half an hour. Now mix in 100 g grated Cheese of your choice – I use a sharp Cheddar – and mix well. Divide into 24 equal balls and place in two well buttered muffin / cup cake pans and dust liberally with flour. Leave to rise again – mine goes back into the dehydrator.  Be careful not to over proof these two breads at the second rising, as it will collapse when put into the oven.  Start baking while bread is still rising strongly, even before it has reached the desired size. Bake in the oven at 220 C for 15 minutes.

Panini

Exactly the same as above, but exclude the cheese and size and form the Panini the way you like. Bake in a well buttered oven pan.


Enjoy!

PANE VELOCE

2014-02-07 - Pane Veloce

Should you have run out of bread and the guests arrive in half an hour, the Pane Veloce is the only way out. It may not be the lightest bread around, but definitely very nice and fresh out of the oven. One cannot use BIGA for this recipe as it is too slow – use dry yeast.

15 g dry yeast

10 g sugar

50 ml luke warm water

Whisk the above before you start weighing out the rest and let if begin to foam before use

500 g plain flour

10 g salt

60 ml olive oil

300 ml luke warm water

Mix all together, including the yeast mix and knead well (it may be a bit difficult to knead as it should be soft). The mix must be softer than a normal bread and the dough should just stick to your hands (a hard dough does not work for this recipe) add water if not soft enough or flour if too soft.

Form dough in a ball and place in a well oiled oven pan (not a bread pan). Cut a circle with a sharp knife, about 15 mm deep in the top of the dough, about halt the circumference of the bread – this will allow it to rise and expand and bake through.

Now place your bread in a COLD oven and then turn it on to become 220C when heated. The bread will rise while the oven is heating up and will then bake. I cannot say for how long you need to bake it as it will depend how fast your  over reaches temperature – a slower oven is better than a faster one. Use the knocking technique to see if loaf is ready.

The Pane Veloce can be made well under an hour from the time you take the flour out of the pantry until your serve your guest fresh bread out of the oven – no bread is faster!!

Small Pies with Leftover Filling

2014-02-14 13.15.53

I started making these for the kids but had to triple up because everyone wants them now.I have given my version of leftover meat filling, but you may have your own ideas

Small Pies 

The Fillng

After a meaty meal there is always something leftover like BBQ Beef , Roast Pork or Chicken. Making pies with these often resuls in a tastier meal than the original.  Saute one onion and a couple of cloves of garlic in some butter and olive oil until soft. Now turn the heat up and fry the diced meat until well heated through. Adjust for salt and pepper. Add a half a chopped chili and some chopped fresh time. Baste for a while and keep moist by adding some stock, or wate, if you do not have stock. When heated through and basted for a few minutes, ad some fresh, or tinned if you do not have fresh, mushrooms.  Let all the moisture evaporate until you have a firm filling. Stir frequently. Remove from the heat to let it cool and set a bit as this will make it easier to use as a filling.

The Pastry

Whisk 10 g yeast and 10 g  sugar in enough lukewarm water to dissolve the sugar and yeast. Leave until the mixture is foaming

500 g     flour

150 g     butter softened

2             eggs  lightly whisked

10 g       salt

Mix all the ingredients including the yeast together. You should have a stiff dough like a pasta dough after kneading it a bit. Let the dough stand in a warm spot until the yeast is activated. Roll the dough out thinly – less that 1 mm thick. I do mine with a pasta machine setting on 5 . Cut circles with a cookie cutter about 100 mm in diameter. Put about 1 tablespoon of filling in the center and fold the dough to close after painting the edges lightly with some egg to bind – press closed with the back of a fork. Now fold the wings in and secure the to end together with some egg again. Place in a  well buttered muffin pan and bake at 200 C until brown on top. Eat warm or cold.

Cherries in Brandy

2014-02-14 17.01.58

I am prepared for the winter when there will be no cherries at all. I shall be drinking the cherry infused brandy and eating the cherries in front of the fire!

Cherries in Brandy

350 g   sugar

1 liter  brandy

Ripe, unblemished cherries, stalks on, washed. stones in

sterilized jars

Dissolve the sugar in the brandy. Cut the end of the cherry stalks off leaving about 1/2 of the stalk on the cherry and prick the cherry with a needle on the opposite side of the stem. Pack the cherries in the jars, ensure that the jars are full enough so that the cherries will not float around later. Pour the brandy mixture in the jars, make sure that all the cherries are covered. Store in a cool dark place for 3 months before eating.

I try very hard but I  always eat mine up long before the 3 months are past and they always taste wonderful!